Overview
Traditional polygon modeling—editing vertices, edges, and faces one by one—is well-suited for creating hard-surface objects like machines and buildings. However, creating "organic" shapes with smooth, complex curves like character faces, muscles, and creature skin requires a more intuitive approach. Blender's Sculpt Mode makes this possible.
Sculpt Mode is a feature for intuitively sculpting 3D model shapes like molding digital clay with tools and fingers. Mastering this mode allows you to efficiently create lifelike, complex shapes that are difficult to achieve with polygon modeling alone.
This article guides beginners to intermediate users through their first steps in organic modeling, from basic brush usage to "Dynamic Topology" which infinitely expands sculpting possibilities.
Switching to Sculpt Mode
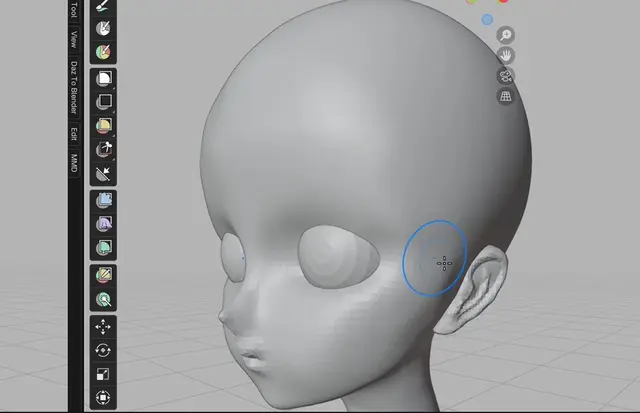
To enter Sculpt Mode, first select a base object (usually a UV sphere or cube), then select "Sculpt Mode" from the mode menu at the top left, or use the pie menu with Ctrl + Tab.
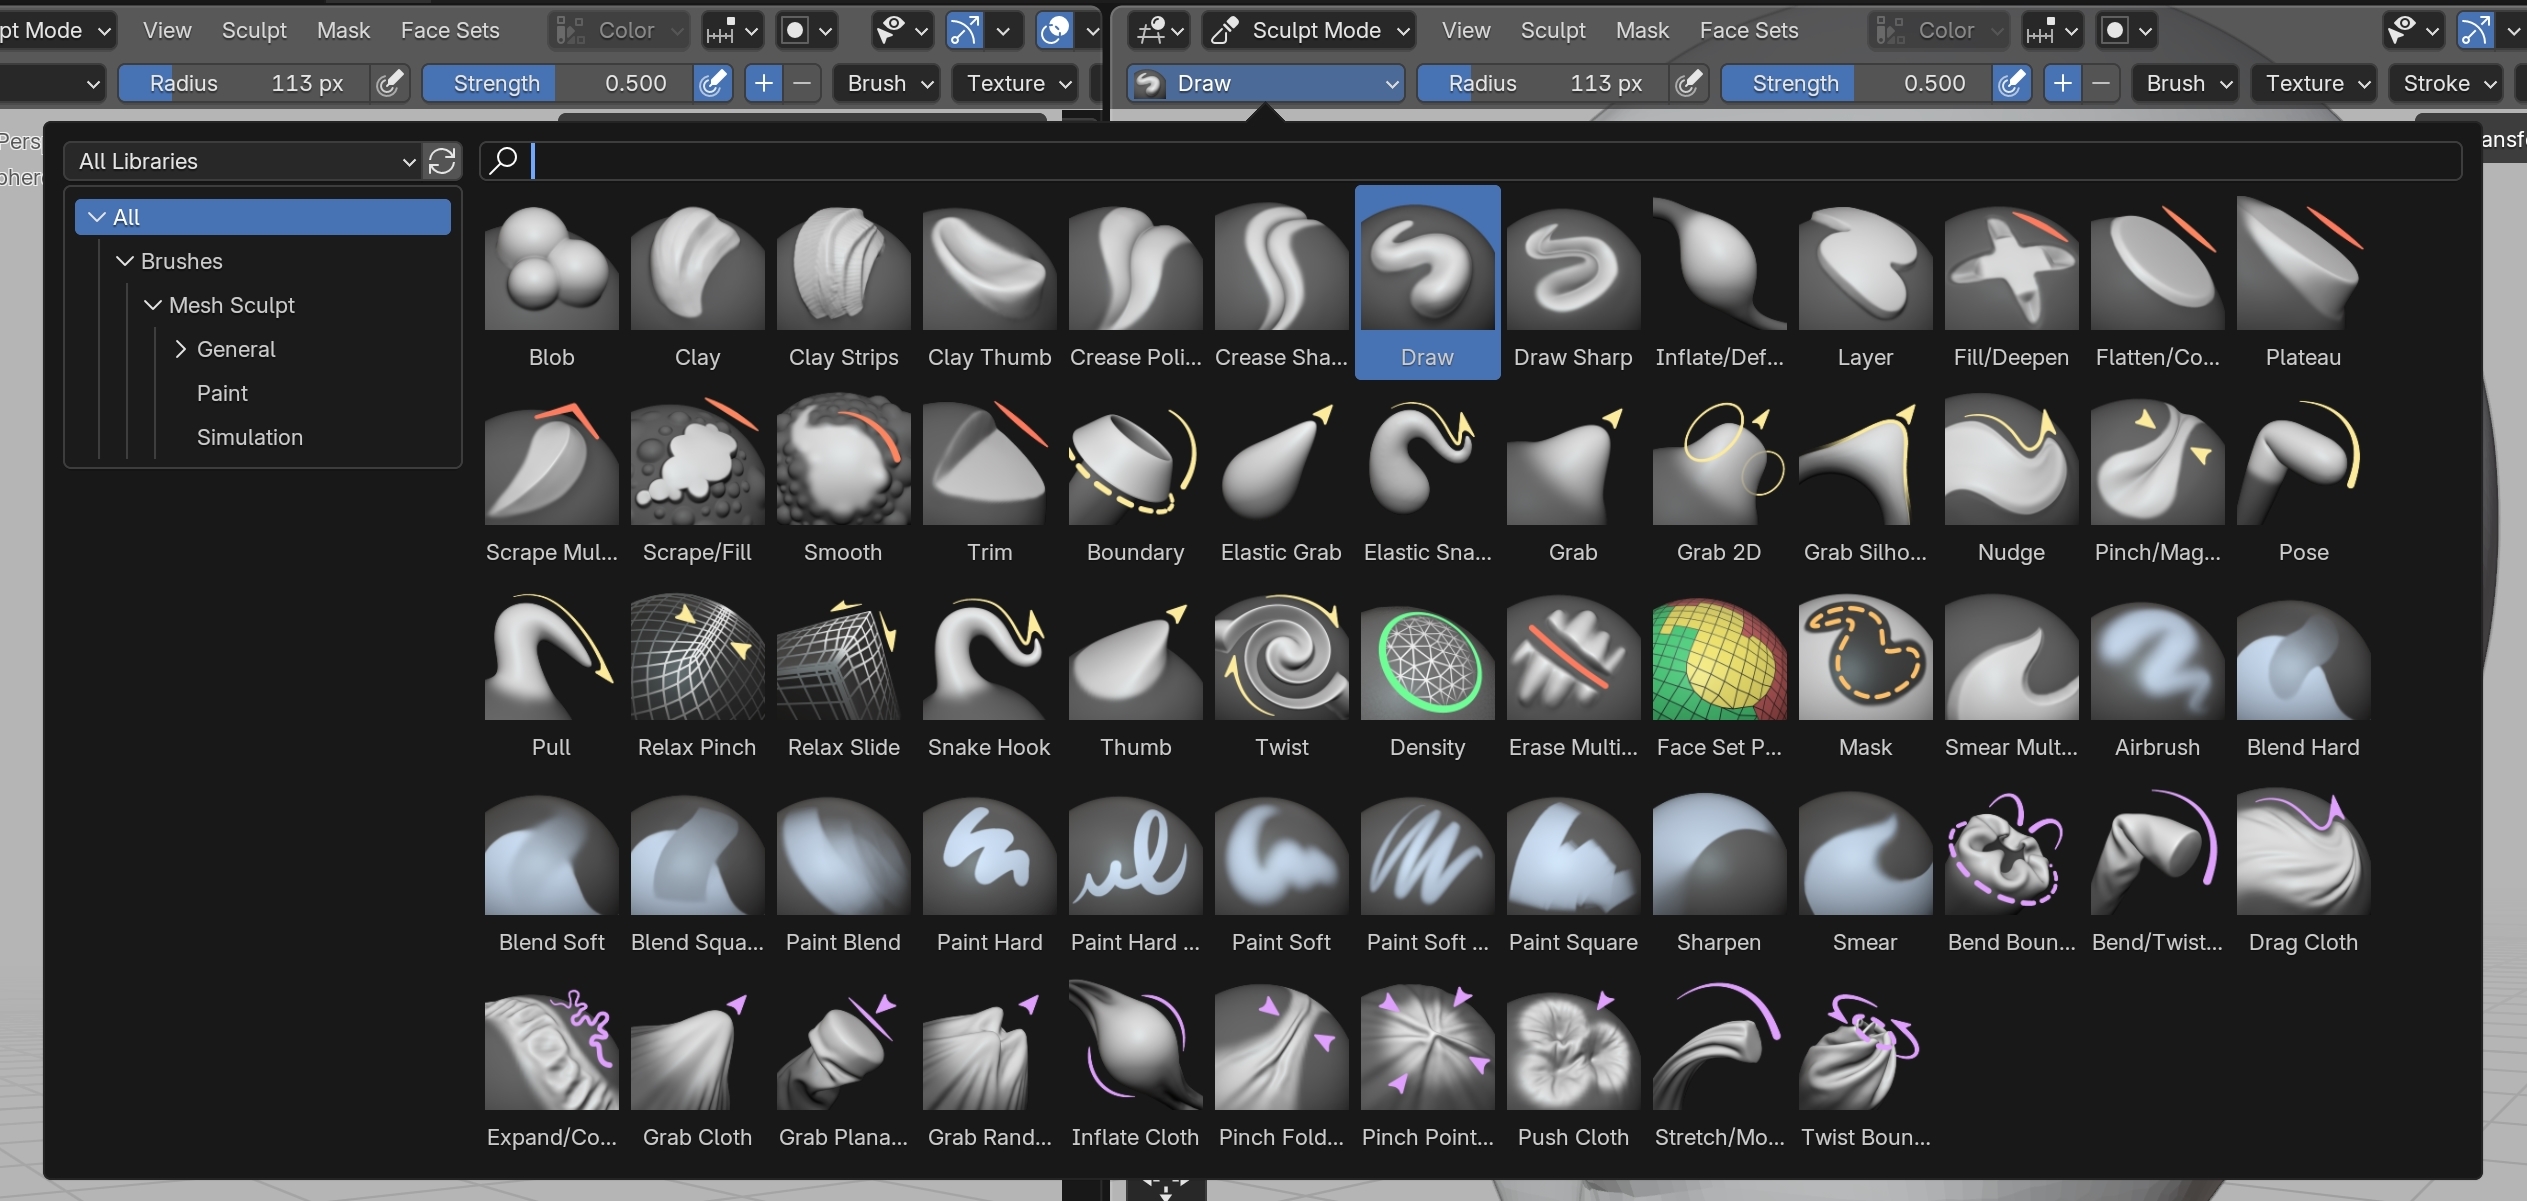
Upon entering Sculpt Mode, various brushes appear as a toolbar on the left. Using different brushes allows you to perform diverse operations like building up clay, carving, or smoothing.
Basic Brushes and Their Usage
Sculpt Mode has dozens of brush types, but start by learning the roles of these basic brushes.
| Brush Name | Icon | Primary Use |
|---|---|---|
| Draw | Pencil | Basic brush. Builds up mesh. Hold Ctrl to indent instead. |
| Clay Strips | Square clay | Builds up mesh like applying strips of clay. Good for muscles and fat. |
| Grab | Hand | Grabs and stretches mesh. Used for adjusting overall silhouette and large shapes. |
| Smooth | Finger tracing | Smooths mesh bumps and dips. Holding Shift while using other brushes temporarily activates Smooth. |
| Crease | V-shaped groove | Carves sharp grooves and wrinkles. Hold Ctrl to create sharp edges. |
Change brush size with F and strength with Shift + F while dragging the mouse.
Sculpting Without Polygon Worries: Dynamic Topology
When starting to sculpt, you'll quickly face the problem of mesh polygons stretching, preventing you from adding detail as desired. Dynamic Topology (Dyntopo) solves this.
Dynamic Topology is a revolutionary feature that automatically subdivides or simplifies polygon density where you stroke, as needed. This lets you carve unlimited detail like clay, without worrying about polygon flow.
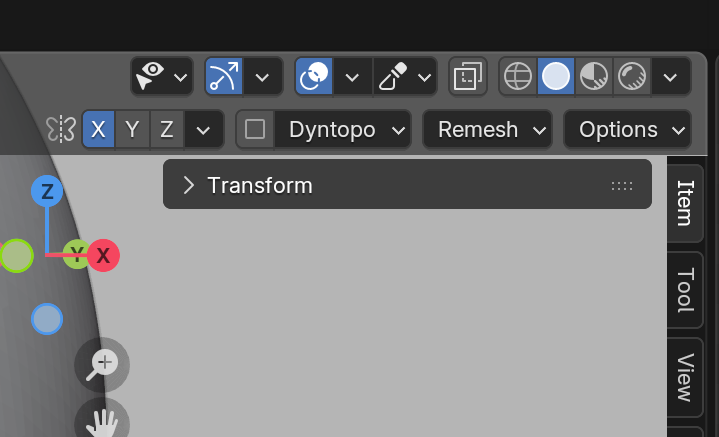
Enabling: Check the "Dyntopo" checkbox in the upper right of the Sculpt Mode header.
Important Setting: Setting the "Detailing" type to "Constant Detail" generates mesh at a constant polygon density regardless of zoom level, making it easier to control. Lower "Resolution" values generate finer polygons.
Basic Sculpting Workflow
- Blocking: First, use brushes like "Grab" to roughly create the overall silhouette and proportions. Don't worry about detail at this stage.
- Primary Forms: Use "Clay Strips" and "Draw" brushes to add mass, focusing on large forms like muscles and skeletal structure. Enable Dynamic Topology to build up shapes.
- Secondary Forms: Smooth the surface with the "Smooth" brush while adding wrinkles and sharp details with the "Crease" brush. Increase Dynamic Topology resolution as needed for finer detail.
- Retopology: Models created through sculpting have very high polygon counts and are unsuitable for animation. You'll need to rebuild a cleaner, lower-polygon mesh over this high-density mesh (retopology). (This is a separate advanced topic.)
Summary
Sculpt Mode is a powerful tool that dramatically expands your 3D modeling expression. It may feel difficult at first, but freely experimenting with a clay-molding mindset is the fastest path to improvement.
- Intuitive Operation: Deform models using brushes, like molding clay.
- Basic Brushes: Start by learning "Draw," "Clay Strips," "Grab," "Smooth," and "Crease."
- Dynamic Topology: A magical feature that lets you carve unlimited detail without worrying about polygon count.
- Workflow: Start with rough shapes and gradually add detail.
Begin with a simple sphere and try sculpting something like a face. You don't need to create something perfect. Experience what effects each brush has and familiarize yourself with digital clay.