Overview
The biggest factor determining a 3D model's visual quality is actually the "texture." The same model can look vastly different depending on whether its textures are poor or rich. Among the multiple methods for creating textures, Blender's Texture Paint feature is the most intuitive and allows for the most artistic expression.
Using Texture Paint, you can paint colors directly on 3D model surfaces just like using Photoshop or similar paint software. Furthermore, you can create advanced texture information like normal maps and displacement maps through the same interface.
This article comprehensively covers everything beginners to intermediate users need to know, from basic Texture Paint operations to practical techniques for creating high-quality textures.
Texture Paint Preparation: Checking UV Maps
Before starting Texture Paint, there's an important prerequisite: the target model must be properly UV unwrapped. UV unwrapping is the process of "unfolding" a 3D model's surface onto a 2D plane and setting up coordinate information for applying texture images.
Attempting to texture paint on a model without UV unwrapping will result in paint not being applied correctly. First, switch to the "UV Editing" workspace and verify that the model's UVs are properly unwrapped.
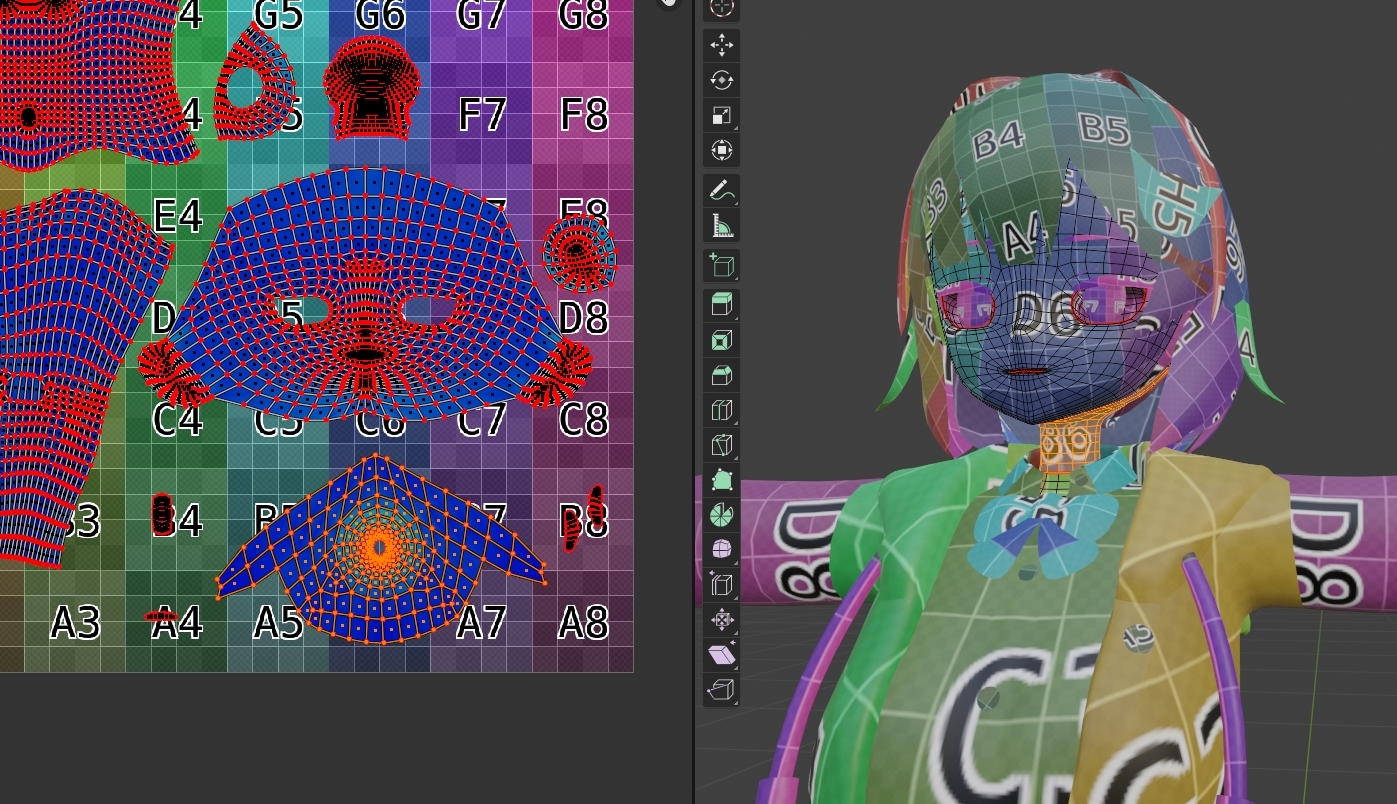
Switching to Texture Paint Mode
- Select the object you want to paint.
- Select "Texture Paint" from the mode menu at the top left, or use
Ctrl+Tabto access the pie menu. - Upon entering Texture Paint mode, various brush tools appear on the left.
Brush Basic Settings
Brushes used in Texture Paint are more painterly tools compared to Sculpt Mode brushes.
| Brush Type | Purpose |
|---|---|
| Draw | Basic paint brush. Apply color like using a regular "brush." |
| Smooth | Blends and smooths colors. Hold Shift while using the Draw brush to temporarily activate Smooth. |
| Clone | Copies and paints color from another location. Ctrl + click to specify the source. |
| Stamp | Stamps texture images like a stamp. Efficiently adds complex patterns. |
Adjusting Brush Size and Strength
- Size: Adjust by pressing
Fand dragging the mouse. - Strength: Adjust by pressing
Shift+Fand dragging the mouse. Lower strength means higher transparency, with color building up gradually through multiple strokes.
Color Selection and Management
Colors for Texture Paint are selected using Blender's "Color Picker." Click the color swatch in the left toolbar to open the Color Picker.
Eyedropper Tool: To sample a color already painted, hold Ctrl and click to automatically select the color at that position.
Creating and Using Normal Maps
Texture Paint can create more than just "color information." Creating normal maps allows you to express fine surface bumps. Normal maps are special textures containing surface direction information expressed as RGB values. Applying them to material shaders lets you express high detail without actually increasing polygon count.
Creating Normal Maps:
- When texture painting, create the texture as a "Normal Map."
- In the Shader Editor, add a "Normal Map" node to the material and connect the created texture.
- Adjust the Normal Map node's "Strength" to control the bump appearance intensity.
Displacement Maps: Actually Moving Vertices
While normal maps express bumps "visually only," displacement maps actually move mesh vertices to create real bumps. Used when higher realism is needed.
However, for displacement maps to work effectively, the mesh needs sufficient subdivision. It's common to apply a Subdivision Surface modifier to increase polygon count before use.
Alternative Option: Substance Painter
While Blender's Texture Paint feature is quite powerful, if you're looking for more professional texture creation, Substance Painter is worth considering.
Substance Painter is a dedicated texture painting software widely used in the game and film industries. It offers PBR (Physically Based Rendering) optimized workflows, extensive smart materials, and efficient workflows using masks and generators, making it the industry standard in professional environments.
When Blender's Texture Paint is suitable:
- Hobbyist or learning projects
- Simple texture touch-ups
- When avoiding additional costs
When Substance Painter is suitable:
- Commercial projects for games or film
- Complex PBR material creation
- High-volume asset production requiring efficiency
It's recommended to learn the basics in Blender first, then step up to Substance Painter as needed.
Summary
Texture Paint is an important step that breathes "life" into your models.
- Preparation: Proper UV unwrapping is a prerequisite.
- Basic Brushes: Use four brushes—"Draw," "Smooth," "Clone," and "Stamp."
- Normal Maps: Express high detail without increasing polygon count.
- Displacement: More advanced bump expression that actually moves vertices.
Start with simple color painting and gradually progress to advanced techniques like normal maps. Through repeated practice, you'll develop a feel for painting and be able to create more natural, convincing textures.