I run several NAS (Network Attached Storage) units to manage the massive amounts of data from video production and game development. Being able to instantly share assets between multiple PCs over the network is incredibly convenient.
One of my older units, the Synology NAS DS218play, recently started having its fan stop periodically, so I purchased a spare part and replaced it. Here's a record of the process.
NAS Unit + Spare Parts
- NAS unit: Synology NAS Kit 2-Bay DS218play Quad-Core CPU 1GB RAM - Amazon
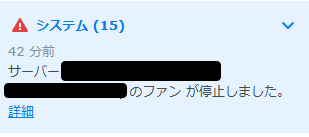
- Spare fan: Synology Spare Parts - Replacement Fan FAN_92x92x25_1 (92mm fan, 25mm thick)
The Problem: Fan Repeatedly Stopping and Restarting
The issue was that the fan would stop a short while after powering on the Synology NAS, then restart after a few seconds, only to stop again -- repeating this cycle. Warnings like the following were being sent every few minutes:
Cleaning the fan didn't resolve the issue, so I purchased a spare part.
Replacing with the Spare Part
The spare fan arrived. I purchased it from the official Synology seller on Amazon.
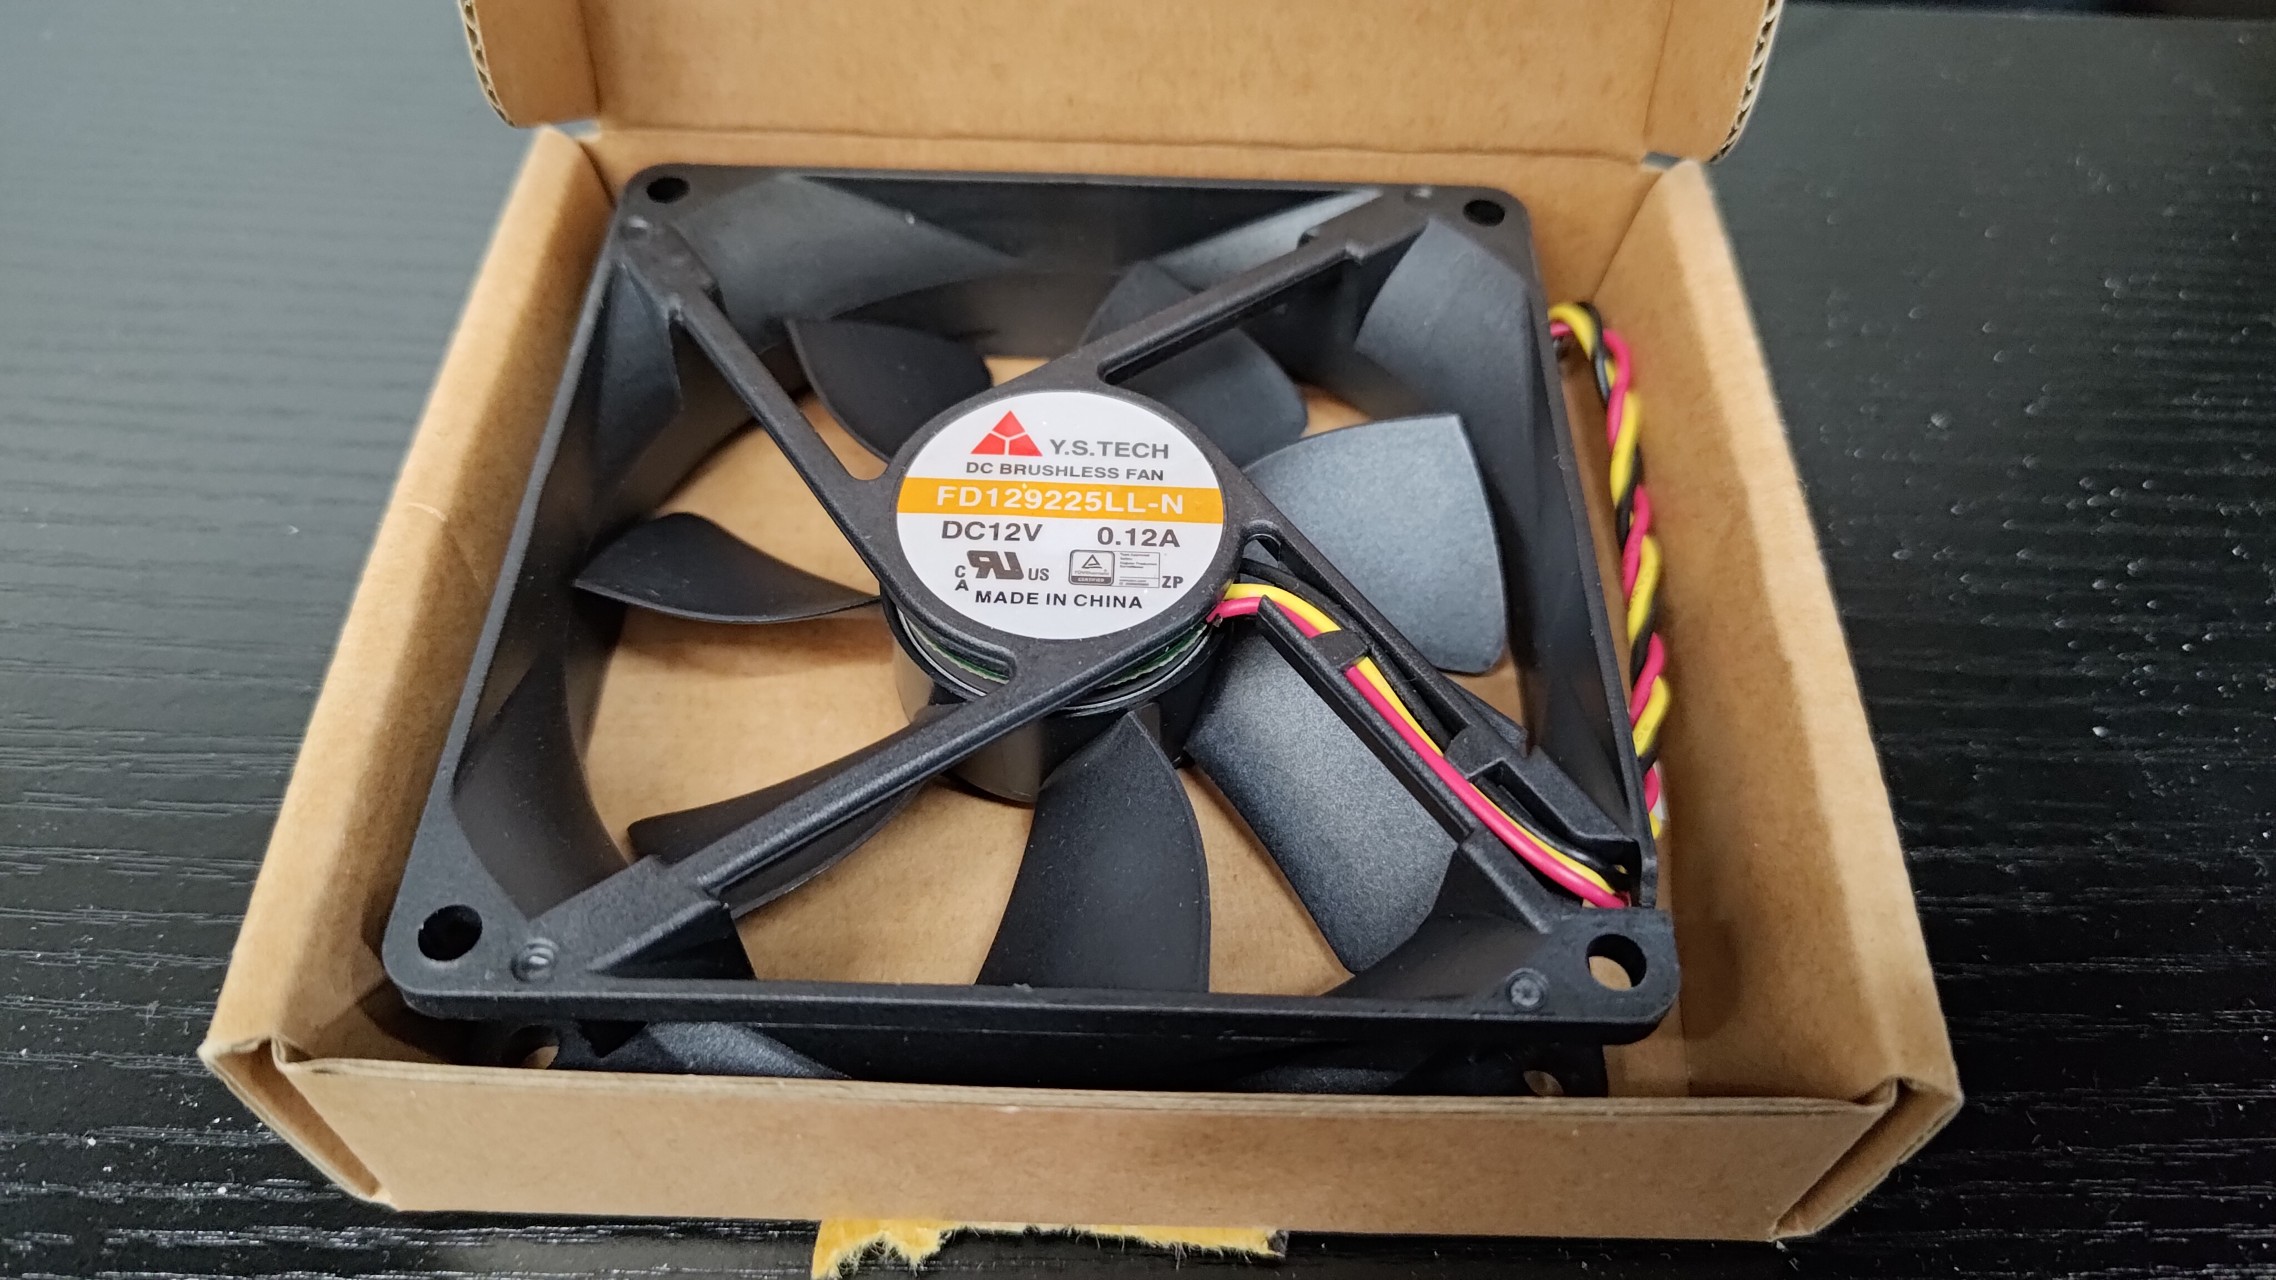
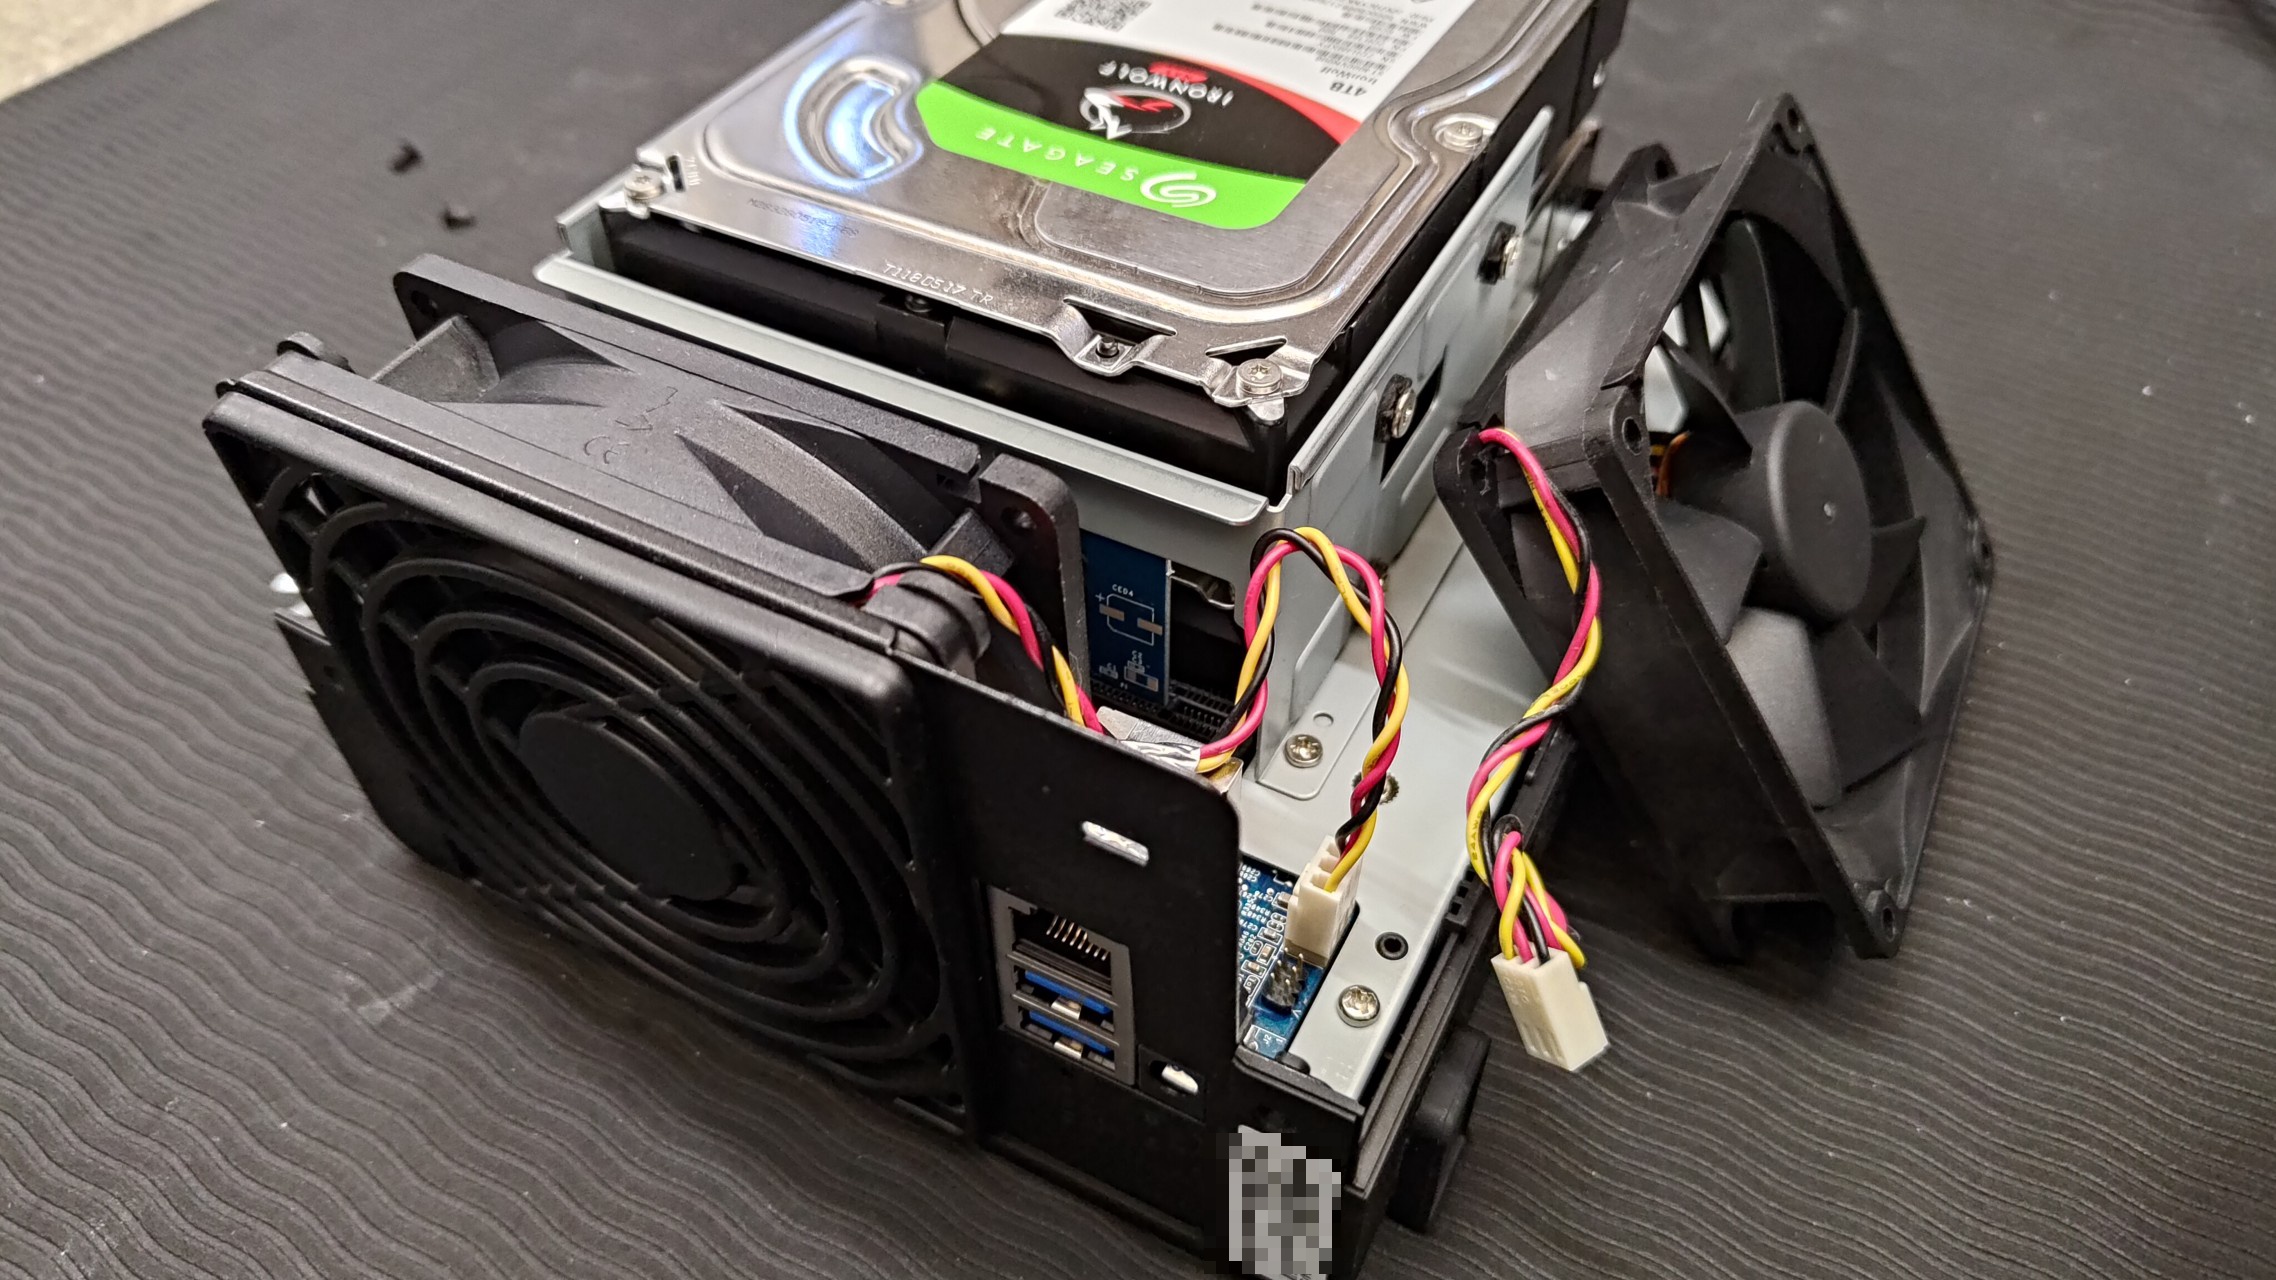
Remove the screws from the Synology NAS.

The fan area has a very simple structure. Disconnect the power cable and peel off the silver label.
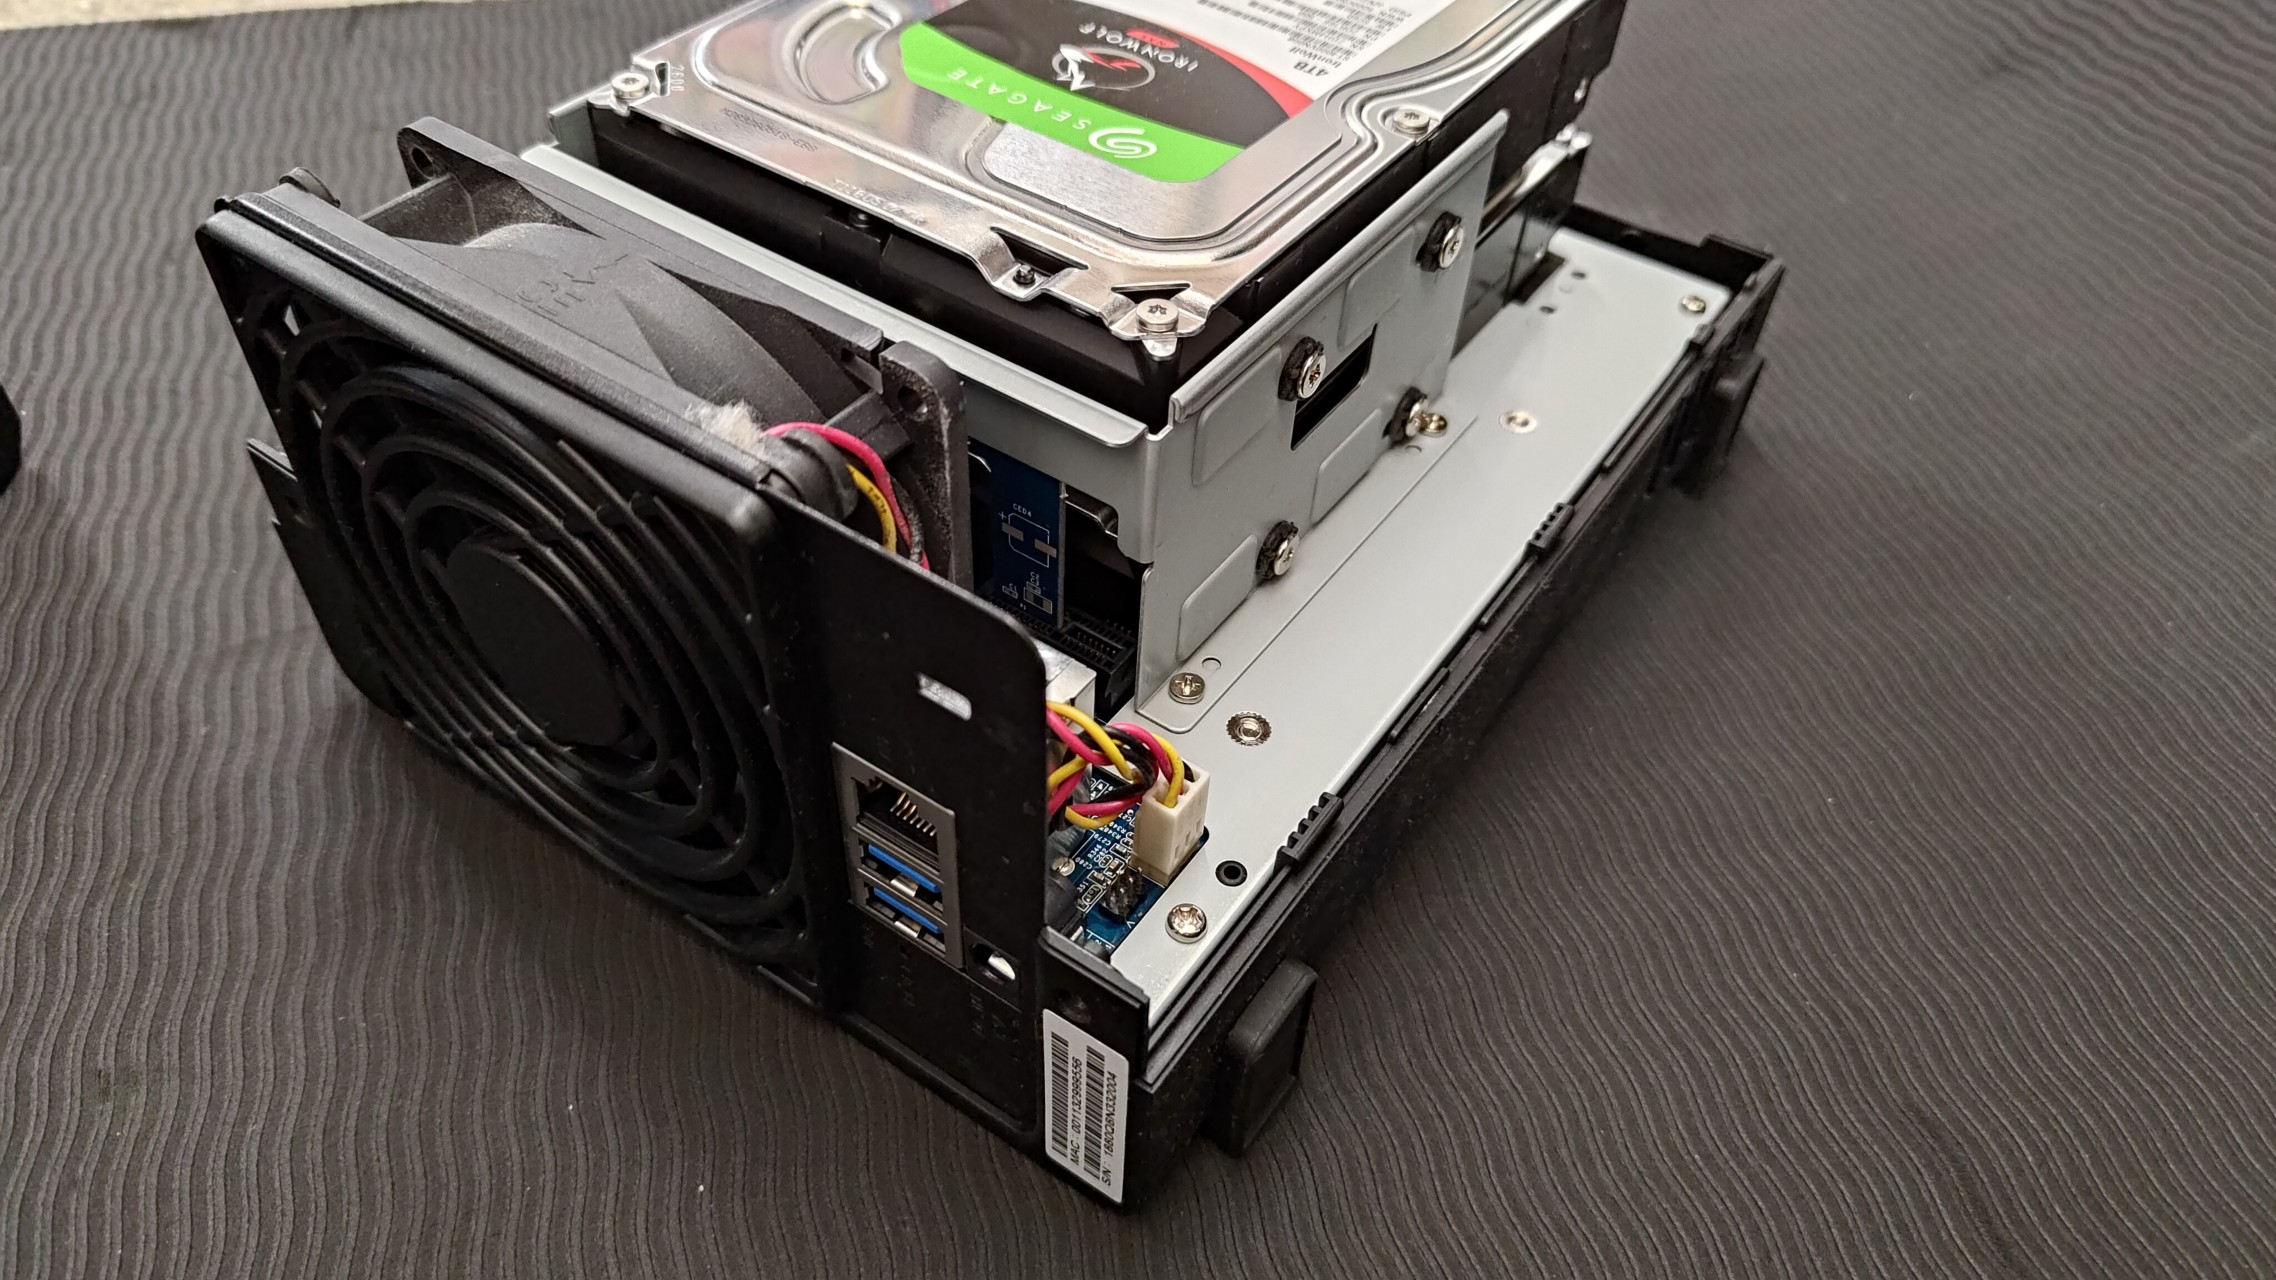
The fan mounting method varies by Synology NAS model.
For example, the DS218 has the fan secured with screws from the back, but the DS218play uses rubber grommets on the inside like this.
I couldn't find a system maintenance page specifically for the DS218play, but you can check the replacement procedure for the DS223j at the link below. The process is nearly identical for the DS218play.
DS223j Product Manual 4.1 Replacing a Failed Fan - Synology Knowledge Center

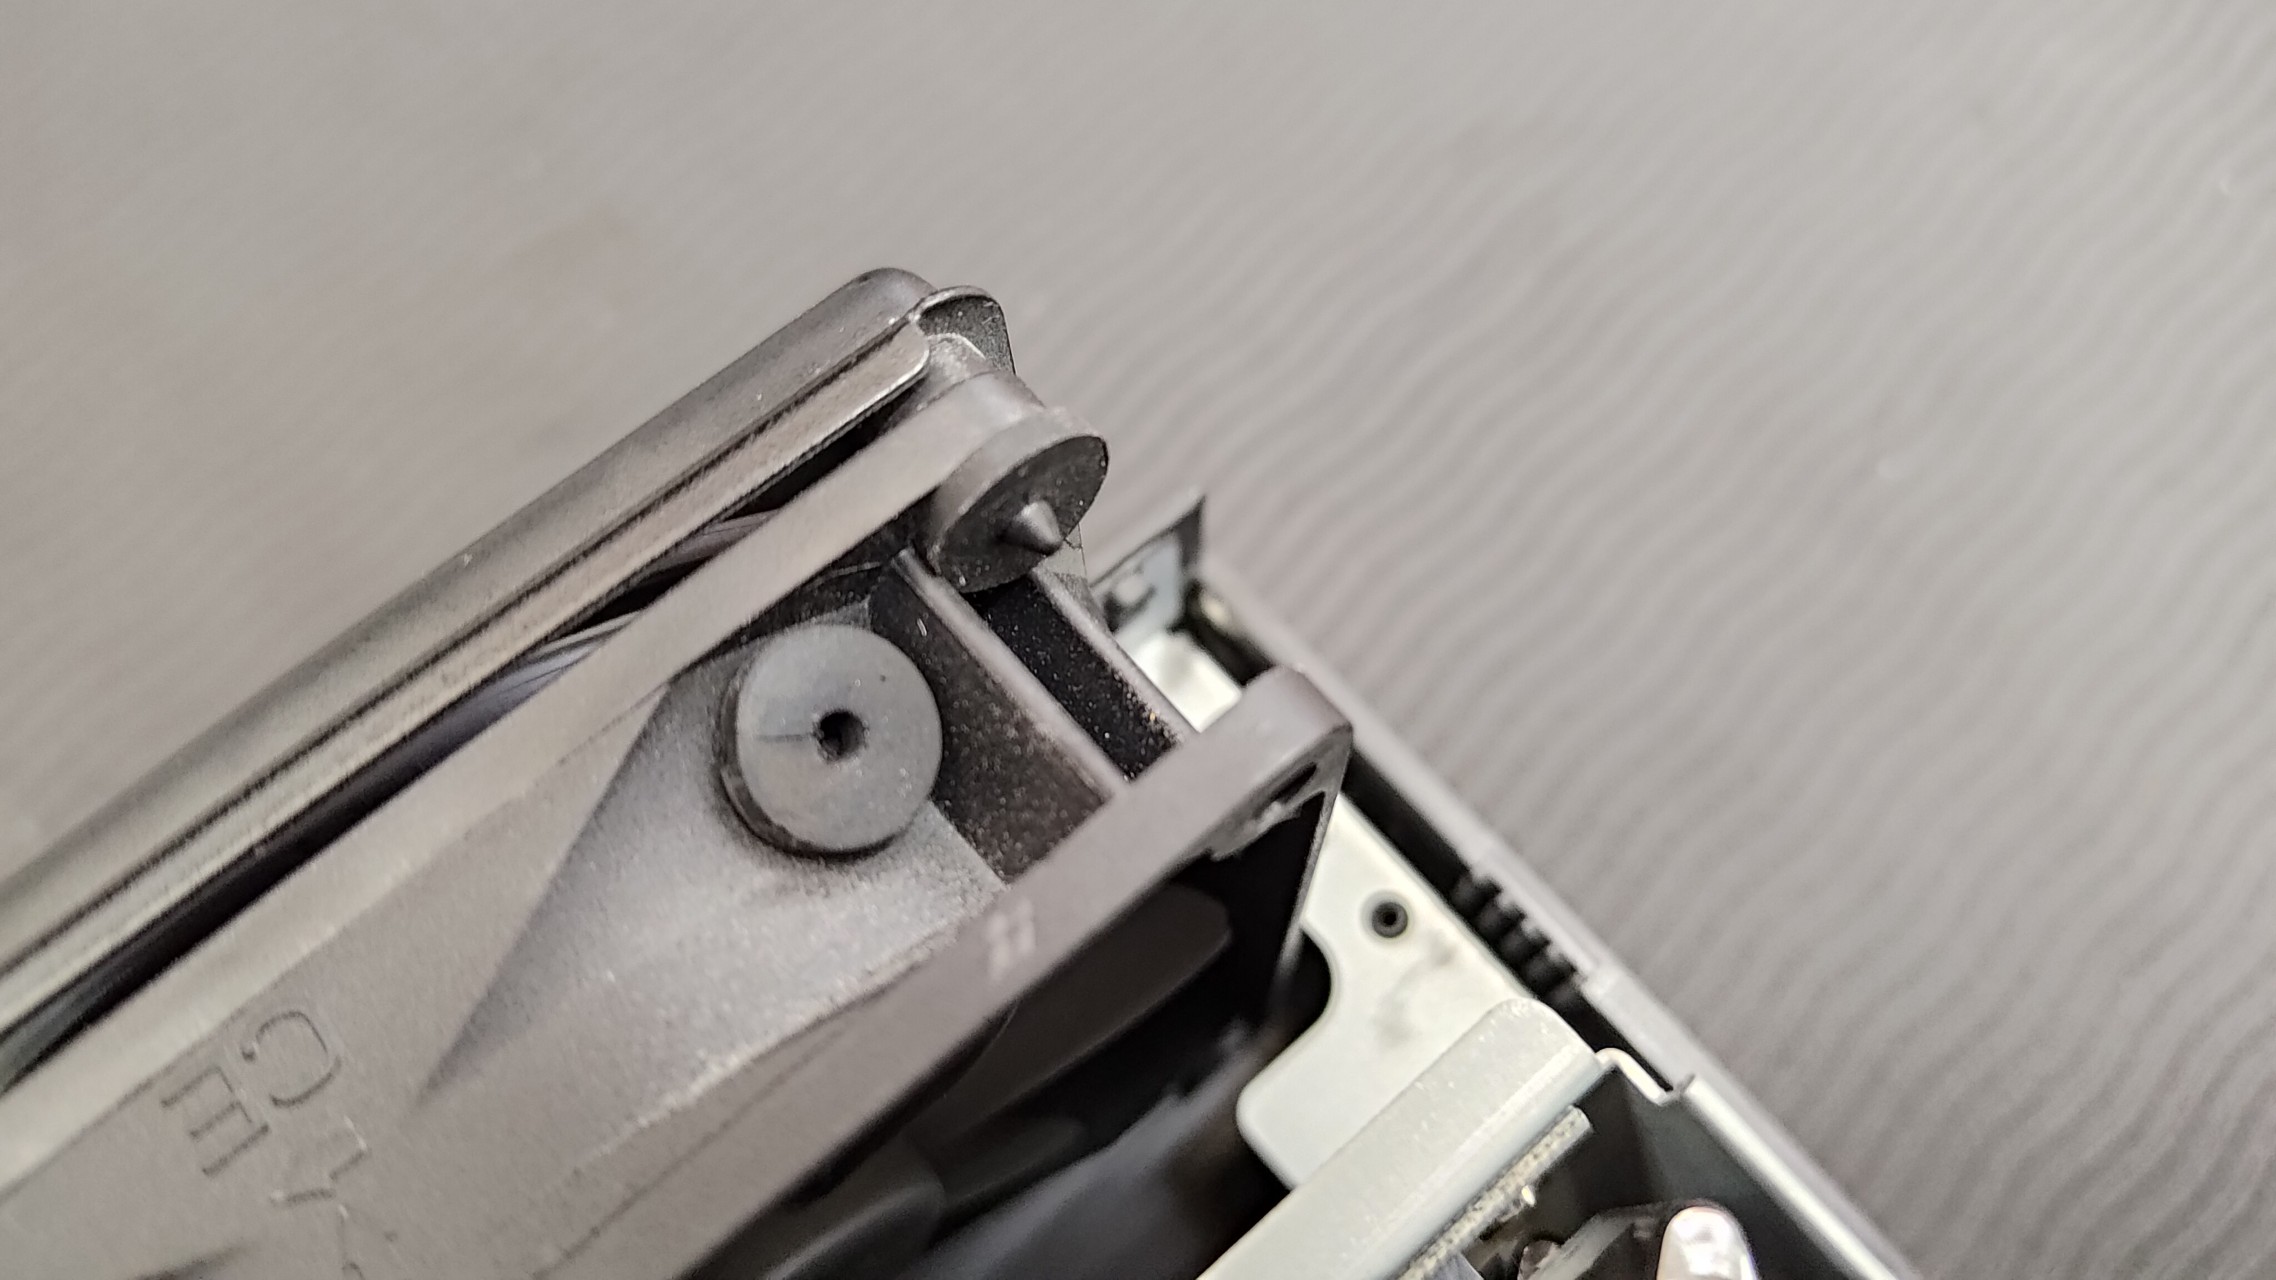
Remove the four screws on the bottom of the NAS, then remove the rubber grommets in the lower area that are out of finger reach, and swap in the spare fan.
Installation complete. The fan is now running normally again.