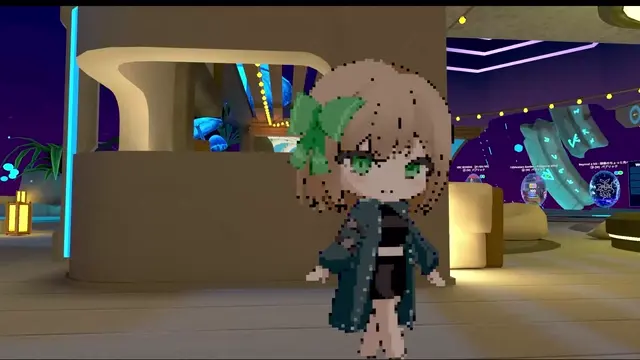
Starting around February 2025, you may have noticed a growing number of "Punipuni Avatars" in VRChat -- avatars that look like 2D illustrations brought to life.
The trend was kicked off by rio3d's "[3D Model] #PunipuniAvatar NagiChan" released on Booth. By using this avatar as a base, you can make your own illustrations move around in VRChat's 3D world.
It's a delightful concept -- like Paper Mario, where a flat character walks through a three-dimensional space.
This guide walks you through how to replace the artwork in "#PunipuniAvatar NagiChan" with your own illustrations to create an original Punipuni Avatar.
What you'll need:
- [3D Model] #PunipuniAvatar NagiChan (Purchase on Booth)
- Unity + VRChat Creator Companion (VCC) environment set up
- Your own illustrations in the specified format (4 images, details below)
The process is simple:
- Import "#PunipuniAvatar NagiChan" into your Unity project
- Replace the avatar's illustrations (textures) with your own
- Upload to VRChat
That's all it takes to get your character moving in VRChat. Let's walk through the detailed steps.
Step 1: Importing the Punipuni Avatar into Unity
First, drag and drop the .unitypackage file included in the "#PunipuniAvatar NagiChan" folder (purchased from Booth) into the Assets window of your VRChat project.
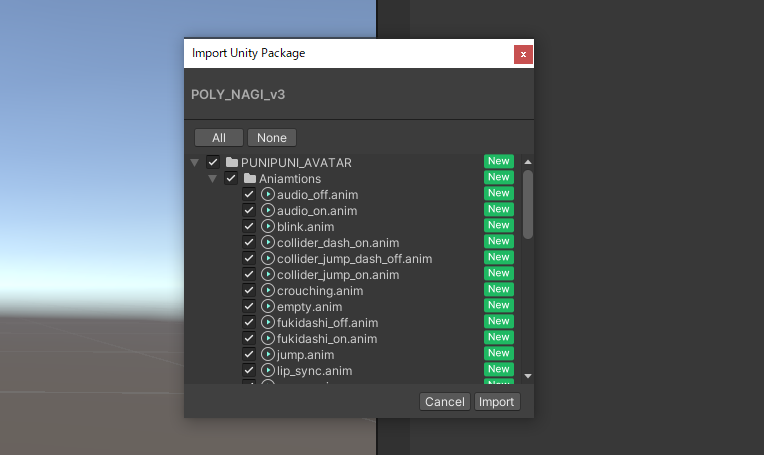
Once the import is complete, find the Prefab named "PUNI" inside the Assets/PUNIPUNI_AVATAR folder in the Project window, and drag it into the Hierarchy window (scene).

At this point, if you follow the VRChat Creator Companion (VCC) upload process, you can use the original "NagiChan" Punipuni Avatar as-is.
Step 2: Easy! Replacing the Punipuni Avatar's Illustrations
Now for the main event -- the actual customization. The Punipuni Avatar's appearance and animations are controlled by four PNG images (textures). Simply replacing these images with your own illustrations creates an original avatar.
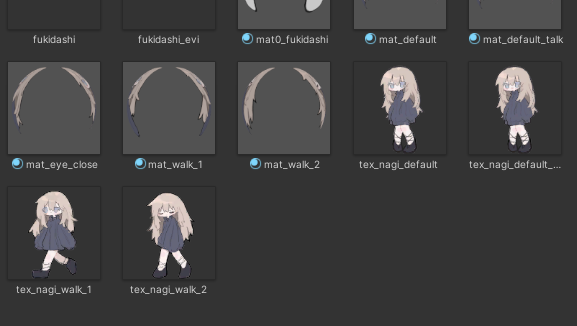
These images are located in the Assets/PUNIPUNI_AVATAR/Materials folder of your Unity project:
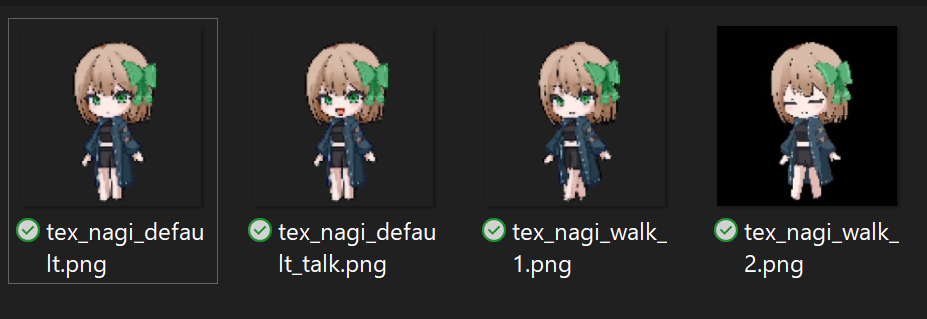
tex_nagi_default.png: The illustration for the default state (standing/idle)tex_nagi_default_talk.png: The illustration for lip sync (talking)tex_nagi_walk_1.png: Walking animation frame 1tex_nagi_walk_2.png: Walking animation frame 2
In VRChat, the default image is shown while standing, talk when speaking, and walk_1 and walk_2 alternate when walking to create an animation effect.
Unlike typical 3D avatar customization, no complex positioning adjustments are needed. The simplest approach is to prepare your own illustrations with the exact same filenames as the four original files, then overwrite the originals. This preserves all internal references while swapping the visuals to your own artwork.
2-1. Preparing Your Replacement Illustrations
First, prepare your own illustrations corresponding to the four states described above. Key points:
- Image size: The original NagiChan images are 3035x3035 pixels. Ideally, create your illustrations at the same size with the character centered. (Different sizes will work but may cause display misalignment.)
- Filename: Use the exact same filenames as the originals (e.g.,
tex_nagi_default.png). - File format: Save as PNG (transparent backgrounds are supported).
I created my illustrations based on a modified version of a Manuka-chan avatar I had previously made. (I gave them a slight pixel-art look using the "Pixel Art Converter" web tool from this blog.)

(From left to right: default, lip sync, walk 1, walk 2)
Rename your four illustrations (drawn or prepared) to match the corresponding original filenames.
2-2. Overwriting the Image Files in Unity
Next, locate the original image files in the Unity editor and overwrite them with your own illustrations.
-
In Unity's Project window, open the
Assets/PUNIPUNI_AVATAR/Materialsfolder. -
Right-click on one of the original NagiChan PNG files (e.g.,
tex_nagi_default.png) and select "Show in Explorer" (or "Reveal in Finder" on Mac). This opens the actual folder where these files are stored.
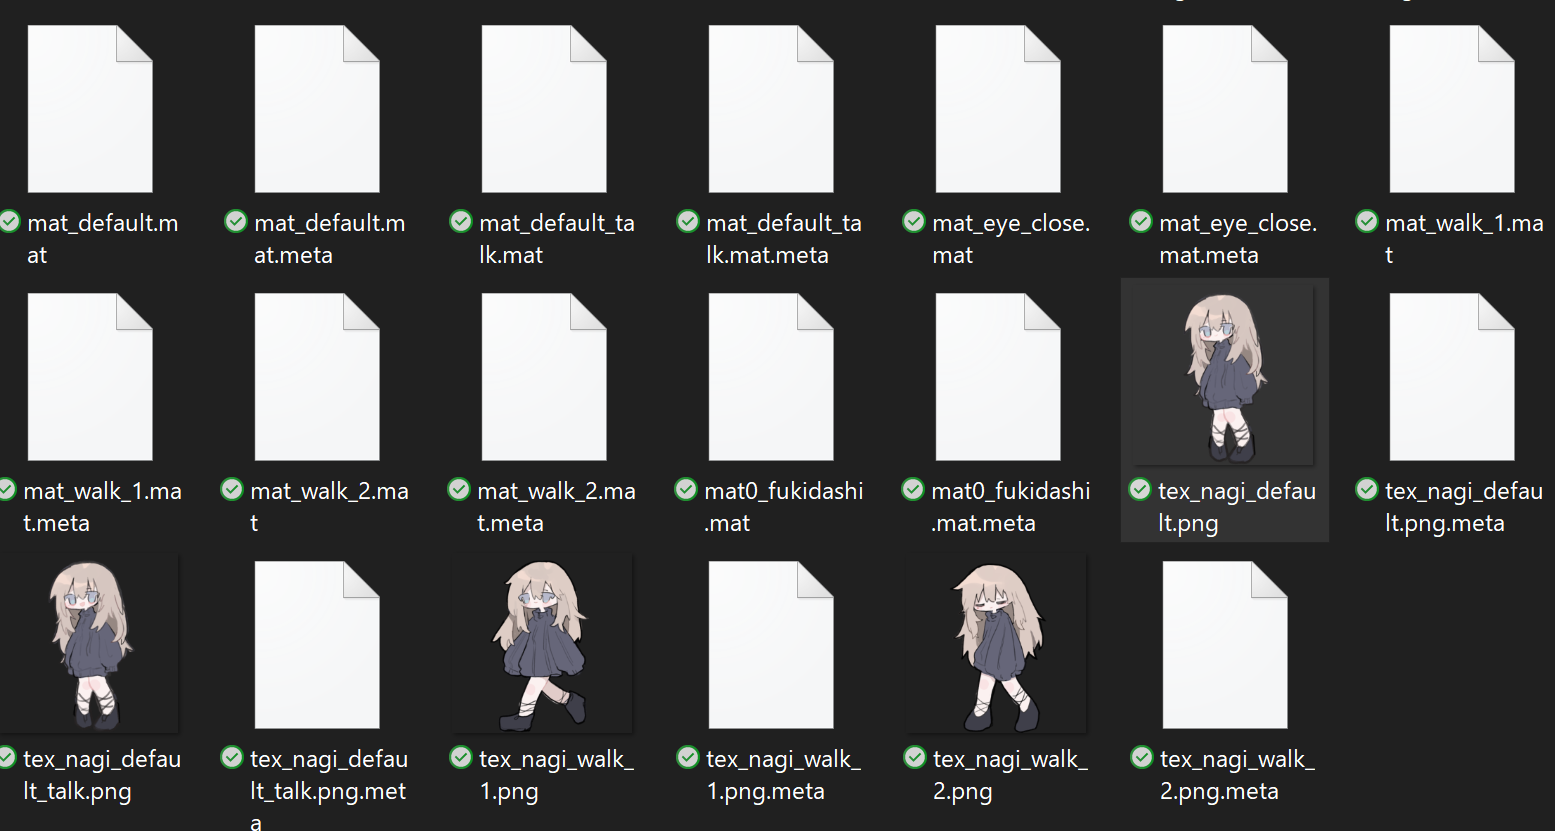
- Copy and paste (or drag and drop) all four of your prepared illustration PNG files into the opened folder.
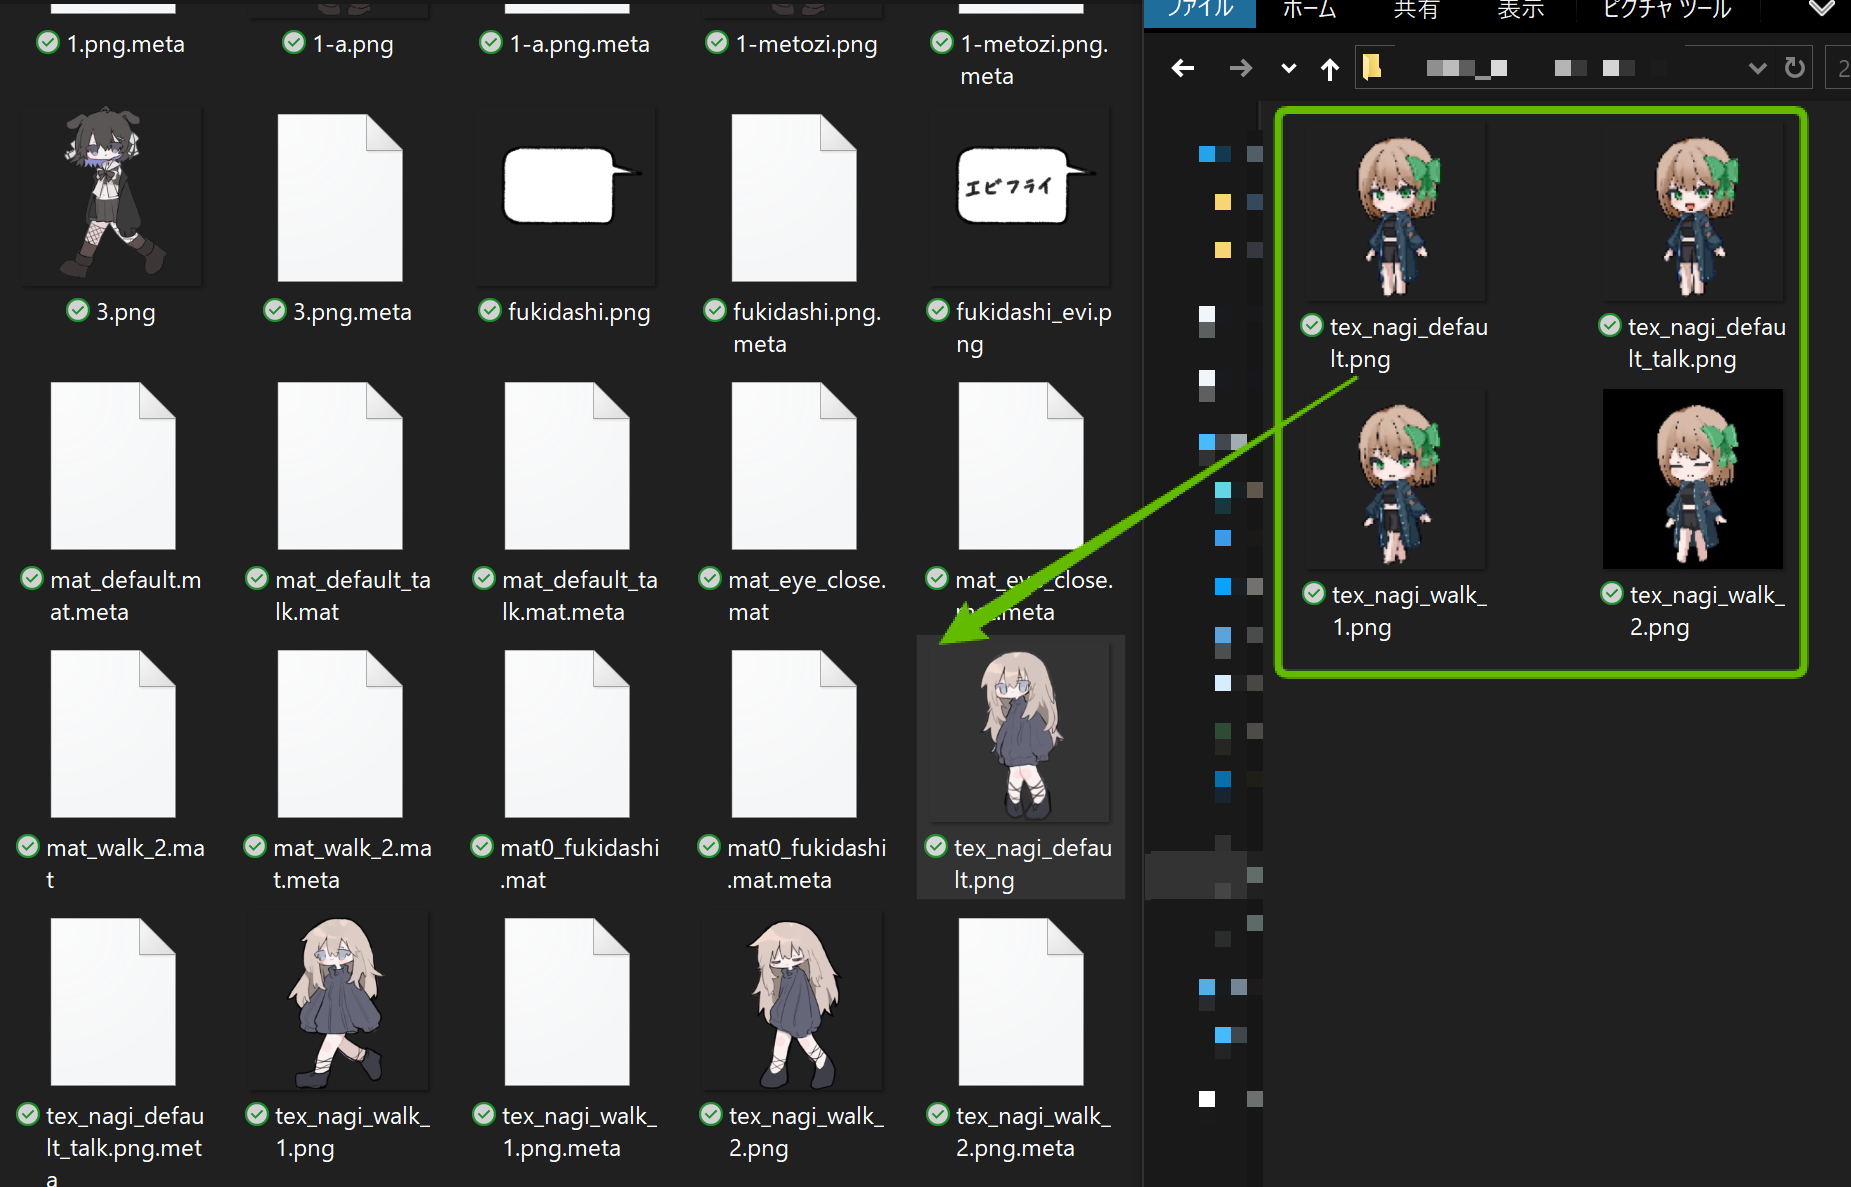
- A warning saying "File already exists" will appear. Select "Replace" to overwrite all four files.

2-3. Verifying in Unity and Uploading to VRChat
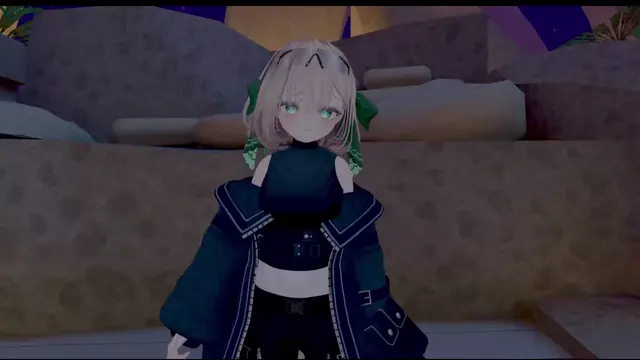
Once the files are overwritten, switch back to the Unity editor. Unity will automatically detect the file changes and run an import process. After a moment, the avatar's appearance in the Project window and Scene view should update to show your illustrations.
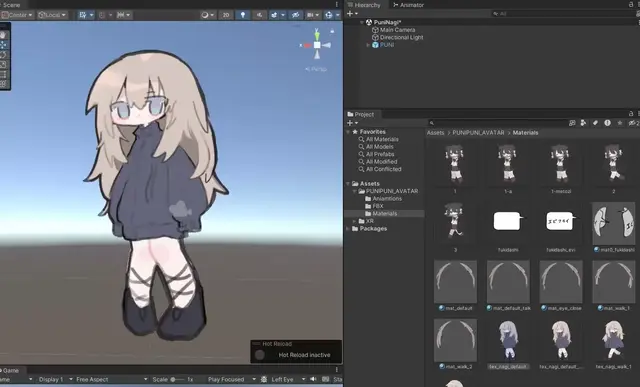
(The avatar now displays my custom illustrations in Unity.)
From here, the process is the same as any standard VRChat avatar upload. Open the VRChat SDK Control Panel and click "Build & Publish for Windows" to upload your avatar.
And that's it -- your original Punipuni Avatar featuring your own illustrations is complete!
Now go ahead and let your character roam the world of VRChat.