Are you interested in VRChat but wondering "How do I get an avatar?" or "Customization sounds complicated..."? Actually, the process of importing and customizing VRChat avatars has become much more straightforward and accessible compared to before.
This article documents my experience as a VRChat beginner purchasing the popular avatar model "Manuka" on Booth and attempting my first avatar customization -- outfit changes, texture color and eye modifications, hairstyle changes, and more.
In particular, the official tool "VCC (VRChat Creator Companion)" has made the avatar uploading process through Unity remarkably simple. I hope this article serves as a helpful reference for anyone looking to start using avatars in VRChat or try their hand at avatar customization.
(I started VRChat avatar customization as part of my 3D modeling learning journey. Here's my planned learning path:)
- Basic customization of existing purchased avatars (outfit changes, color modifications, simple gimmicks, etc.) -- The focus of this article
- Importing VRoid Studio-created models into VRChat (practicing texture creation, etc.)
- Full-scratch model creation in Blender (ultimate goal)
This time, I'll share a detailed account of Step 1 -- the experience, procedures, and stumbling blocks I encountered.
Purchasing and Importing Manuka
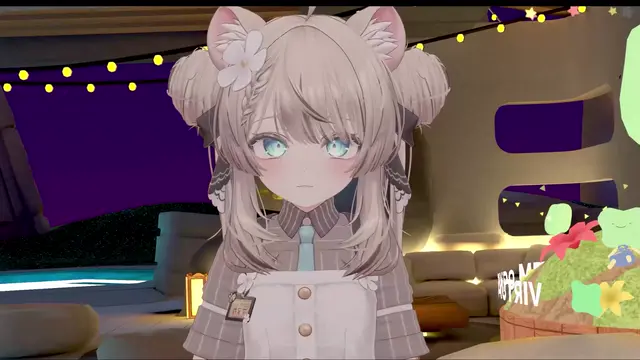
For my first avatar customization base, I chose the hugely popular 3D model "Manuka," created and sold by Studio DINGO.
I happened to be looking for an avatar right when the creator was running a Black Friday sale (50% OFF!) on X (formerly Twitter), which sealed the deal. As expected from such a popular model, the quality is excellent and she's adorable!
[Tips] Sales on Booth: Booth, where many VRChat avatars and outfits are sold, occasionally has individual creator sales. If you find a model you like, following the creator's X account might help you catch special deals.
For the avatar import process (importing into Unity and uploading to VRChat), this article from "Metacul Frontier" was extremely helpful. It features detailed explanations with screenshots, making it a great starting point for beginners.
VCC (VRChat Creator Companion) is Incredibly Convenient!
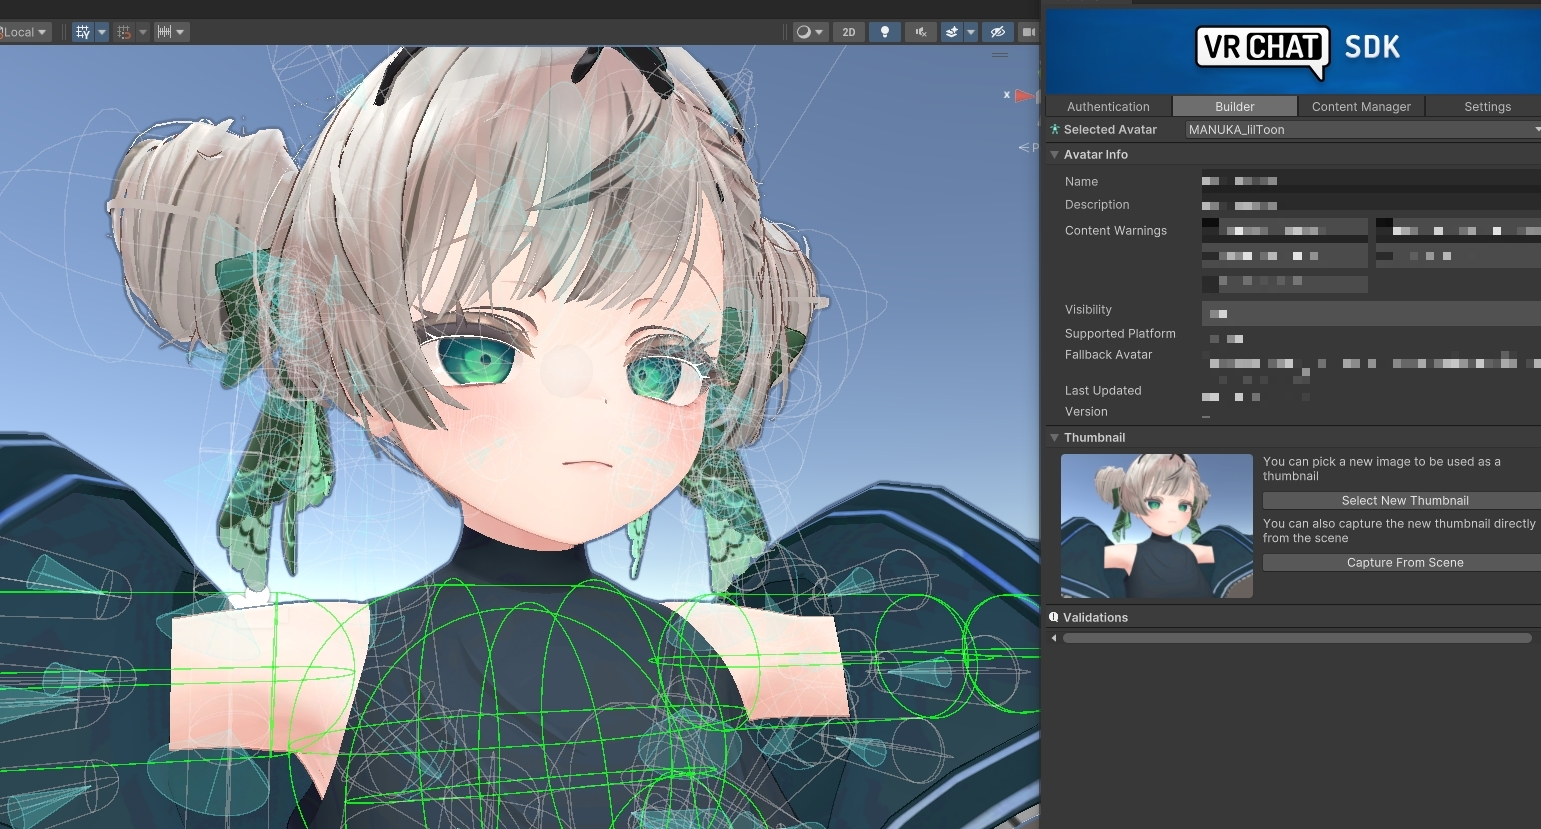
What impressed me most during this avatar import was the VRChat official tool "VCC (VRChat Creator Companion)." I remember the Unity setup and VRChat component installation being much more complicated back in 2018, but VCC made it surprisingly easy.
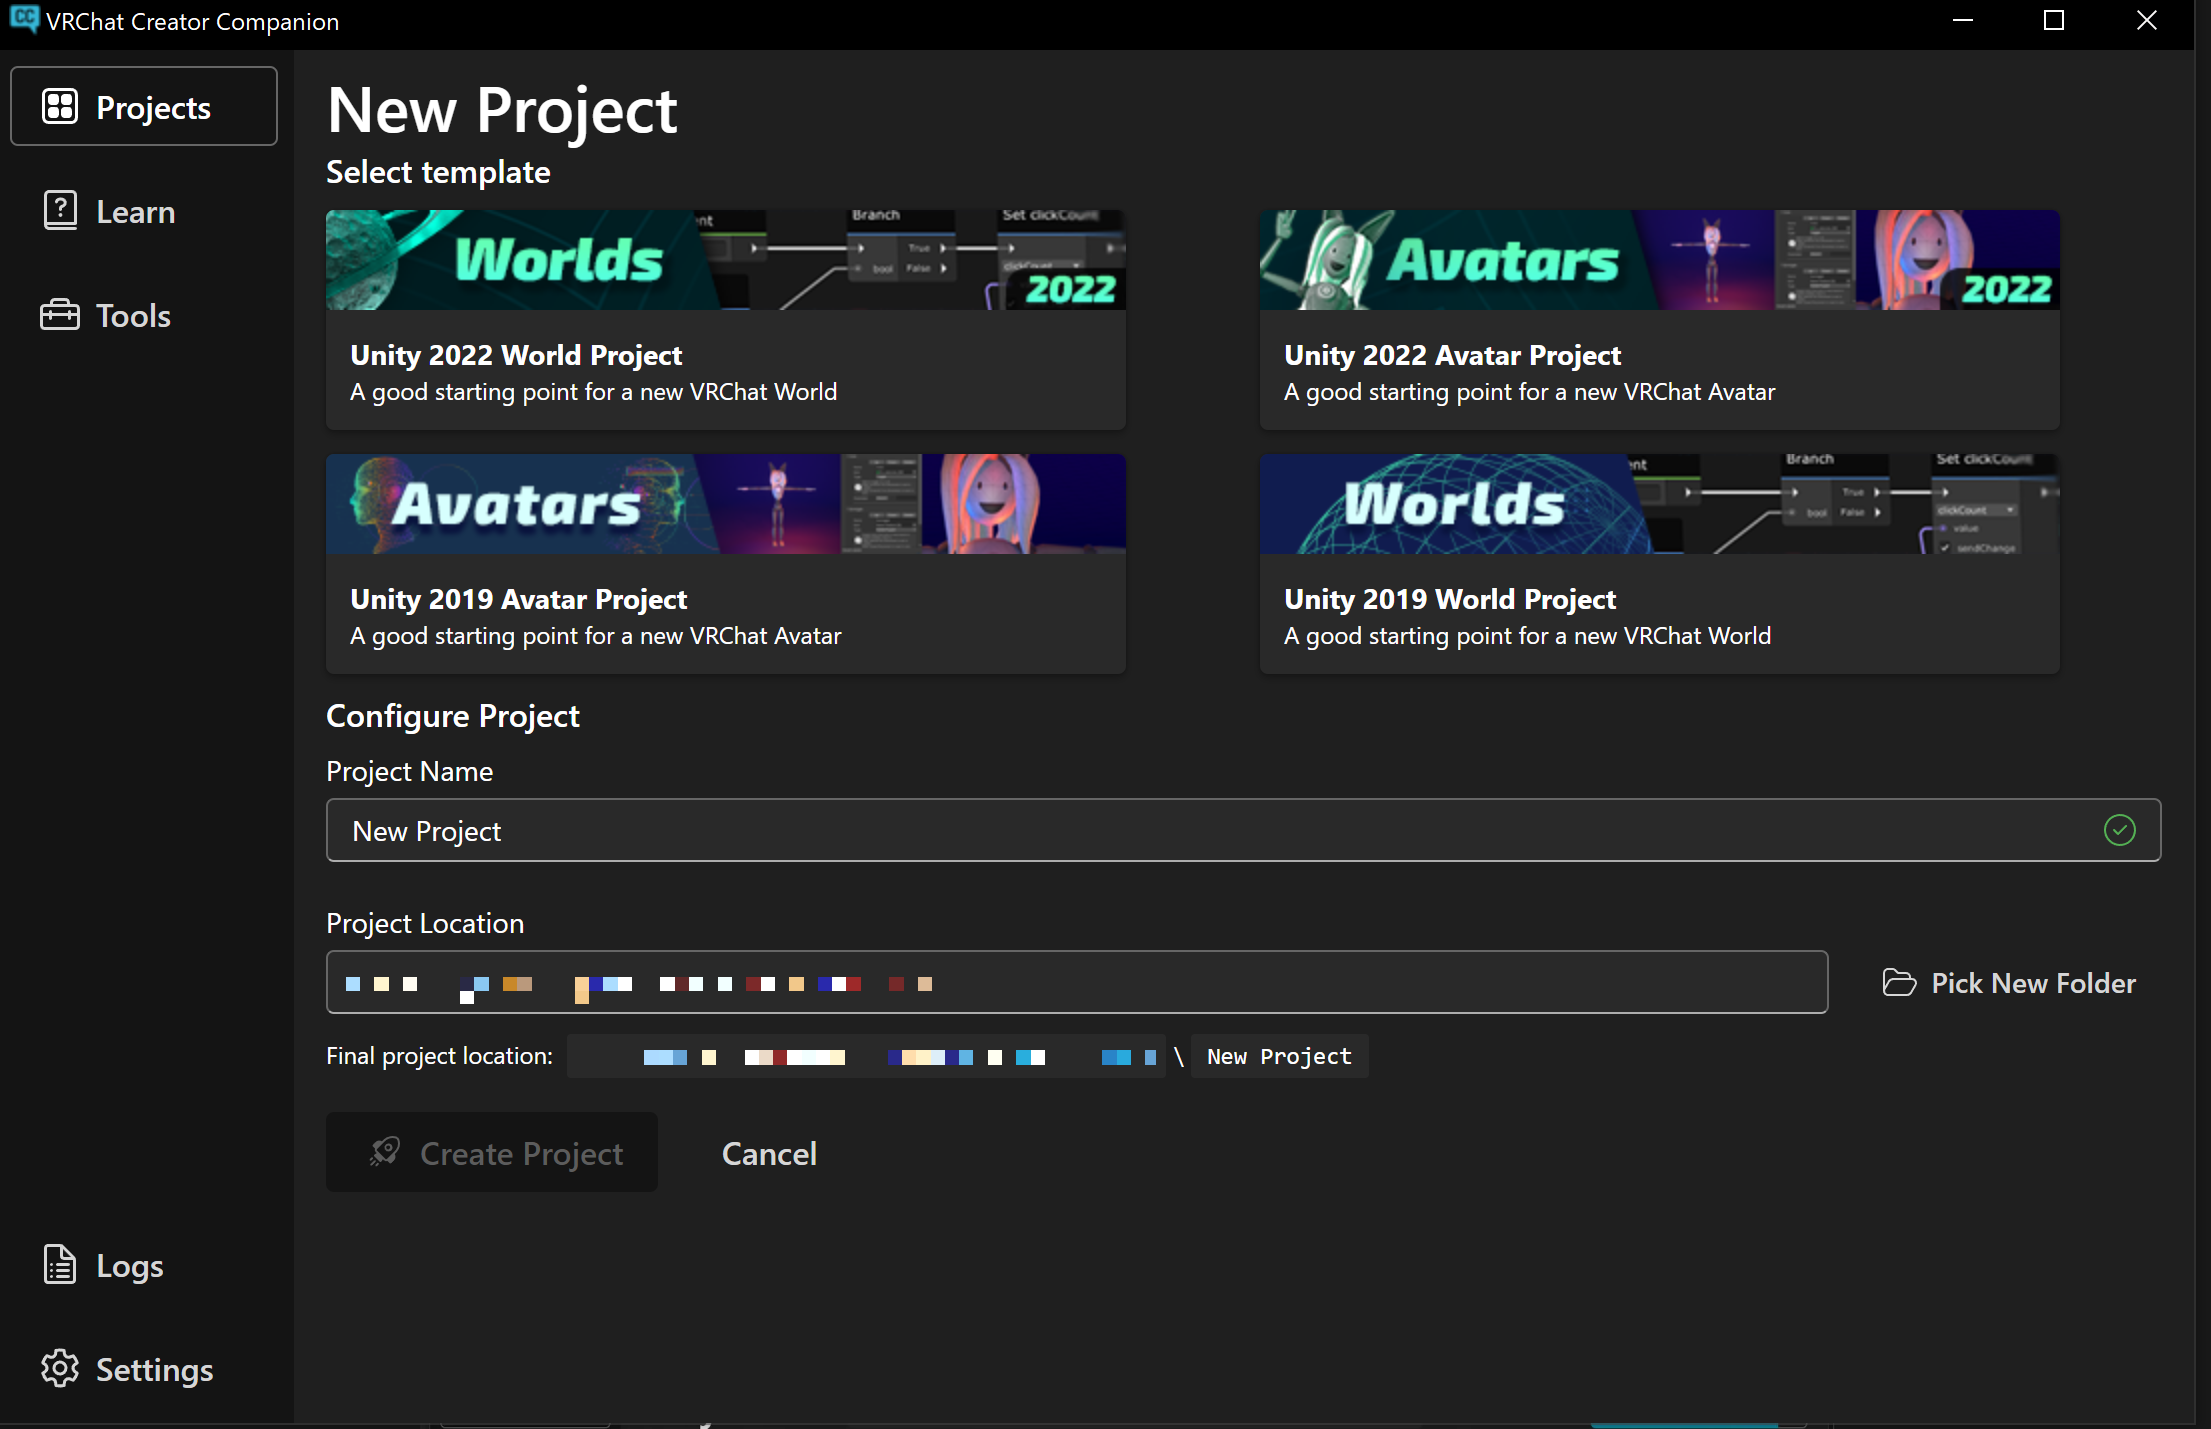
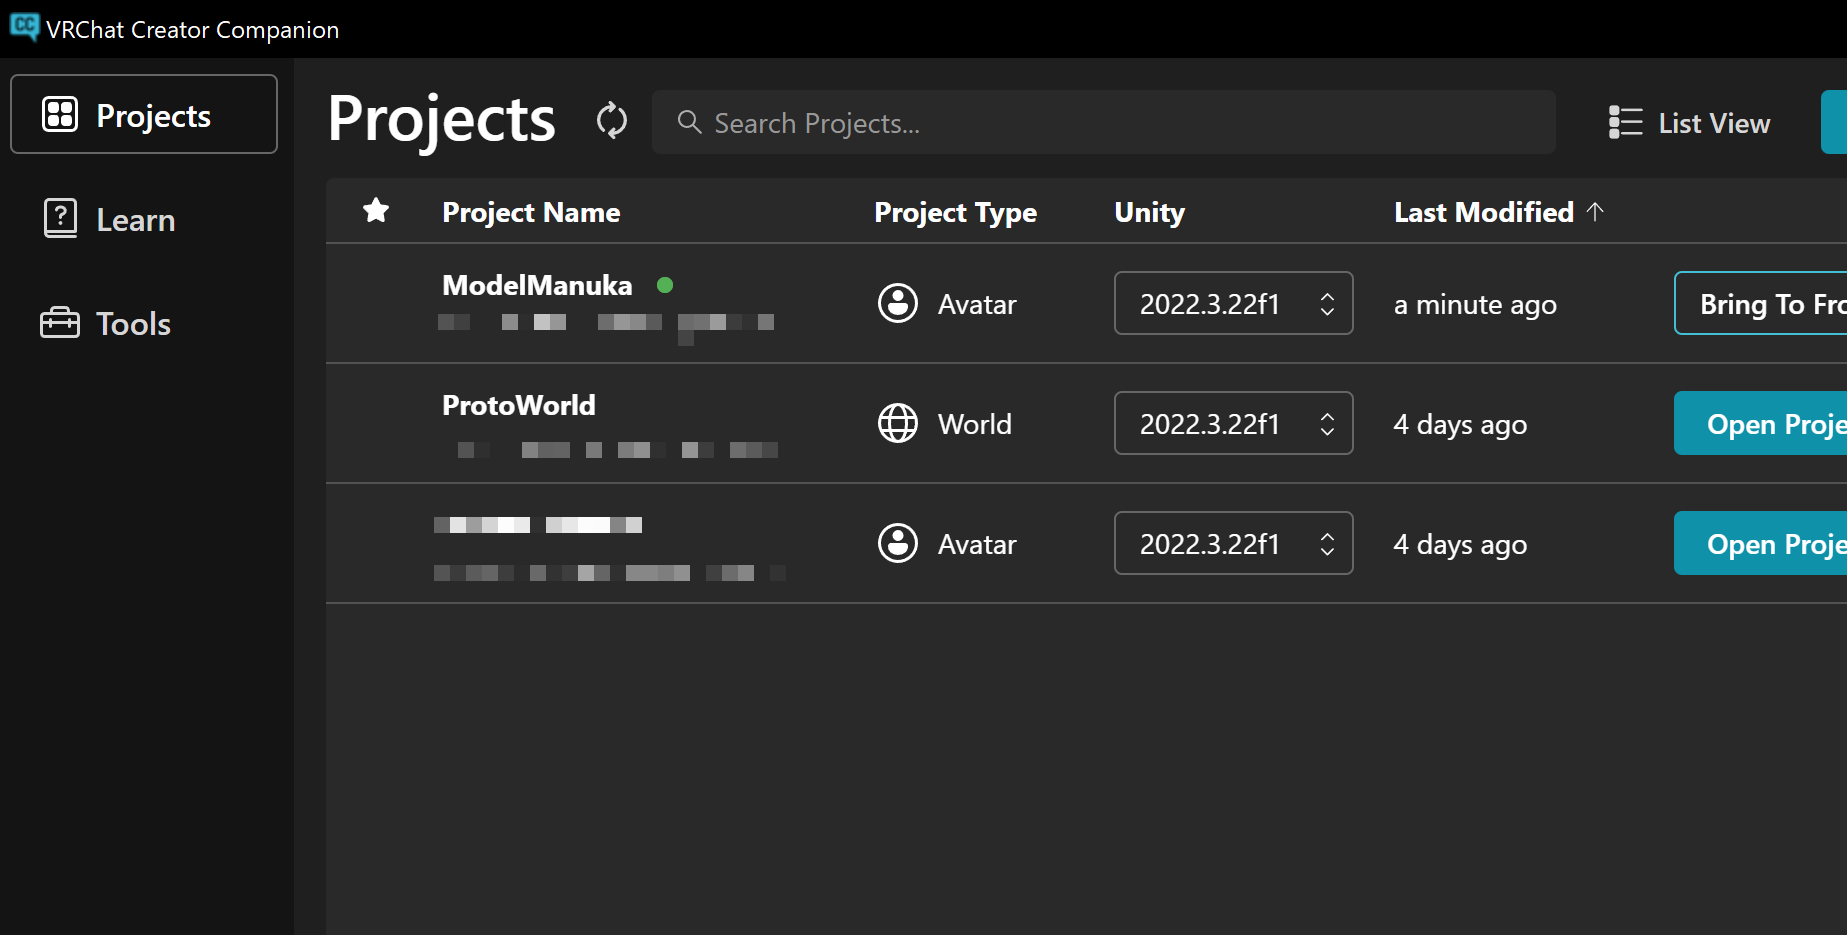
Just select what you want to create (avatar or world) in VCC and create a new project -- everything you need gets automatically set up in a Unity project. It eliminates the hassle of manual configuration through Unity Hub and is incredibly stress-free. The project management screen is also clean and easy to read, making it a tremendous help for beginners.
Outfit Changes
With the avatar imported, it's time for the first step of customization: changing outfits. Normally, third-party outfit assets need fine-tuning in Unity to match the avatar's body shape, but for popular avatars like "Manuka," many creators sell "Manuka-compatible" outfits on Booth that are already optimized for her. This is extremely helpful for beginners.
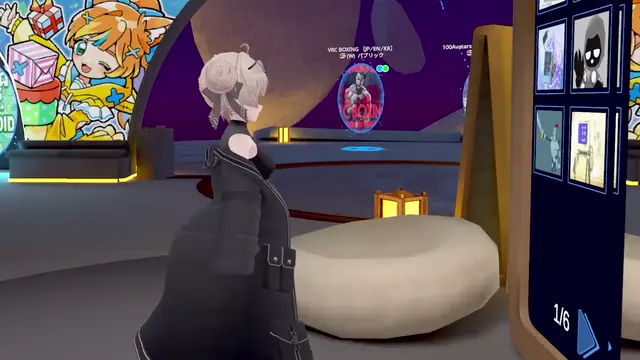
This time, I wanted to shift from the default energetic vibe to something more subdued and mysterious, so I was looking for oversized techwear. That's when I found "Manuka-Compatible Outfit [Tech Wear]" by hajimata General Store.
By sheer coincidence, it was released on the same day I was searching, so I bought it immediately. The design and quality are outstanding!
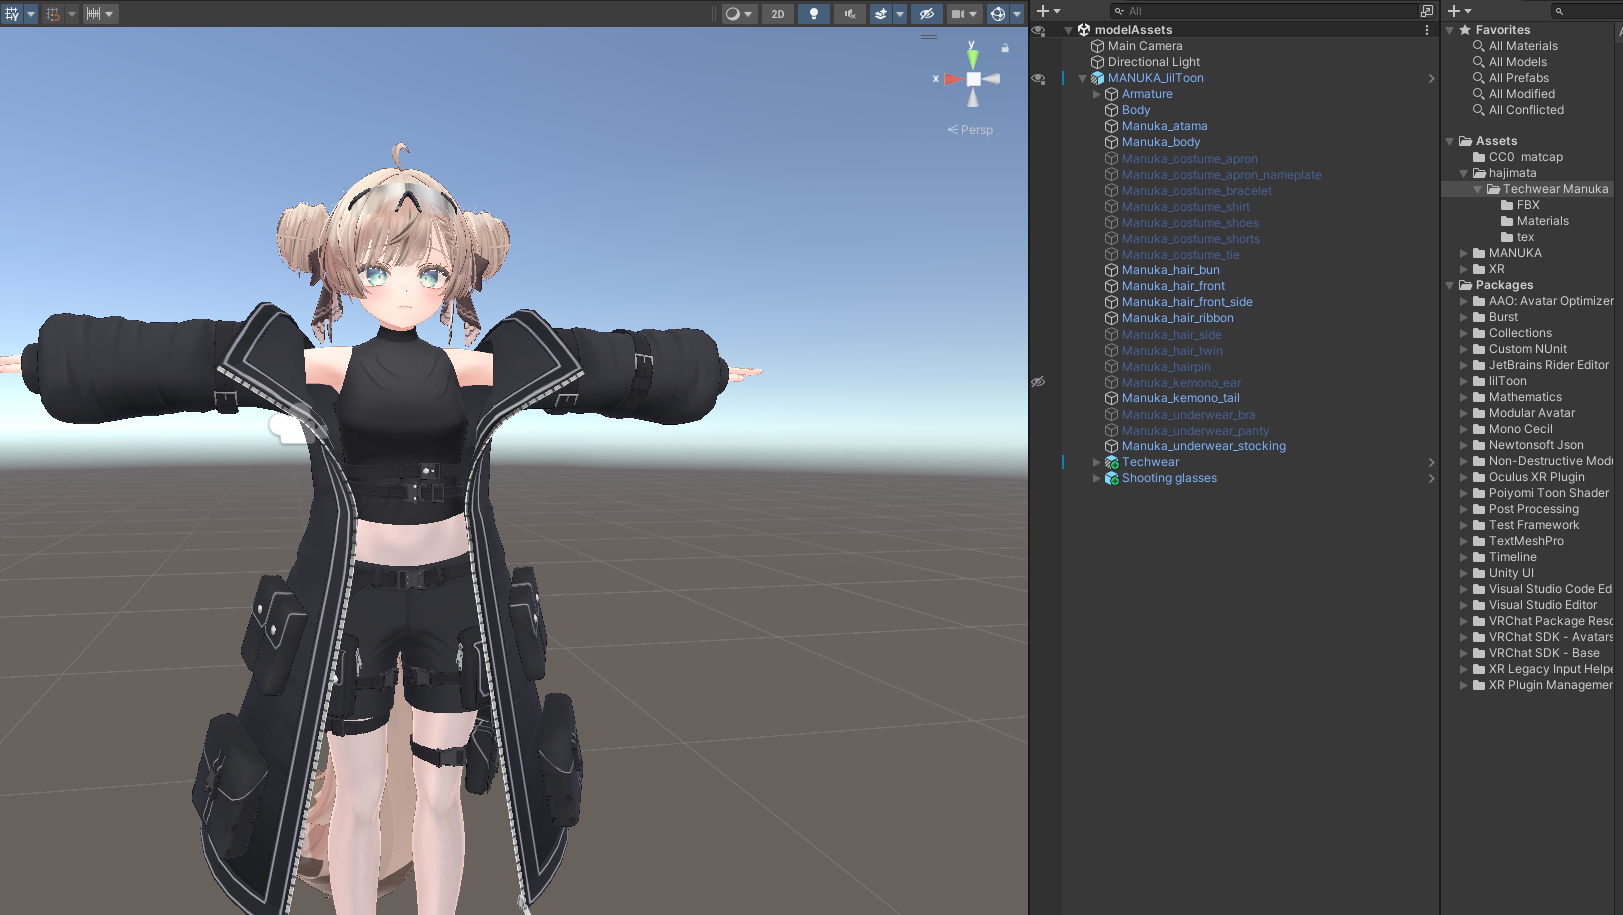
Since it's a "Manuka-compatible" outfit, the import is very straightforward. Basically, you just drag the purchased outfit's Prefab (a pre-configured component set) into the Manuka avatar object in Unity's Hierarchy window. (Hide the original outfit and unnecessary parts. This time, I also hid the animal ears.)
For outfit changing methods, the "Metacul Frontier" article mentioned earlier was also very helpful.
[Pitfall] Accessory Tracking Setup Mistake
I had a small mishap with the placement of the tactical goggles that came with the Tech Wear.
Initially, I placed the goggles Prefab at the same hierarchy level as the outfit body, so the goggles tracked the body's movement but not the head's movement, causing them to clip inside the head.
[Solution] Accessories like goggles that need to follow the head must be placed as a child object of the "Head" bone within the avatar's bone structure (Armature). Specifically, move the goggles Prefab under Armature/Hips/Spine/Chest/Neck/Head. This makes the goggles move with the head.

Understanding the avatar's parent-child relationship (hierarchy structure) is key to properly placing accessories.
Eye and Clothing Color Changes
After the outfit, I modified the eye and clothing colors, which greatly affect the avatar's overall impression.
The easiest way to change eyes is to purchase and swap in eye textures sold on Booth. However, this time I tried directly editing Manuka's original face texture file as practice for future 3D model creation.
[Steps]
- Find the face texture file (.png or .psd, etc.) for Manuka in the Unity project and copy it to a working folder.
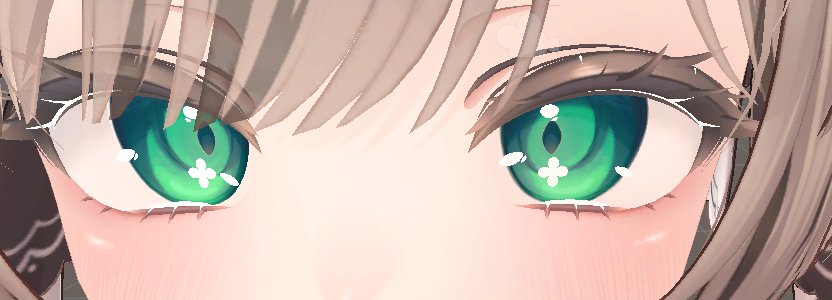
- Open the copied texture file in an image editor like Photoshop or CLIP STUDIO PAINT and redraw the eye area. (This time, I changed the pupil shape and made the color green.)
- Export the edited texture as a PNG file.
- Save the exported PNG file to the same folder as the original texture file in the Unity project, overwriting with the same filename.
When you overwrite the file, Unity automatically detects the change and applies it to the avatar's appearance. Very convenient.
[Pitfall] Highlights Still Showing After Deletion? -- The Shape Key Trap
After updating the eye texture, I encountered a puzzling issue: "Wait, the eye highlights and clover pattern I deleted in the texture editor are still showing...?"
[Cause and Solution] These elements were controlled by "Shape Keys," not by the texture. Shape Keys are a feature that lets you change the shape of specific parts of an avatar using sliders, commonly used for facial expressions (eye blinks, mouth movements) and toggling small decorative details on/off.
In Unity's Inspector window, select the avatar's face or body mesh (Skinned Mesh Renderer) and check the "BlendShapes" (Shape Keys) section. If there's a slider with a name corresponding to the highlights or pattern, adjusting its value removes the display. (In other words, I didn't need to remove them from the texture at all!)
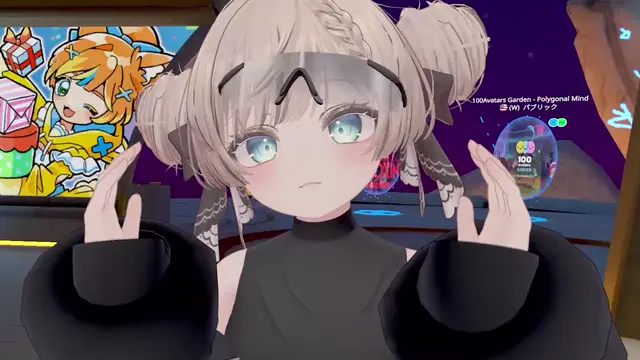
While I was at it, I also adjusted the shape key that slightly lowers the eyelids for a more subdued look. Shape Keys are an incredibly powerful feature for giving your avatar personality.
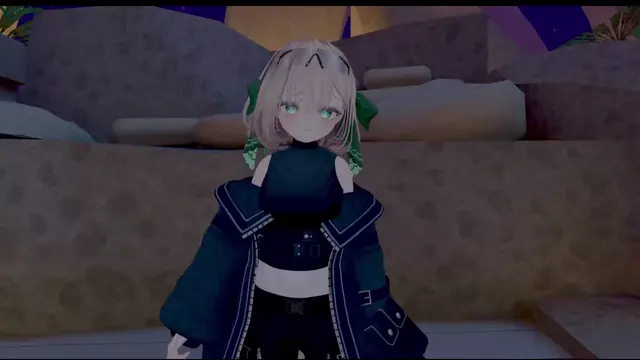
For the clothing color change, I overlaid a navy-colored layer on the original black clothing texture to match the eye color, then used the same overwrite method. For more elaborate customization, you could also draw additional patterns.
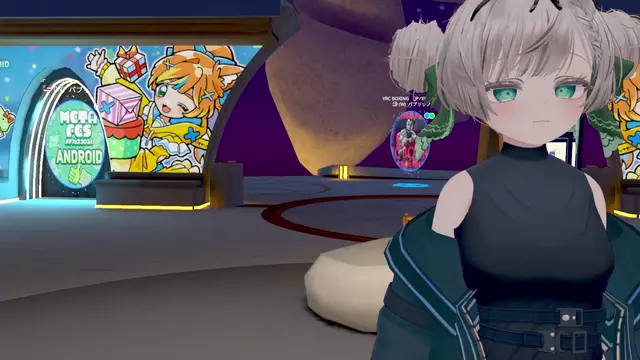
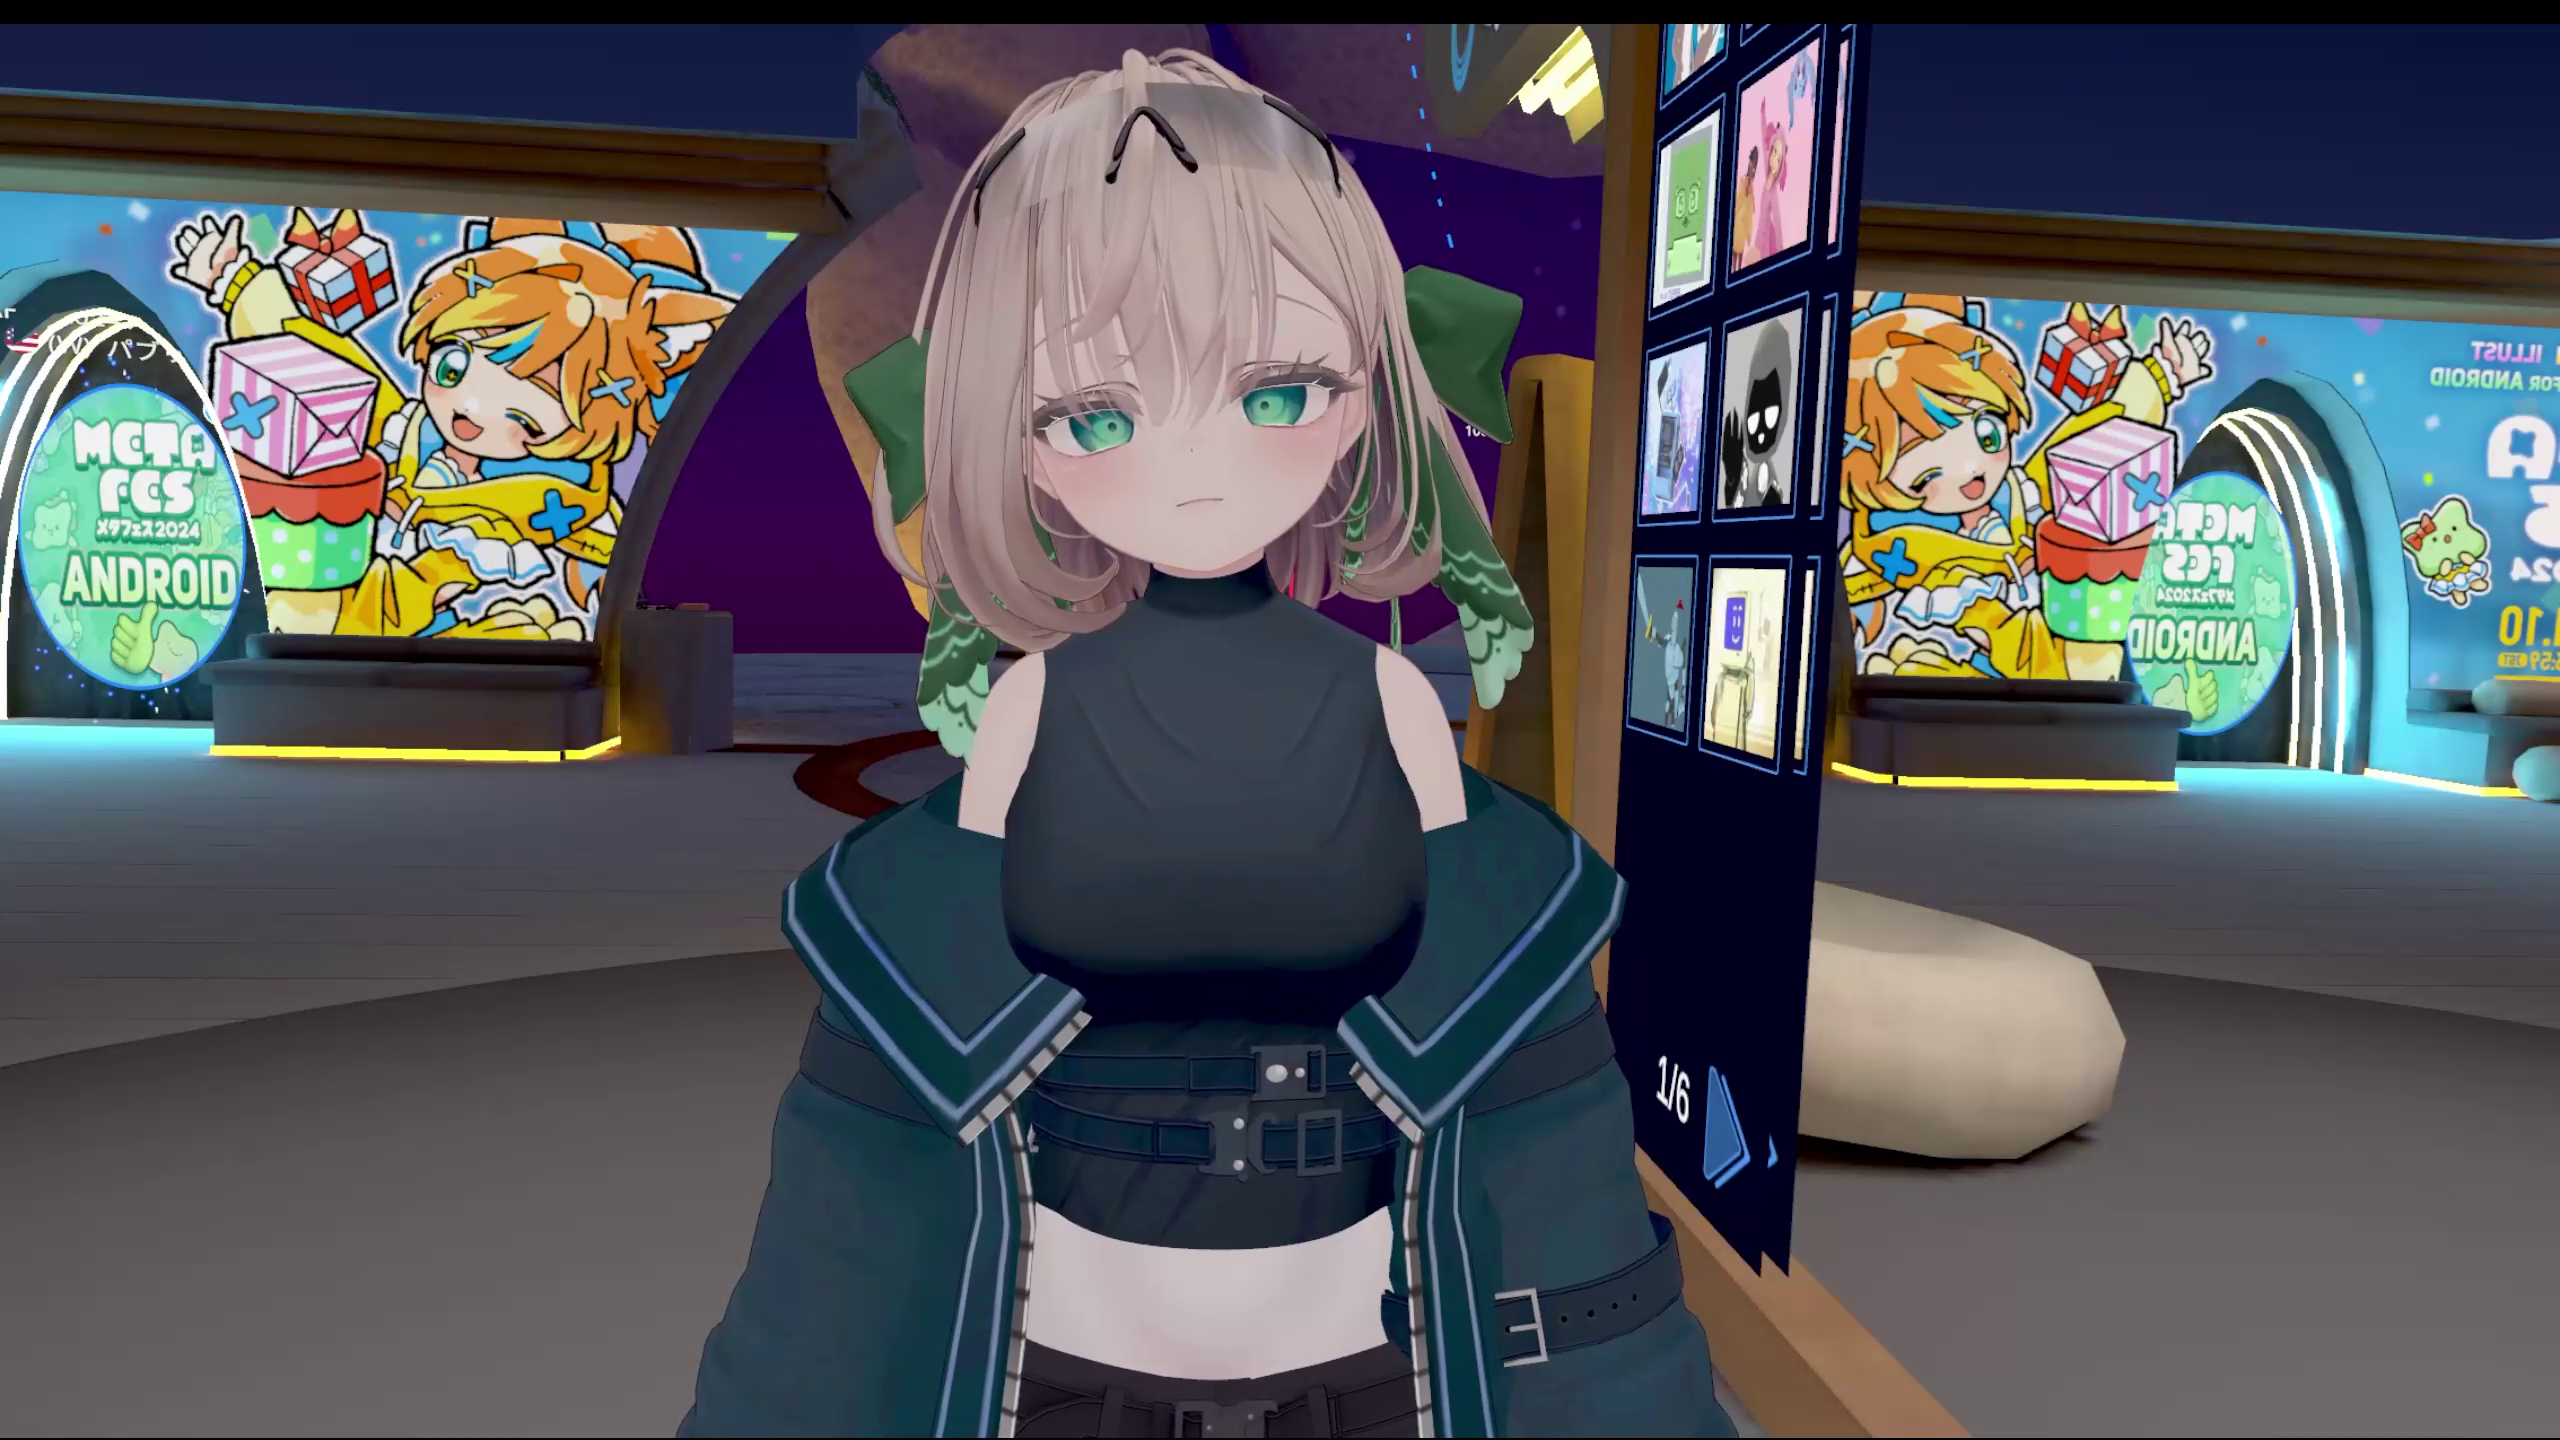
This brought me much closer to the "calm and mysterious" look I was going for.
Hairstyle Change
For the finishing touch, I changed the hairstyle too. Once again, "Manuka-compatible" hairstyle assets were abundantly available on Booth, and I quickly found one that matched my vision. That's the advantage of a popular avatar.
This time, I purchased "Ear-out Bob" by Kayasutoa.
Manuka's default bun hairstyle is cute too, but I felt the bob's subdued silhouette better fit this concept. (I kept the included ribbon as an accent and enlarged it to maximum size.)
[Pitfall] Error During Hairstyle Setup
Similar to the outfit, I encountered an error when trying to set up the purchased hairstyle Prefab by placing it into the avatar object. (This particularly happens when using tools like Modular Avatar.)
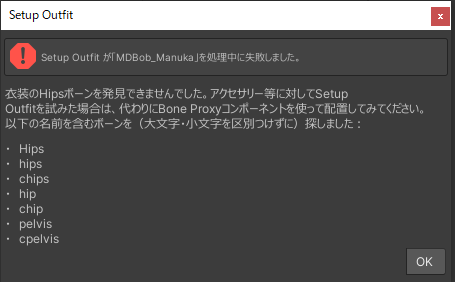
[Solution] In such cases, you can add "MA Bone Proxy" (a component included in Modular Avatar) to the hairstyle object and specify the avatar's "Head" bone in the component's "Bone Reference." This ensures the hair properly follows the head. (Once this is set up, you don't need to re-run the setup tool.)
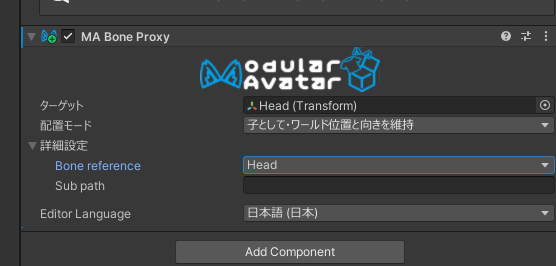
Different assets may have different import methods, so it's important to carefully read the included Readme documentation.
Summary

This time, as my "first VRChat model import and customization," I used the popular avatar "Manuka" as a base to try purchasing and importing outfits and hairstyles, as well as editing eye and clothing textures and colors.
Thanks to the VRChat official tool "VCC," the abundance of compatible assets on Booth, and the many clear tutorial articles left by pioneers, even a beginner like me was able to proceed through avatar customization relatively smoothly and enjoyably. I'm grateful to everyone involved.
I think I managed to achieve the "calm and mysterious" Manuka I was aiming for, at least to some extent.
The road to my ultimate goal of full-scratch model creation in Blender is still long, but through customization work like this, I've been gradually deepening my understanding of texture editing, Unity operations, and avatar structure (Armature and Shape Keys). If I keep trying things like VRoid model imports, I feel like I might eventually reach that goal.
Above all, watching my avatar transform through my own work was incredibly fun. I hope this article serves as some kind of reference for anyone about to step into the world of VRChat avatars or attempt their first avatar customization. Next time, I'd like to try more complex customizations like adding gimmicks!
Bonus: World Creation Mishaps
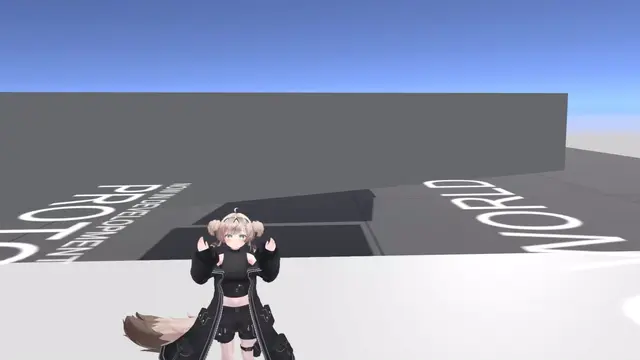
Alongside avatar customization, I also briefly tried my hand at VRChat "world creation." My naive thought of "If I'm making a world, it should be an obstacle course!" led me straight into a wall.
The most challenging part was the "getting players to ride on moving platforms" mechanic. Even when placing moving platforms using normal game development techniques, players in VRChat don't follow the platform's movement and simply fall through. This is because VRChat is an online game that needs to constantly sync position data for multiple players, so simple physics alone doesn't cut it.
Apparently, workarounds using sit gimmicks exist, but implementing moving platforms requires quite technical implementation. I'll start by learning basic world building first.