As a script grows, the Inspector's settings fields pile up. Seven number fields in a row, and it stops being clear which is brightness and which is a delay.
Open it again after a while and even you get lost. Hand the Prefab to someone else and it's worse.
This article covers using attributes to make the Inspector readable. The code's behavior doesn't change. Only how it looks to the person configuring it does.

What You'll Learn
- What Header, Tooltip, and Range each do
- That Range only limits input and doesn't affect code
- The difference between exposing a setting and syncing a variable
- A guideline for not overusing attributes
Start from having tried variables and references.
Attributes are sticky notes on your code
An attribute is a [ ... ] line placed above a variable or method. It doesn't change the logic; it attaches an instruction saying "please treat this like so."
Picture sticking a note on your code. What the note says changes how Unity presents it.
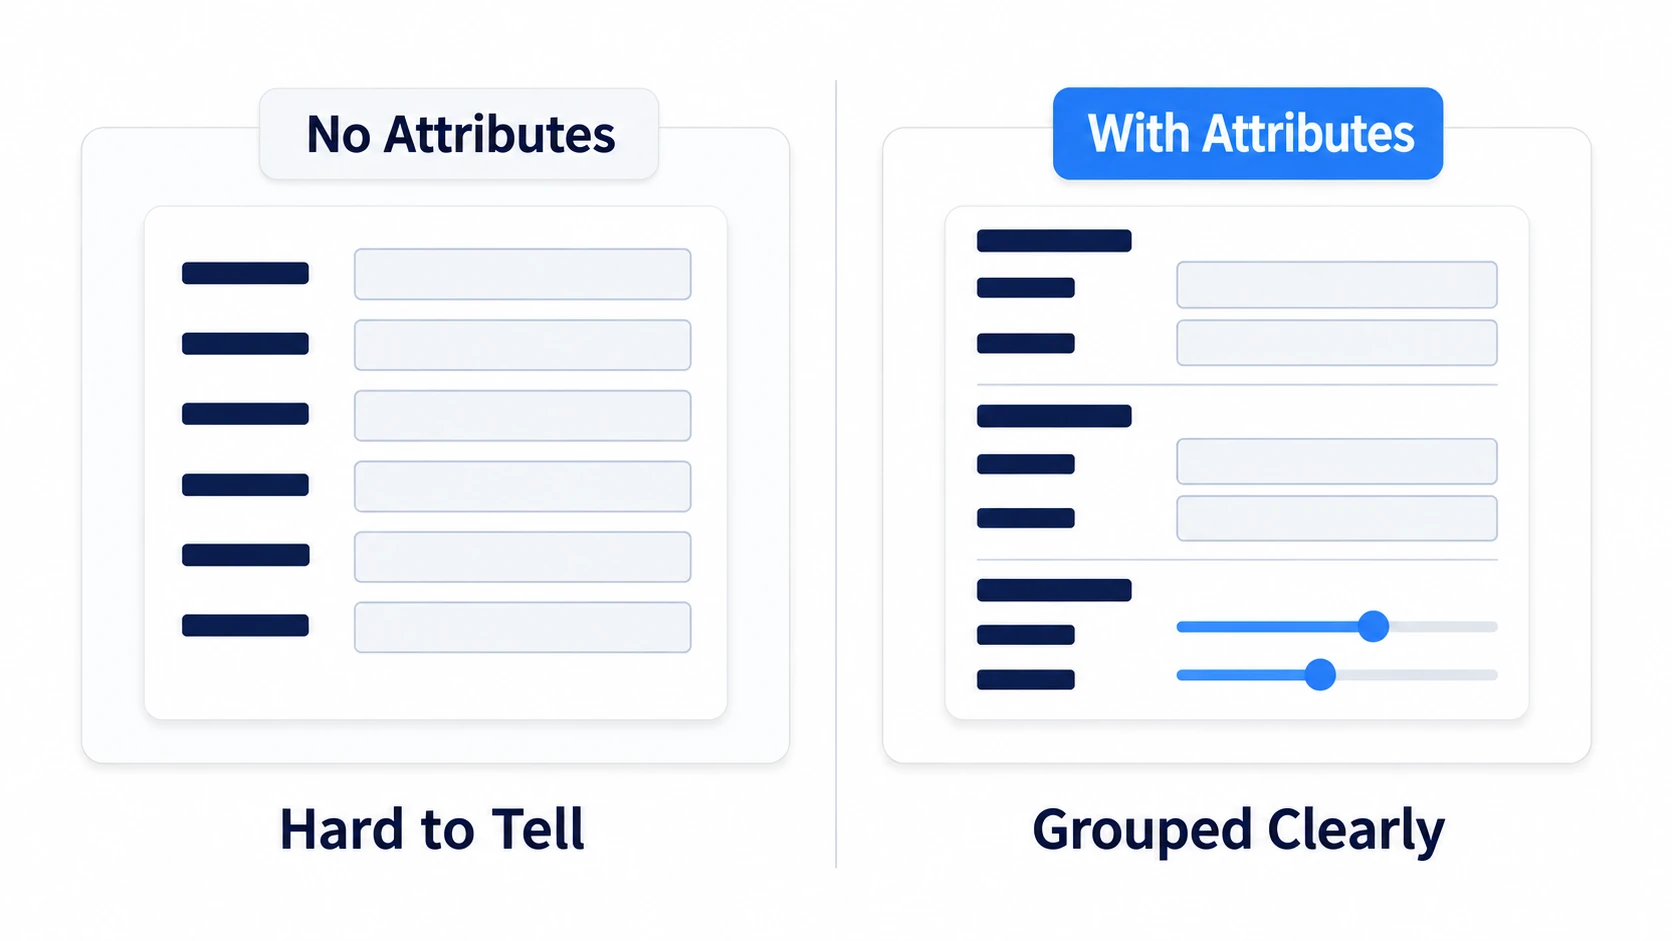
Four are in common use.
| Attribute | What it does |
|---|---|
[SerializeField] | Puts a private variable in the Inspector |
[Header("Heading")] | Inserts a heading at that spot, creating a group |
[Tooltip("Description")] | Shows a description on mouse-over |
[Range(min, max)] | Turns the input field into a slider |
None of them change the code's behavior. Only how it looks to the person configuring it. The effect is still large — configuration mistakes drop noticeably.
Hands-On: Organize a light's settings fields
We'll add attributes to a script that operates a light. When you're done, the Inspector splits into three groups and brightness is entered with a slider.
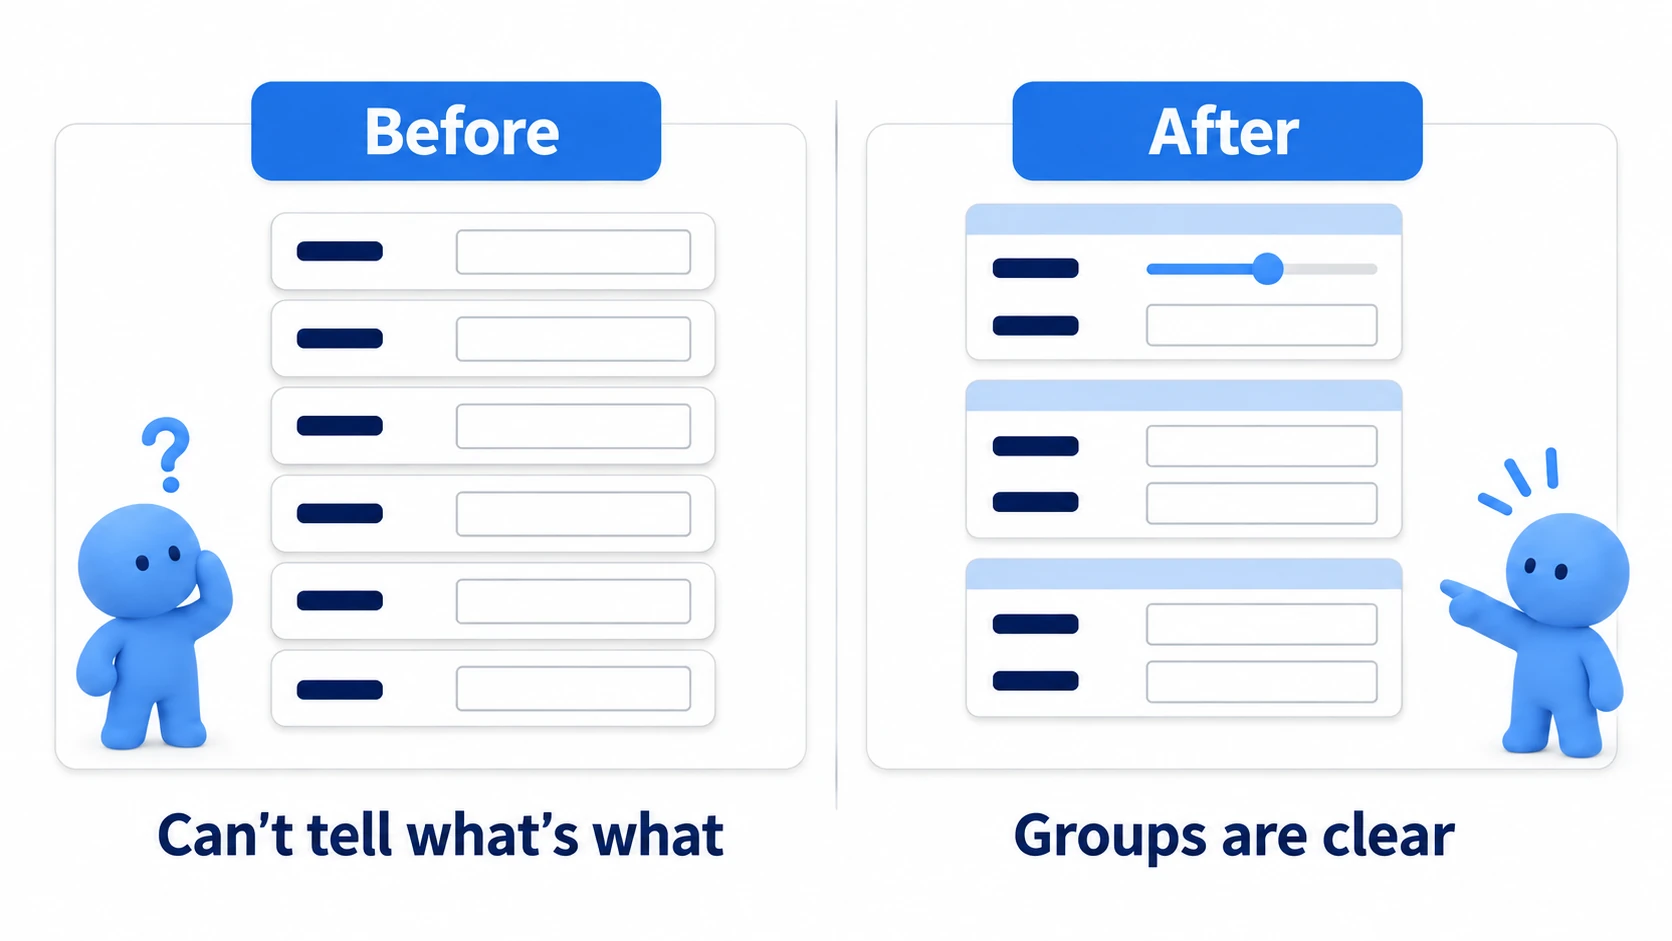
1. Look at it without attributes
Start from code with minimal attributes. Create LampSettings in Assets/Scripts.
using UdonSharp;
using UnityEngine;

[UdonBehaviourSyncMode(BehaviourSyncMode.None)]
public class LampSettings : UdonSharpBehaviour
{
    [SerializeField] private Light targetLight;
    [SerializeField] private float dimIntensity = 0.2f;
    [SerializeField] private float brightIntensity = 2f;
    [SerializeField] private Color warmColor = new Color(1f, 0.85f, 0.6f);
    [SerializeField] private Color coolColor = Color.white;
    [SerializeField] private bool startBright;

    private bool isBright;

    private void Start()
    {
        isBright = startBright;
        Apply();
    }

    public override void Interact()
    {
        isBright = !isBright;
        Apply();
    }

    private void Apply()
    {
        if (targetLight == null) return;
        targetLight.intensity = isBright ? brightIntensity : dimIntensity;
        targetLight.color = isBright ? coolColor : warmColor;
    }
}
Attach it to a Cube and look at the Inspector. Six fields sit in a row with no dividers. You have to read the names to tell brightness from color.
2. Create groups with Header
Header does the most work. Placed above a variable, it inserts a heading at that spot.
[Header("Light to operate")]
[SerializeField] private Light targetLight;

[Header("Brightness")]
[SerializeField] private float dimIntensity = 0.2f;
[SerializeField] private float brightIntensity = 2f;

[Header("Colors")]
[SerializeField] private Color warmColor = new Color(1f, 0.85f, 0.6f);
[SerializeField] private Color coolColor = Color.white;

[Header("State at startup")]
[SerializeField] private bool startBright;
The Inspector splits into four groups. Settings of the same kind being adjacent is now visible at a glance.
Keep headings to three or four. A heading per field makes things harder to read, not easier.
3. Attach descriptions with Tooltip
Add descriptions to fields whose names don't convey the meaning.
[Header("Brightness")]
[Tooltip("Brightness in the off state. 0 turns it fully off")]
[SerializeField] private float dimIntensity = 0.2f;

[Tooltip("Brightness in the on state. Tune it to the room's size")]
[SerializeField] private float brightIntensity = 2f;
Hovering over that field in the Inspector shows the description.
You don't need one on every field. Limit them to things that are easy to get wrong, or whose units are unclear. Writing "brightness" as the description for "brightness" achieves nothing.
4. Turn it into a slider with Range
When a number has an upper and lower bound, a slider makes input faster.
[Header("Brightness")]
[Tooltip("Brightness in the off state. 0 turns it fully off")]
[Range(0f, 1f)]
[SerializeField] private float dimIntensity = 0.2f;

[Tooltip("Brightness in the on state. Tune it to the room's size")]
[Range(0f, 8f)]
[SerializeField] private float brightIntensity = 2f;
The Inspector's input fields become sliders. You can drag while watching the actual brightness to decide.
Moving the slider during Play changes the room's brightness in real time. Deciding a value gets much easier (changes during Play aren't saved, so re-enter the value you settled on after stopping).
5. Check your work
Look at the Inspector and confirm all four changed.
| What to look at | Expected display |
|---|---|
| Field names | dimIntensity is auto-formatted to Dim Intensity |
| Groups | Divided by the "Brightness," "Colors," and "State at startup" headings |
| Mouse-over | A description tooltip appears |
| Brightness fields | Sliders instead of input boxes |
In all four cases, not one line of the code's behavior changed. What changed is the effort required of whoever configures it later.
Range limits input, not runtime
This is the easy misunderstanding.
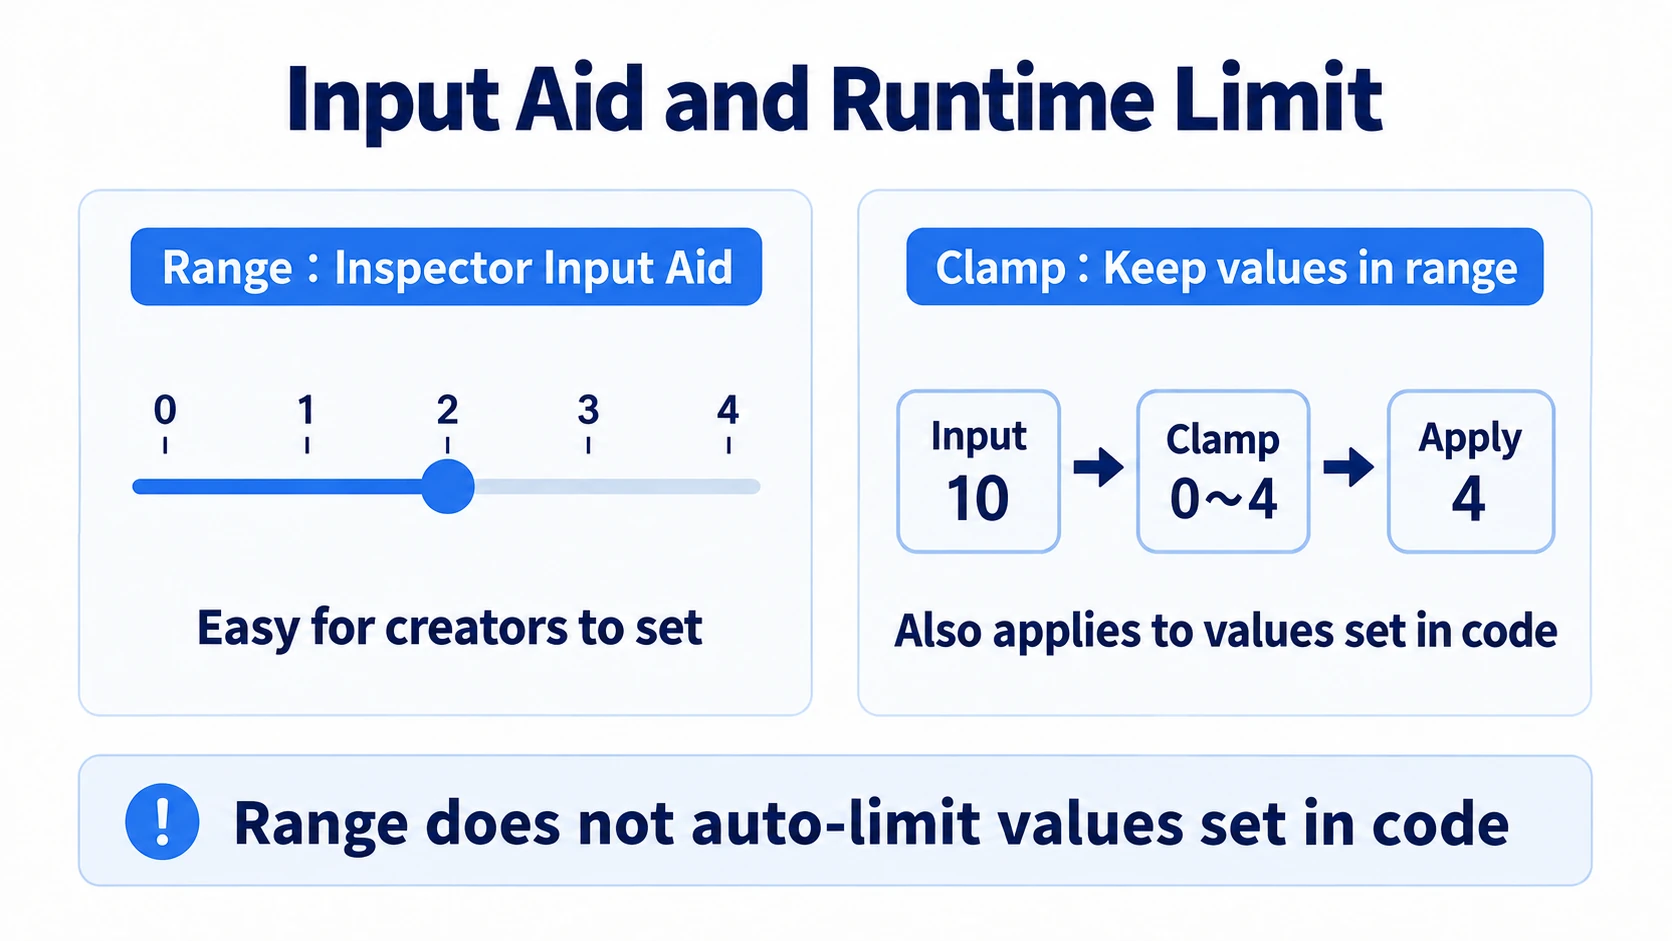
Even with [Range(0f, 8f)], code can put out-of-range values in.
brightIntensity = 100f; // This goes through, Range or not
Range applies only to the Inspector's input field. It's a safety device for hand-entry, not a restriction on how the program behaves.
To keep a computed value inside a range for certain, limit it in code.
// Keep it within 0 to 8
float safeIntensity = Mathf.Clamp(brightIntensity, 0f, 8f);
targetLight.intensity = safeIntensity;
Mathf.Clamp is a function that trims out-of-range values to the nearest bound. A slider helps human input; Clamp protects the runtime value. Different roles, so use both.
Exposing in the Inspector and syncing are different
Here's another pairing that gets confused.
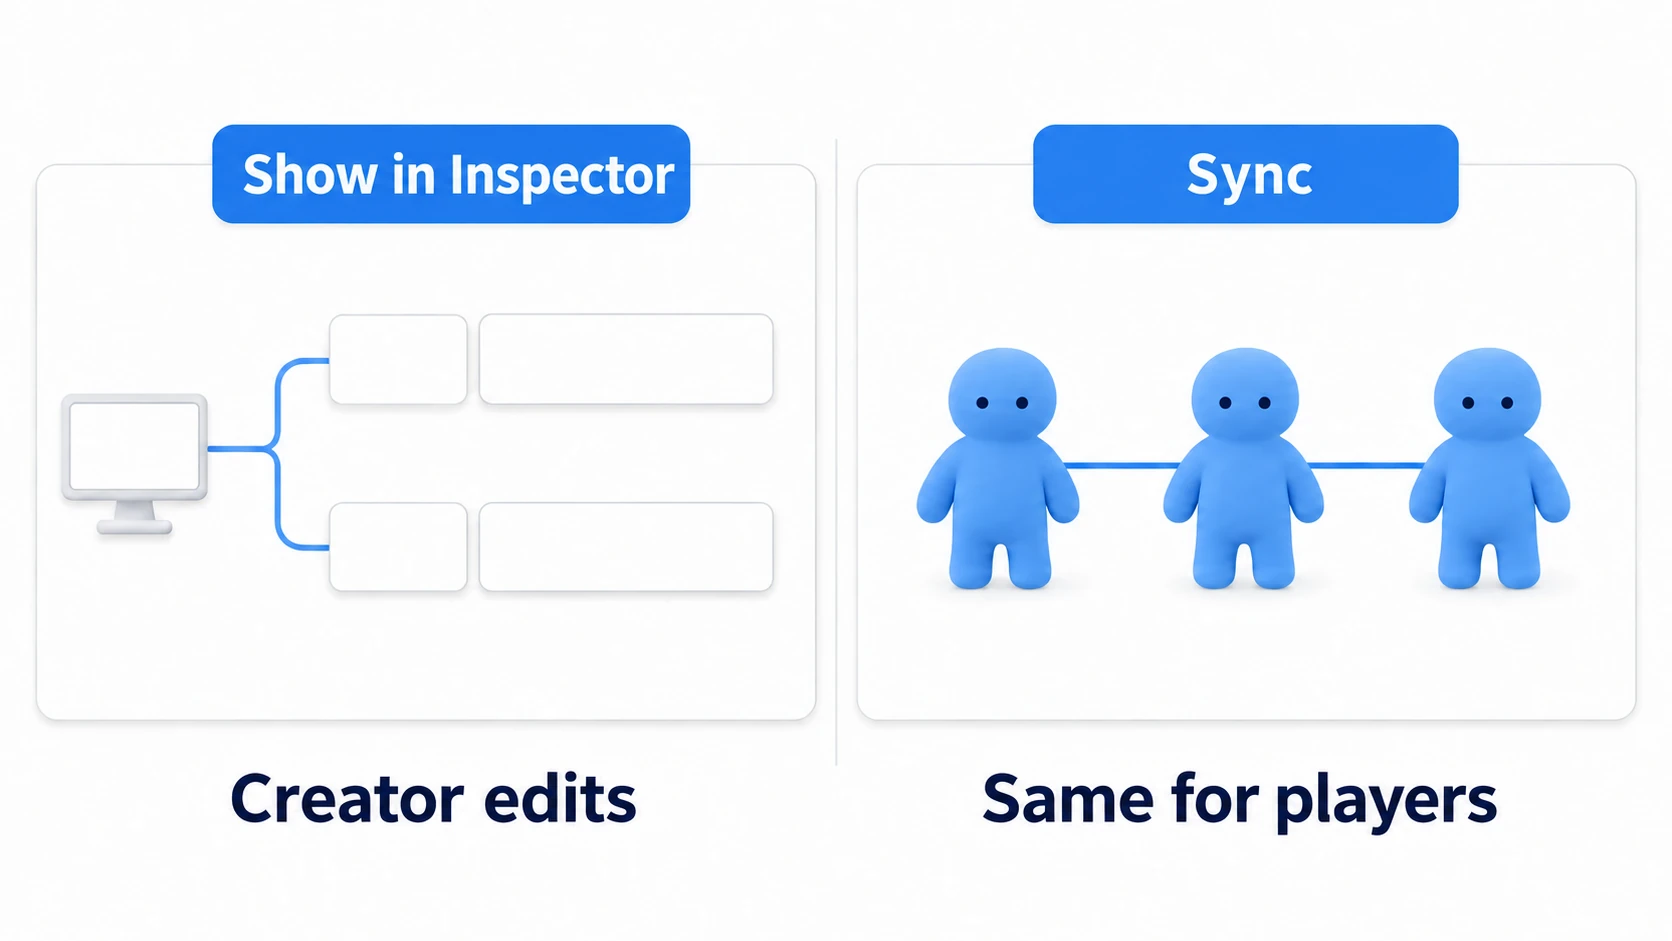
| Attribute | Effect |
|---|---|
[SerializeField] | Puts it in the Inspector. Tells other players nothing |
[UdonSynced] | Shares it with everyone. Doesn't appear in the Inspector |
[SerializeField] is "a value the builder configures"; [UdonSynced] is "a value shared among everyone at runtime." Both are attributes on variables, and their purposes are completely different.
World settings (a brightness cap, say) are [SerializeField]; state that changes at runtime (whether it's currently on) is [UdonSynced]. Synchronization is covered in detail in networking basics.
public also puts things in the Inspector, but it additionally declares "other scripts may touch this." When you're just configuring it yourself, use [SerializeField] private.
Bonus: Good to Know Up Front
[Space]inserts a gap: For when a heading is too much but a little separation helps[TextArea]suits long strings: It gives a wide field for multi-line text like instructional copy[HideInInspector]does the opposite: For apublicvariable you don't want shown. Other scripts can still touch it- Attributes stack: You can put
[Header],[Tooltip], and[Range]on the same variable, in any order - Where code stops being readable: Three attribute lines make one variable four lines long. Rather than adding them to every variable, limit them to the settings that matter
Summary
Attributes improve how things look to whoever configures them, without changing behavior.
Headercreates groups. Three or four maximumTooltipgoes only on fields that are easy to get wrongRangeonly turns the field into a slider. Code can still go out of range- To protect the value at runtime, use
Mathf.Clamp [SerializeField]is for configuration,[UdonSynced]is for sharing. Different things
The question to ask about adding one is: "Will I remember what this field means a month from now?" If not, add a heading or a description.
Next, split logic out and reuse it. In methods and custom events, let's operate the same light from two buttons.