You want light switches at both the entrance and the back of the room, either one toggling the same light.
The straightforward approach copies the same code into both buttons. It works, but the day you want to change the brightness, you're fixing two places. Forget one and the room behaves differently depending on where you press.
This article covers keeping one copy of the logic on the light's side, so buttons only call it.

What You'll Learn
- Designing so logic lives in one place
- How to call a method on another Udon directly
- When to use
SendCustomEventinstead- Why to use
nameof
Start from having tried variables and references.
Separate the pressing side from the changing side
The way to avoid writing the same logic twice is to split the roles.
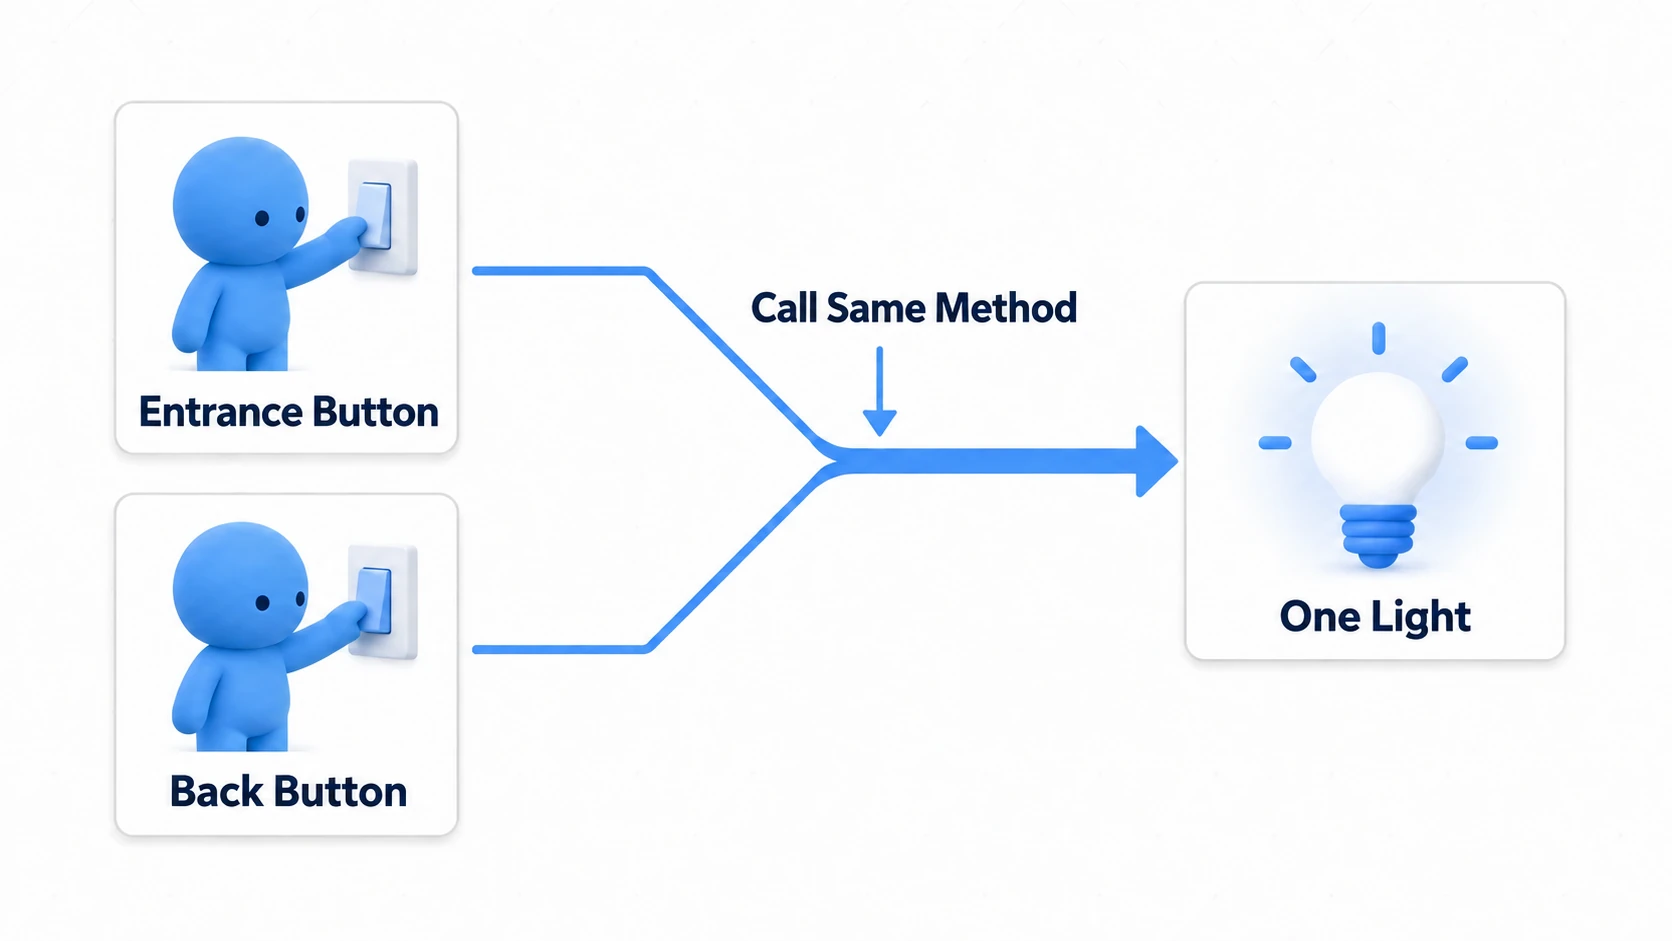
- The button side is responsible only for "it was pressed." It knows nothing about the light
- The light side holds only the "toggle" logic. It doesn't know who pressed
Then growing to three buttons leaves the light's logic at one copy. Want a different brightness? Fix one place on the light side and it reaches all of them.
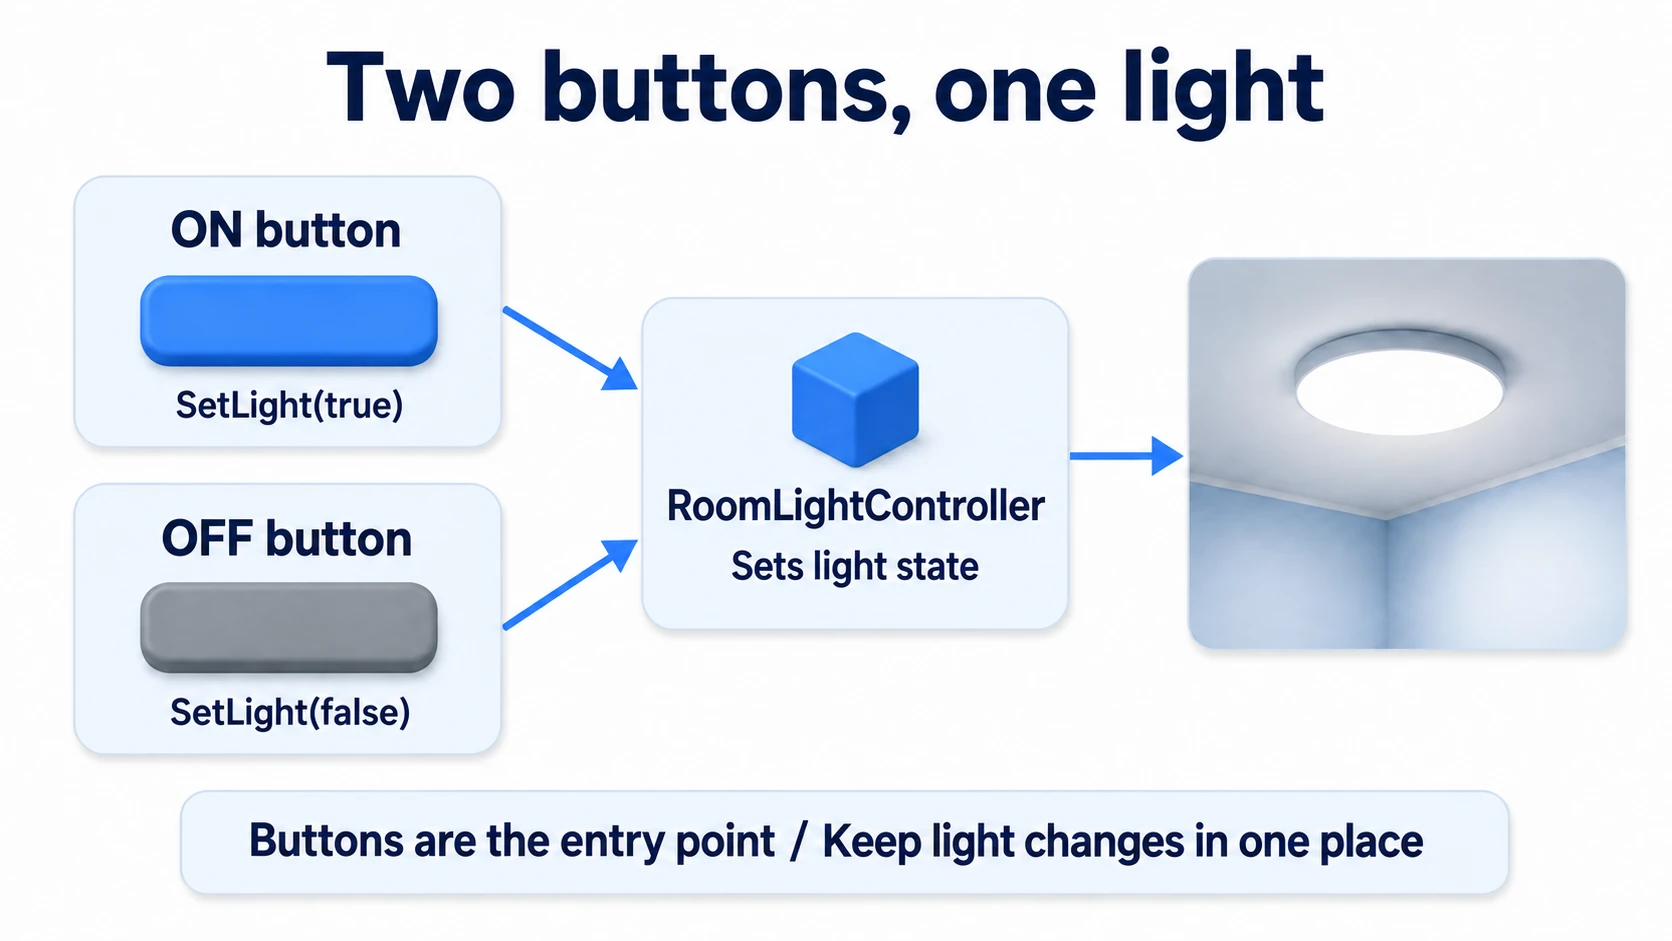
This shape pays off more as the world grows. Opening the same door from an entrance, the back, and a remote control just means keeping the logic on the door.
More callers, no more changers. That's the most important idea in this article.
Hands-On: One light from two buttons
Put buttons at the entrance and the back, and make either one toggle the same light.
1. Place the light and buttons
Place three things in a scene with a floor.
| Name | How to make it, and settings |
|---|---|
RoomLight | Light → Point Light. (0, 2.5, 0), Range 6, Intensity 2, Mode "Realtime" |
ButtonFront | Cube. (-1.5, 1, -1), Scale (0.4, 0.4, 0.4) |
ButtonBack | Cube. (1.5, 1, 2), Scale (0.4, 0.4, 0.4) |
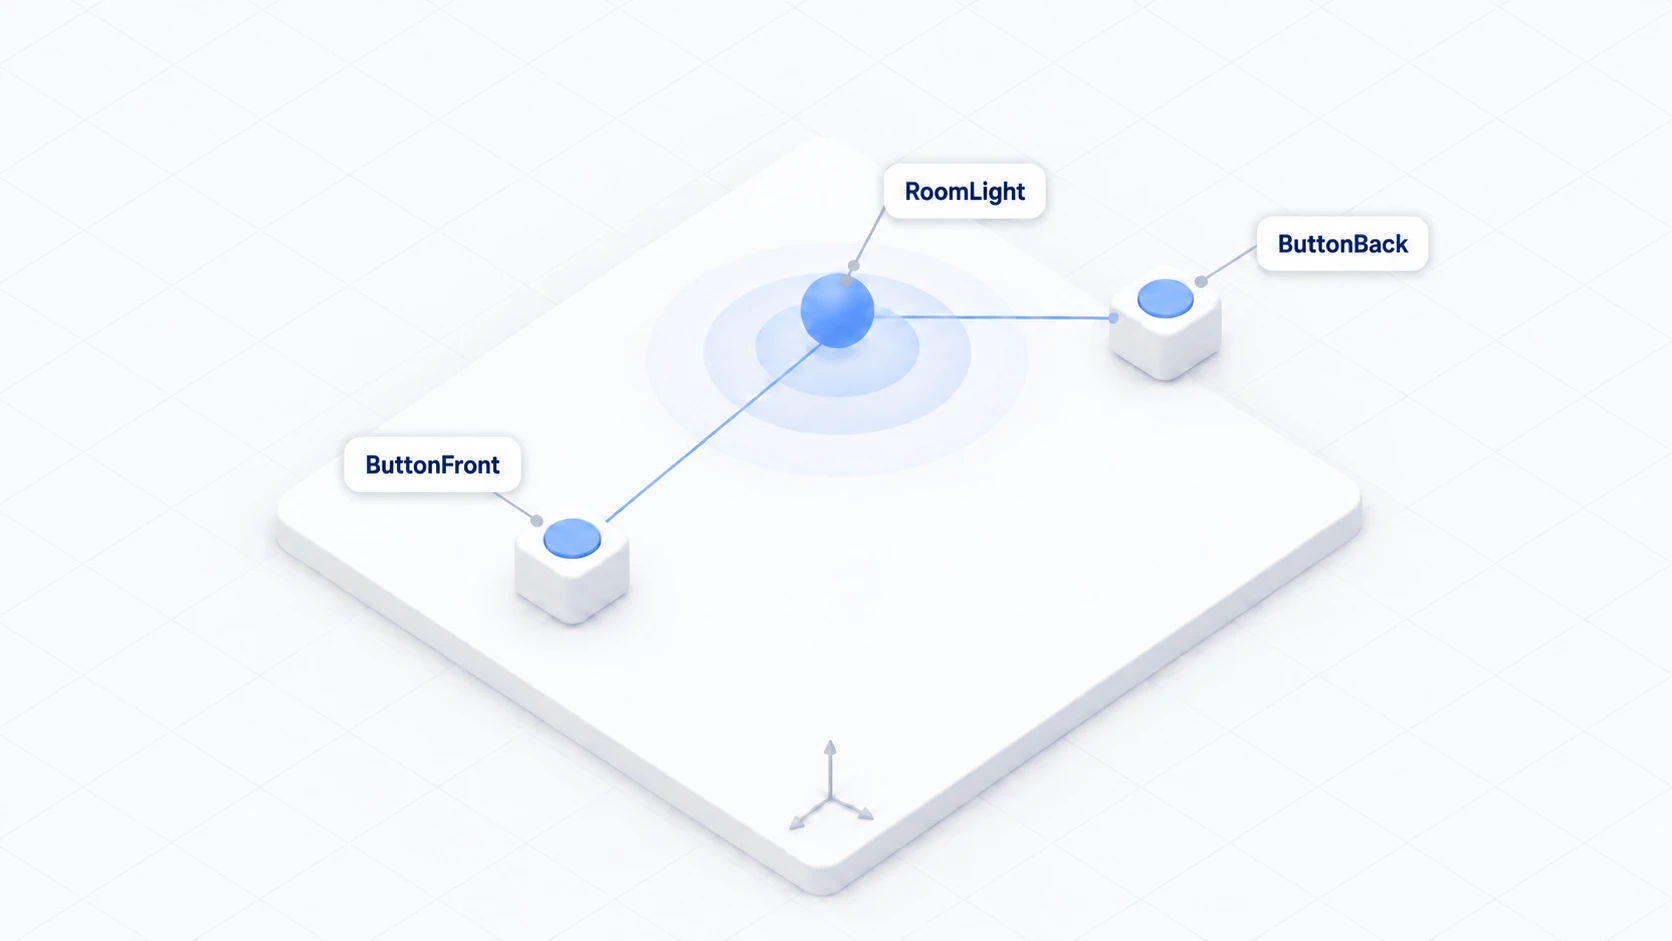
Prepare an object for the side that operates the light too. Create LightController with "Create Empty" at (0, 0, 0).
2. Write the light-side code
Build the changing side first. In Assets/Scripts, choose "Create → U# Script" and make RoomLightController.
using UdonSharp;
using UnityEngine;

[UdonBehaviourSyncMode(BehaviourSyncMode.None)]
public class RoomLightController : UdonSharpBehaviour
{
    [SerializeField] private Light targetLight;
    [SerializeField] private float dimIntensity = 0.2f;
    [SerializeField] private float brightIntensity = 2f;

    private bool isBright;

    private void Start()
    {
        Apply();
    }

    // The entry point called from outside. Keep it public
    public void ToggleLight()
    {
        isBright = !isBright;
        Apply();
        Debug.Log("[RoomLightController] bright=" + isBright);
    }

    public void TurnOn()
    {
        isBright = true;
        Apply();
    }

    public void TurnOff()
    {
        isBright = false;
        Apply();
    }

    // Push state into appearance. This is the only thing that touches the light
    private void Apply()
    {
        if (targetLight == null) return;
        targetLight.intensity = isBright ? brightIntensity : dimIntensity;
    }
}
ToggleLight(), TurnOn(), and TurnOff() are public, because they're the entry points called from outside.
Apply() stays private. It's internal logic that nothing outside needs to call directly. Separating the entry points you expose from the internal logic makes it easier to read later.
Add a Udon Behaviour to LightController, set this script, and assign RoomLight to Target Light.
3. Write the button-side code
Now the pressing side. Make one named RoomLightButton.
using UdonSharp;
using UnityEngine;

[UdonBehaviourSyncMode(BehaviourSyncMode.None)]
public class RoomLightButton : UdonSharpBehaviour
{
    // Receive it by the other side's class name (a typed reference)
    [SerializeField] private RoomLightController controller;

    public override void Interact()
    {
        if (controller == null)
        {
            Debug.LogWarning("[RoomLightButton] Controller is not set.");
            return;
        }

        controller.ToggleLight();  // Call the other side's method directly
    }
}
It's short. The button only does "when pressed, ask that one over there."
The line to notice is [SerializeField] private RoomLightController controller;. You can use the other side's class name directly as a type. That's called a typed reference.
Because the type is fixed, you can write controller.ToggleLight(). Mistype it as ToggleLigt() and it becomes a compile error. You never find out at runtime.
4. Assign it to both buttons
Add a Udon Behaviour to both ButtonFront and ButtonBack and set RoomLightButton.
Drag LightController into Controller on both. They point at the same target.
| Field | What to set |
|---|---|
| Controller | LightController from the Hierarchy |
| Interaction Text | Toggle lighting |
5. Run it and confirm
Press Play and try both buttons.
| Action | Expected result |
|---|---|
| Press the entrance button | The light brightens. Console shows bright=True |
| Press the back button | The light dims. bright=False |
| Press the entrance button again | It brightens |
Either button toggles the same state. Since only one place holds the state, changing where you press doesn't cause drift.
Now change brightIntensity to 5. Without touching a character of the button code, the result changes for both buttons. That's the effect of keeping the changing side in one place.
SendCustomEvent, another way to call
There's another way to call the other side's method.
public override void Interact()
{
    if (controller == null) return;

    // Call by specifying the method name as a string
    controller.SendCustomEvent(nameof(RoomLightController.ToggleLight));
}
SendCustomEvent calls by passing a method name as a string. It has two conditions.
- The called method must be
public - It must take no arguments
Private methods can't be called. Trying to call Apply() does nothing.
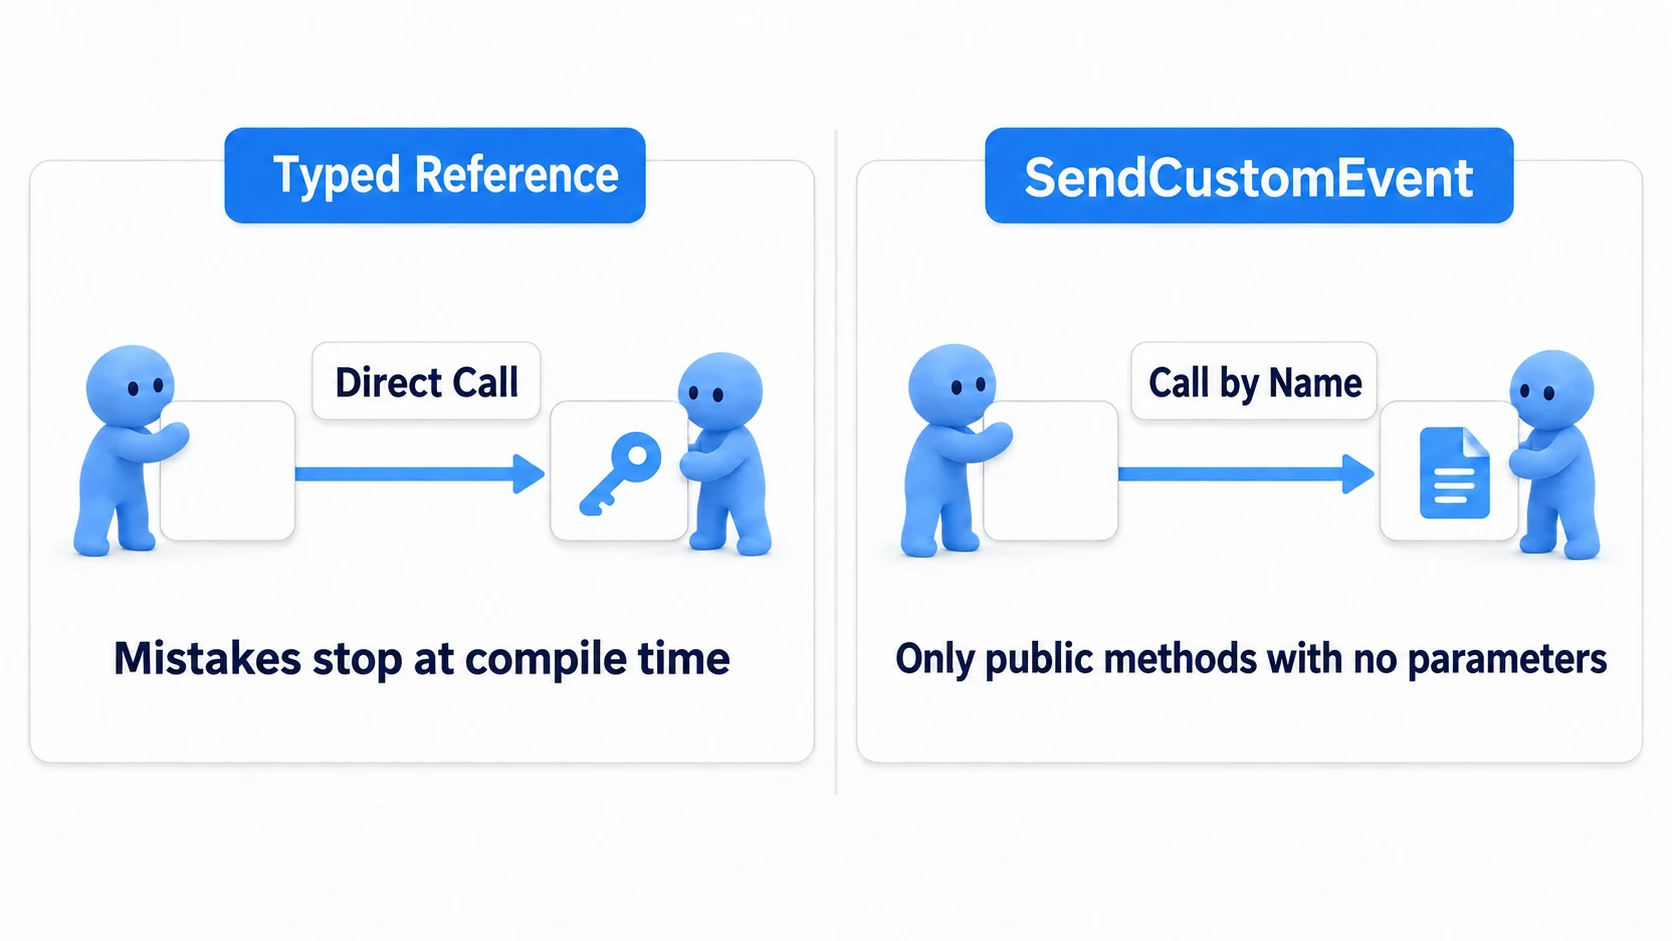
There's a reason for nameof(). You could write the string "ToggleLight" directly, but then renaming the method later goes unnoticed. You only find out at runtime that it isn't being called. nameof turns it into a compile error.
So which should you use?
| Situation | What to use |
|---|---|
| The other side's class is known | A typed reference, called directly (controller.ToggleLight()) |
| The other side's type isn't fixed | SendCustomEvent |
| You want other players to run it too | SendCustomNetworkEvent (network events) |
For this article's situation, a typed reference is simpler and safer. SendCustomEvent is for calling several kinds of script uniformly, or for calling across the network.
To pass a value, set it into the other side's variable first, then call.
controller.targetBrightness = 3f;   // Set the value first (needs a public variable)
controller.ApplyBrightness();       // Then call
With a typed reference, you can just call a method that takes arguments in the first place. Here too, the typed reference is the more natural route.
Common Pitfalls
- Nothing happens on press → Check whether Controller is
None. Check the startup warning too - Only one button works → That button's Controller is empty, or it has no Udon Behaviour
- SendCustomEvent won't call → Check that the called method is
publicand takes no arguments - Each press gives a separate state → State is being held on the button side. Keep exactly one, on the changing side (the Controller)
Bonus: Good to Know Up Front
- Few entry points, free interior: Make only the methods called from outside
publicand keep the restprivate. Fewer entry points make it easier to follow when you read it later - One method, one job: A
ToggleLight()that also plays sound and opens a door becomes unreusable. Split them and you can call whatever combination you need - There's a way to call after a delay: "Run three seconds after pressing" is written with
SendCustomEventDelayedSeconds. Covered in calling logic after a delay - This is still local: Either button changes only the presser's screen. Reaching everyone requires the mechanism in networking basics
- A disabled target does nothing: Setting the referenced GameObject to
SetActive(false)stops its Udon. Calling it does nothing
Summary
The shape that keeps you from writing the same logic twice is always the same.
- The pressing side just asks; the changing side holds the logic
- Exactly one place holds the state, on the changing side
- Receive by the other side's class name and you can call its methods directly
SendCustomEventhandles onlypublicmethods with no arguments. Write it withnameof
The question to ask while building is: "Will I want to call this same logic from somewhere else later?" If yes, split it from the start.
Next comes logic with a delay. Build a countdown in calling logic after a delay, or to make this toggle reach everyone, go to networking basics.