When enemy stats are written directly into scripts, every new enemy type means copy-pasting code, and every balance pass means opening code to change numbers. Worse, designers and planners can't change a single value without touching code.
Custom resources solve this. You extend Godot's Resource system to create your own data types, separating game logic (code) from data (values). This is Godot's equivalent of Unity's ScriptableObject and the cornerstone of data-driven design.
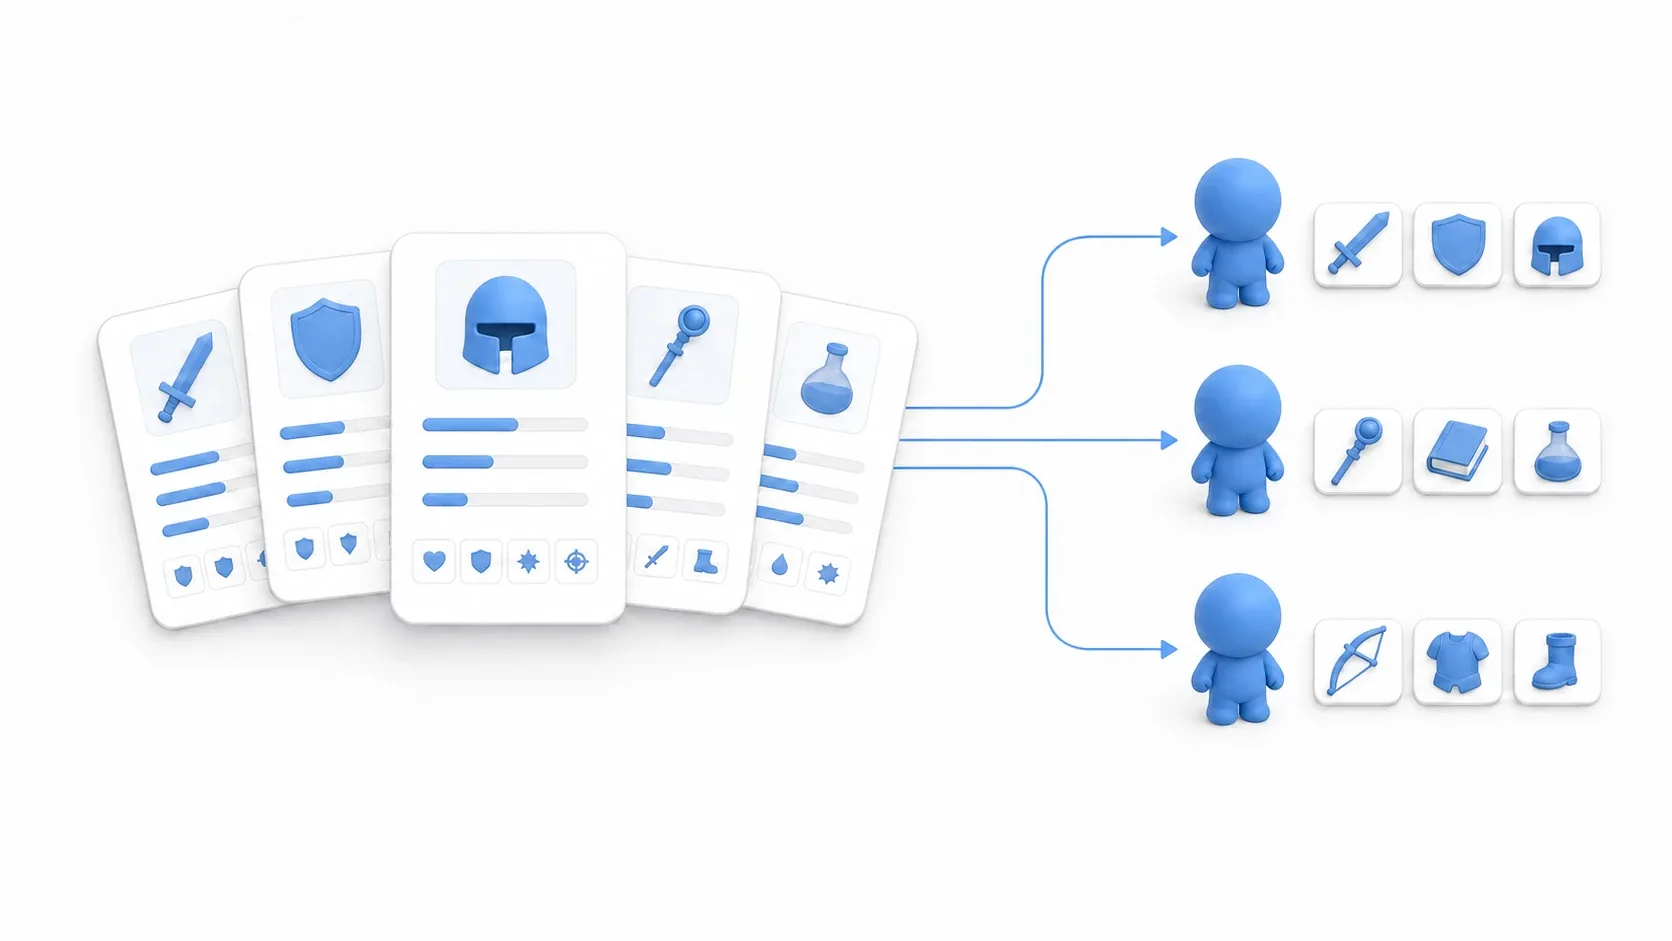
What You'll Learn
- What data-driven design means (separating logic from data)
- How to define a custom resource by extending
Resource, and edit it in the Inspector- How to derive resources through inheritance (
ItemData→WeaponData)- How
duplicate()makes runtime modification safe- When to reach for JSON / CSV / SQLite instead
What Data-Driven Design Means
Data-driven design is the idea of decoupling "processing" (logic) from "values" (data). You feed swappable data into one piece of general-purpose code to produce many variations.
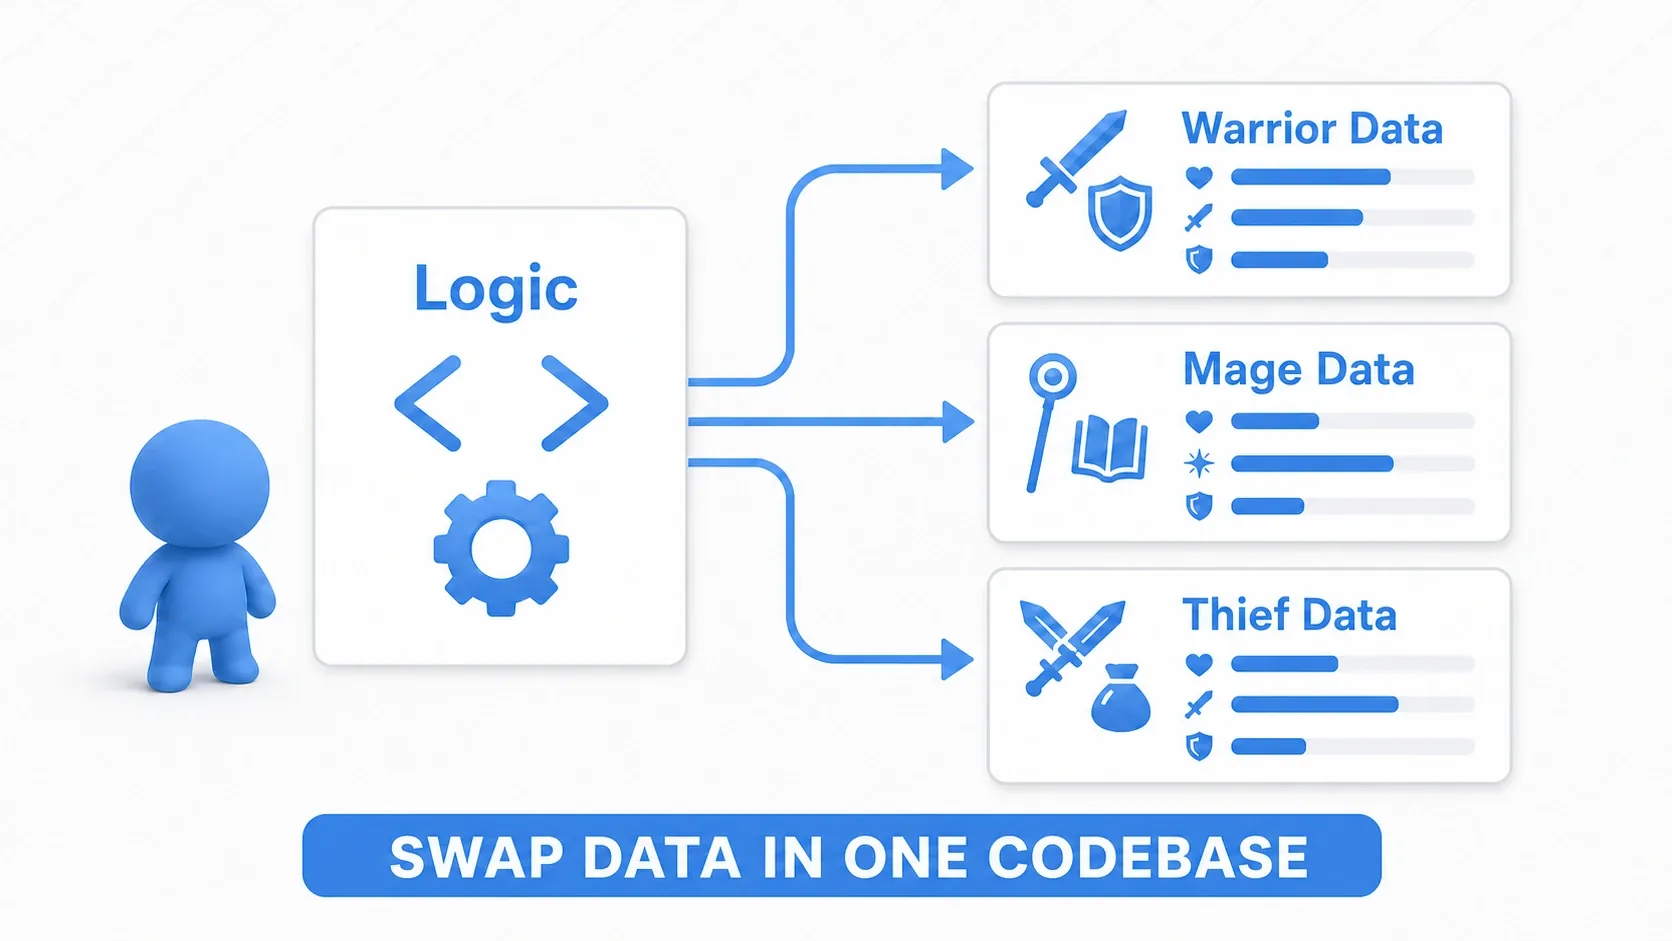
For example, you write one script that makes enemies work. Hand it "slime data," "goblin data," or "dragon data" and the same code becomes a different enemy each time. By not hardcoding data, you get:
- Adding an enemy means adding a data file, not code
- Balance tuning becomes tweaking numbers in the Inspector instead of opening code
- Planners and designers can edit data without knowing how to code
That makes development noticeably smoother, and custom resources are what carry that "data."
Defining and Using a Custom Resource
With a custom resource, you define the type in a script that extends Resource, edit the values in the Inspector, and save them to a .tres file.
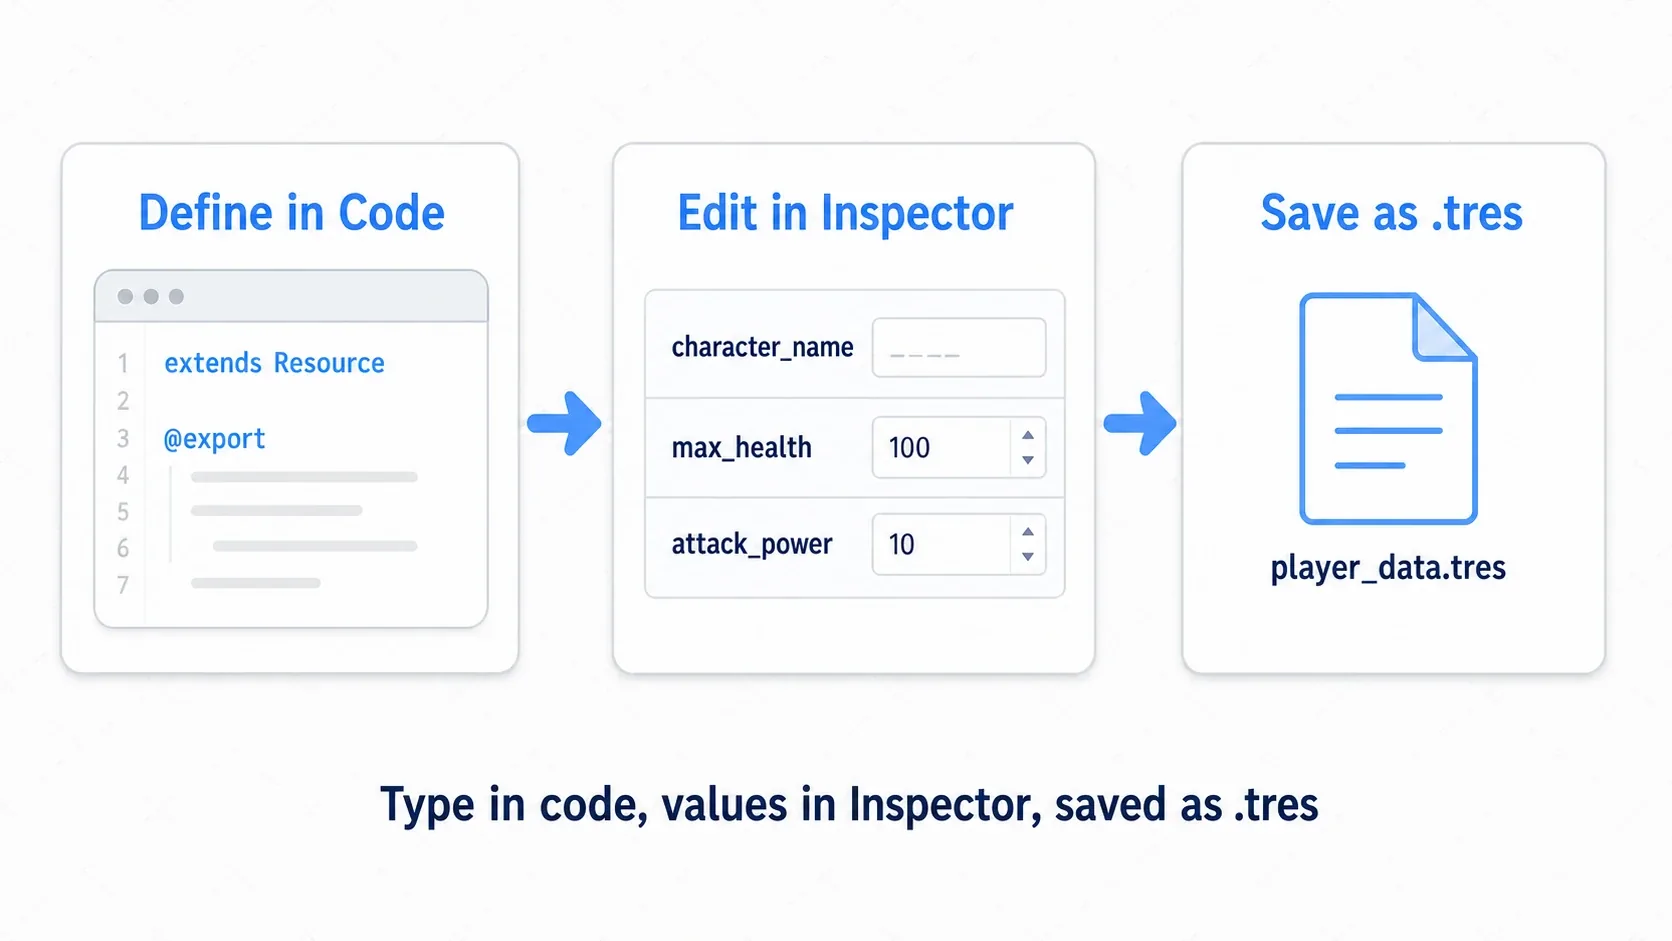
First, extend Resource and list your properties with @export. Adding class_name makes it usable as a global type.
# character_data.gd
class_name CharacterData
extends Resource

@export var character_name: String = "New Character"
@export var max_health: int = 100
@export var attack_power: float = 15.0

enum Job { WARRIOR, MAGE, ROGUE }
@export var job: Job = Job.WARRIOR         # enums become dropdowns in the Inspector

# You can also attach logic tied to the data as methods
func get_description() -> String:
    return "%s / HP:%d / ATK:%.1f / %s" % [
        character_name, max_health, attack_power, Job.find_key(job)]
Once saved, right-click in the FileSystem dock, choose Create New → Resource, pick CharacterData, and save it under a name like player_data.tres. From there, a node can take it directly as a type.
extends CharacterBody2D

@export var data: CharacterData      # drag the .tres onto it in the Inspector

func _ready() -> void:
    if data:
        print(data.get_description())  # behavior driven by the data
Because you can declare the type explicitly with @export var data: CharacterData, the Inspector only accepts CharacterData .tres files, which keeps things type-safe.
Hands-On: Building an Item Database with Inheritance
Custom resources shine brightest in an item or enemy database. RPG equipment, roguelike consumables, cards in a card game: inheritance expresses "a shared foundation plus per-type differences" cleanly.
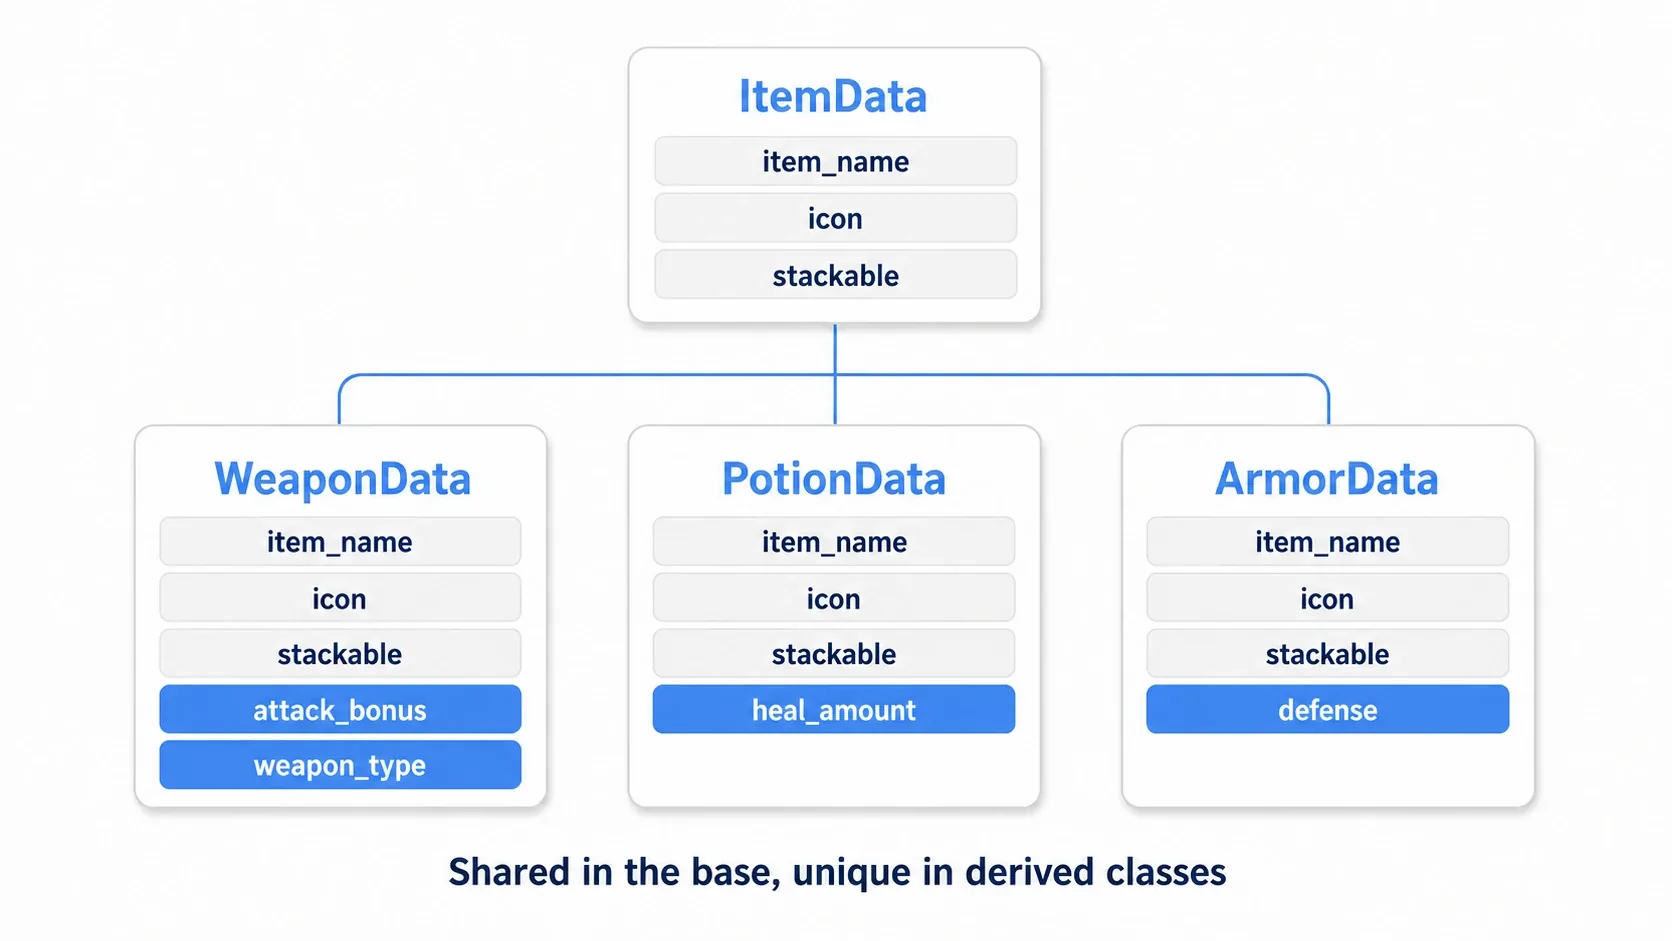
Start with ItemData, the base shared by every item.
# item_data.gd
class_name ItemData
extends Resource

@export var item_id: int = 0
@export var item_name: String = "Unknown Item"
@export_multiline var description: String = ""
@export var icon: Texture2D
@export var stackable: bool = true
Weapons and potions need their own data. Inherit from ItemData and add only what's missing.
# weapon_data.gd
class_name WeaponData
extends ItemData                 # inherits every property of ItemData

@export var attack_bonus: float = 5.0   # weapon-only extra property
@export var weapon_type: String = "Sword"
Now WeaponData keeps the shared fields like item_name while gaining weapon-specific ones. When loading, you can tell them apart by type.
func load_item(path: String) -> ItemData:
    var res := ResourceLoader.load(path)
    if res is WeaponData:
        print("Weapon: ATK +%.1f" % res.attack_bonus)
    return res if res is ItemData else null
For the idea of inheritance itself, OOP Design Patterns is a useful companion read. Keep shared things in the base and specifics in the derived types, and your catalog stays manageable no matter how many item types you add.
Making Runtime Changes Safe with duplicate()
There's one thing to watch out for: resources are shared. Assign the same .tres to ten enemies and all ten are looking at the same data instance. Change one enemy's HP in place and every enemy's HP changes with it.
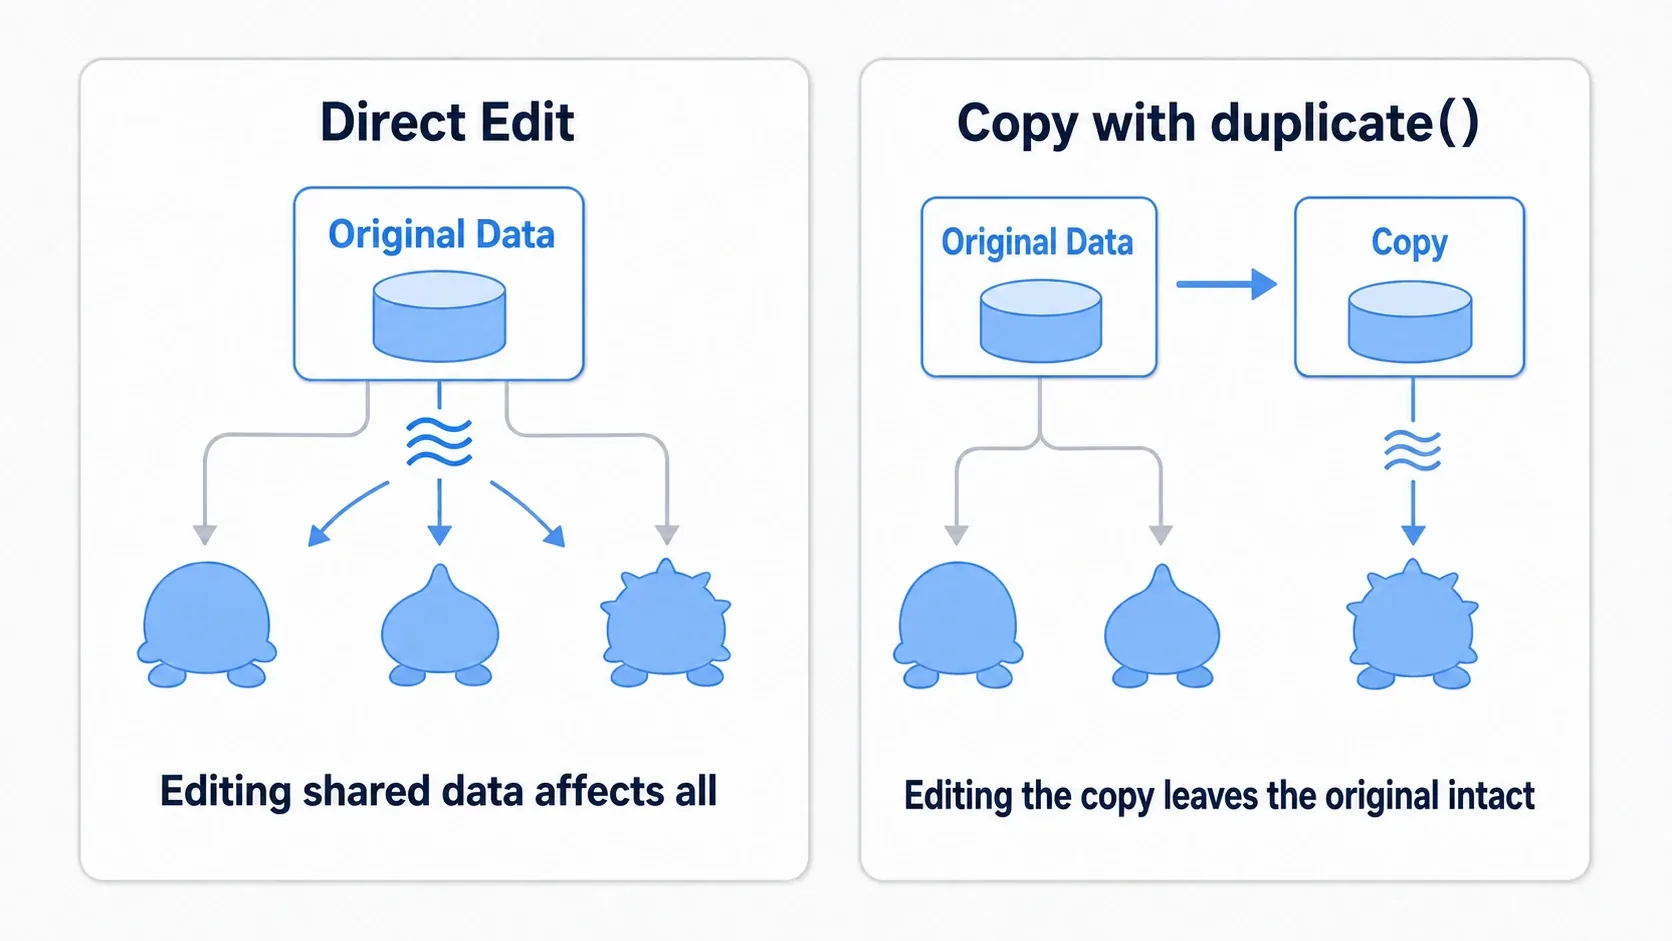
When you want per-instance values at runtime, make a copy with duplicate() and modify the copy.
func _ready() -> void:
    # Hold a private copy rather than the shared original
    data = data.duplicate()
    # From here on, any change to data leaves other instances and the .tres untouched
    data.max_health += 20
For per-instance changes like "vary each enemy's HP a little" or "reduce the charges on a potion the player picked up," always duplicate() first. Conversely, settings you want shared across all instances (master data) should stay shared and read-only.
Choosing Between the Alternatives
Custom resources aren't the only way to hold game data. Pick based on scale and purpose.
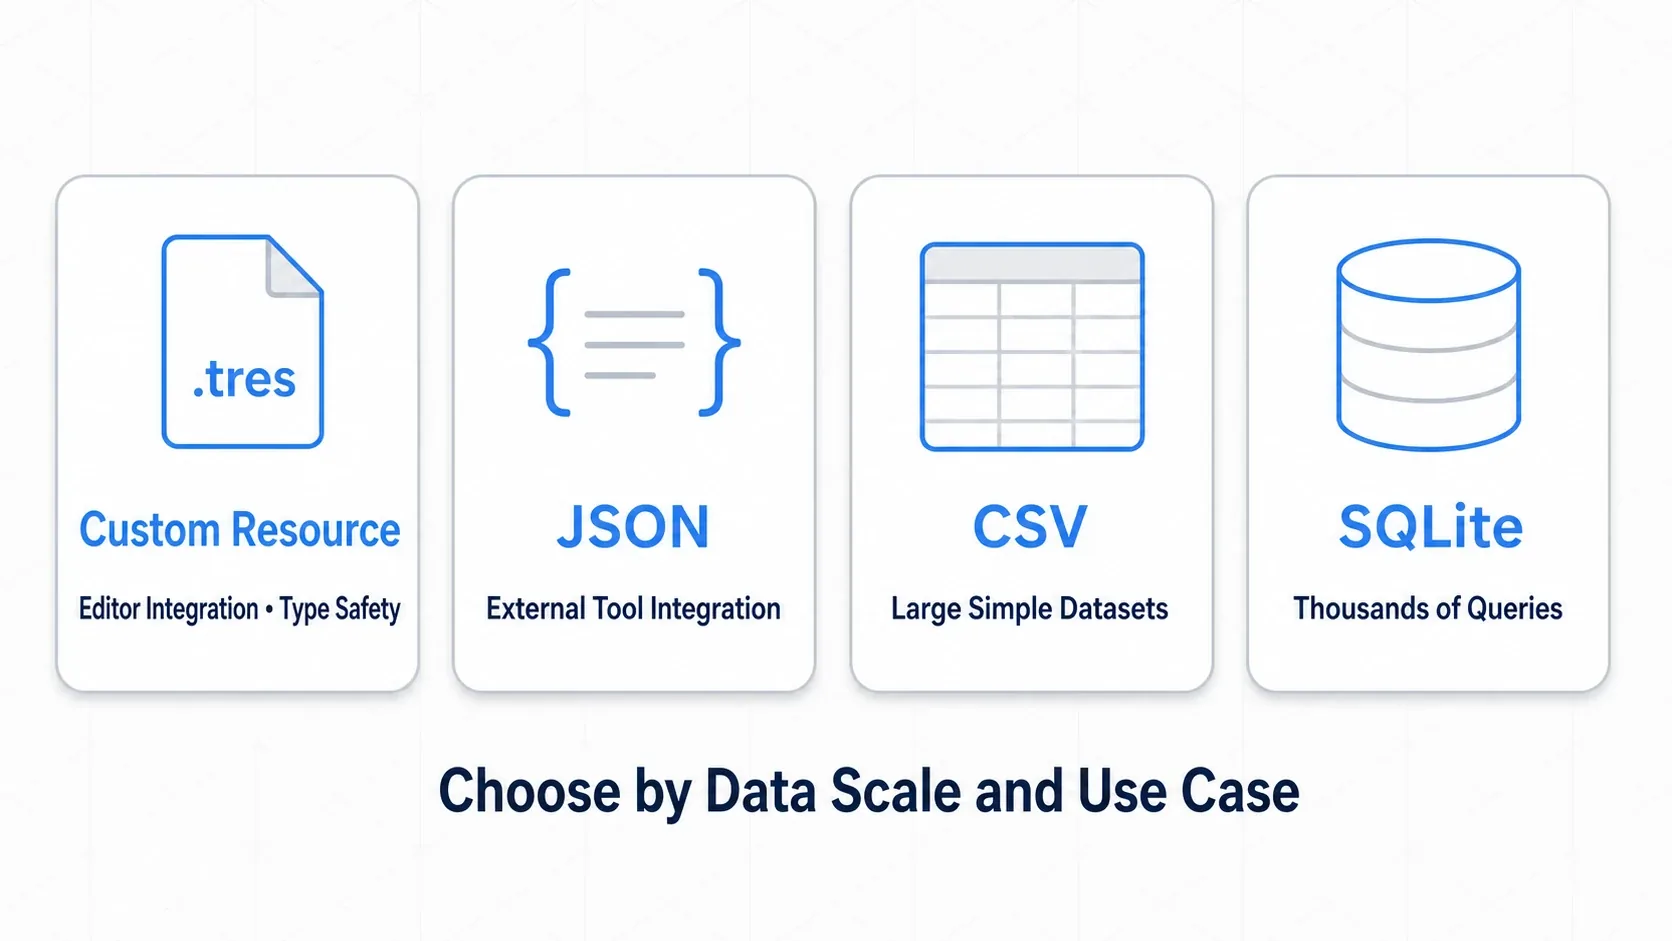
| Approach | Strengths | Good for |
|---|---|---|
| Custom resources | Editor integration, type safety, reuse | Structured data: characters, items, skills |
| JSON | Human-readable, engine-agnostic | Config files, external tool interop |
| CSV | Editable in a spreadsheet | Large volumes of simple records (dialogue lists, etc.) |
| SQLite | Fast queries over large data sets | Item or user data beyond a few thousand records |
For structured data that stays inside Godot, custom resources are the first choice. Use JSON when exchanging data with external tools, CSV for translations and bulk dialogue, and SQLite when you need queries over thousands of records.
Bonus: Good to Know for Later
.tresvs.res:.tresis text, plays well with Git, and suits development..resis binary, loads faster and is lighter, and suits release builds. Developing in.tresand shipping.resis the standard approach.- Load in bulk asynchronously: Reading every resource at startup is heavy, so use
ResourceLoader.load_threaded_request()for asynchronous loading and keep the game responsive. - Notify changes with signals: If you want to tell other systems that a value inside a resource changed, define a signal inside the resource.
- They work for save data too: You can pack play state into a custom resource and save it. We cover that in Implementing a Save/Load System.
Summary
- Custom resources are your own data types extending
Resource, separating logic from data - Define the type with
class_name+@export, edit values in the Inspector, save to.tres - Use inheritance to keep shared fields in the base and specifics in derived types, so catalogs scale
duplicate()before modifying lets you create per-instance variation without breaking shared data- Choose between JSON / CSV / SQLite based on scale and purpose
Start by moving your character's base stats into a CharacterData and tweaking the numbers in the Inspector. Once you feel what it's like to change the game without touching code, you've taken the first step into data-driven design.
Further Reading
- OOP Design Patterns in GDScript — organizing resources with inheritance and class_name
- Implementing a Save/Load System — saving resources and data to files
- Managing Data Across Scenes with Autoload — holding master data globally
- Node Communication with Signals — notifying others about data changes
- Godot Docs: Resources — the primary source on resources