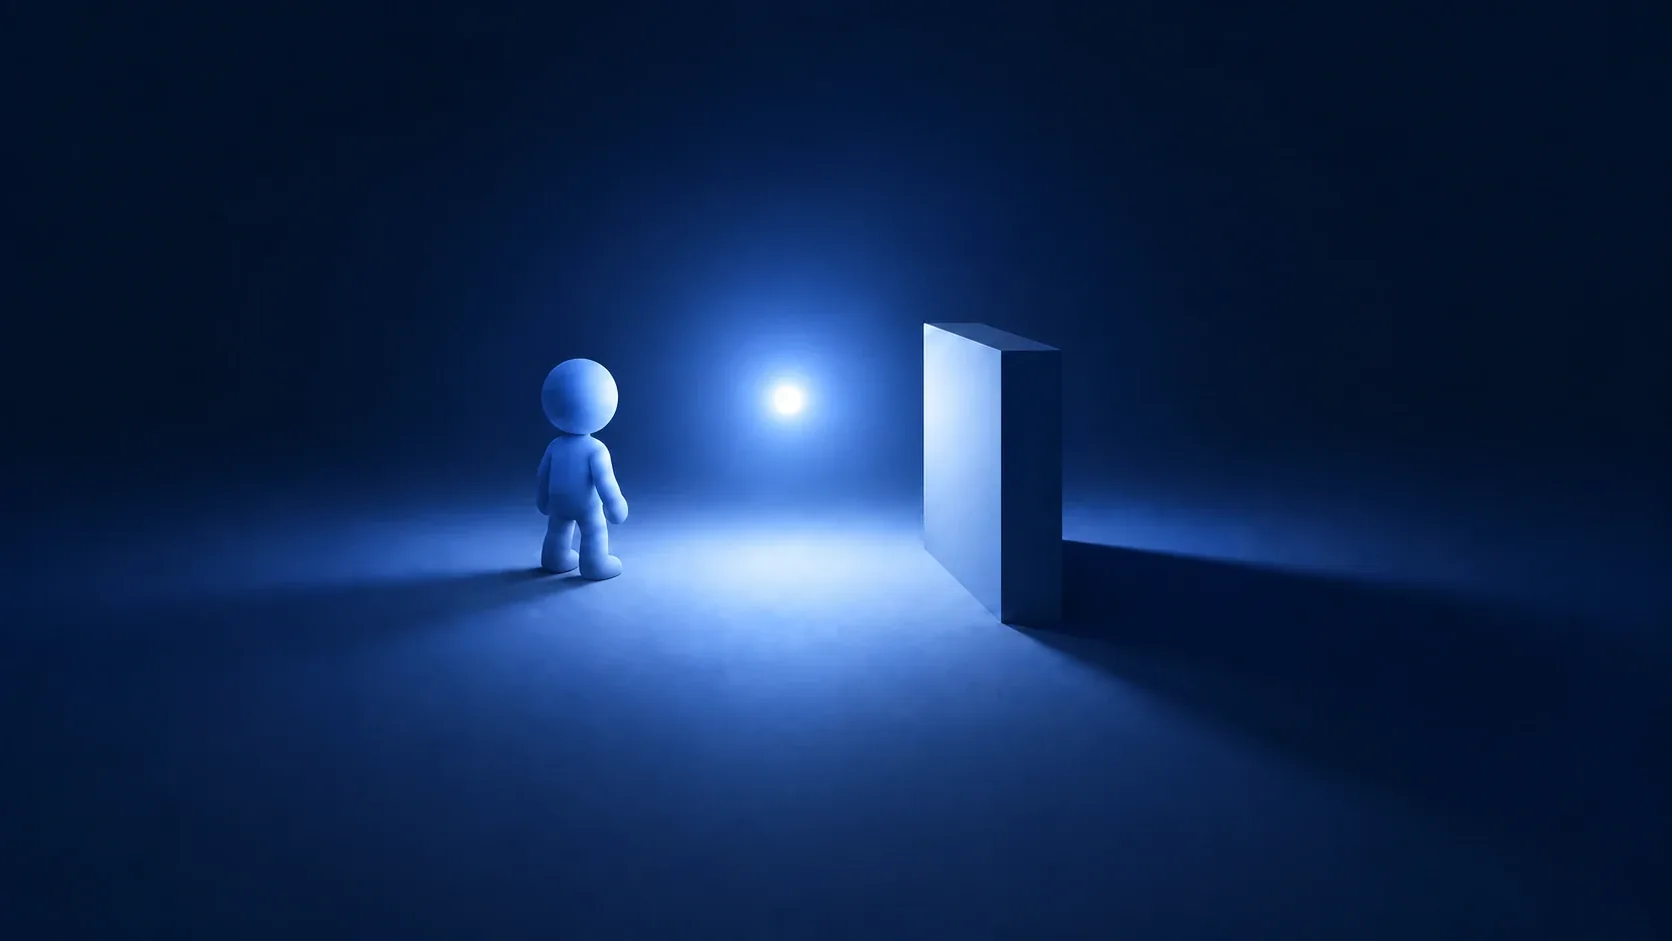
Compare a 2D screen that is uniformly, flatly lit with one where a torch glows in a small pool of light and the wall casts darkness behind it. The same map reads as an actual world in the second case. Light and shadow aren't decoration. They create depth and atmosphere and steer the player's attention.
2D lighting in Godot is built on combining PointLight2D (the light) with LightOccluder2D (the occluder that creates shadows). This article covers emitting light, casting shadows, and lighting only specific objects, then builds a flashlight at the end.
What You'll Learn
- The roles of the three elements: light, occluder, and subject
- Creating light with
PointLight2D's Texture (a radial gradient) and Energy- How
LightOccluder2Dcasts shadows- When to use
PointLight2DversusDirectionalLight2D, and building a flashlight
The Three Elements of 2D Lighting
2D lighting in Godot comes from three kinds of nodes working together.
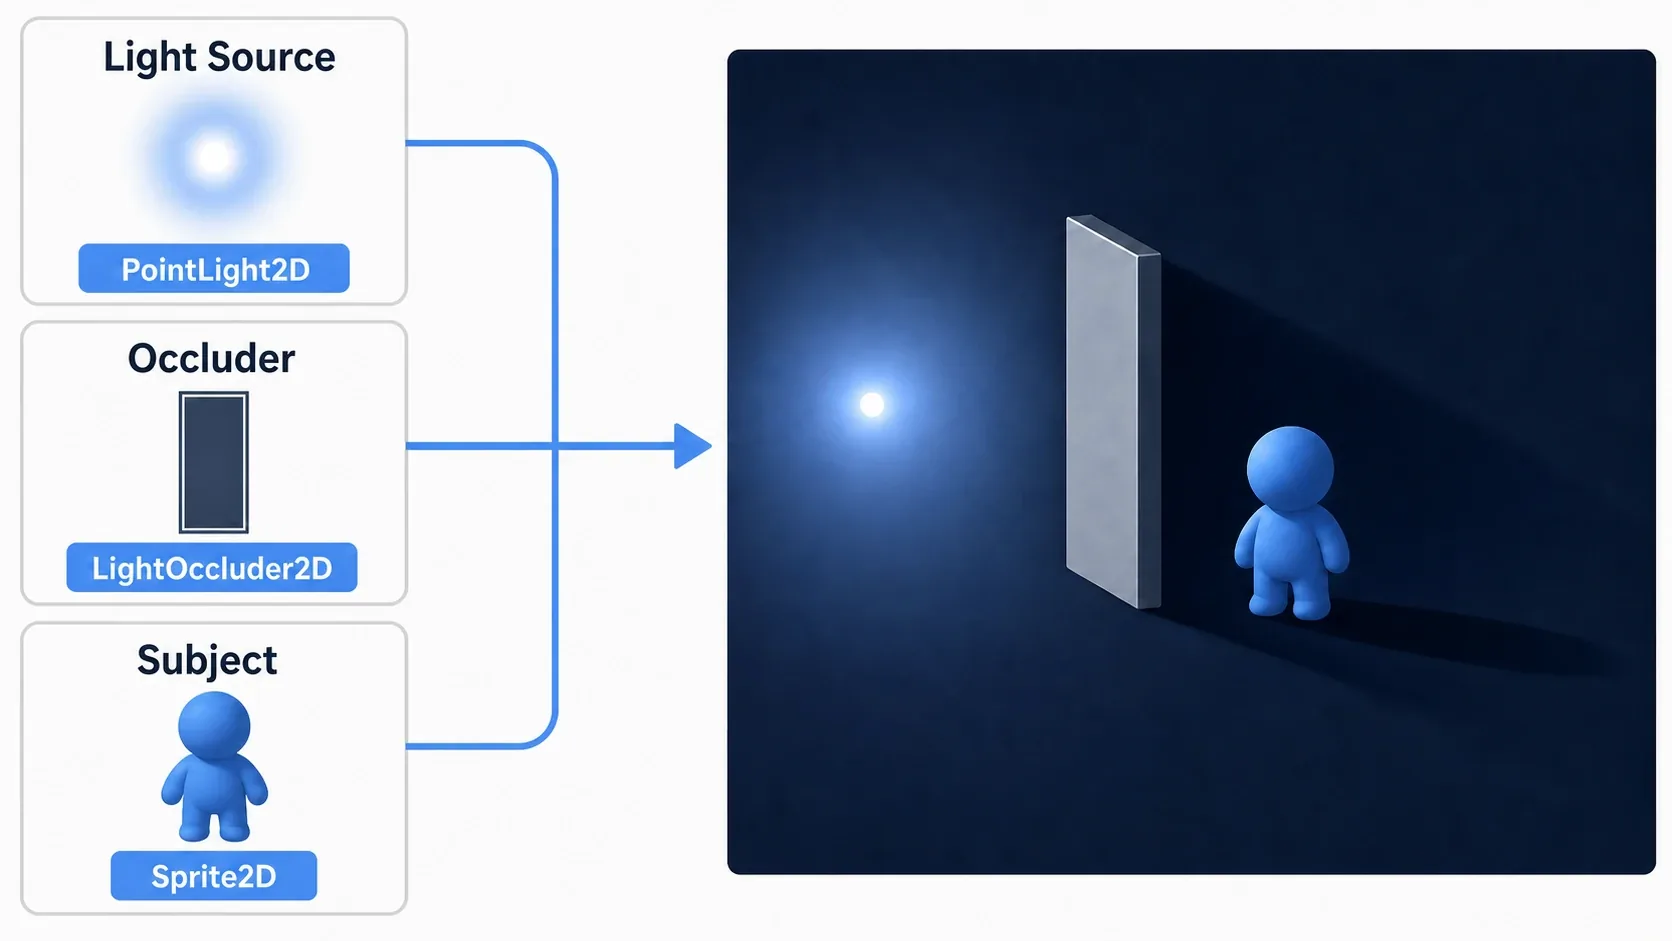
| Element | Typical Node | Role |
|---|---|---|
| Light | PointLight2D / DirectionalLight2D | Emits light. Determines the type, such as a point light or a directional light |
| Occluder | LightOccluder2D | The shape that blocks light and creates shadows. Separate from physics collision |
| Subject | Sprite2D, TileMap, and so on | Any node inheriting CanvasItem. Gets lit or hidden in shadow |
Thinking of it as three roles (something that emits light, something that blocks it, and something that receives it) makes it easy to keep straight.
Creating Light with PointLight2D
PointLight2D is the basic light that radiates in all directions from a single point. Adding one doesn't produce light on its own. The first step is giving Texture a shape for the light.
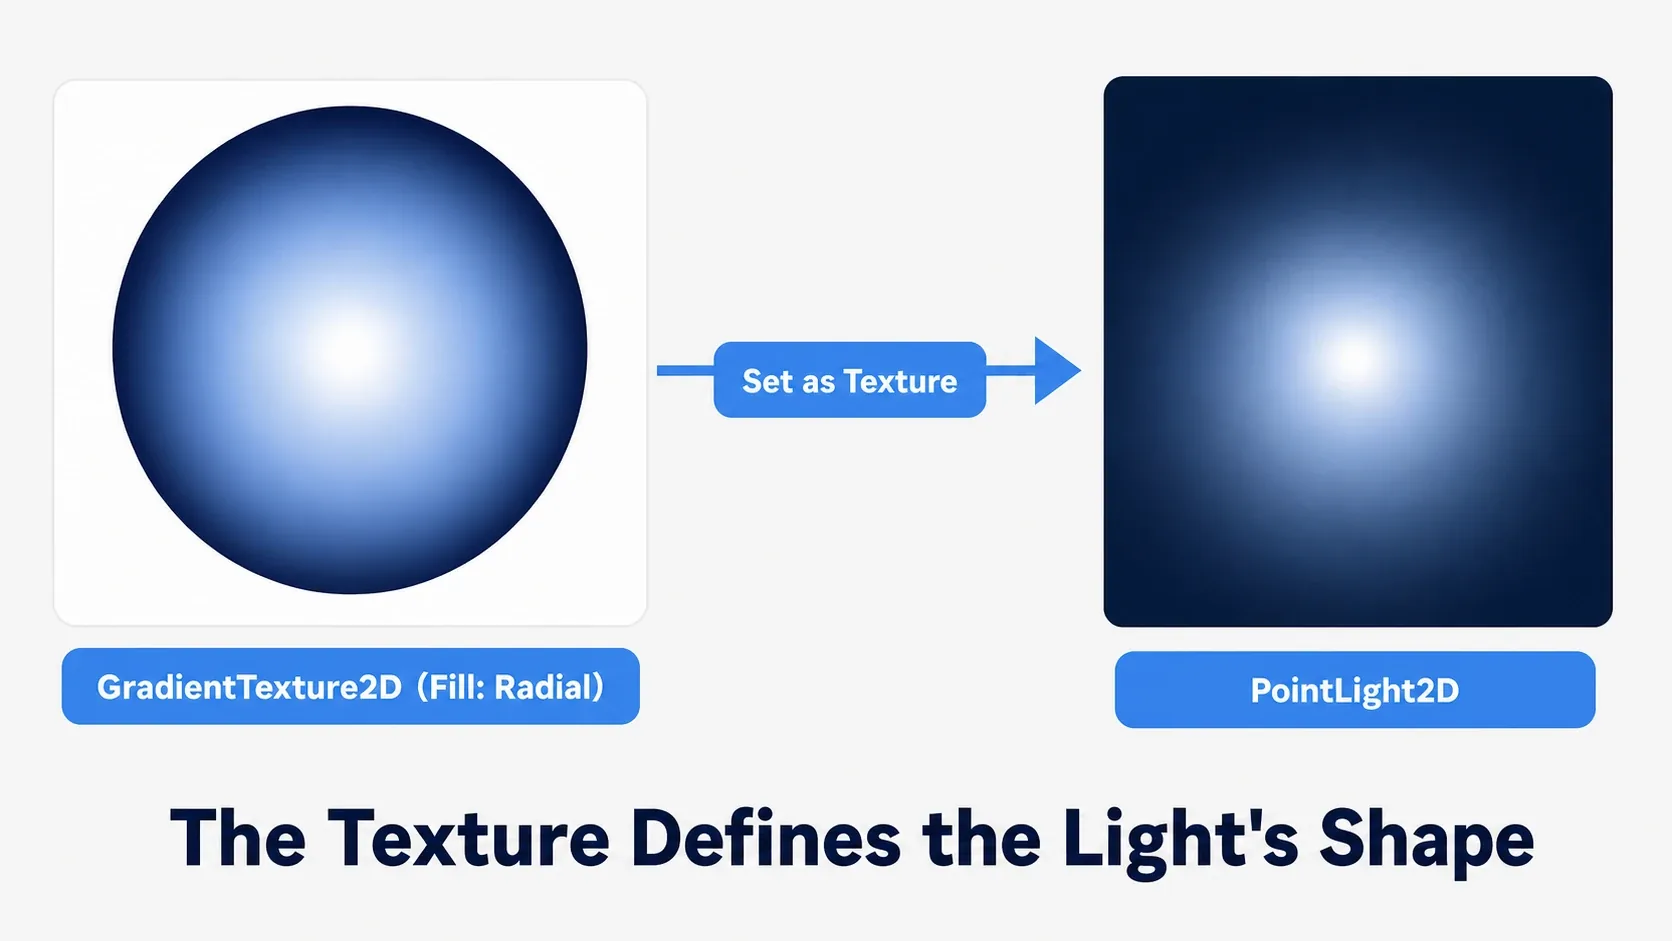
In the Inspector, click the empty Texture slot, choose "New GradientTexture2D," and set its Fill to Radial. That gives you a radial gradient that is bright at the center and fades outward, which is your basic light. From there, tune the following.
- Energy: the strength of the light (higher is brighter)
- Color: the color of the light (white by default)
- Shadow > Enabled: whether this light casts shadows (it's expensive, so enable it only where needed)
Casting Shadows with LightOccluder2D
Shadows don't appear automatically. You have to tell Godot what blocks the light, and that's what LightOccluder2D is for.
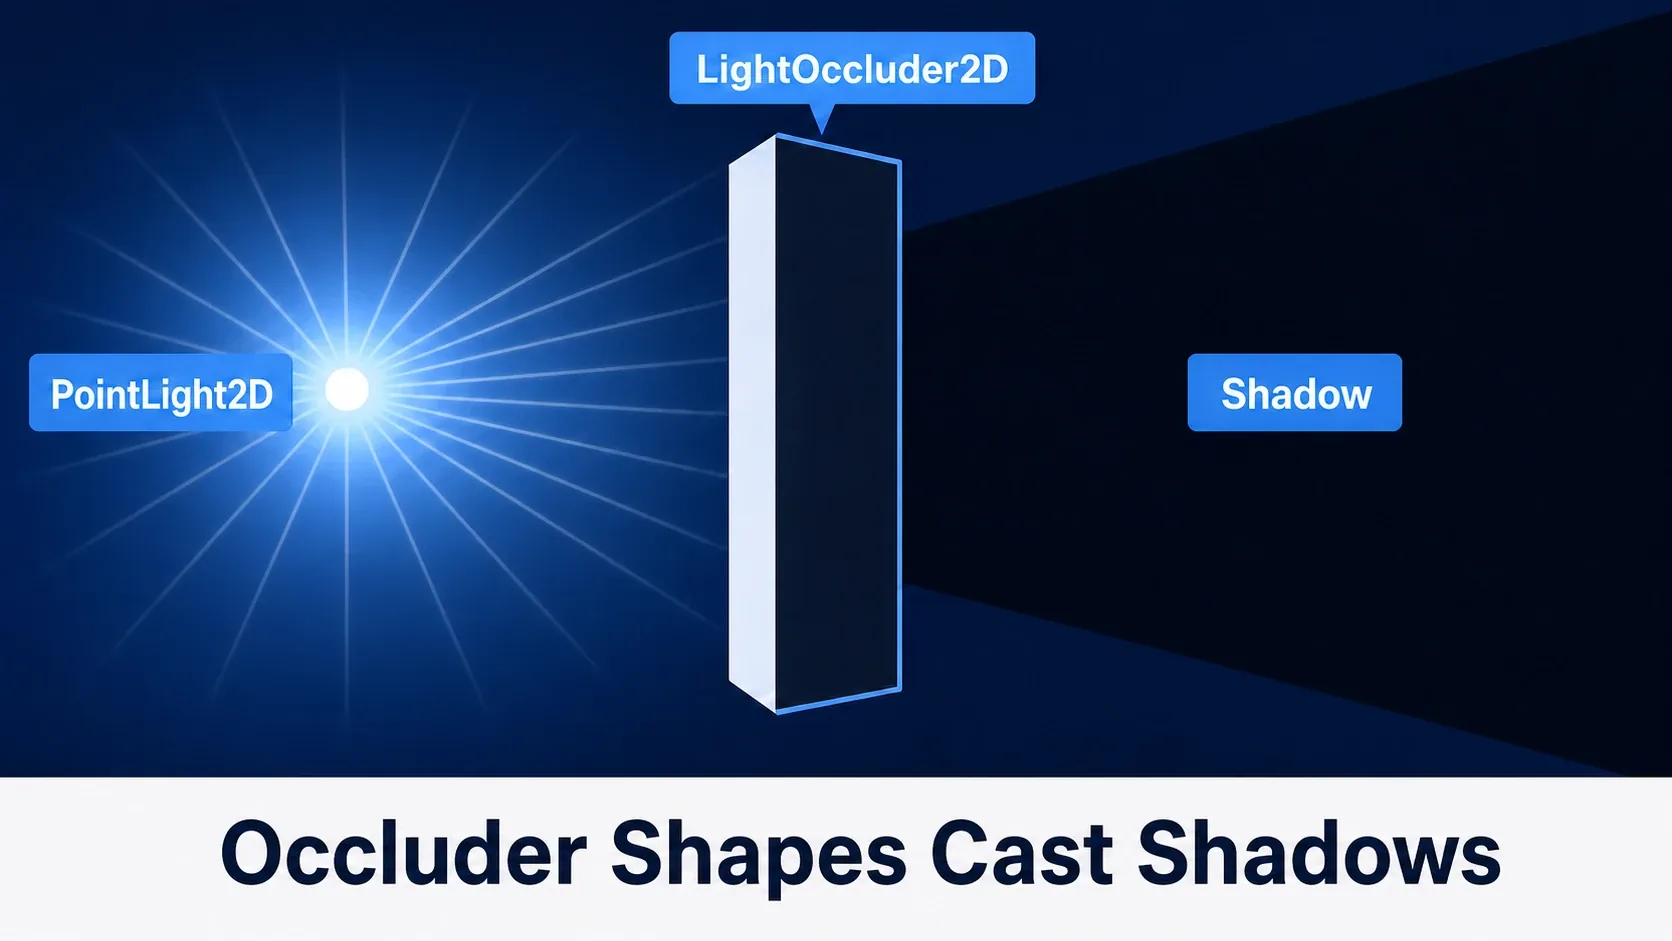
Add a LightOccluder2D as a child node of whatever should cast a shadow (a wall, a pillar, a character), create a new OccluderPolygon2D for its Occluder, and draw the blocking polygon. Three things must line up for a shadow to appear.
Shadow > Enabledis on for thePointLight2D- The occluding object has a
LightOccluder2Dplus anOccluderPolygon2D - The light's
Shadow > Item Cull Maskmatches the occluder's mask
When shadows don't show up, check those three first (the FAQ covers this too).
PointLight2D vs DirectionalLight2D
Where PointLight2D radiates outward from a point, DirectionalLight2D pours parallel light across the entire scene from one direction, like the sun or the moon.
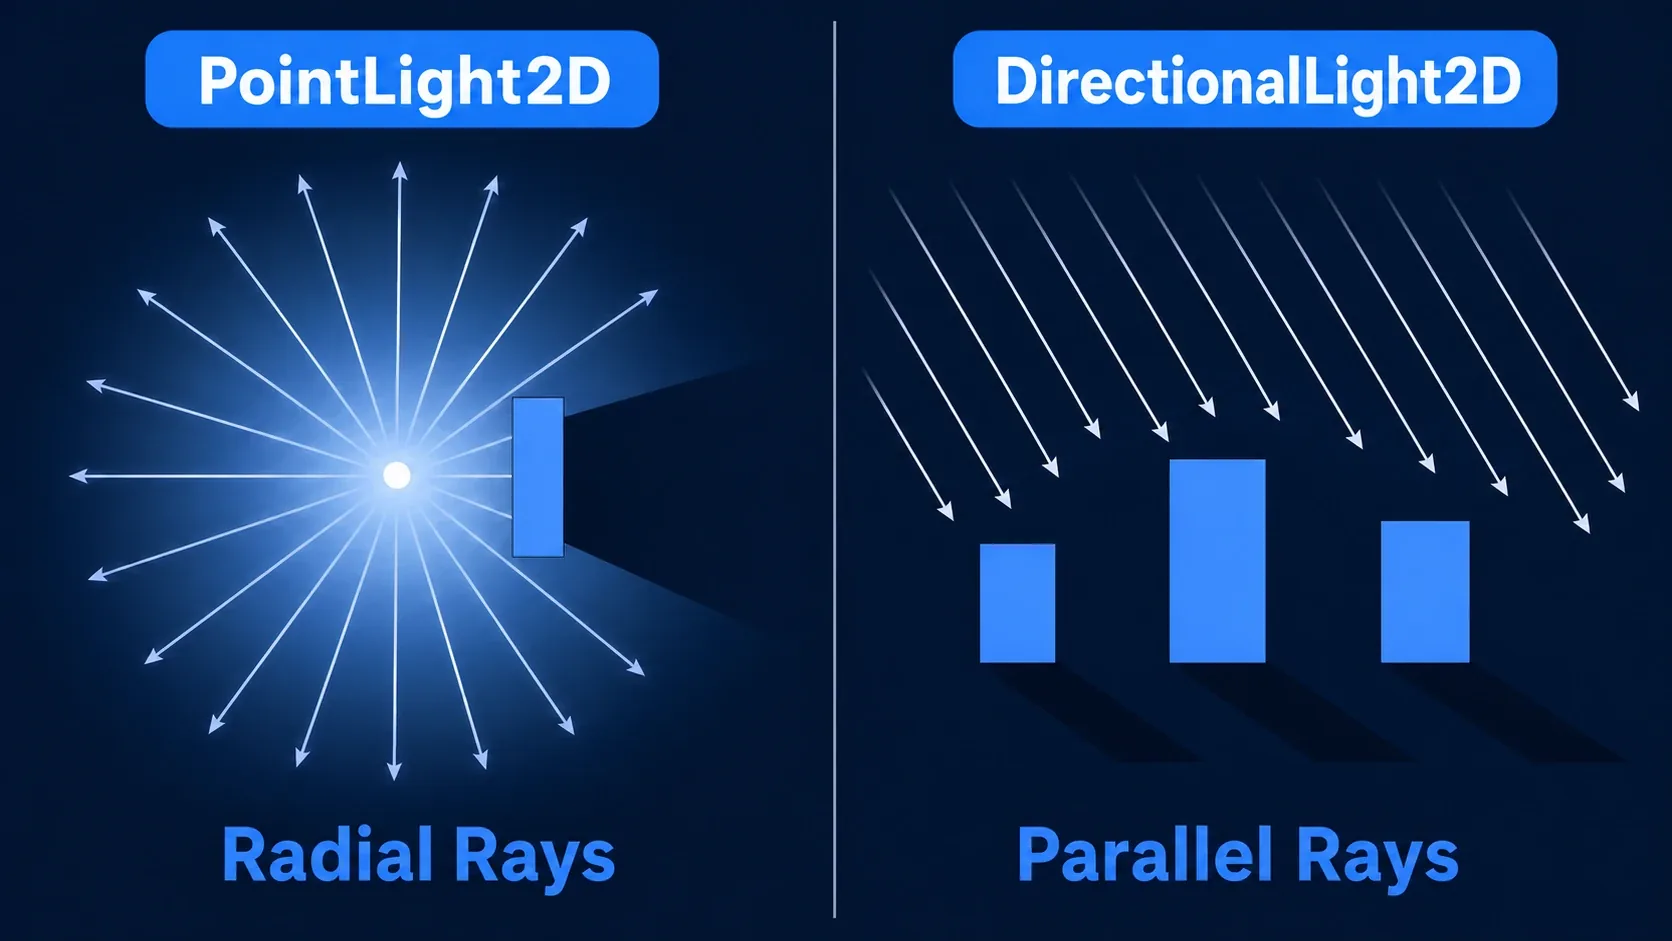
| Trait | PointLight2D | DirectionalLight2D |
|---|---|---|
| Light shape | Radiates from a point | Parallel across the whole scene |
| Main use | Torches, lamps, magic, and other light at a specific position | Sun, moon, outdoor ambient light |
| Shadow direction | Stretches outward from the light's position | Stretches one way based on the light angle |
| Cost | Gets expensive with many lights | Usually one or two. Relatively cheap |
Outdoors, a good combination is setting the overall brightness and shadow direction with DirectionalLight2D first, then adding PointLight2D at cave entrances and campfires.
Hands-On: Building a Flashlight
Now that the three elements are clear, let's build a flashlight that follows the player, points toward the mouse, and drains its battery as it's used. This is how you get "you can only see what's right in front of you" in a horror game, an exploration action game, or a survival game.
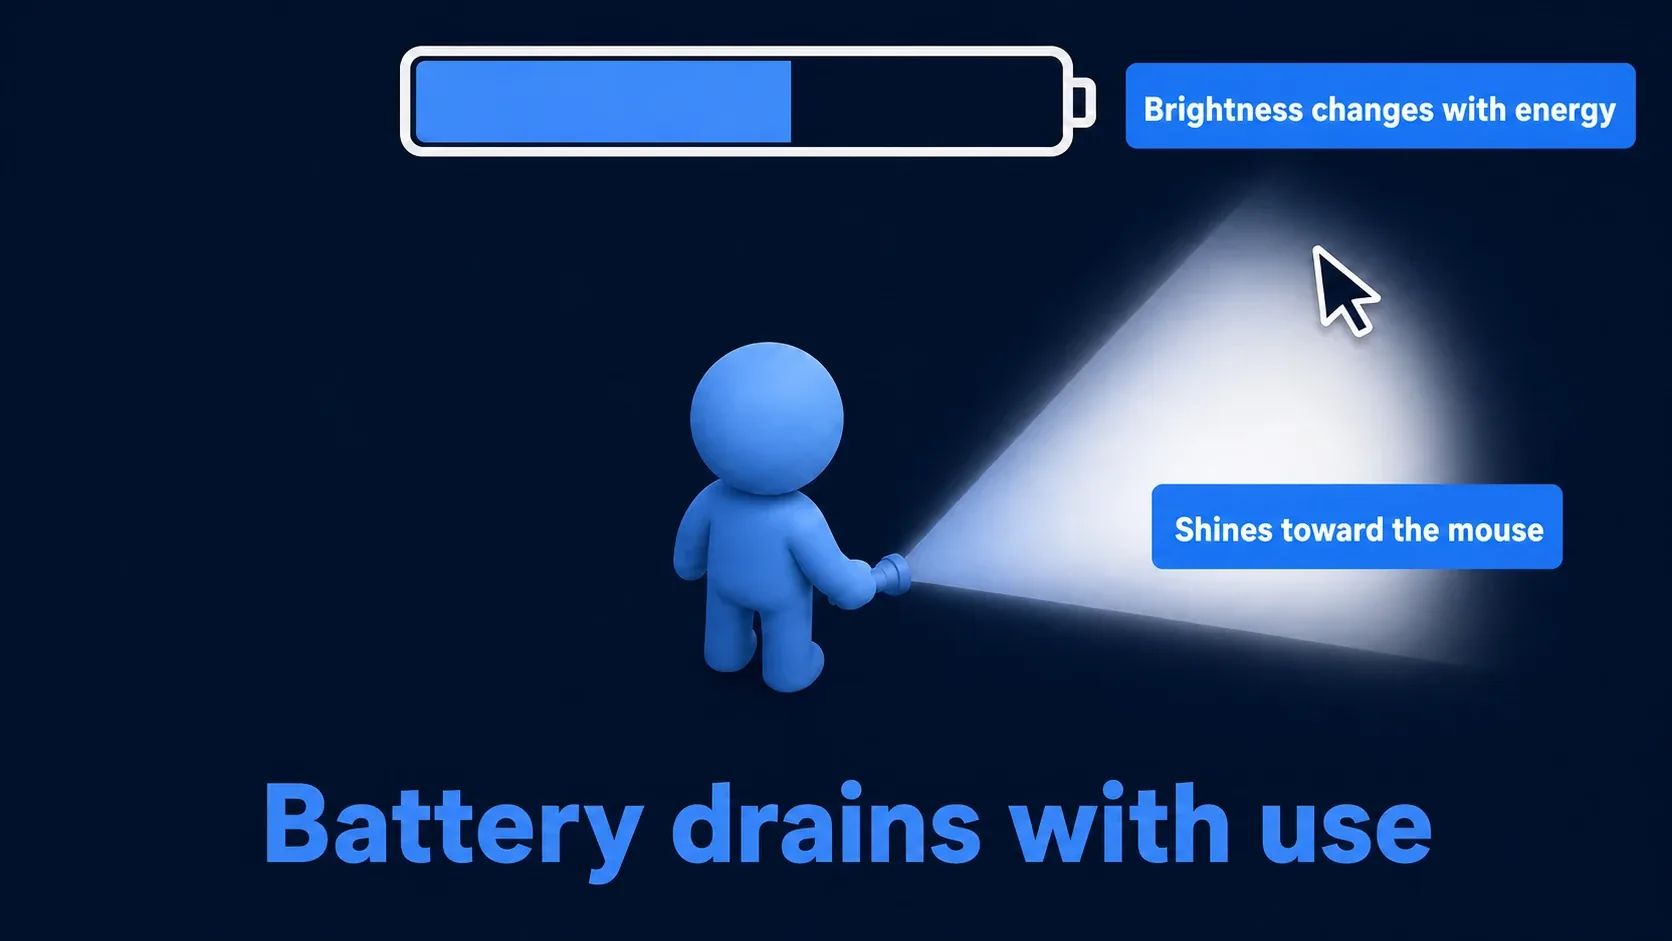
Place a PointLight2D named Flashlight as a child of the player.
extends CharacterBody2D

@onready var flashlight: PointLight2D = $Flashlight
@export var max_energy := 1.0
@export var drain_rate := 0.02   # Drain per second
var energy := 1.0

func _ready() -> void:
    energy = max_energy
    flashlight.enabled = false

func _unhandled_input(event: InputEvent) -> void:
    if event.is_action_pressed("toggle_light"):
        flashlight.enabled = not flashlight.enabled   # Toggle on/off
        get_viewport().set_input_as_handled()

func _process(delta: float) -> void:
    if not flashlight.enabled:
        return
    energy = maxf(energy - drain_rate * delta, 0.0)   # Drain the battery
    if energy == 0.0:
        flashlight.enabled = false                    # Turn off when it dies
    flashlight.energy = lerpf(0.5, 1.5, energy / max_energy)   # Brightness follows the charge left
    # Aim toward the mouse (for a cone, use a cone-shaped image as the Texture)
    flashlight.rotation = (get_global_mouse_position() - global_position).angle()

func restore_energy(amount: float) -> void:
    energy = minf(energy + amount, max_energy)         # Recharge when a battery is picked up
    if energy > 0.0:
        flashlight.enabled = true
There are two points to take away.
- Light is just properties: touching
flashlight.enabled(on/off),flashlight.energy(brightness), andflashlight.rotation(direction) each frame is all it takes to get a flashlight that dims as the battery runs down. - For a cone, swap the Texture:
PointLight2Dradiates outward, so rotating it leaves the light a circle. When you want a cone of light, use a cone-shaped gradient image as theTexture. For fancier light shapes, Fragment Shader Basics is where you build them.
Common Mistakes and Best Practices
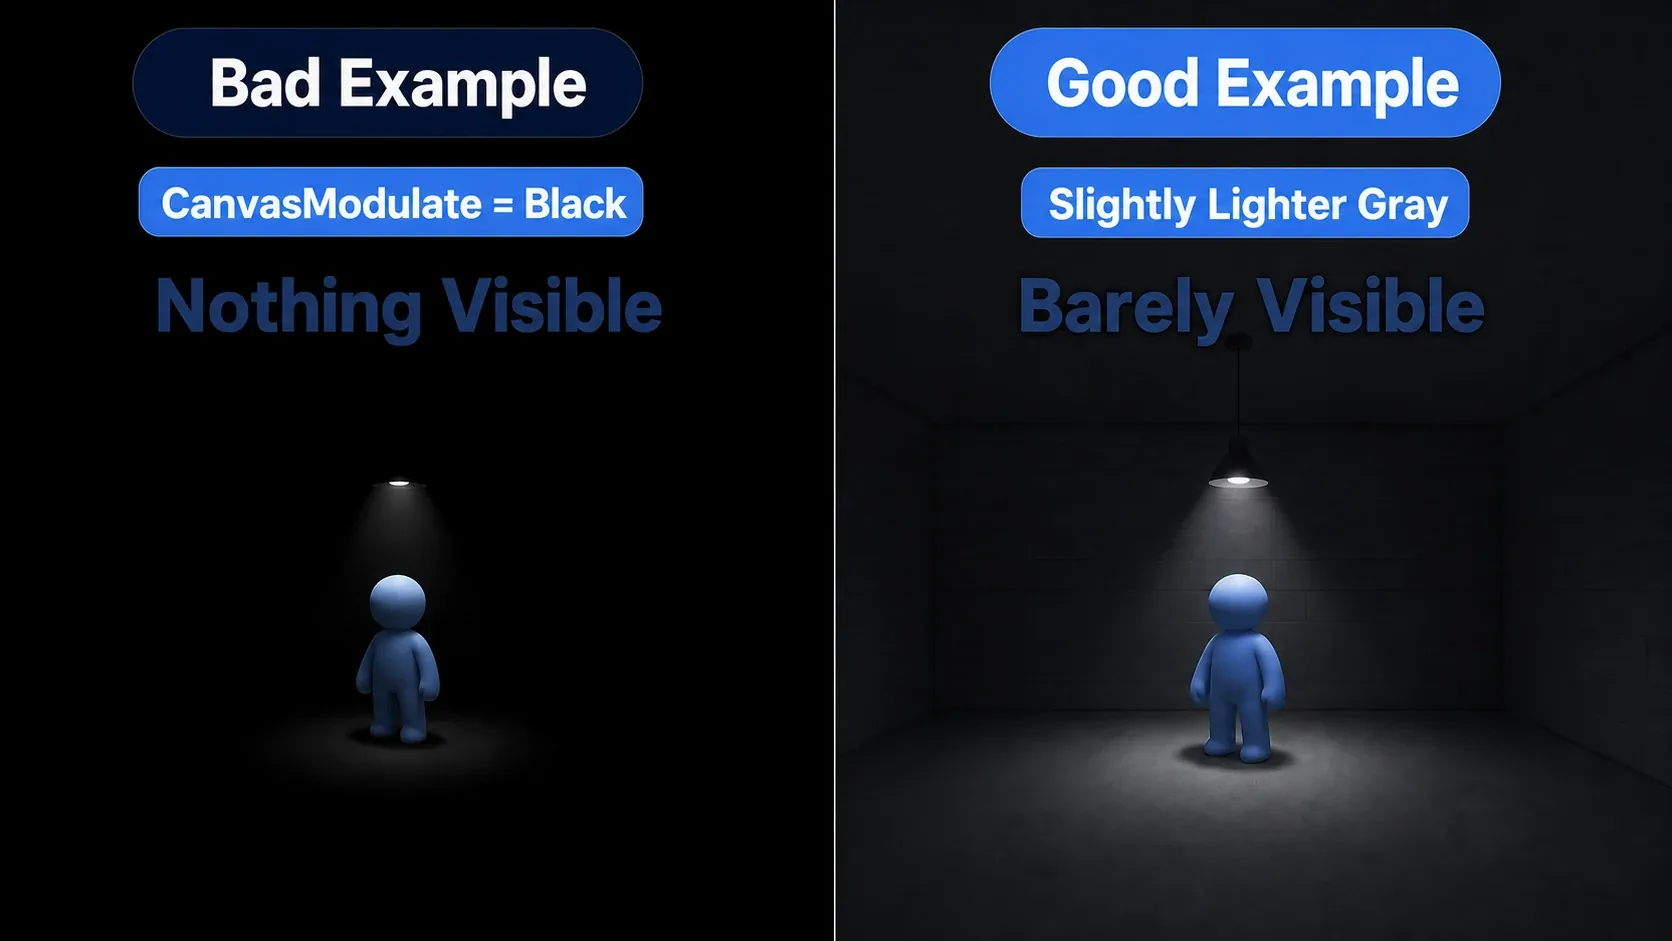
| Common Mistake | Best Practice |
|---|---|
No shadows because there's no LightOccluder2D | Add a LightOccluder2D plus OccluderPolygon2D to the shadow-casting object (or its parent) |
Making CanvasModulate pure black so nothing is visible | Use a slightly lighter gray (say #202020) instead of full black to keep minimal visibility |
An OccluderPolygon2D with too many vertices, hurting performance | Use the fewest vertices that express the shape. For a TileMap, optimize with the TileSet's Occlusion layer |
| Enabling shadows on every light and tanking performance | Enable shadows only on the lights that matter for gameplay. Leave them off for atmospheric fill lights |
Unintended lighting because Light Mask isn't used | Separate layers with the light's Item Cull Mask and the subject's Light Mask |
Bonus: Good to Know for Later
- Normal maps add realism: assigning a normal map to a
Sprite2Dgives the lighting surface detail, making a flat sprite look three-dimensional. - Make night with
CanvasModulate: place a singleCanvasModulateto darken the whole scene, then add lights on top, and you get a night or cave atmosphere instantly. - TileMap shadows belong in the TileSet: for the shadows of map walls, use the
TileSet's Occlusion layer instead of setting up each tile individually. It's much cheaper. - Elaborate light belongs in shaders: flickering flames, chromatic aberration, and the like are the domain of Fragment Shader Basics.
Summary
- The three elements: light (
PointLight2D), occluder (LightOccluder2D), and subject (Sprite2Dand friends) - Making light: put a radial gradient in
PointLight2D'sTextureand tune the strength withEnergy - Making shadows: add
LightOccluder2DplusOccluderPolygon2Dto the occluder, and enable shadows on the light - Choosing between them:
DirectionalLight2Dfor the whole scene,PointLight2Dfor specific positions
Just one pair of PointLight2D and LightOccluder2D turns a flat 2D scene into a world with light and shadow. Start by lighting a single torch in a dark scene. Next, add sparks with GPUParticles2D Effects or expand your lighting vocabulary with Fragment Shader Basics, and the screen gets richer still.