Moving a 2D game into 3D usually starts with a few familiar problems: the object doesn't show up, the collision shape gets left behind when you move things, or coordinates end up somewhere unexpected. Most of these clear up once you understand that Node3D and MeshInstance3D have separate jobs.
Node3D is the 3D counterpart of Node2D. The key difference is that in 3D, "where it is" and "what it looks like" live on different nodes. This article covers the 3D coordinate system, Transform3D, and parenting, and explains how these two nodes relate to each other.
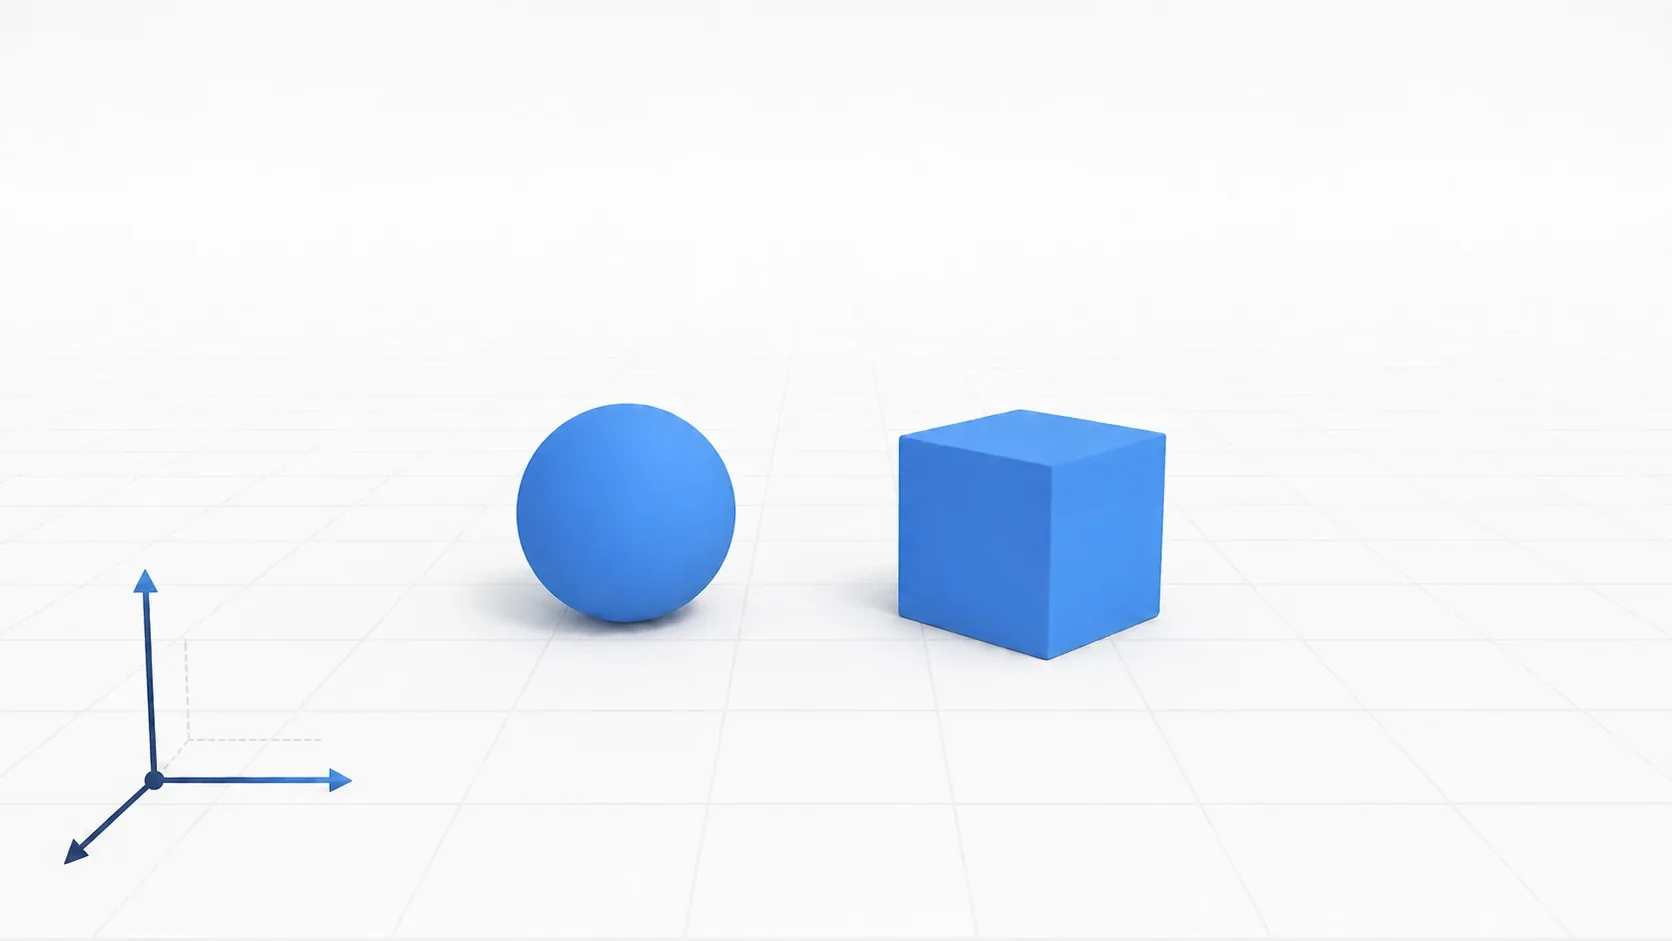
What You'll Learn
- Godot's Y-Up right-handed coordinate system and the "1 unit = 1 meter" rule
- How
Transform3D(basisandorigin) defines an object's pose- The split between
Node3D(location) andMeshInstance3D(appearance)- How to build spin and orbit motion with pivots and parenting
3D Space Basics: The Y-Up Right-Handed System
Godot's 3D space is right-handed like most 3D software, and Y is up (Y-Up). The unit is 1 unit = 1 meter, which is the reference for all distances and sizes.
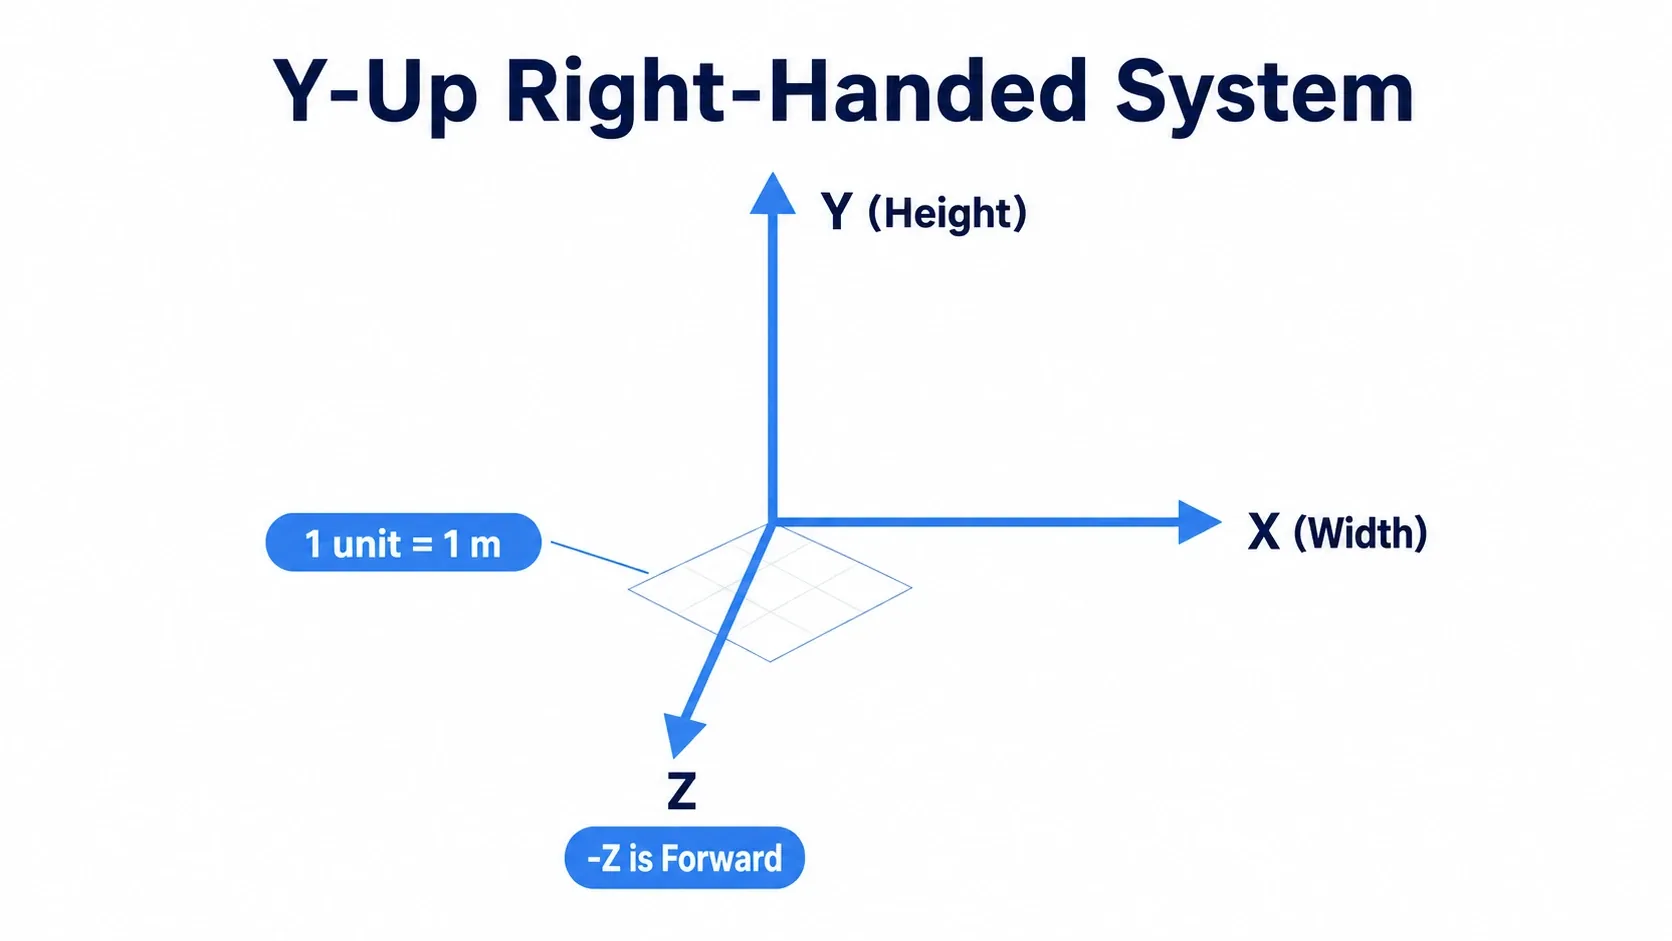
| Axis | Role | Positive Direction |
|---|---|---|
| Y axis | Height | Up |
| X axis | Width | Right |
| Z axis | Depth | Toward the viewer ( -Z is forward ) |
The "-Z is forward" rule is the one that trips people up first. Remember it as: moving forward means moving along -Z.
An object's pose in 3D space is stored in a Transform3D. It has two parts.
basis: a 3x3 matrix holding rotation and scaleorigin: aVector3holding the position
The position / rotation / scale fields you edit in the Inspector are convenience properties that expose this Transform3D in a human-friendly form.
Node3D: The Foundation for Location and Pose
Node3D is the base class for every 3D node. Its job is to hold a Transform3D (position, rotation, scale) in 3D space. It has no visible shape and no collision of its own. It is purely a point and coordinate frame in space. Parenting works the same way as described in Scene and Node Basics.
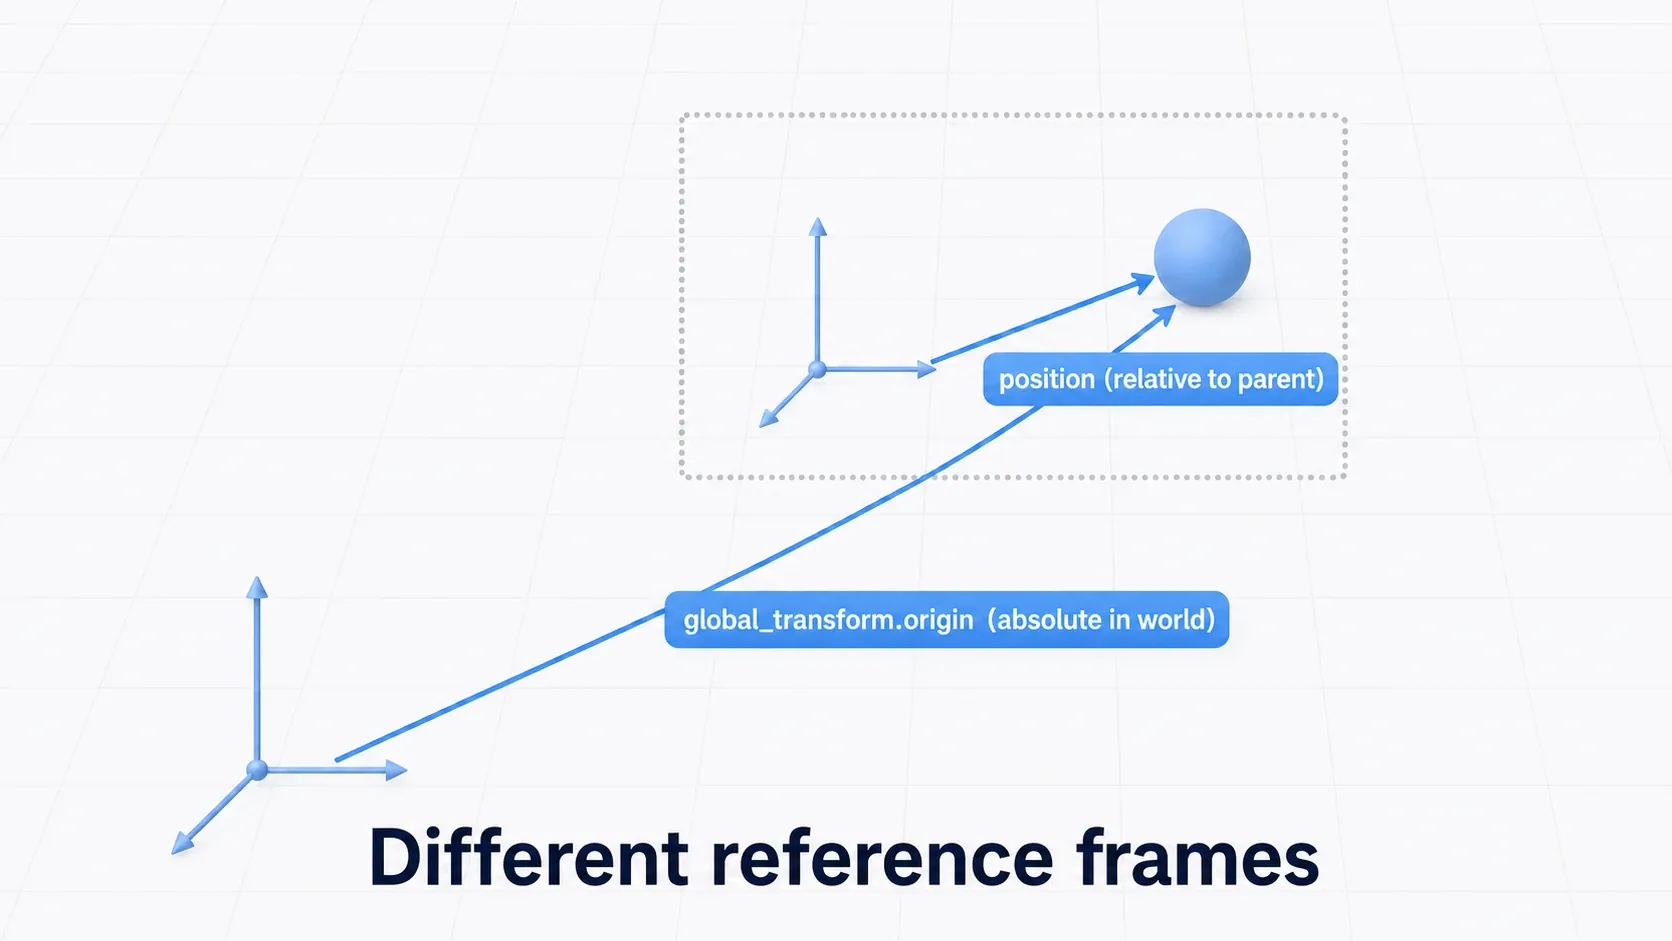
The most powerful use of Node3D is to make an empty Node3D the parent and group several nodes under it. Move the parent and every child follows. A child's transform is always relative to its parent.
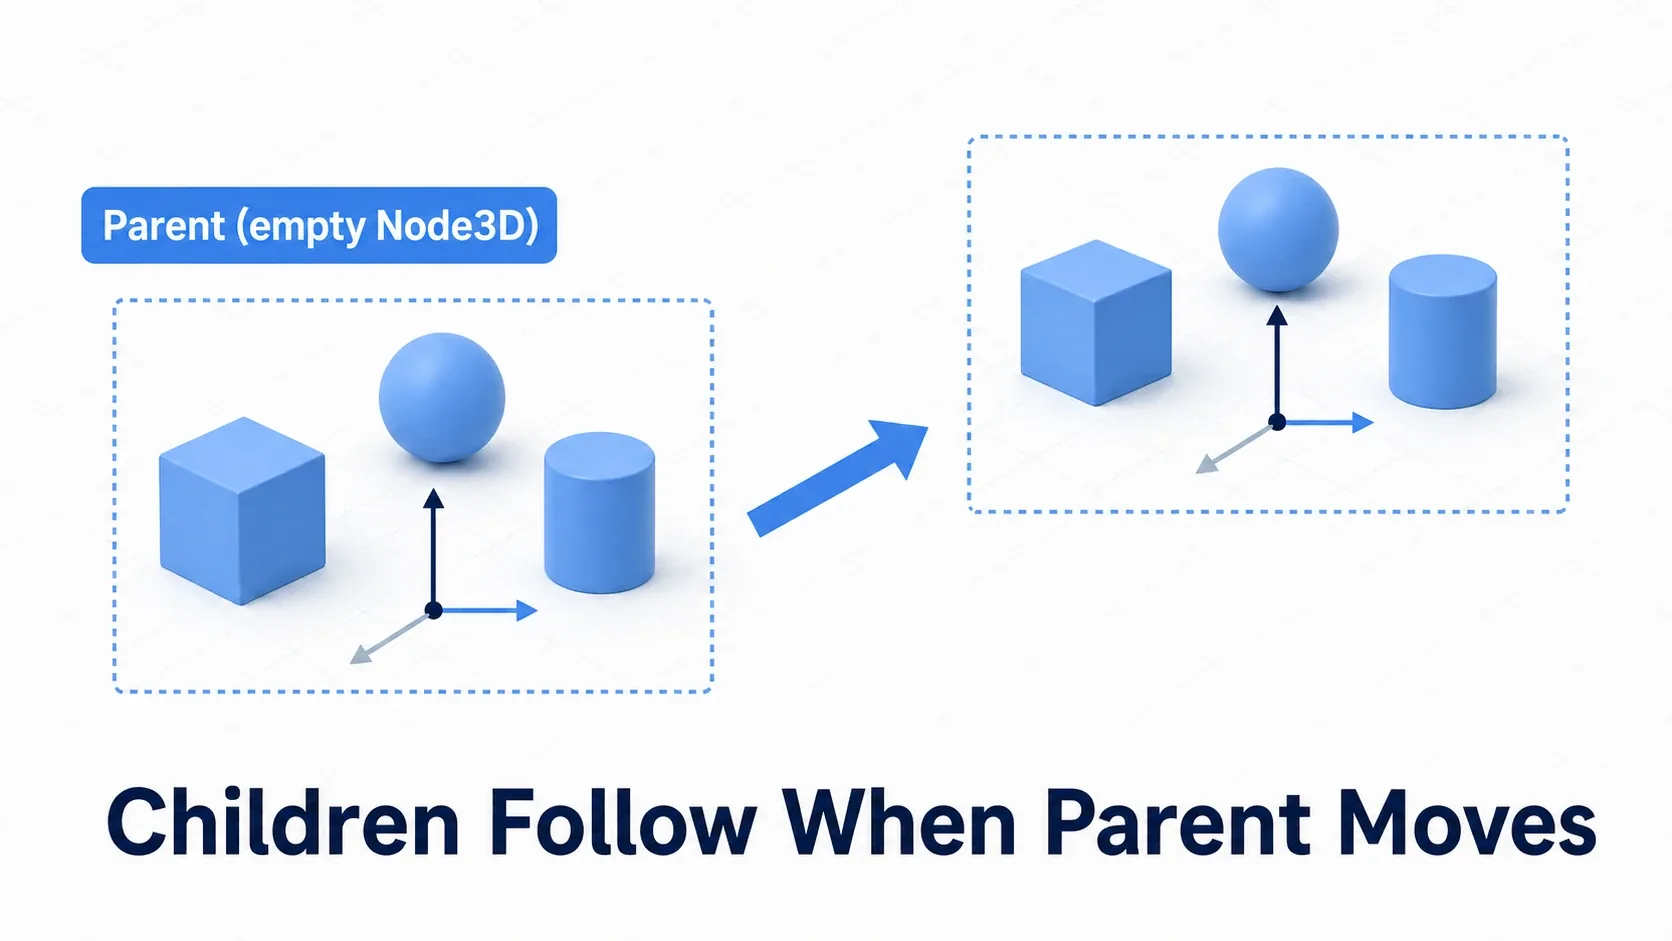
Characters and multi-part machinery are all built on this "group things under an empty Node3D" pattern.
MeshInstance3D: Giving It a Look
MeshInstance3D extends Node3D and adds the ability to render a mesh (a shape). If Node3D answers "where is it," MeshInstance3D answers "what is there, and what does it look like."
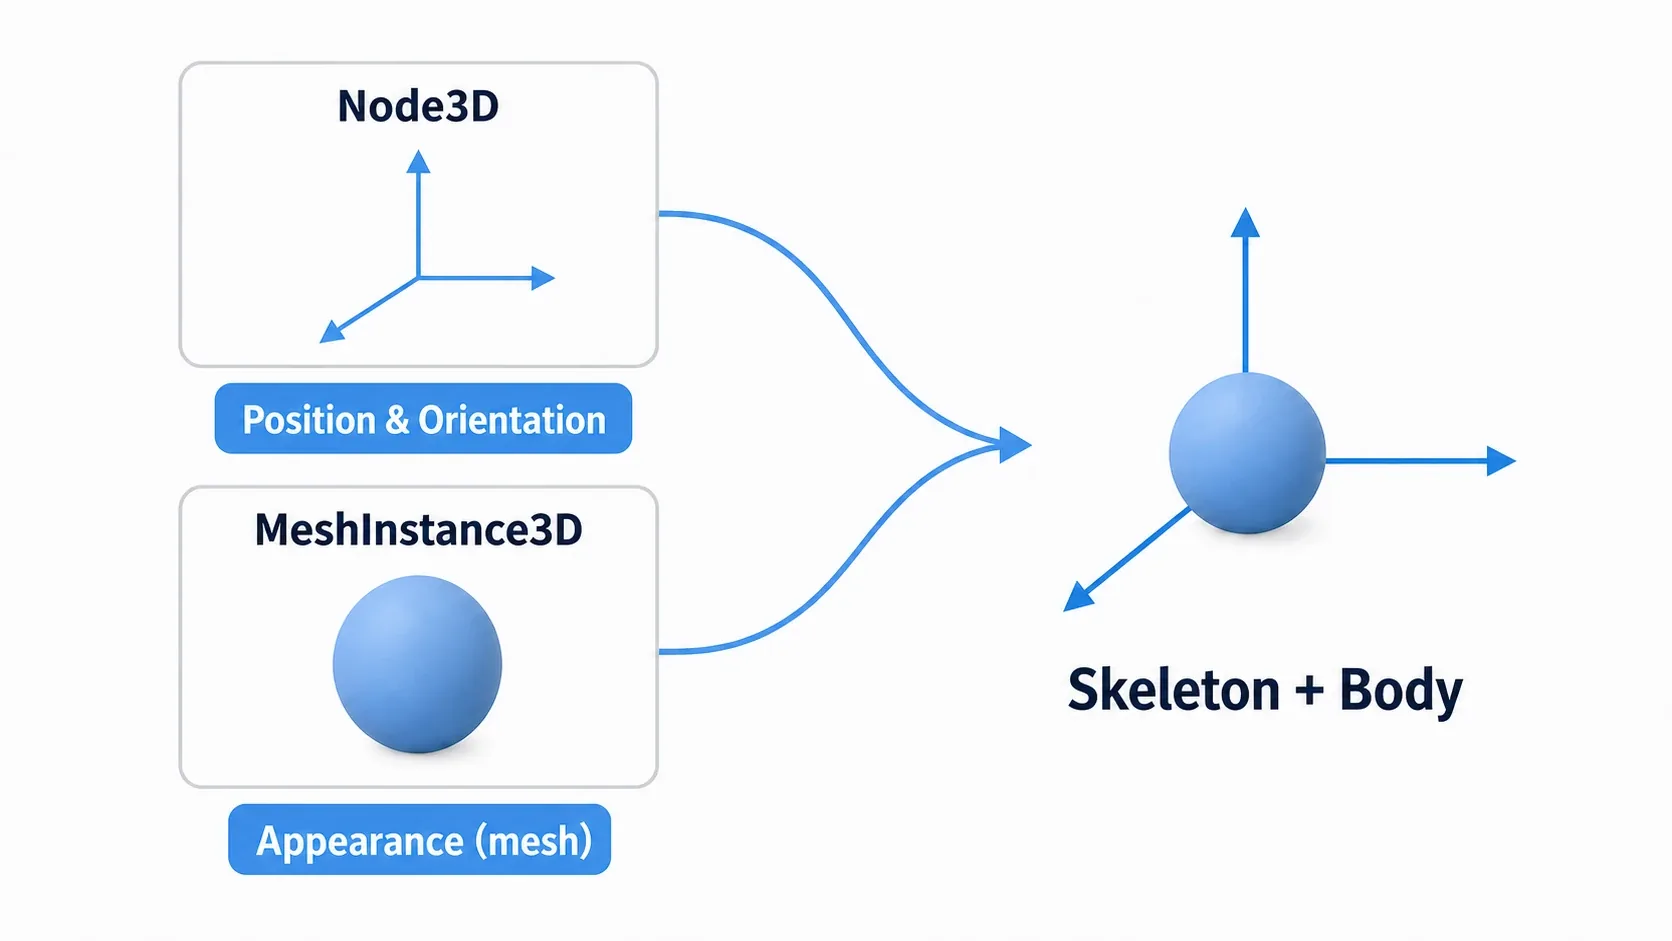
| Node | Role | Main Properties |
|---|---|---|
Node3D | Location and pose | transform (position / rotation / scale) |
MeshInstance3D | Appearance and shape | mesh, material_override |
For MeshInstance3D to display anything, you have to assign a Mesh resource to mesh at minimum (a BoxMesh or SphereMesh, or an imported 3D model). Think of it as "Node3D is the skeleton, MeshInstance3D is the flesh" and assembling 3D scenes gets much easier to reason about. For displaying imported characters, see 3D Skeletal Animation as well.
Hands-On: A Spinning Planet with an Orbiting Satellite
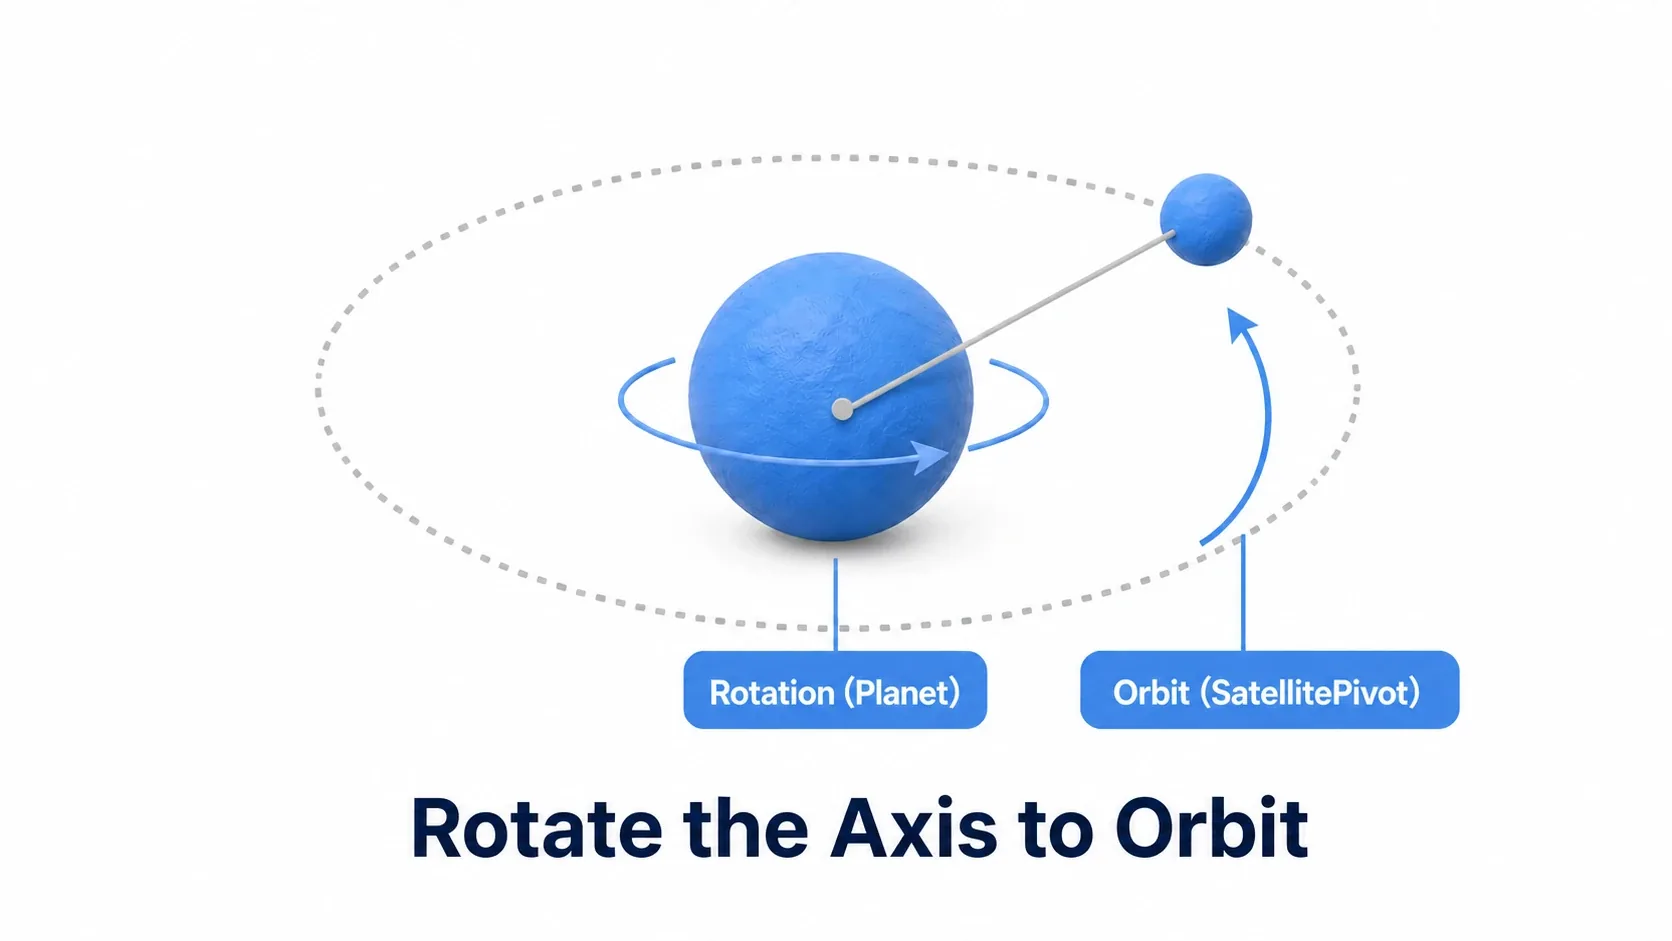
To practice parenting and pivots (empty Node3Ds used as rotation axes), let's build a planet that spins on its axis with a satellite orbiting around it. The idea of "rotate an axis to make something orbit" works the same in a 3D RPG or a shooter.
The trick is to rotate the parent pivot rather than the object itself. That lets you control spin and orbit independently.
extends Node3D

@export var spin_speed := 40.0    # Planet spin (degrees per second)
@export var orbit_speed := 60.0   # Satellite orbit (degrees per second)

@onready var planet: MeshInstance3D = $PlanetPivot/Planet
@onready var satellite_pivot: Node3D = $PlanetPivot/SatellitePivot

func _process(delta: float) -> void:
    planet.rotate_y(deg_to_rad(spin_speed * delta))            # The planet spins on itself
    satellite_pivot.rotate_y(deg_to_rad(orbit_speed * delta))  # The satellite orbits by rotating its "axis"
Set up the node tree like this. The important part is offsetting the satellite from its orbit axis (rotating the axis makes it trace a circle with that offset as the radius).
Node3D
└─ PlanetPivot (Node3D)
   ├─ Planet (MeshInstance3D … SphereMesh)
   └─ SatellitePivot (Node3D)        … rotate this to create the orbit
      └─ Satellite (MeshInstance3D)  … offset its position to something like (4, 0, 0)
There are two points to take away.
- Rotate the axis, not the body: rotating
Planetdirectly gives you a spin, while rotatingSatellitePivot(the axis) makes its childSatellitetrace a circular orbit. Splitting the roles across axes is the trick. - Move the parent and everything follows: move
PlanetPivotand the planet and satellite travel together. That is the power of grouping under an empty Node3D.
Common Mistakes and Best Practices
| Common Mistake | Best Practice |
|---|---|
Moving MeshInstance3D directly, so physics gets out of sync | Put CharacterBody3D / RigidBody3D at the root and place MeshInstance3D as its child (Choosing a Physics Body) |
Reading position expecting global coordinates | position is relative to the parent. For world coordinates, use global_transform.origin |
Flipping objects with scale (scale.x = -1) | A source of physics and shader bugs. Change the facing with rotation, or fix it in the model |
| Placing hundreds of copies of the same mesh individually | Draw calls pile up. Consider MultiMeshInstance3D |
Bonus: Good to Know for Later
- Use MultiMeshInstance3D for large counts: if you need hundreds of copies of the same mesh, like trees in a forest, drawing them together with one node is much cheaper.
- You can create as many pivots as you want with empty Node3Ds: rotation axes, weapon attachment points, effect spawn positions. Whenever you want a reference point, adding an empty Node3D is the standard move.
- Forward is
-Z: remembering that forward is-Zkeeps things straight when you uselook_at()or work with a character's facing direction. - Surface appearance comes from Material: assign a
StandardMaterial3Dto aMeshInstance3Dto control color, metallic look, emission, and more.
Summary
- 3D space: Y-Up right-handed, 1 unit = 1 meter, forward is -Z
- Transform3D: pose is expressed by
basis(rotation and scale) andorigin(position) Node3D: the foundation for location and pose. Use empty Node3Ds for grouping and pivotsMeshInstance3D: gives an object its look viamesh. Node3D is the skeleton, MeshInstance3D is the flesh
This split between location (Node3D) and appearance (MeshInstance3D) is the backbone of building 3D scenes. Start by putting a MeshInstance3D with a SphereMesh under an empty Node3D and rotating the parent. From there, move models with 3D Skeletal Animation or attach physics bodies, and your 3D scenes will really start to come alive.