Two action games can play very differently based on nothing but camera movement. A camera glued rigidly to the player feels stiff, and a screen that doesn't budge when you take a hit makes the whole game feel weightless.
Camera2D is the eye of a 2D game. This article implements three standard techniques that boost immersion and feedback (smooth follow, screen shake, and dynamic zoom) and then combines them into a single boss intro sequence.
What You'll Learn
- Frame-rate independent smooth follow using
lerp- Screen shake with a trauma value for varying intensity
- Dynamic zoom that eases in and out with
Tween- How to build a boss intro sequence that combines all three
Smooth Follow: Trailing the Player Gently
Assigning the target's coordinates straight to the camera makes movement feel rigid, and following a physics-driven player often produces jitter. Most of the time the cause is a timing mismatch between the physics update (_physics_process) and rendering (_process). See _process vs _physics_process for details.
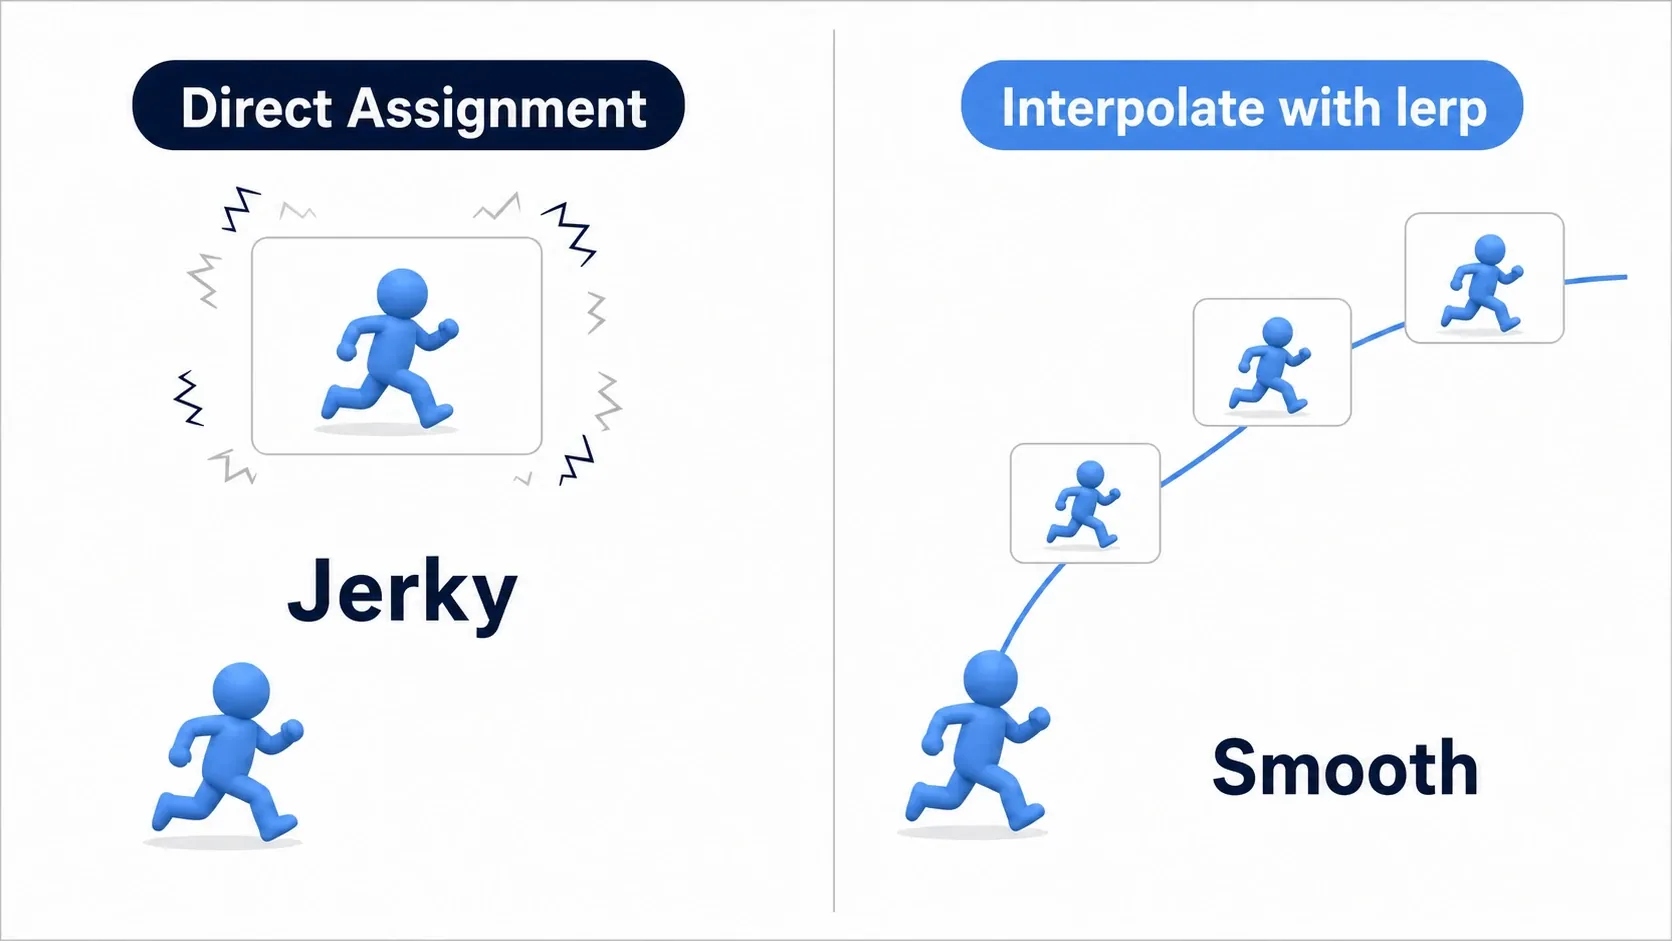
For a quick fix, just set Camera2D's position_smoothing_enabled to true and tune position_smoothing_speed. If you want finer control, do the following yourself with lerp (linear interpolation).
extends Camera2D

@export var target: Node2D
@export_range(0.0, 1.0) var smoothing := 0.05   # Smaller values follow more slowly and smoothly

func _physics_process(delta: float) -> void:
    if not is_instance_valid(target):
        return
    # Interpolation that keeps the follow speed constant across frame rates
    global_position = global_position.lerp(target.global_position, 1.0 - pow(smoothing, delta))
The key is using 1.0 - pow(smoothing, delta) as the lerp weight. That keeps the follow speed essentially constant even when the frame rate fluctuates. Since the player is moved by physics, the logic goes in _physics_process.
Screen Shake: Selling the Impact
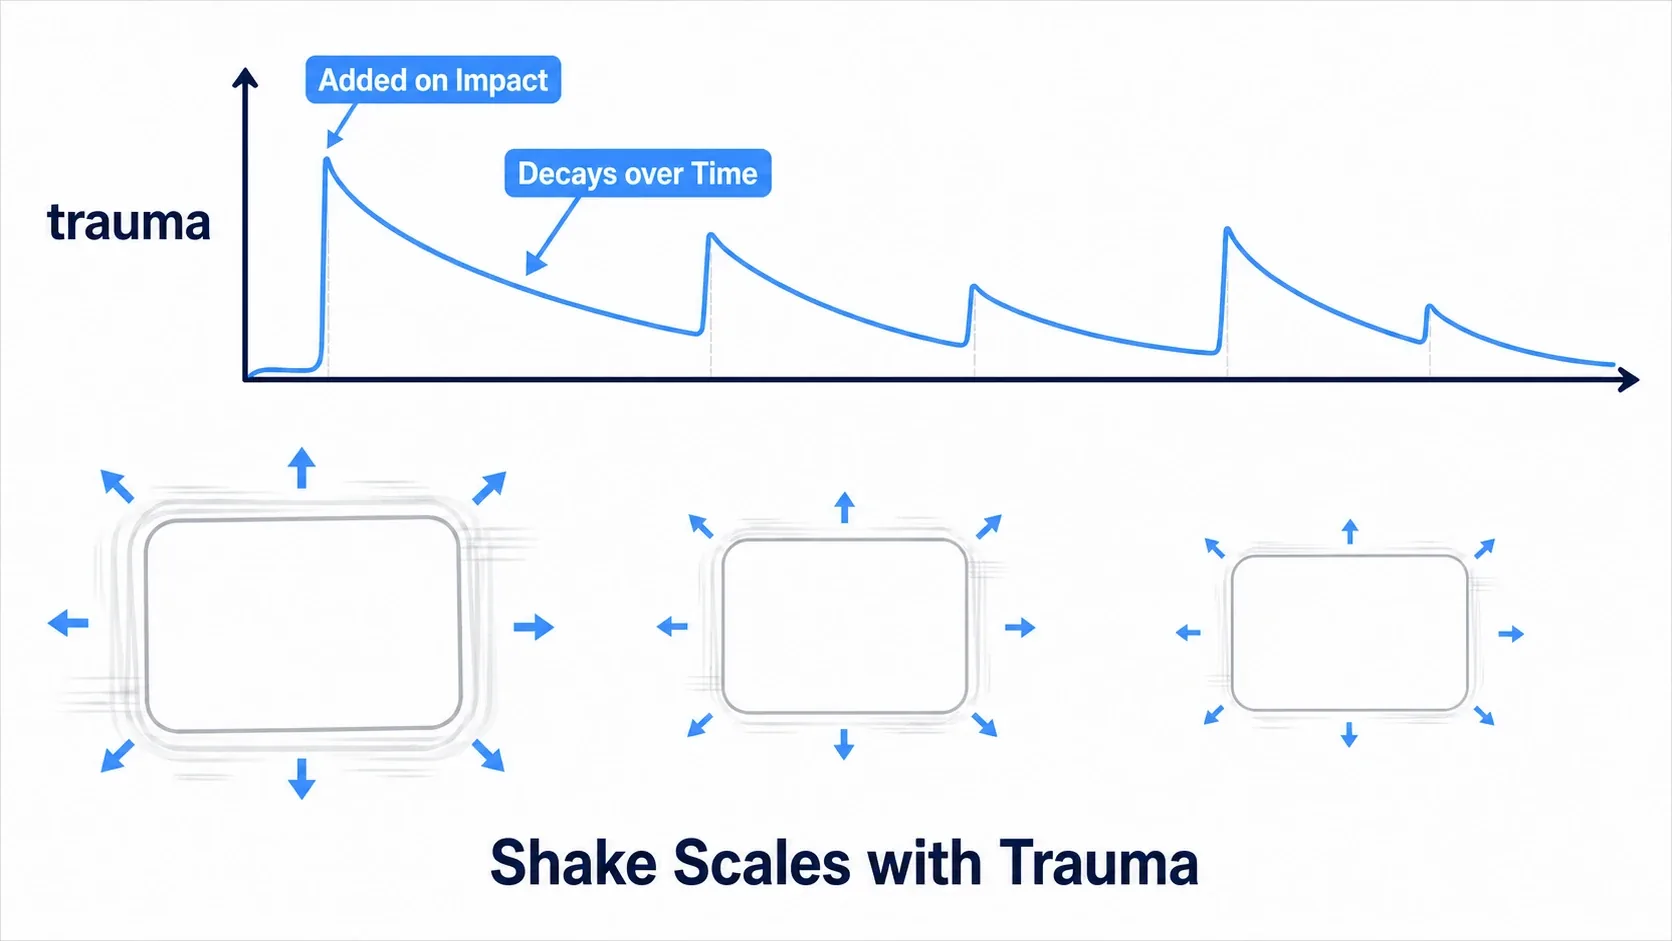
Taking damage, landing a heavy attack, setting off an explosion: screen shake communicates impact by shaking the whole view. The approach I recommend uses a trauma value. Add to it on impact, decay it over time, and shake in proportion to its size.
extends Camera2D

var trauma := 0.0
@export var trauma_decay := 0.8   # Decay per second
@export var max_offset := 12.0    # Maximum shake distance

func add_trauma(amount: float) -> void:
    trauma = minf(trauma + amount, 1.0)   # Add on impact (capped at 1.0)

func _process(delta: float) -> void:
    if trauma <= 0.0:
        offset = Vector2.ZERO
        return
    trauma = maxf(trauma - trauma_decay * delta, 0.0)   # Decay over time
    var shake := trauma * trauma                          # Squaring makes strong shakes stand out
    offset = Vector2(randf_range(-1, 1), randf_range(-1, 1)) * max_offset * shake
Calling it with different strengths, like add_trauma(0.8) for an explosion and add_trauma(0.2) for a minor hit, makes your feedback far richer. The trick is basing the shake on trauma * trauma (squared) rather than trauma (linear), so small impacts stay subtle while big ones get dramatic. Layer it with a white flash and hits feel even punchier.
Dynamic Zoom: Pushing In and Pulling Back
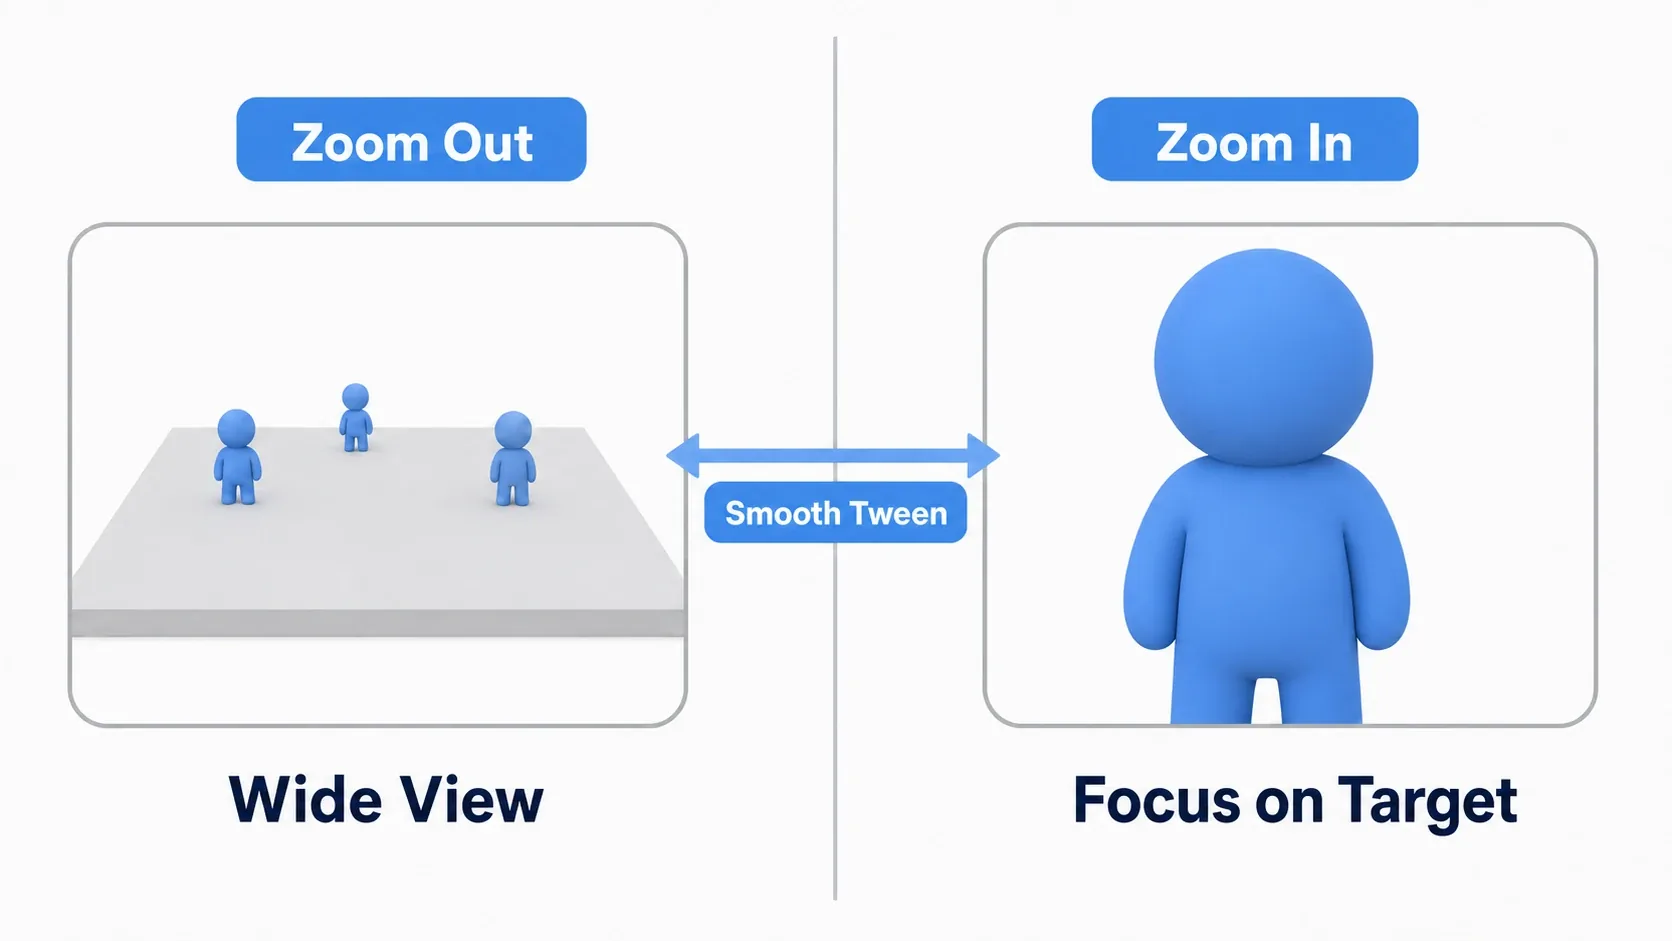
Zoom works well for pushing in during a boss fight or pulling back in a wide area. Changing it instantly is nauseating, though, so animate it smoothly with Tween.
extends Camera2D

func animate_zoom(target_zoom: float, duration := 0.5) -> void:
    var tween := create_tween().set_trans(Tween.TRANS_SINE).set_ease(Tween.EASE_OUT)
    # zoom is a Vector2. Move both axes by the same amount. Larger values push in
    tween.tween_property(self, "zoom", Vector2(target_zoom, target_zoom), duration)

func _unhandled_input(event: InputEvent) -> void:
    if event.is_action_pressed("zoom_in"):
        animate_zoom(1.5)   # Push in to 1.5x
    elif event.is_action_pressed("zoom_out"):
        animate_zoom(1.0)   # Back to normal
In Godot 4, a larger Camera2D.zoom value means more magnification (pushing in). Vector2(2, 2) puts you at 2x.
Hands-On: Building a Boss Intro Sequence
Let's fold all three techniques into a boss intro sequence. Whether you're making an action game, a shmup, or an ARPG, the recipe for hyping up a big moment is the same.
- When the boss appears, zoom in so it fills the screen (tension)
- At the same time, add a light shake (a rumble in the ground)
- When the sequence ends, return to smooth follow for normal combat
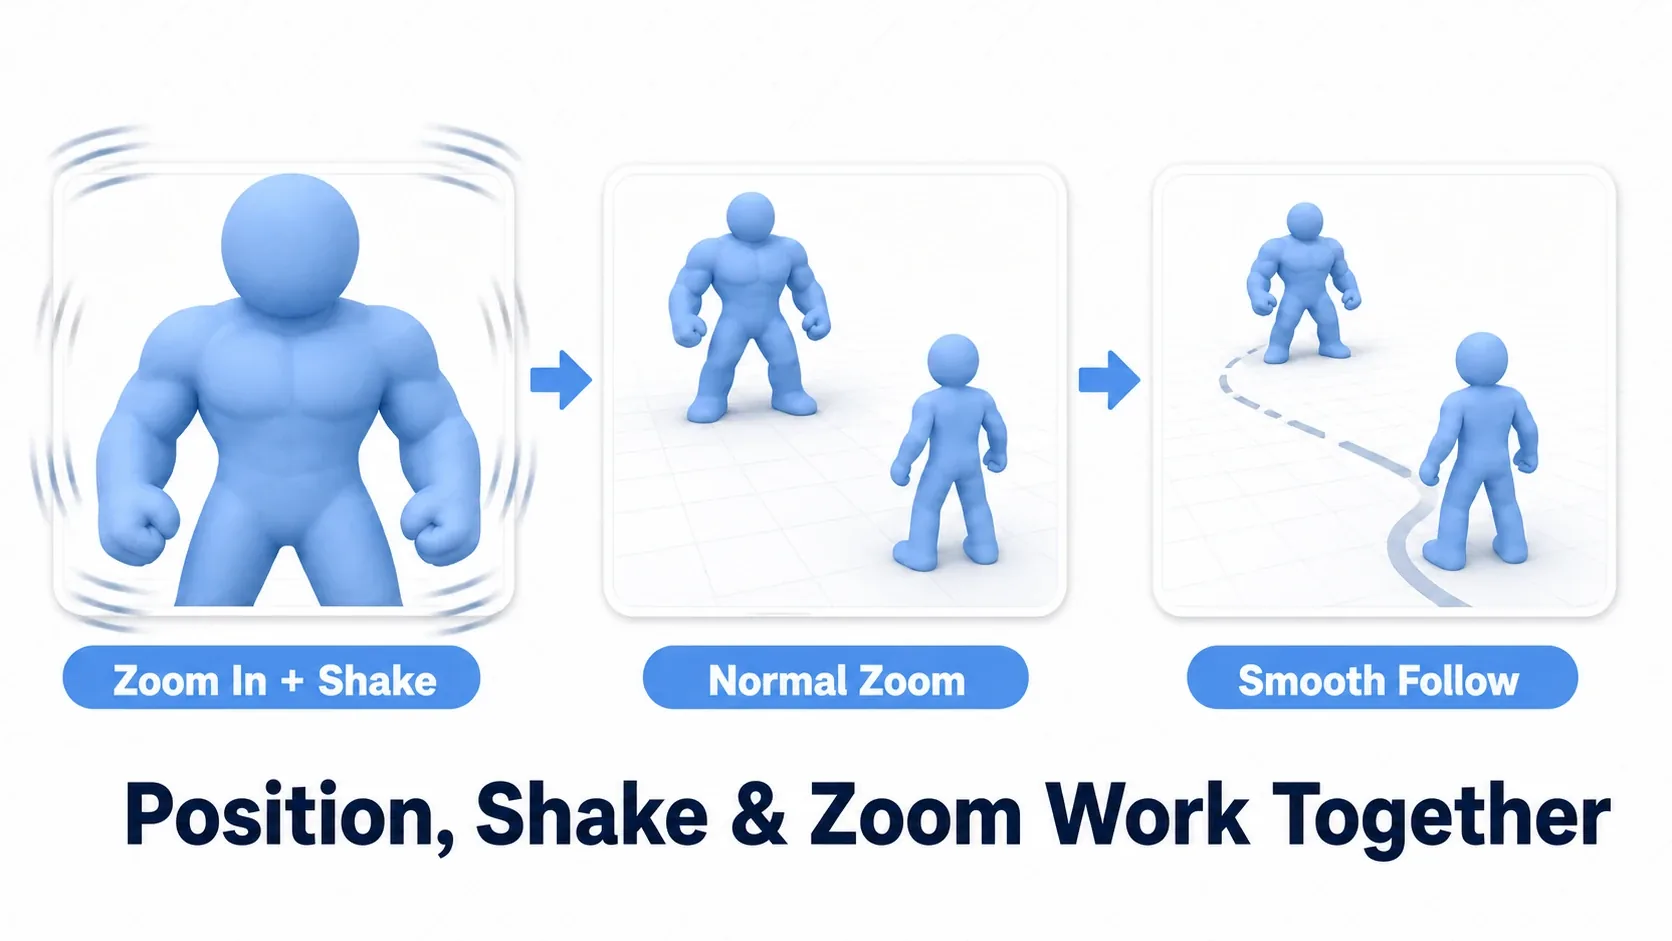
All you need is one coordinating function added to the Camera2D script we've built so far (the one with follow, shake, and zoom).
func play_boss_intro(boss: Node2D) -> void:
    set_physics_process(false)               # Stop normal follow during the sequence
    global_position = boss.global_position   # Move onto the boss
    animate_zoom(1.6, 0.6)                    # Push in hard
    add_trauma(0.5)                          # Rumbling shake
    await get_tree().create_timer(1.5).timeout
    animate_zoom(1.0, 0.5)                    # Back to normal zoom
    set_physics_process(true)                # Resume smooth follow
There are two points to take away.
- Stop normal follow during the sequence:
set_physics_process(false)pauses the follow logic in_physics_processso you can drive the camera manually, and setting it back totruerestores it. Switching roles takes one line. - The three stack additively: follow (
global_position), shake (offset), and zoom (zoom) touch different properties, so they never fight each other when active at the same time. That's why layering them makes a sequence feel rich with so little code.
Common Mistakes and Best Practices
| Common Mistake | Best Practice |
|---|---|
Following a physics object in _process and getting jitter | Follow physics objects in _physics_process. Setting Camera2D's Process Callback to Physics is the easy route |
Confusing position with global_position | Always base camera math on global_position |
Multiplying the lerp weight by delta directly and becoming frame-rate dependent | Use the corrected formula 1.0 - pow(smoothing, delta) |
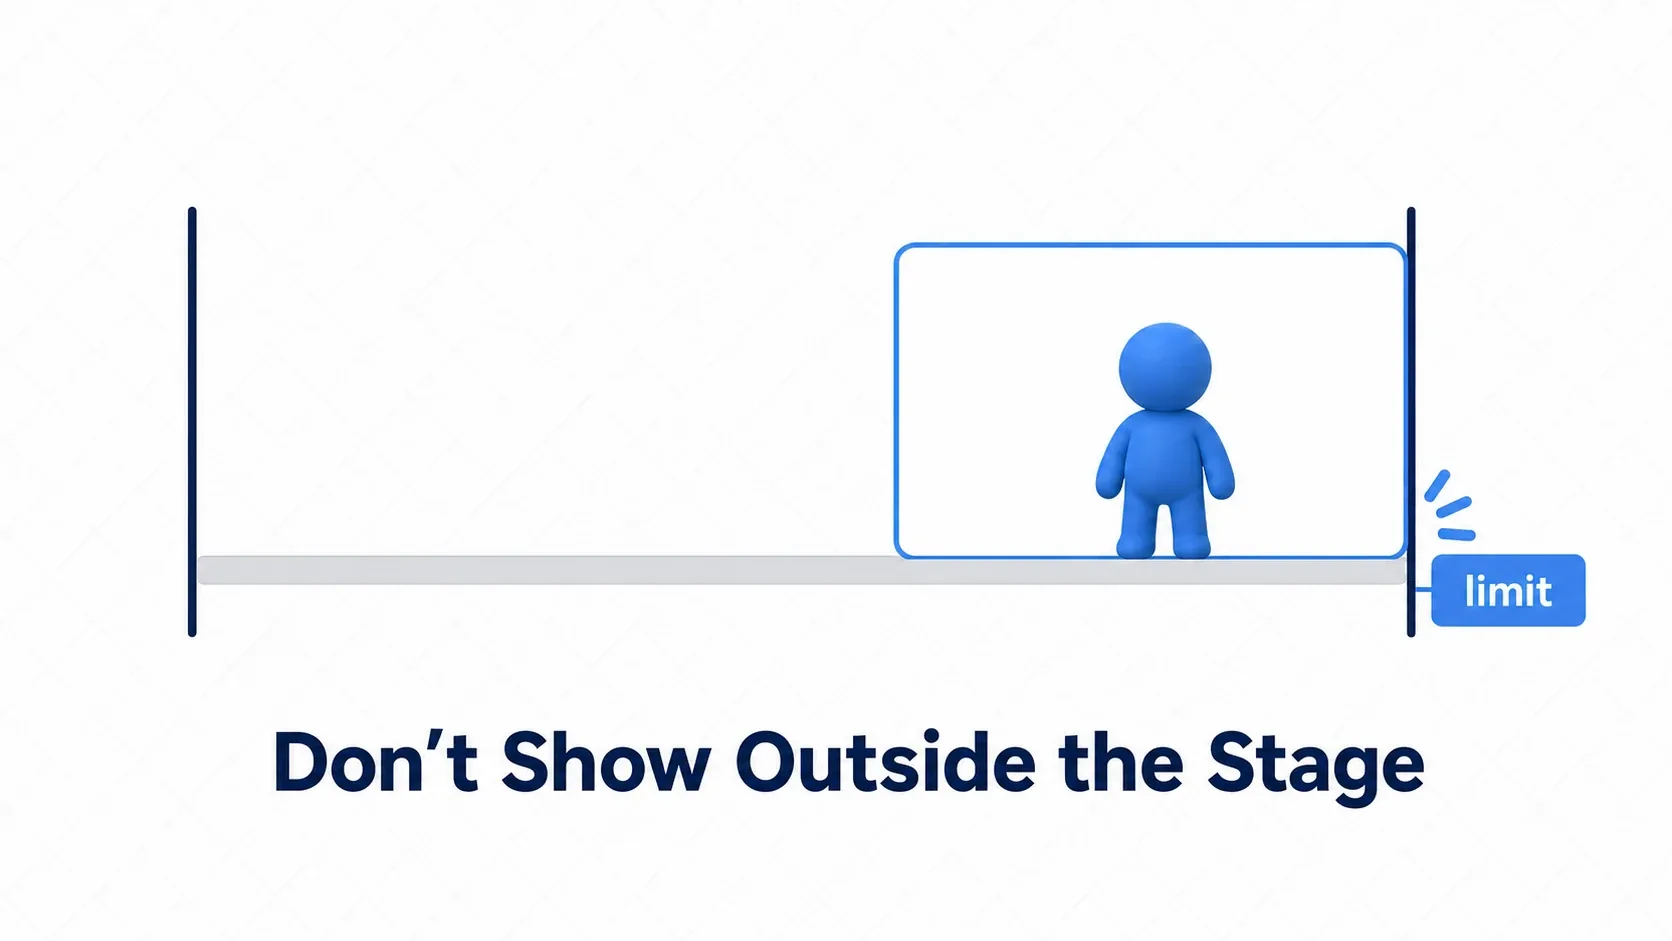
| Showing past the edge of the level, where the background runs out | Constrain the camera's range with Camera2D's limit_left / limit_right and friends |
Bonus: Good to Know for Later
- Zoom that fits multiple targets: when you want everyone on screen in co-op, compute the smallest rectangle (
Rect2) containing all targets and adjustzoomso it fits. - Shake can be done in a shader too: instead of shaking
offset, distorting the whole screen in a shader lets you add rotation, chromatic aberration, and other fancier effects. - Use
limitto hide what shouldn't be seen: settinglimit_*keeps the camera from showing past the background at the level's edges. - Let Tween handle the presentation: pulling fades and shake recovery into Tween alongside zoom keeps your code tidy.
Summary
- Smooth follow:
lerpplus1.0 - pow(smoothing, delta)gives smooth, frame-rate independent following - Screen shake: add to
traumaon impact, decay it over time, and shakeoffsetin proportion totrauma² - Dynamic zoom: animate
zoomsmoothly withTween. Larger values push in - Combining them: position,
offset, andzoomare separate properties. They stack additively, so you can layer them into sequences like a boss intro
Start with smooth follow alone, then add a light shake on damage, then a zoom for bosses, one step at a time. Just getting the camera moving makes the same game feel dramatically more responsive.