While making games in Godot, you run into situations where you want another screen inside the screen. A minimap in the corner for surveying the map. Equipment shown as a 3D model you can spin around in the inventory. Live footage from another location, like a security camera or a portal.
These are hard to pull off with a single screen, which is where the dedicated SubViewport node comes in. SubViewport creates a "virtual screen" independent of the main one and lets you apply its rendered result as a texture wherever you like. Once you have this, your UI and graphics toolbox expands considerably.
What You'll Learn
- What
SubViewportreally is: an independent rendering world plusViewportTexture- How to build a minimap (rendered separately by an overhead camera and shown in a corner)
- Security-camera-style render textures combined with shaders
- Hands-on: a 3D inventory preview (equipment you spin by dragging)
- Performance optimization through
Update Mode, resolution, andcull_mask
- The Core Concept of SubViewport: An Independent Rendering World
- Use Case 1: Building a Minimap
- Use Case 2: A Security-Camera Render Texture
- Hands-On: Building a 3D Equipment Preview for an Inventory
- Performance and Optimization
- Common Mistakes and Best Practices
- Bonus: Good to Know for Later
- Summary
The Core Concept of SubViewport: An Independent Rendering World
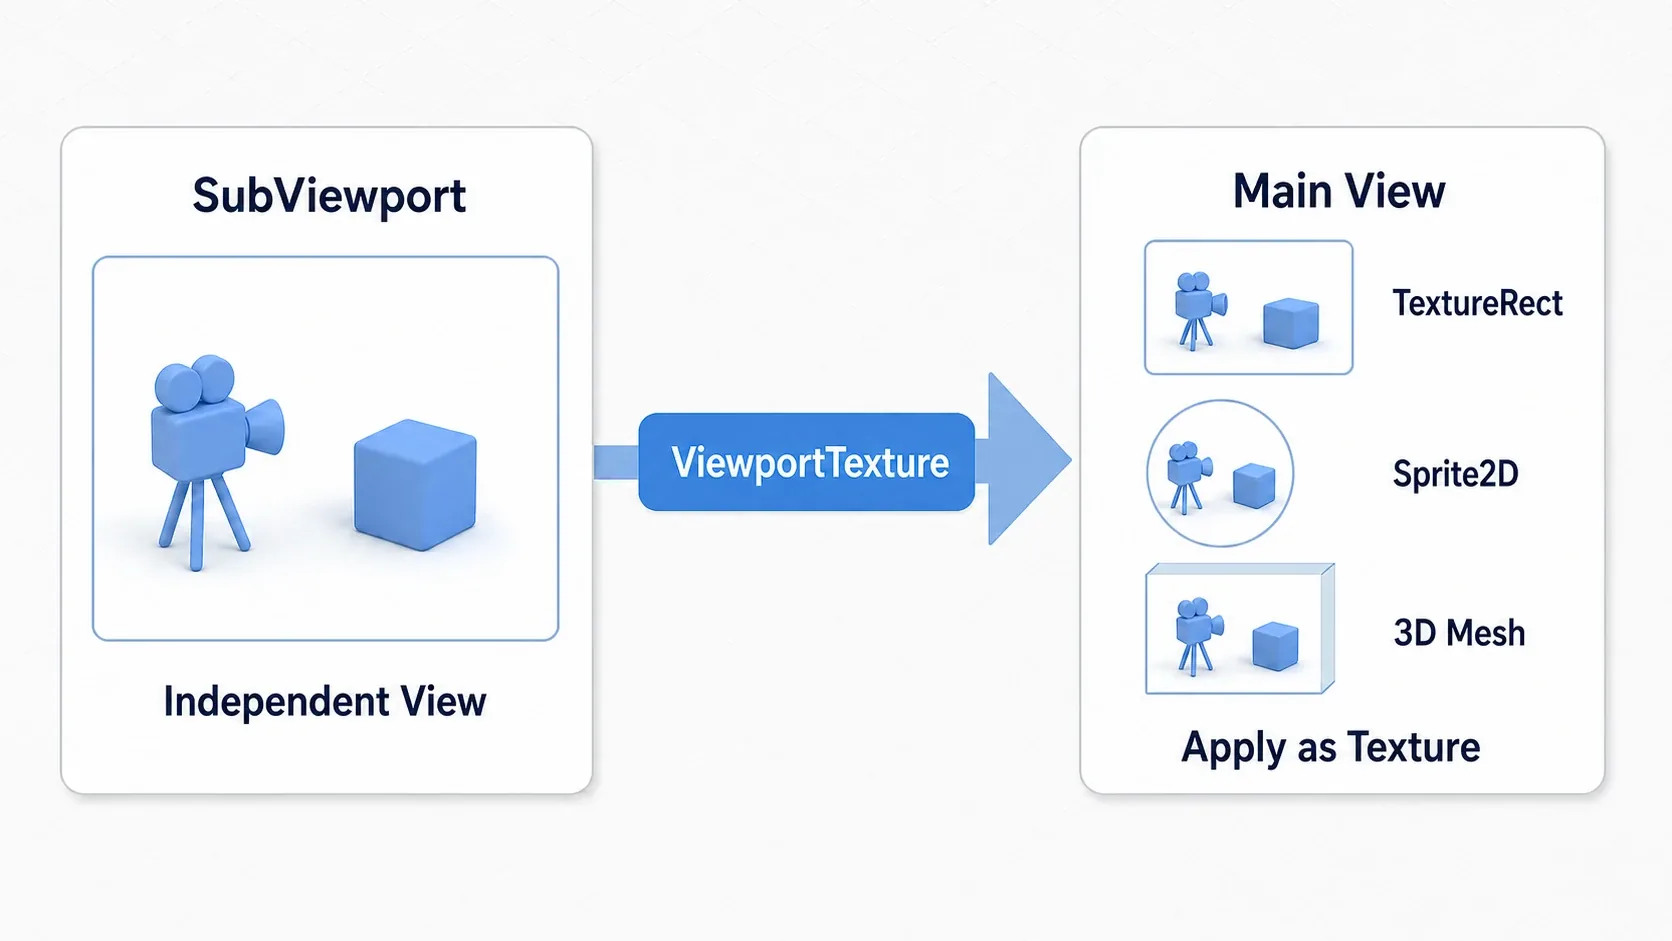
The key to understanding SubViewport is a single fact: it is independent of the main rendering. A scene placed under this node has its own camera, world, and rendering settings, and is drawn somewhere else.
ViewportTexture is the bridge that brings that rendered result onto the main screen. Turn a SubViewport's output into this texture and you can display its footage anywhere a texture can go: a TextureRect (for UI), a Sprite2D, the material of a 3D model, and so on.
Basic Setup
- Add the nodes: add a
SubViewportContainerand place aSubViewportas its child (the container makes size management easier). - Build the contents: as children of the
SubViewport, build the scene you want to show (2D/3D nodes plus a camera). - Display it: place a separate
TextureRect, set itsTextureto a "NewViewportTexture," and point it at the targetSubViewport.
Once you have this flow of "turn an independent screen into a texture and apply it," every use case below is an application of the same idea.
Use Case 1: Building a Minimap
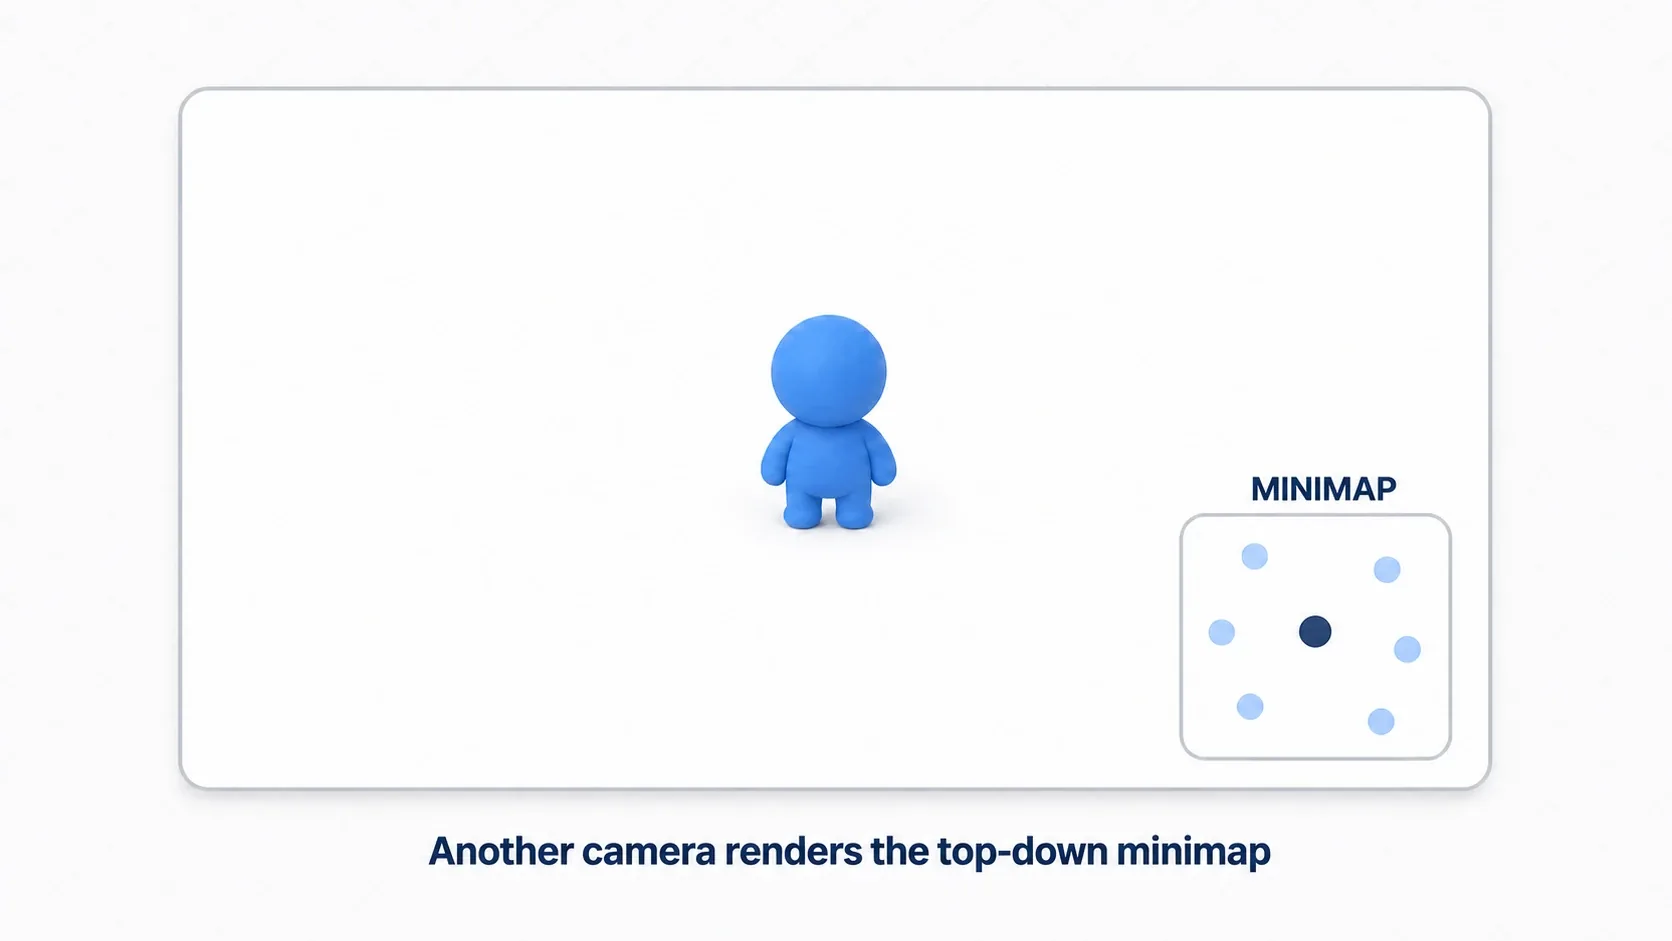
A minimap is the textbook example of SubViewport. You render the world separately with an overhead camera that follows the player and show that footage small in a corner of the screen. Being able to have a camera separate from the main one is exactly what lets you view the same world from directly above at the same time.
Here's practical code that dynamically shows icons for enemies and items, not just the player. Attaching it to the SubViewport itself keeps the minimap's drawing logic separate from the main game logic.
extends SubViewport

@onready var minimap_camera: Camera2D = $MinimapCamera

# Cache enemy icons for reuse (avoids creating and searching every frame)
var enemy_icons: Dictionary = {}
const ICON_NORMAL = preload("res://assets/enemy_icon.png")
const ICON_ALERT  = preload("res://assets/enemy_alert_icon.png")

func _process(_delta: float) -> void:
    var player := get_tree().get_first_node_in_group("player")
    if not is_instance_valid(player):
        return
    # Make the overhead camera follow the player
    minimap_camera.global_position = player.global_position

    for enemy in get_tree().get_nodes_in_group("enemies"):
        if not is_instance_valid(enemy):
            continue
        # Create the icon once and cache it if it doesn't exist yet
        if not enemy_icons.has(enemy):
            var new_icon := Sprite2D.new()
            add_child(new_icon)
            enemy_icons[enemy] = new_icon
        var icon: Sprite2D = enemy_icons[enemy]
        # Swap the icon depending on whether the enemy is alerted
        icon.texture = ICON_ALERT if enemy.is_in_alert_state() else ICON_NORMAL
        icon.global_position = enemy.global_position
The key point is that the minimap's contents (camera and icons) are fully contained inside the SubViewport. The main game can focus on its own rendering, and the minimap's display logic is understandable by looking at this one node. The roles separate cleanly.
Use Case 2: A Security-Camera Render Texture
Combining a SubViewport's footage with a shader gets you effects that go beyond simple display. The classic is a security camera: footage of another location with scanlines and noise laid over it.
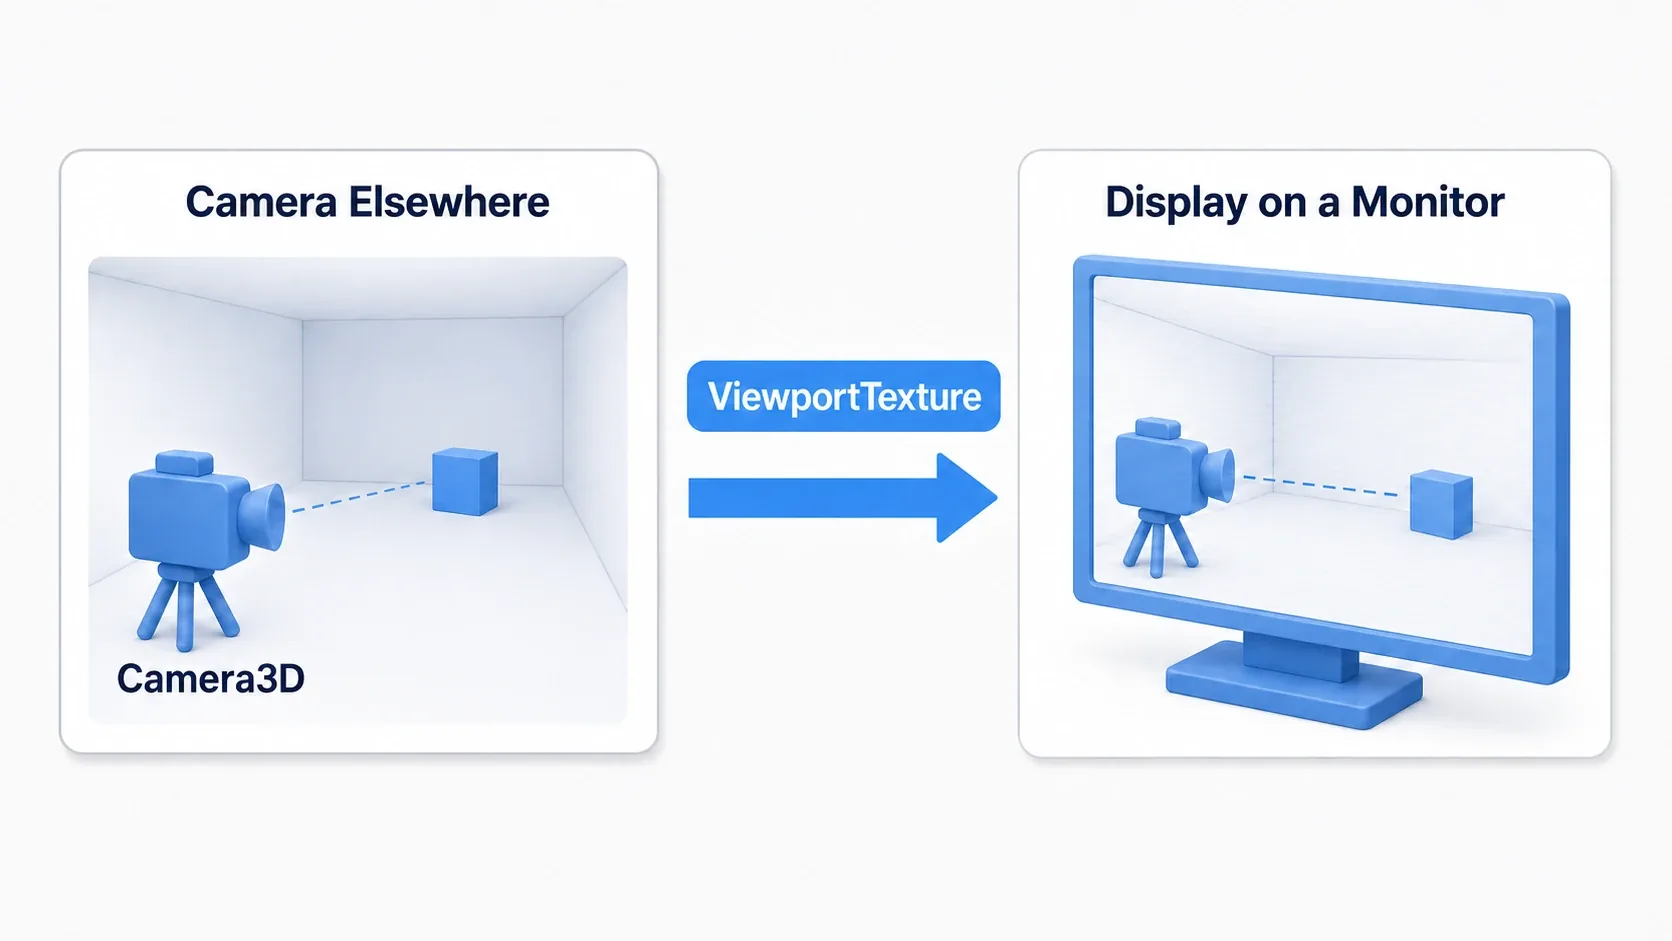
- Place a
SubViewportand aCamera3Dat the location you want to monitor. - On the main side, prepare a
MeshInstance3Dto act as the monitor (aPlaneMesh, for example). - Assign a
ShaderMaterialto the monitor mesh and lay scanlines and noise over the footage.
shader_type spatial;

uniform sampler2D screen_texture; // The SubViewport's footage is passed in here
uniform float scanline_intensity = 0.1;
uniform float noise_amount = 0.05;

void fragment() {
    // Scanlines based on vertical position
    float scanline = sin(UV.y * 800.0) * scanline_intensity;
    // Build pseudo-random noise from the position
    float noise = (fract(sin(dot(UV, vec2(12.9898, 78.233))) * 43758.5453) - 0.5) * noise_amount;

    vec4 tex = texture(screen_texture, UV);
    ALBEDO = tex.rgb - scanline - noise; // Darken and disturb the footage a little for that security-camera look
}
Finally, pass the SubViewport's footage (get_texture()) into the shader's screen_texture.
extends MeshInstance3D

@export var camera_viewport: SubViewport # Point this at the security camera's SubViewport in the Inspector

func _ready() -> void:
    if not camera_viewport:
        return
    var mat := get_surface_override_material(0) as ShaderMaterial
    if mat:
        # Bridge the SubViewport's output texture into the shader
        mat.set_shader_parameter("screen_texture", camera_viewport.get_texture())
Running scanlines and noise across a whole screen is an application of Fragment Shader Basics. SubViewport supplies the raw footage and the shader handles the processing. Remembering it as that division of labor makes it easy to keep straight.
Hands-On: Building a 3D Equipment Preview for an Inventory
Let's turn "apply an independent screen as a texture" into a genuinely satisfying piece of UI: a rotatable 3D preview of equipment on the inventory screen, spun by dragging.
An RPG's equipment screen, checking your appearance in a character creator, showing gacha results in 3D. There are plenty of situations where you want a 3D model inside a 2D UI, and they all use the same SubViewport pattern.
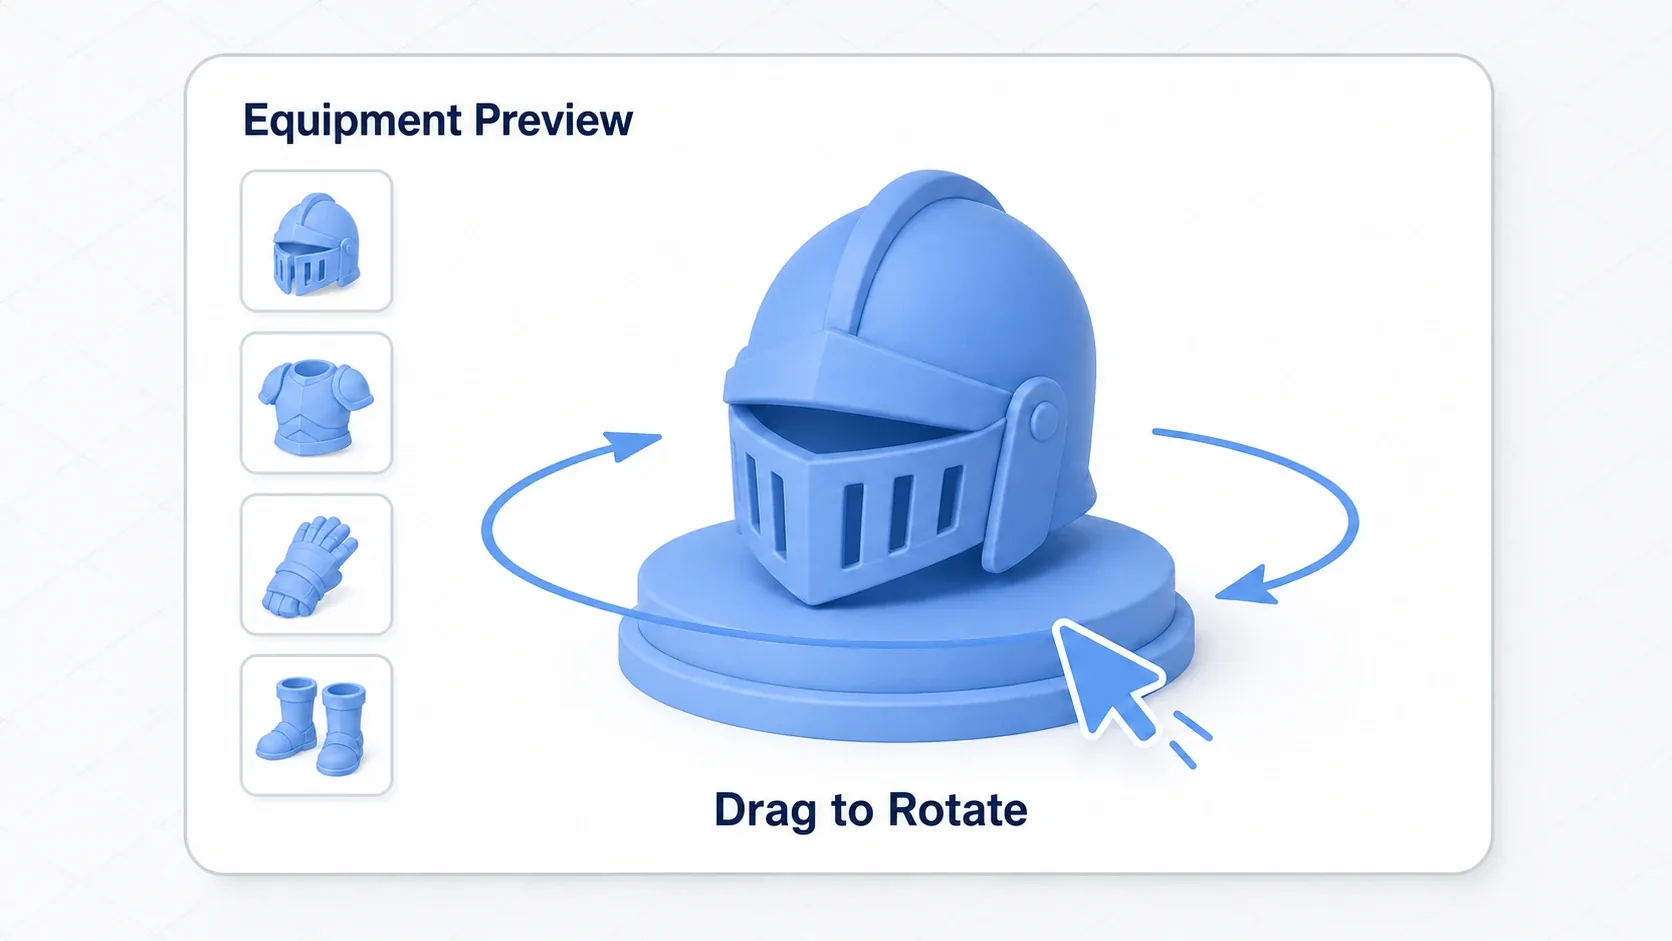
Here's the structure. Inside the SubViewport, build a minimal 3D environment to light the model.
- PreviewContainer (SubViewportContainer)  … receives mouse input
  - SubViewport
    - Camera3D
    - DirectionalLight3D
    - WorldEnvironment          … background and ambient light
    - TargetModel (Node3D)      … the equipment model you want to rotate
SubViewportContainer can receive GUI input, so pick up the drag there and rotate the model.
extends SubViewportContainer

@onready var model: Node3D = $SubViewport/TargetModel

var dragging := false

func _ready() -> void:
    mouse_filter = Control.MOUSE_FILTER_STOP # Make sure input reaches us

func _gui_input(event: InputEvent) -> void:
    if event is InputEventMouseButton and event.button_index == MOUSE_BUTTON_LEFT:
        dragging = event.pressed          # Only rotate while the button is held
    elif event is InputEventMouseMotion and dragging:
        # Rotate around Y by the horizontal drag distance
        model.rotate_y(deg_to_rad(-event.relative.x * 0.5))
There are two points to take away.
- 2D UI and 3D models can live on one screen: place a single
SubViewportContainerwith aSubViewporton an otherwise 2D inventory screen and a 3D model becomes just another UI part. To switch equipment, you only swap out the contents ofTargetModel. SubViewportContainerhandles the input: hit-testing a 3D model directly is a hassle, but the container picks up drags through_gui_input, so rotation and zoom controls stay simple to write.
When you want spring-back or inertia on the rotation, interpolating rotation with a Tween makes it feel much better.
Performance and Optimization
SubViewport is powerful, but it creates an additional rendering pass, so using it carelessly gets expensive. Update frequency and resolution matter most.
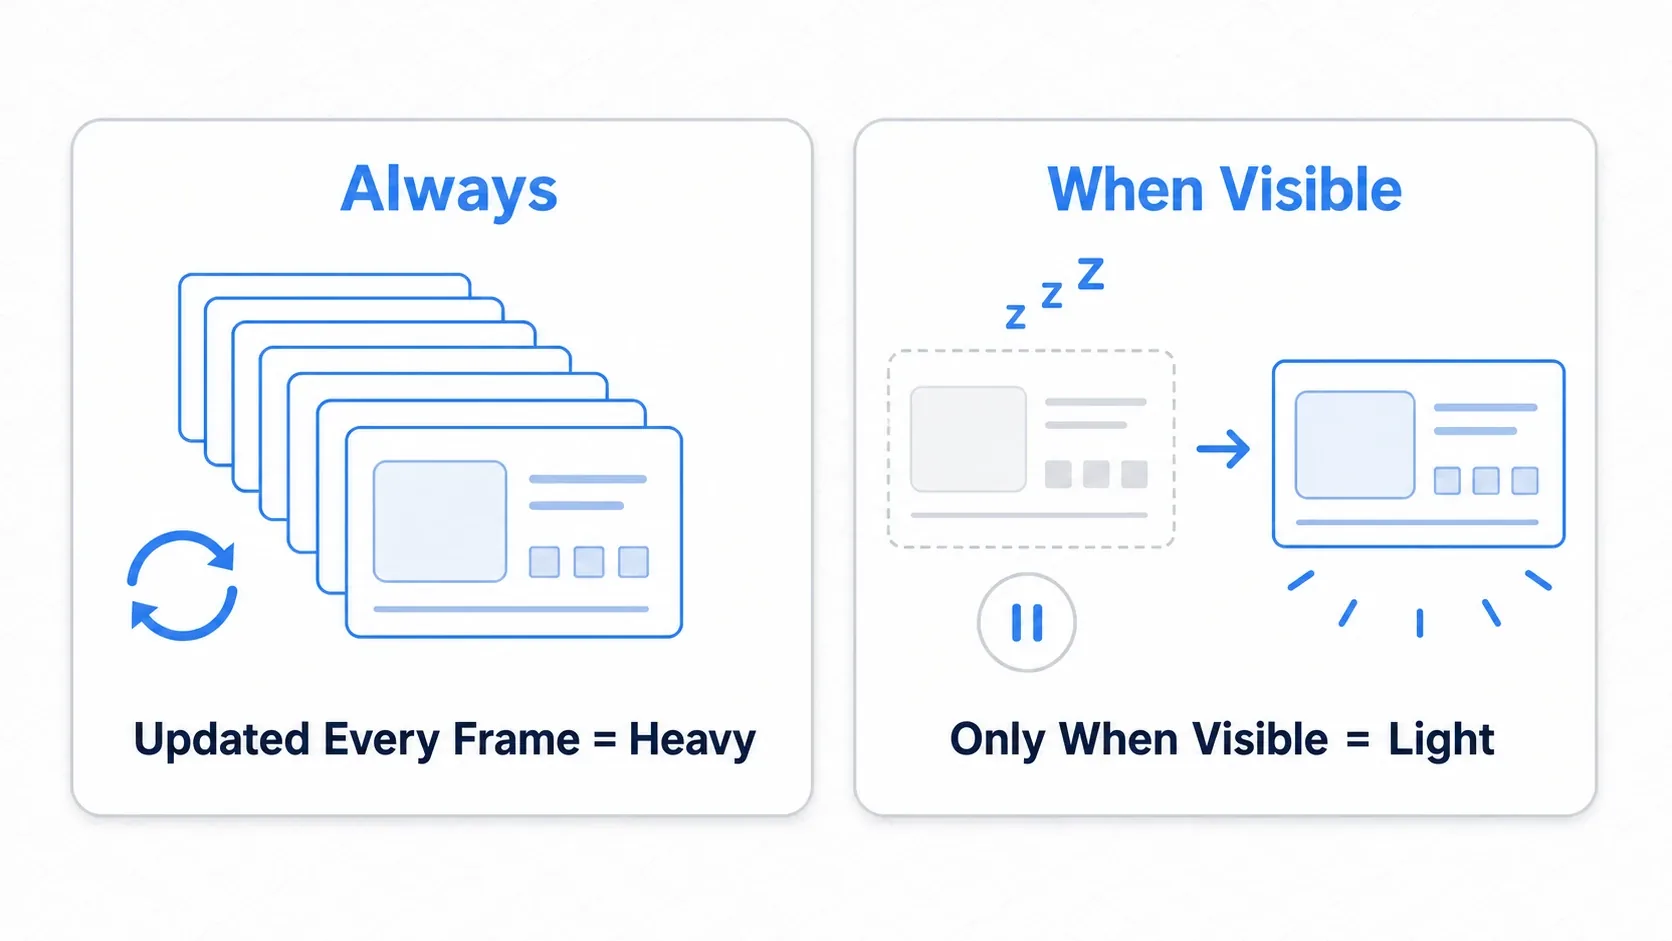
- Match
Update Modeto the use case: always-onAlwaysis the last resort. When it only needs drawing while open, like a 3D preview in a UI, useWhen Visible; when a still image is enough, useOnce; for manual control, useDisabled. ReserveAlwaysfor things that move every frame, like a minimap. - Keep the resolution minimal: if the 3D preview is 256x256 px on screen, 256x256 is plenty for the
SubViewport's resolution. Drawing larger than the display size is waste. - Narrow what gets drawn with
cull_mask(3D):Camera3D'scull_masklets you render only the layers that belong in that viewport. It saves you from having a preview camera draw the entire background stage.
"Build it first, and if it's slow, start with Update Mode and resolution" is good enough. On mobile in particular, keep in the back of your mind that each SubViewport adds draw calls.
Common Mistakes and Best Practices
| Common Mistake | Best Practice |
|---|---|
Leaving Update Mode on Always everywhere | Update only when needed. When Visible for UI, Disabled for manual control. Avoid per-frame updates |
| Rendering at a higher resolution than the display size | Minimize the resolution to match the display size (256x256 for a 3D preview, for instance) |
Ignoring a 3D camera's cull_mask | Separate rendering layers so a viewport doesn't draw objects it doesn't need |
Cramming everything into one SubViewport | Split by role (one for the minimap, one for the preview). It makes individual optimization easier |
| Not considering a cheaper alternative | Weigh cost against expression. A static preview can just be an image, and a simple minimap can be drawn with UI |
Bonus: Good to Know for Later
Once you can build the three basic patterns, these are the next things that widen your options.
- Passing input through or stopping it:
SubViewportContainer'smouse_filterandSubViewport'sHandle Input Locallydecide whether clicks reach the 3D scene inside or get caught by the container. For 3D previews, catching them at the container is the default. - Full-screen post-processing: render your whole game into a
SubViewportand apply a shader to that footage, and you can apply Fragment Shader post-processing such as chromatic aberration, blur, or a retro look across the entire screen. - Layer with effects and particles: adding particles and light from GPUParticles2D to a preview or monitor makes the presentation more convincing.
- Start from the 3D basics: if you're unsure how to place the
Camera3Dand lights for a 3D preview, Node3D and MeshInstance3D basics is the foundation.
Summary
SubViewportis a "virtual screen" with its own camera and scene. Turn its output into a texture withViewportTexture(get_texture()) and apply it- Minimaps render separately with an overhead camera, security cameras process the footage with a shader, and 3D previews put 3D inside a 2D UI. All are applications of the same "apply it as a texture" idea
- Optimization rests on three pillars:
Update Mode(When Visible/Once), minimizing resolution, andcull_mask
| Use Case | Main Purpose | Key to Performance |
|---|---|---|
| Minimap | Show the game world from above | Limit what's drawn with cull_mask |
| 3D preview | Show a 3D model inside a 2D UI | Minimize resolution, use When Visible |
| Render texture | Process separate footage with a shader | Balance update frequency against shader cost |
Start by placing one SubViewportContainer plus SubViewport, dropping a Camera3D and any old mesh inside, and getting a feel for "3D showing up inside a 2D screen." From there you can grow it into a minimap or a preview.
Further Reading
- Fragment Shader Basics: scanlines, noise, and post-processing for treating render textures
- 3D Space with Node3D and MeshInstance3D: the foundation for camera and light placement in 3D previews
- Effects with GPUParticles2D: particle effects to layer over previews and monitors
- Smooth Animation with Tween: adding inertia and spring-back to preview rotation
- Godot Official Docs: Viewports: primary reference for SubViewport and ViewportTexture