An enemy that walks smoothly around walls and pillars to reach you feels smart. An enemy that bumps into a wall and shuffles left and right makes the whole game feel cheap.
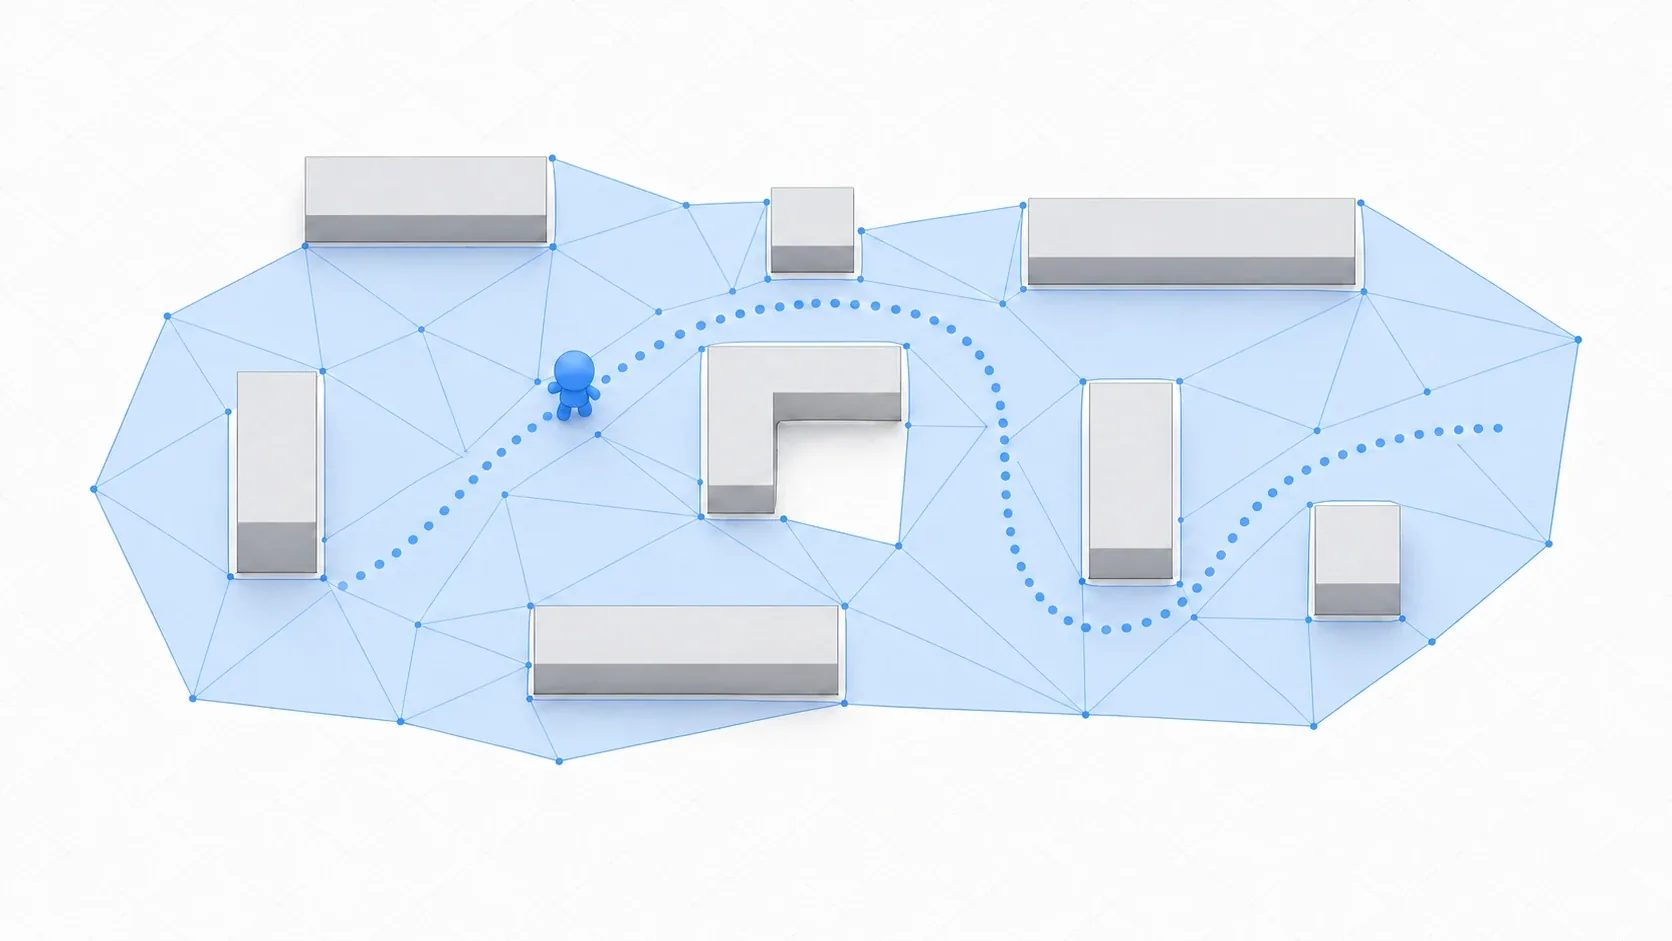
In Godot, that smart movement is powered by NavigationRegion2D and a navigation mesh (a map made for AI). This article focuses on how to build that map. The agent that actually walks on it (the chase and patrol code) is covered in the companion article, Pathfinding with NavigationAgent2D. Here we go all the way through baking the walkable area.
What You'll Learn
- Why you need a navigation mesh (how it differs from physics-based movement)
- How to bake the walkable area with
NavigationRegion2D- How
agent_radiuskeeps characters away from walls- How to avoid moving obstacles with
NavigationObstacle2D- The agent that walks on this map is covered in the next article
Why You Need a Navigation Mesh
If all you want is "avoid obstacles," physics seems like it could do the job. The problem is that with physics, a character only learns a wall exists after hitting it. It charges into a dead end and then backs out. That looks unnatural, and it takes the long way around.
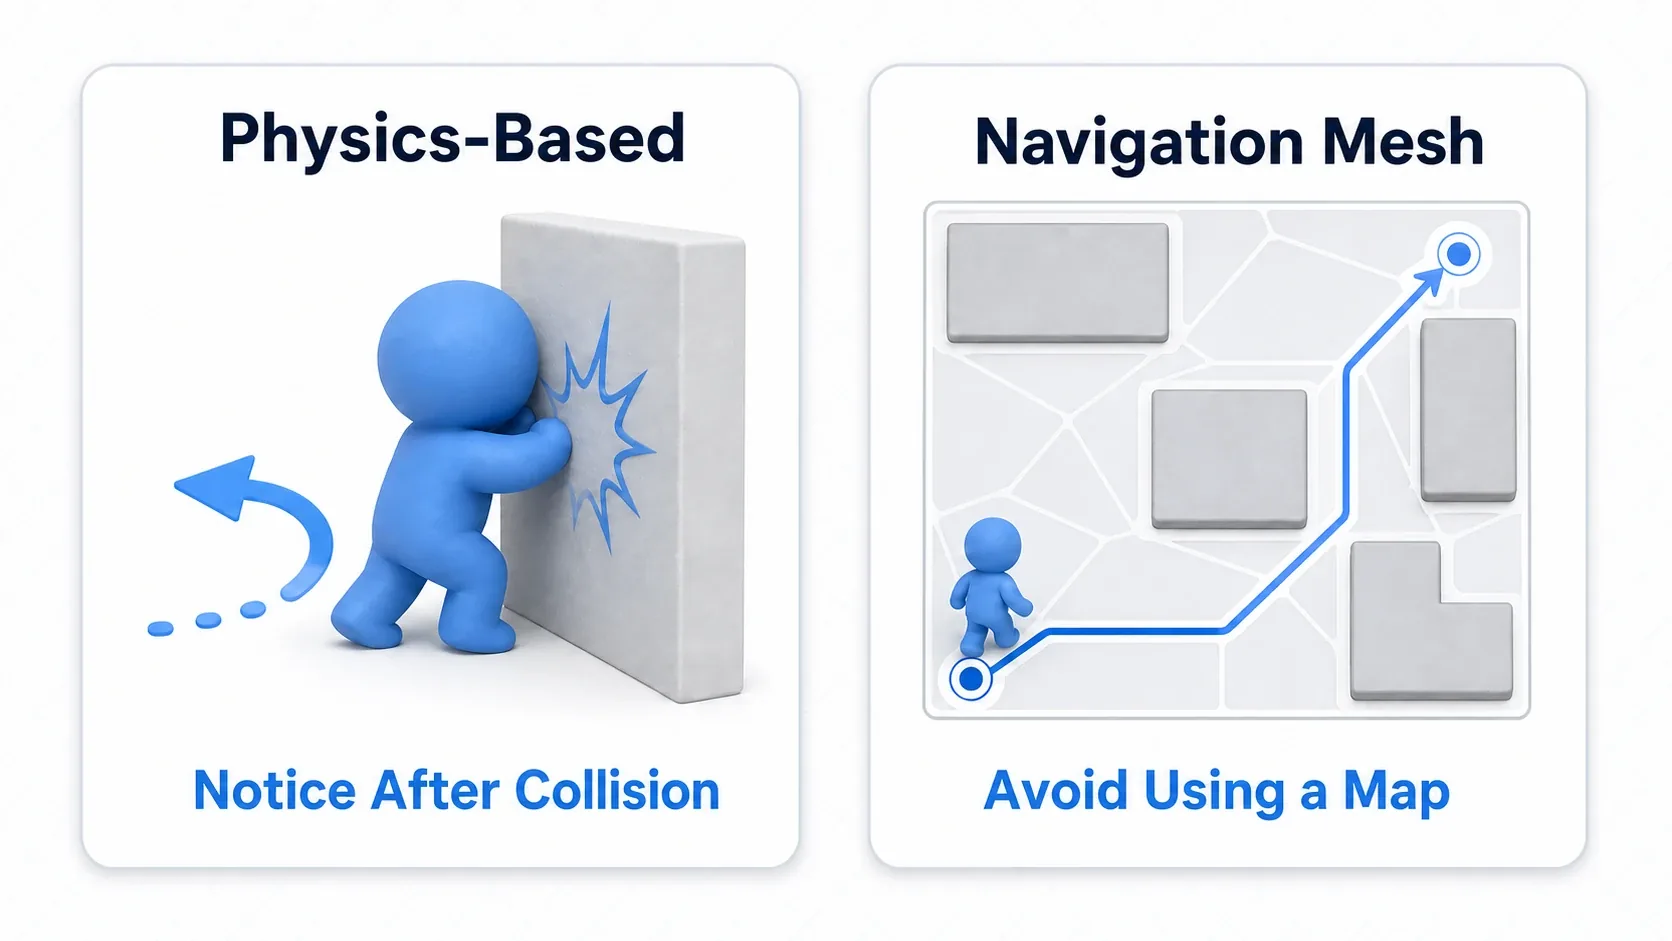
- Physics-based: obstacles such as
StaticBody2Dare only recognized on collision. Discovering walls by crashing into them tends to look clumsy. - Navigation mesh: the walkable area is stored ahead of time as a polygon map, so the AI can compute a route around obstacles before it ever touches them.
NavigationRegion2D is the node that holds this "map for AI" and places it in your scene.
Baking a Mesh with NavigationRegion2D
Computing the walkable area to produce that map is called baking. Godot treats the collision shapes in your scene as obstacles and automatically calculates the gaps between them as walkable space.
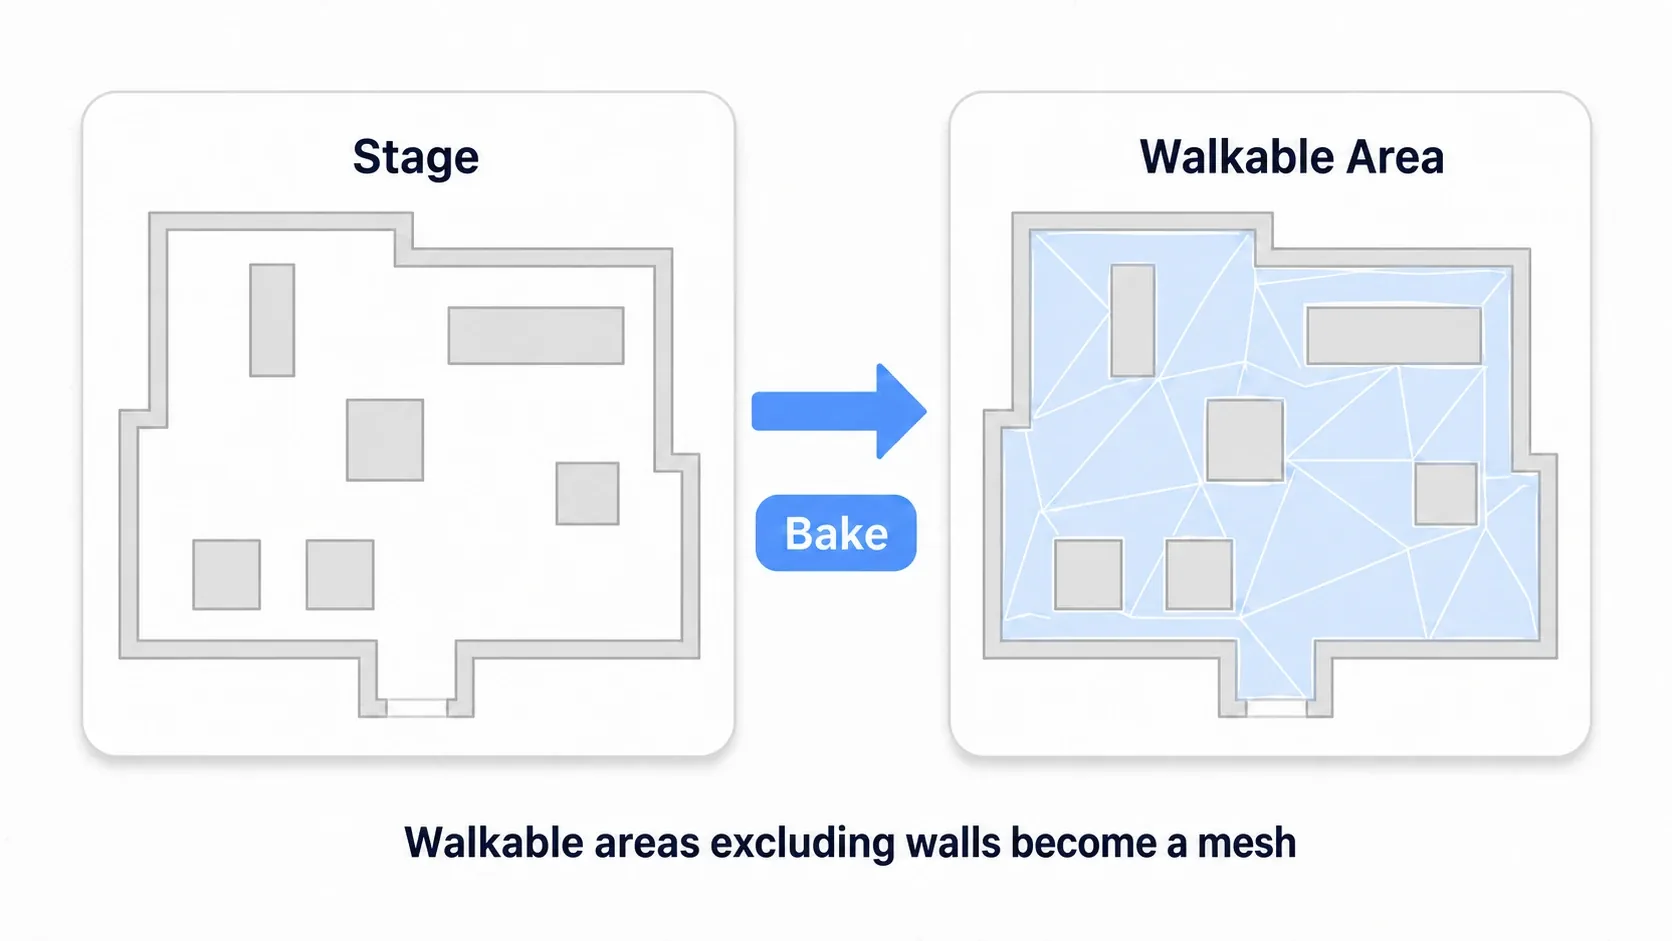
The steps are simple.
- Build the stage: place walls and terrain using nodes that have a
CollisionShape2D/CollisionPolygon2D, such asTileMaporStaticBody2D. These become the obstacles. - Add a NavigationRegion2D: add the node, then create a new resource on
navigation_polygonvia "New NavigationPolygon." - Bake it: with
NavigationRegion2Dselected, click "Bake NavigationPolygon" in the toolbar. On success, the walkable area appears as a semi-transparent blue polygon.
The NavigationPolygon resource itself has properties that control how baking behaves. Two of them matter most.
| Property (NavigationPolygon) | Role |
|---|---|
agent_radius | The agent's radius. Generates a mesh that keeps a safe distance from walls (covered below) |
source_geometry_mode | How the source shapes for baking are collected. When building from a TileMap, use the group method and add the TileMap to the target group |
Keeping Distance from Walls with agent_radius
If the baked mesh runs right up to the walls, a character's center can reach the very edge of the mesh, which means its body visually clips into the wall. agent_radius is what prevents that.
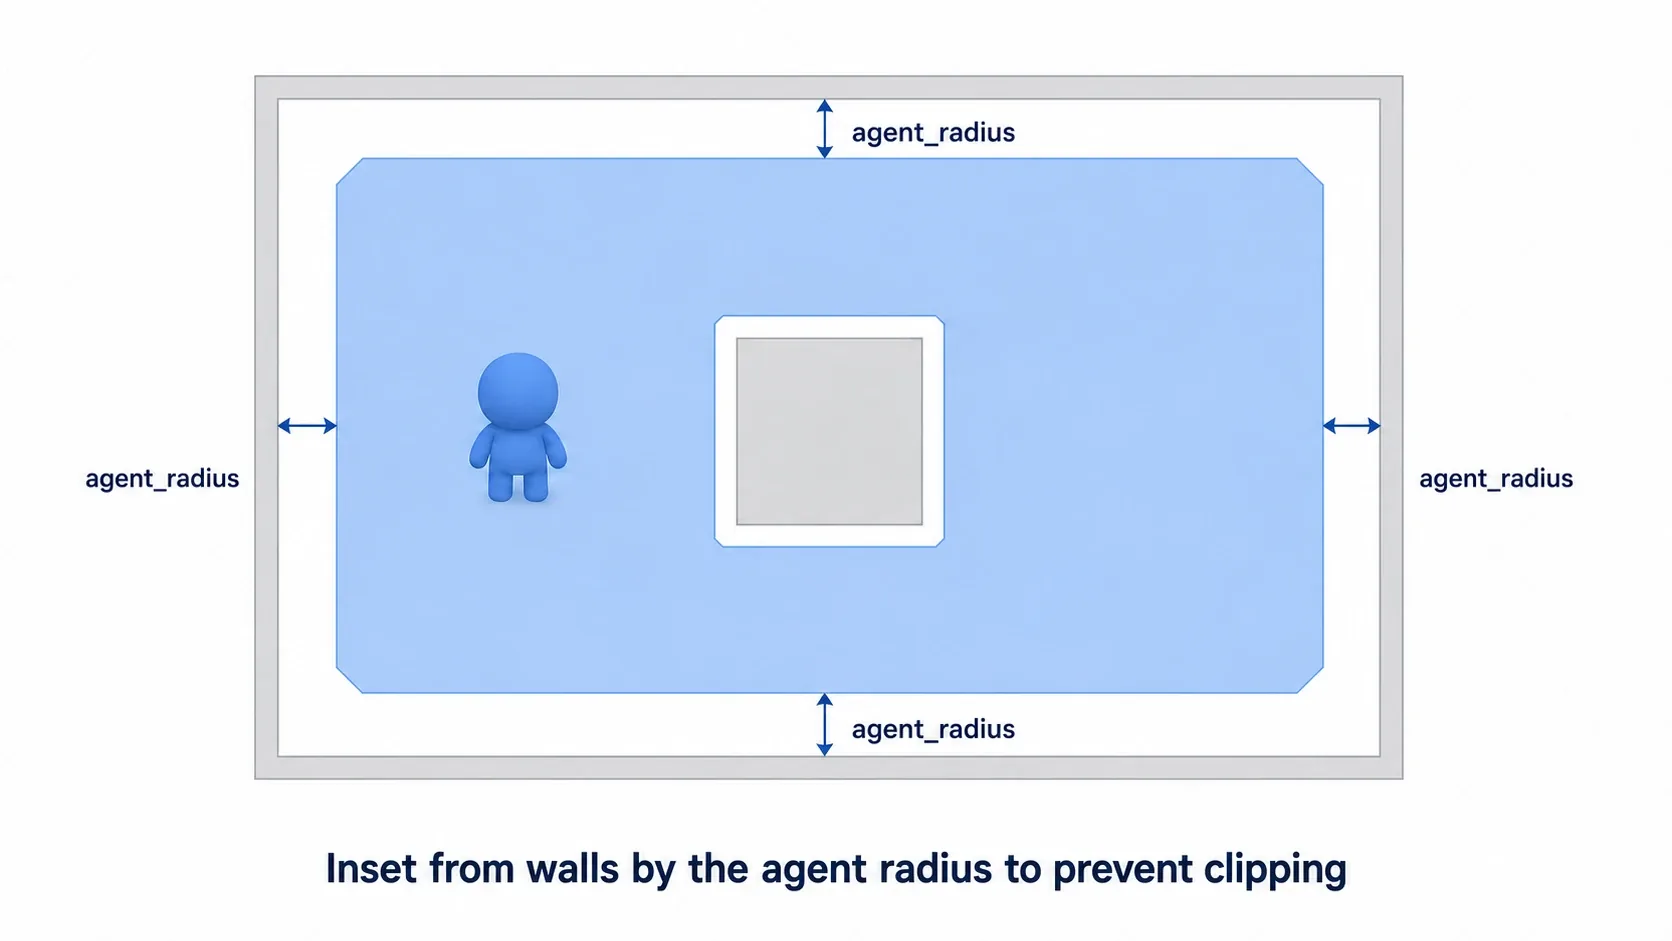
When you set agent_radius, the mesh is generated inset from walls by that radius. Since a character's center can only travel inside the mesh, its body stops overlapping walls. A good value is slightly larger than the character's collision radius. If agents can't fit through narrow corridors, suspect that this value is too large.
Tip: If your characters vary in size, prepare separate
NavigationPolygonresources per size and bake each with its ownagent_radius.
Handling Moving Obstacles with NavigationObstacle2D
A baked mesh is static. Obstacles that appear or move later, like a crate the player drops or a sliding door, are not baked into it. To make agents avoid those, add a NavigationObstacle2D to the obstacle.
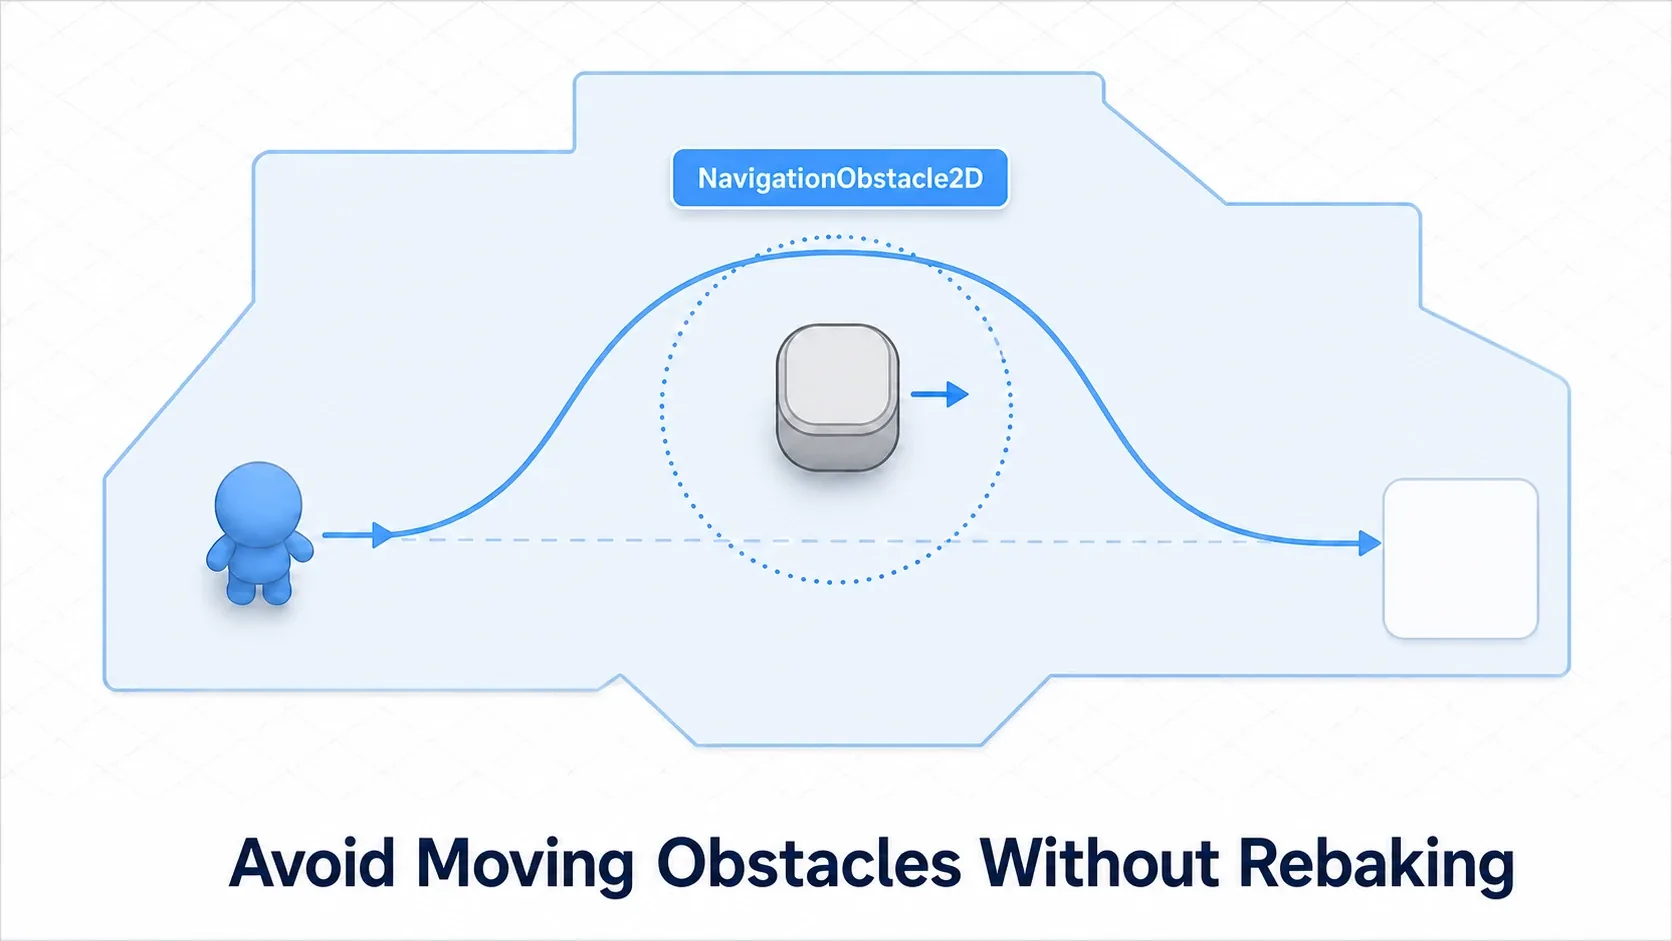
NavigationObstacle2D creates a temporary avoidance area around itself without rebaking the mesh. Agents passing nearby adjust their paths to steer clear. Rebaking is expensive, so letting moving objects handle avoidance this way is the standard approach (each obstacle does cost performance, so keep the count to what you actually need).
Which objects count as obstacles also depends on your collision layer and mask settings. If something isn't being avoided when it should be, check the layers too.
Common Mistakes and Best Practices
| Common mistake | Best practice |
|---|---|
| Baking fails because obstacle collision is open or too complex | Use closed, simple shapes. For TileMaps, set source_geometry_mode to the group method and add them to the target group |
Leaving agent_radius at 0 so characters clip into walls | Set it slightly larger than the character radius so the mesh shrinks inward |
| Moving obstacles aren't avoided | Add a NavigationObstacle2D and check the collision layers/masks |
| Rebaking every time an obstacle changes | Bake only static terrain and leave moving things to NavigationObstacle2D |
Bonus: Good to Know for Later
- Walking on this map: once the mesh exists, use NavigationAgent2D to move characters by "set a destination, then move to the next waypoint." All the chase and patrol code lives there.
- 3D works the same way:
NavigationRegion3DplusNavigationMeshfollows the exact same "bake a map" flow in 3D. - AI decisions are a separate layer: a navmesh handles how to walk (the route). When to chase or patrol (the decision) belongs to state machines or behavior trees, which you combine with pathfinding.
Summary
- A navigation mesh is a map for AI. Unlike physics, it lets agents avoid obstacles before touching them
- Give a
NavigationRegion2DaNavigationPolygonand use Bake to generate the walkable area agent_radiusshrinks the mesh inward from walls so characters don't clip into them- Handle moving obstacles with
NavigationObstacle2Dinstead of rebaking
Start with a stage that has a few walls, bake a NavigationRegion2D, and check that the blue polygon correctly covers the walkable area. Once the map is ready, move on to NavigationAgent2D and actually walk on it.
Further Reading
- Pathfinding with NavigationAgent2D: implement chasing and patrolling on this map (the follow-up article)
- Organizing Objects with Collision Layers and Masks: layer settings for obstacles and agents
- Managing AI and Player States with State Machines: combine with the decision of when to chase or patrol
- Godot Official Docs: 2D Navigation: the primary source on navigation