One of the first walls you hit after starting Unity is probably "scripting." If you've ever looked at code full of English keywords and cryptic symbols and quietly closed the editor — don't worry, you're not alone. You don't need to learn all of C# to make games.
C# (pronounced "C-sharp") is the language you use to write game logic in Unity. This article narrows things down to the absolute essentials you need before writing your first scripts — variables, data types, functions, and if/for statements — and walks through them one at a time.

What You'll Learn
- Variables and data types (how to use the "boxes" that hold values)
- Functions (how to package operations for reuse)
ifstatements andforloops (the basics of branching and repetition)- The handy relationship between
publicvariables and the Inspector
Tested with: Unity 6 (6000.x) / Input System
Variables and Data Types
A variable is like a "box" that holds data such as numbers or text. In C#, you must explicitly specify the data type to indicate what kind of data the box will hold.
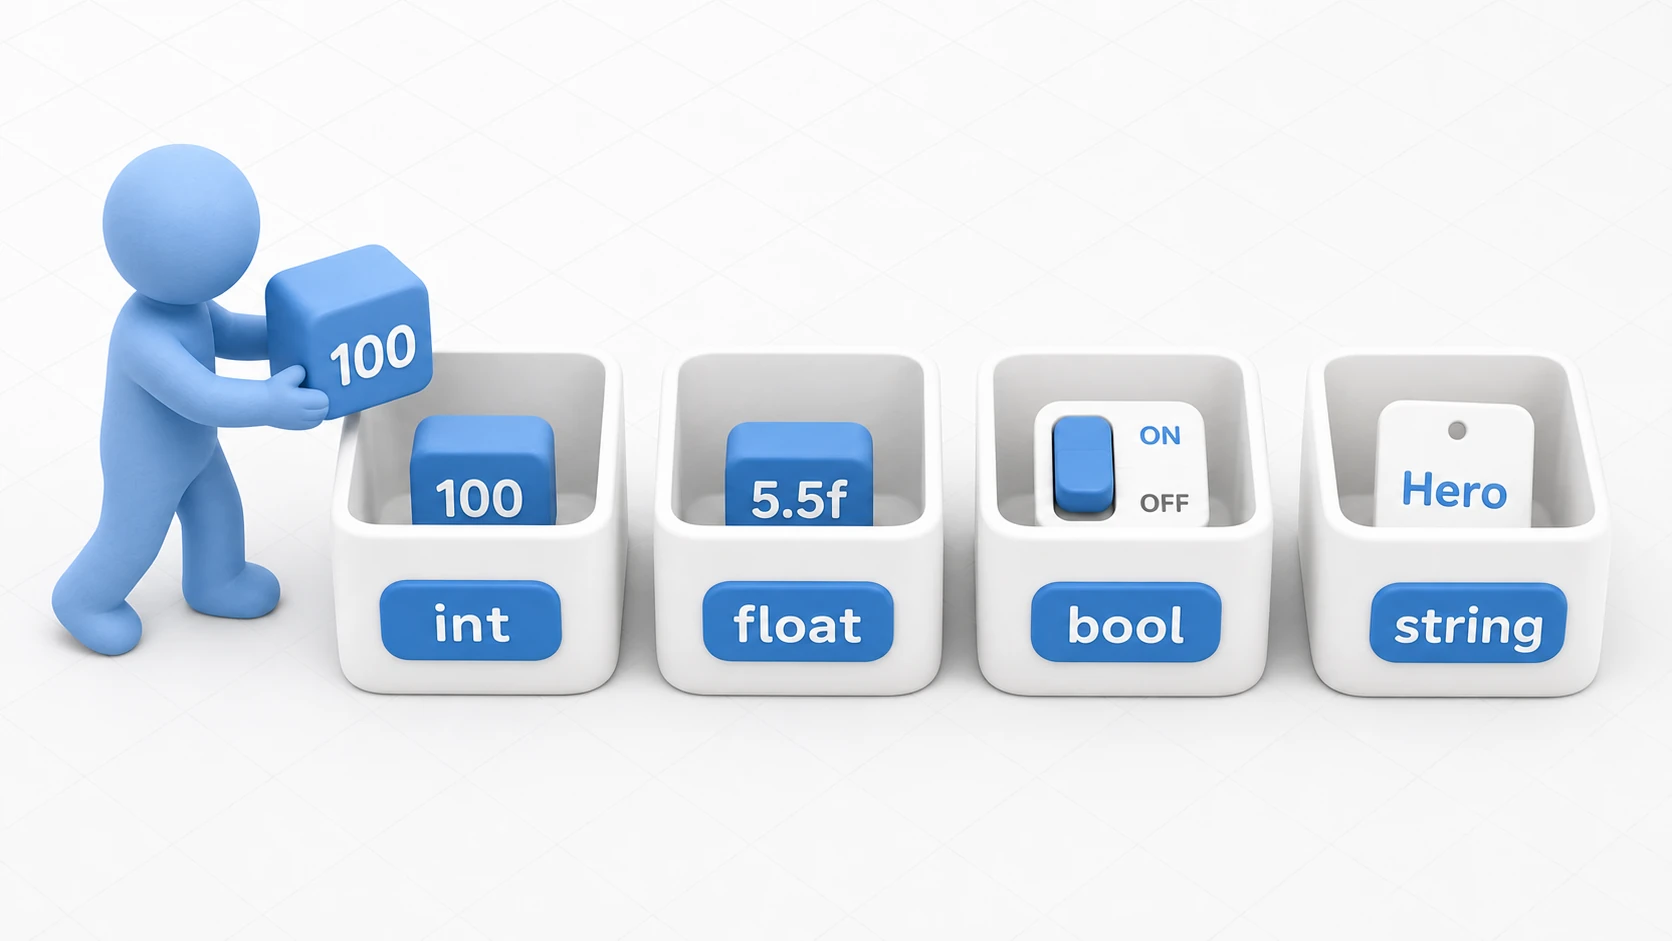
Let's look at the basic data types commonly used in Unity:
| Data Type | Description | Example |
|---|---|---|
int | Integer numbers (-2, -1, 0, 1, 2...) | int playerScore = 100; |
float | Floating-point numbers (decimals). Append f when you write a decimal. | float speed = 5.5f; |
bool | Boolean values (either true or false) | bool isGameOver = false; |
string | Text strings. Enclosed in double quotes. | string playerName = "Hero"; |
Vector3 | 3D vector (x, y, z coordinates). Represents positions and directions. | Vector3 startPosition = new Vector3(0, 1, 0); |
GameObject | Unity's game object itself. | public GameObject playerObject; |
Declaring and Using Variables
Variables are declared with [DataType] [variableName]; and assigned values using =.
using UnityEngine;

public class VariableExample : MonoBehaviour
{
    // Variable declarations
    int health;         // Health (integer)
    float moveSpeed;    // Movement speed (decimal)
    bool isJumping;     // Is jumping? (boolean)

    void Start()
    {
        // Assign values to variables
        health = 100;
        moveSpeed = 7.5f;
        isJumping = false;

        // Output variable values to console
        Debug.Log("Health: " + health);
        Debug.Log("Move Speed: " + moveSpeed);
    }
}
Warning: There are two classic mistakes beginners run into. (1) Always append
fwhen you put a decimal into afloat(5.5f, not5.5— forgetting it causes an error; a whole number like5works without it). (2) Always wrapstringvalues in double quotes". When you get an error, check these two things first.
Public Variables
Adding the public keyword before a variable makes it visible in Unity's Inspector window, allowing non-programmers to adjust values. This is extremely useful for game balance tweaking.
using UnityEngine;

public class PlayerSettings : MonoBehaviour
{
    // Public variables appear in Inspector
    public string playerName = "Default Name";
    public float jumpPower = 10f;
    public int maxHealth = 200;
}
A step further: making a variable
publicdoesn't just show it in the Inspector—it also makes it writable from any other script. When all you want is "adjustable in the Inspector," writing[SerializeField] privateis the standard in real projects.// Shows in the Inspector, but other scripts can't touch it [SerializeField] private float jumpPower = 10f;Early on, it's fine to memorize the pattern: "just want it in the Inspector →
[SerializeField] private."
Functions (Methods)
Functions (the official C# term is methods) are packaged sets of operations. By defining functions, you can call and reuse the same operations multiple times.
C# functions are defined as follows:
[ReturnType] [FunctionName]([Parameters]) { ...code... }
- Return type: The data type of the value returned after the function completes. Use
voidif no value is returned. - Function name: The name of the function. Use descriptive names that indicate what it does.
- Parameters: Information passed to the function. Separate multiple parameters with commas. Leave empty if none needed.
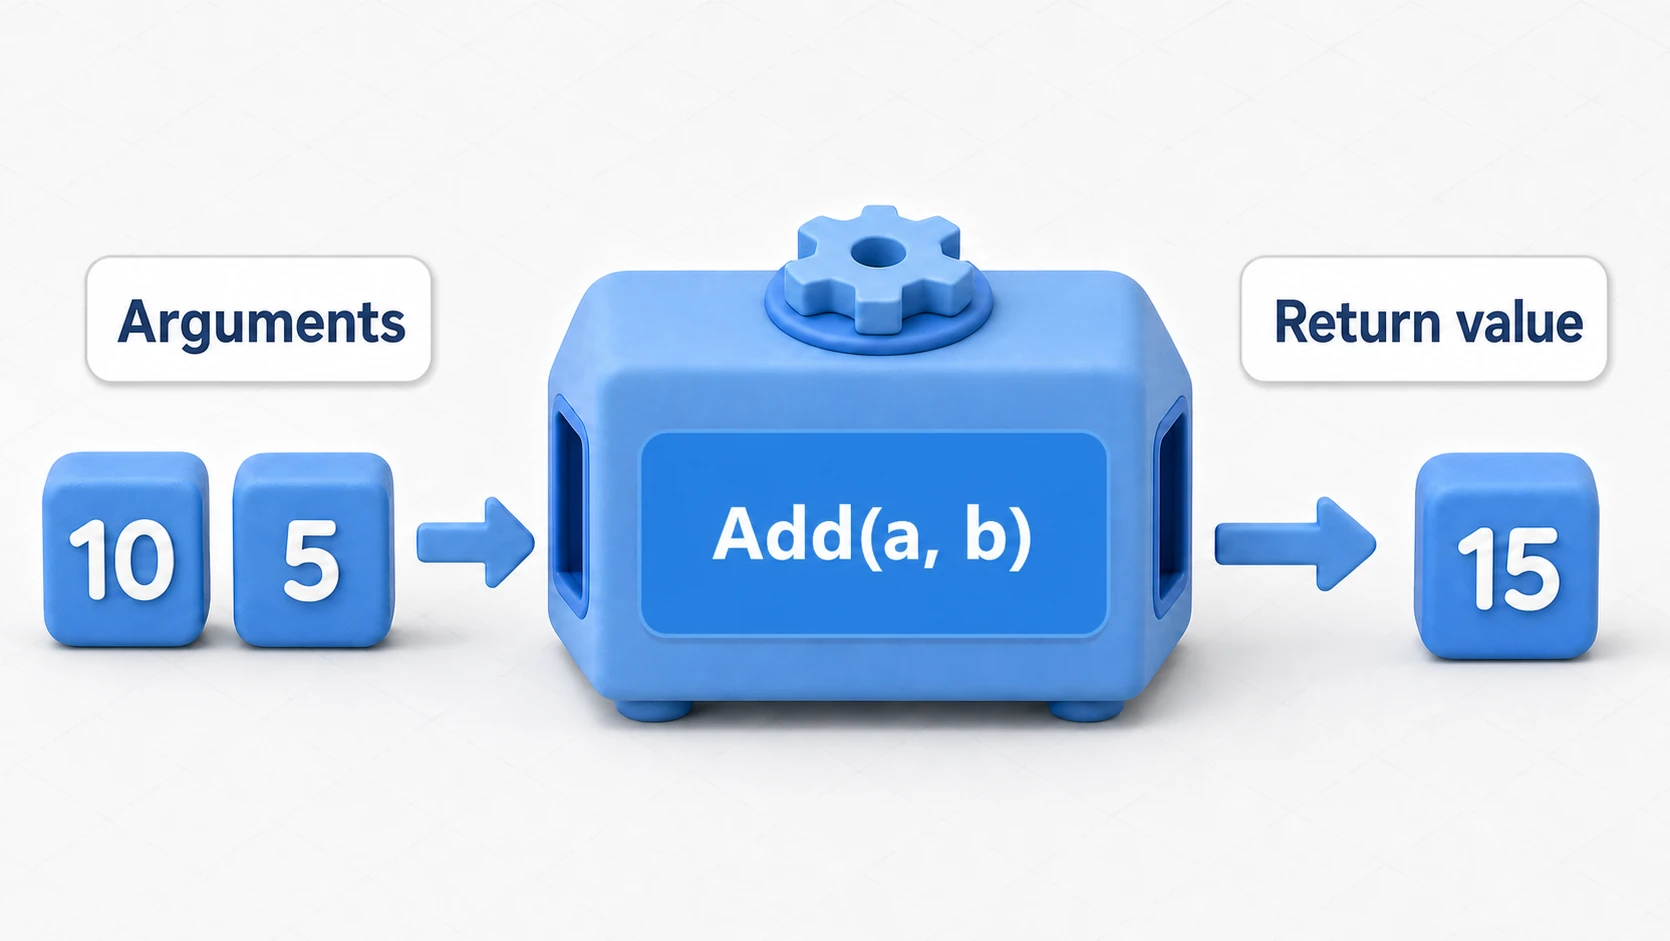
Think of a function as a machine: you feed in ingredients (parameters) and it produces a processed result (return value).
using UnityEngine;

public class FunctionExample : MonoBehaviour
{
    void Start()
    {
        // Call a function
        SayHello();

        // Call a function with arguments and receive return value
        int result = Add(10, 5);
        Debug.Log("10 + 5 = " + result);
    }

    // Function with no parameters or return value
    void SayHello()
    {
        Debug.Log("Hello!");
    }

    // Function that takes two int parameters and returns an int
    int Add(int a, int b)
    {
        int sum = a + b;
        return sum; // Return value using the return keyword
    }
}
Unity's Start and Update are special types of functions that are called by the Unity engine at specific times.
Control Flow Statements
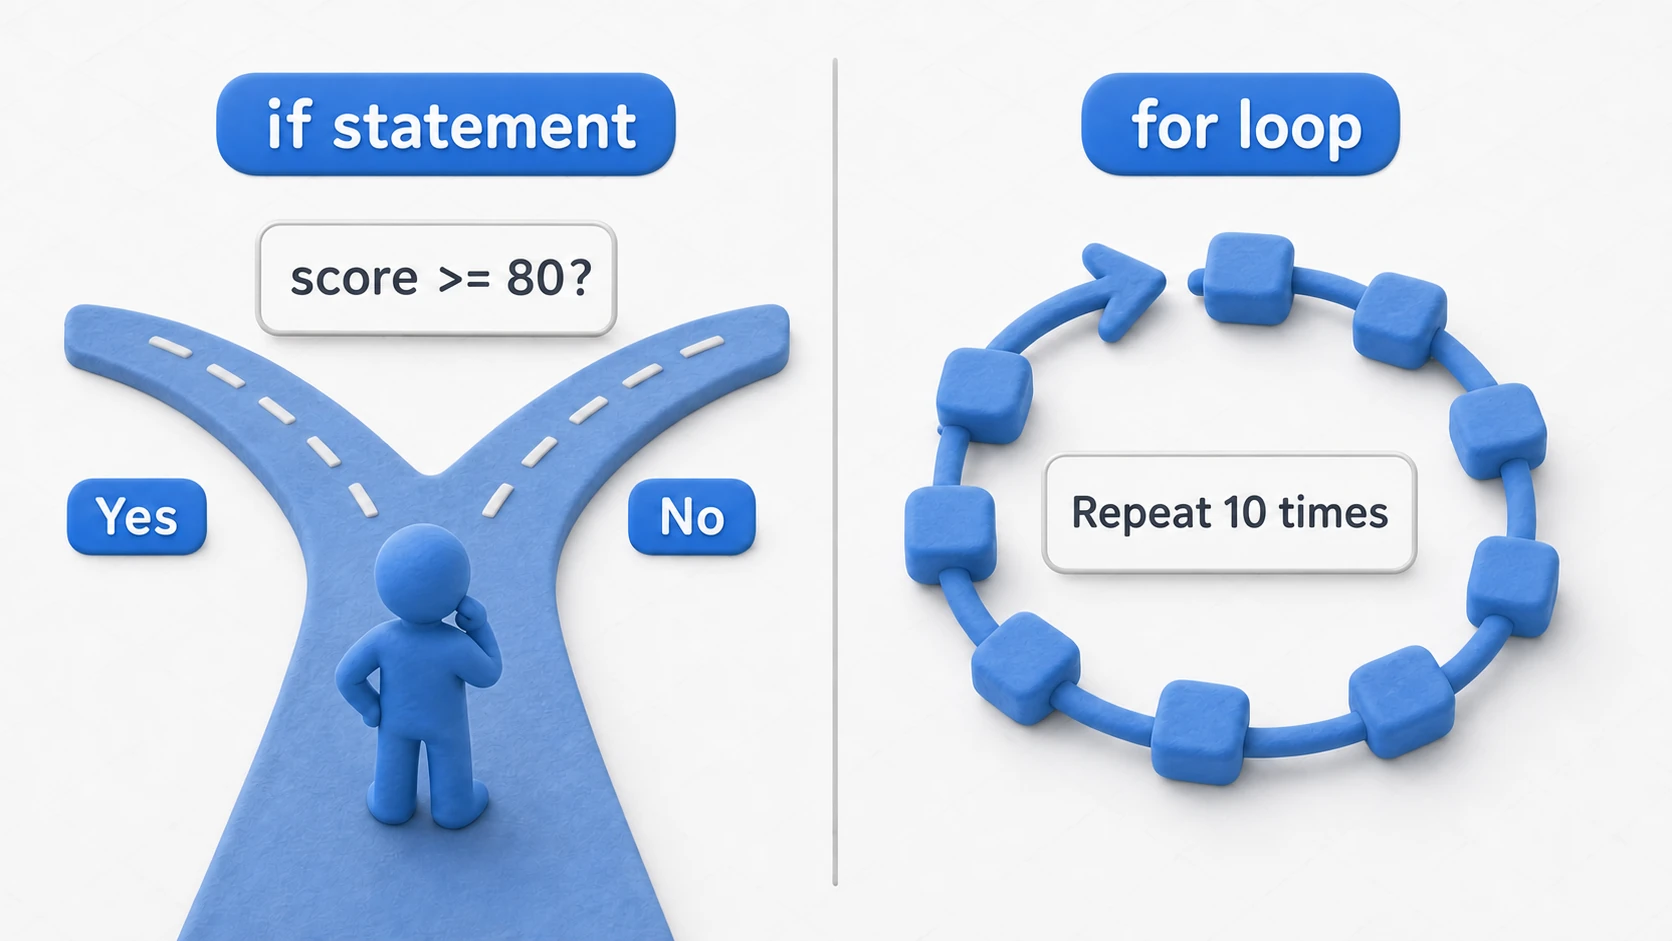
Control flow statements control the flow of your program. Here we'll introduce the most basic ones: if and for. A helpful mental image: if is a fork in the road, and for is a loop that goes round and round.
if Statements (Conditional Branching)
if statements create branches in your code based on conditions: "if X is true, do Y."
int score = 85;

if (score >= 80)
{
    Debug.Log("Excellent!");
}
else if (score >= 60)
{
    Debug.Log("You passed.");
}
else
{
    Debug.Log("Try harder next time.");
}
for Loops (Iteration)
for loops repeat the same operations a specified number of times.
// Repeat 10 times, from 0 to 9
for (int i = 0; i < 10; i++)
{
    Debug.Log("Current count: " + i);
}
For example, you can use it to line up one star for each coin collected, or draw one heart for each point of HP (you'll use this in the hands-on section).
Hands-On: Turning Coin-Collecting Rules into One Script
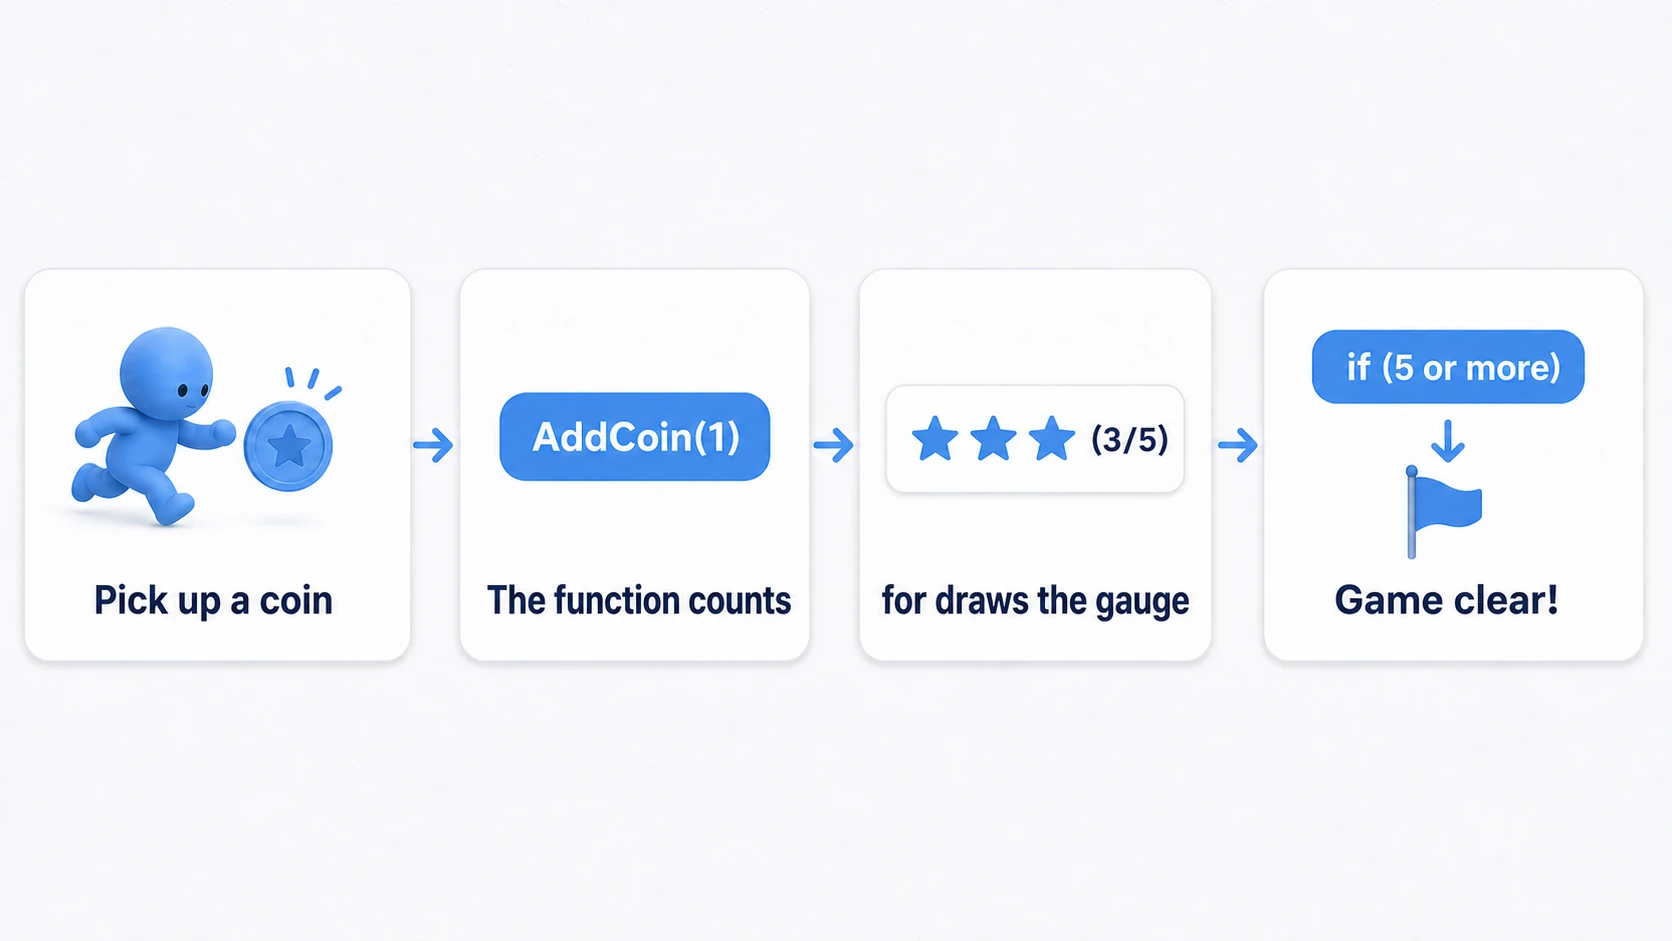
Let's use every tool from this article—variables, functions, if, and for—to bundle the rule "collect coins to clear the game" into a single script. Coins in a Mario-style platformer, rings in Sonic, stars in a puzzle game—different genres, same skeleton: "collect, count, and clear when you hit the goal."
using UnityEngine;
using UnityEngine.InputSystem;

public class CoinGame : MonoBehaviour
{
    [SerializeField] private int targetCount = 5; // Coins needed to clear (tweak in the Inspector)

    private int coinCount = 0;      // Current coin count
    private bool isCleared = false; // Cleared yet?

    void Update()
    {
        // For now, pressing Space counts as "picked up a coin"
        // (you'll be able to swap this for real collision detection in later articles)
        if (Keyboard.current != null && Keyboard.current.spaceKey.wasPressedThisFrame)
        {
            AddCoin(1);
        }
    }

    // The function in charge of adding coins and checking for victory
    void AddCoin(int amount)
    {
        if (isCleared) return; // Do nothing after clearing

        coinCount = coinCount + amount;

        // Use a for loop to build a star gauge for the coins collected
        string gauge = "";
        for (int i = 0; i < coinCount; i++)
        {
            gauge = gauge + "★";
        }
        Debug.Log("Coins: " + gauge + " (" + coinCount + "/" + targetCount + ")");

        // Use an if statement to check for victory
        if (coinCount >= targetCount)
        {
            isCleared = true;
            Debug.Log("Game clear!");
        }
    }
}
Attach this to an empty GameObject, press Play, click inside the Game view once, and hit Space five times. The key is read with the Input System (Keyboard.current), the standard in Unity 6. The Console shows the stars growing one by one, and at five coins it prints "Game clear!" (If you don't see the Console, open it with Window > General > Console.)
The thing to notice is that every tool from this article connects into a "game rule." The variable coinCount remembers the state, the function AddCoin packages the logic, the for loop draws the gauge, and the if statement decides victory. Swap the Space-key stand-in for real collision detection and this works in an actual game as-is. Learning the shape of this "one complete rule" beats memorizing fragments every time.
Troubleshooting
| Symptom | Cause | Fix |
|---|---|---|
CS0664 (Literal of type double cannot be implicitly converted to type 'float') | You forgot the f on a decimal, as in float speed = 5.5; | Write 5.5f |
CS0029: Cannot implicitly convert type 'int' to 'bool' on if (coinCount = 5) | You meant to compare but wrote =, which assigns | Use == to compare |
CS1002: ; expected | You forgot the ; at the end of a line | Add ; to the end of the line with the error, or the line just before it |
CS0103: The name '...' does not exist in the current context | A typo in the variable name, or it isn't declared, or you're using it outside the { } where it was declared | Check that the spelling matches the declaration and that you use it inside the declaring { } |
| Pressing Space prints nothing in the Console | The Game view doesn't have focus, so the key never arrives | Click inside the Game view once, then press Space |
Bonus: Good to Know for Later
Once you start using the basics from this article, you'll eventually run into the following "next steps." Even just knowing their names now will make the learning path ahead much clearer.
- Use arrays and List to handle many values at once: If you have 10 enemies, creating 10 separate variables like
enemy1,enemy2... gets painful fast. Arrays and List let you handle multiple values with a single variable, and they really shine when combined withforloops. - MonoBehaviour is what connects C# to Unity: Once you understand what
: MonoBehaviourin every sample script means, you'll see whyStartandUpdateare called automatically. We cover it in the MonoBehaviour article. - Making friends with errors is the fastest way to improve: When your code doesn't work, the professional approach is to pinpoint the cause using
Debug.Logand error messages instead of rewriting blindly. The debugging guide is a good reference.
Summary
In this article, we covered the C# basics you need to start writing scripts in Unity.
- Variables: Boxes that hold data.
int,float,bool,stringare the basics. - Functions: Grouped operations.
voidmeans no return value. ifstatements: Branch code based on conditions.forloops: Repeat operations.
These elements form the foundation of all scripts. It might feel difficult at first, but these concepts will become natural as you practice writing simple scripts in Unity. Start by using these basics as tools to add simple behaviors and rules to your games.