This goes faster if you've already worked through the Audio Mixer part (BGM/SE groups and Expose) in Getting Started with Unity Audio. Once you get that far, the next thing that starts to bug you is probably that the BGM is always the same and feels monotonous. When the same track just loops through exploration, combat, and dialogue alike, even a great track can't build the tension of a scene.
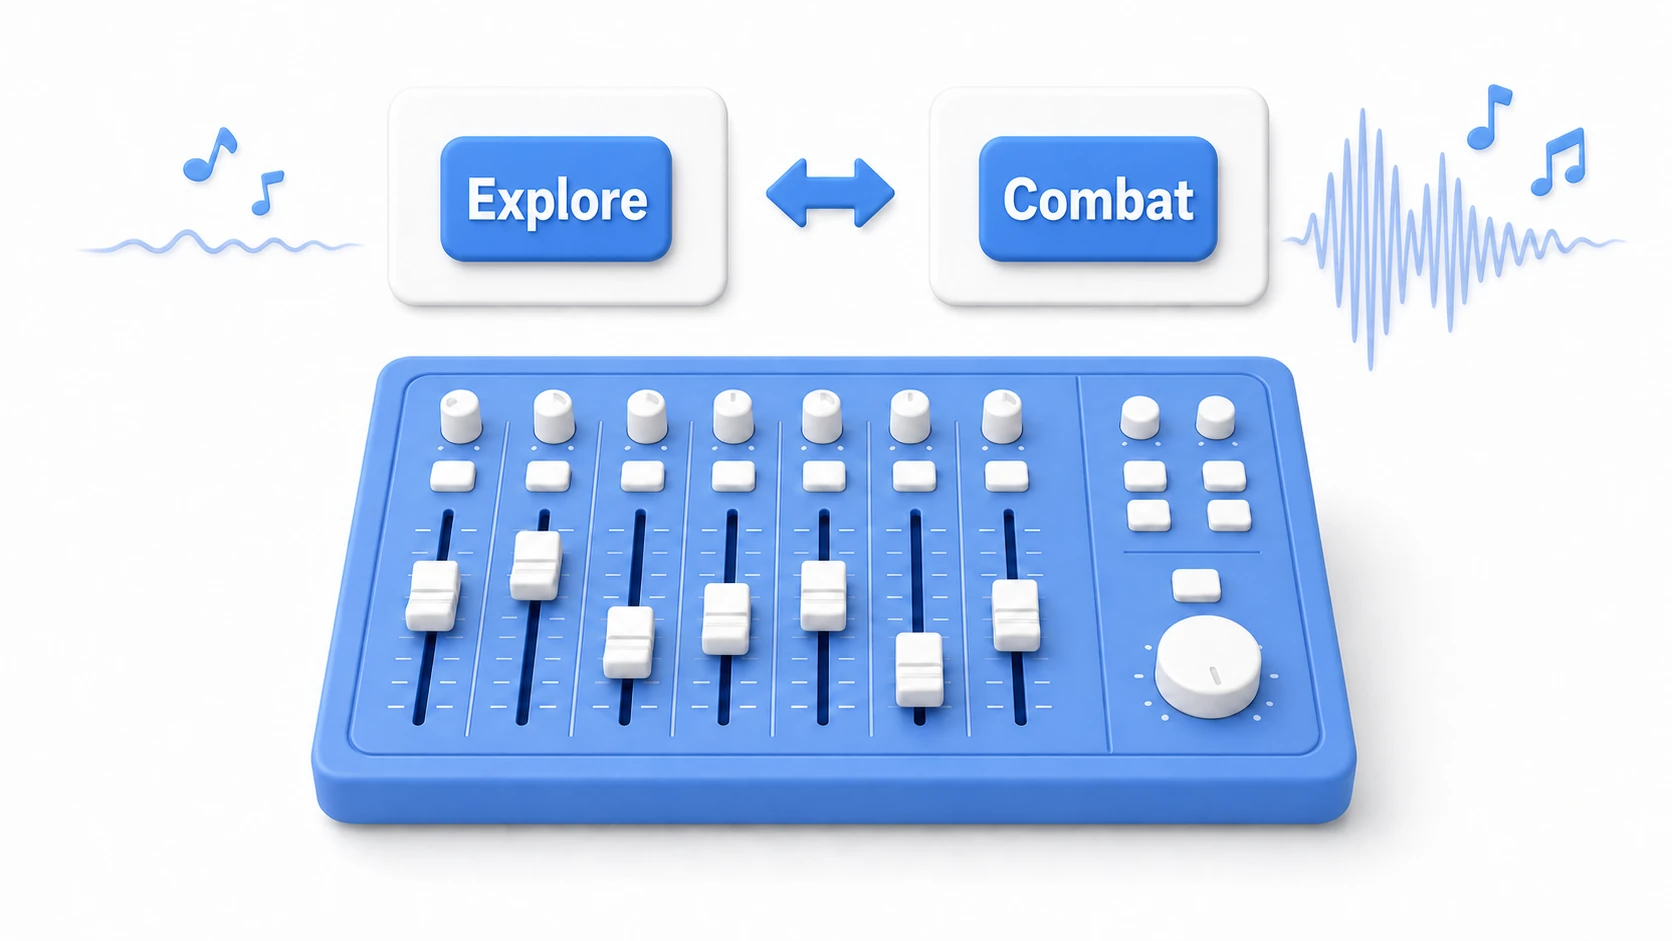
The music in great games reacts to the situation. The track switches the instant you start fighting; the BGM slips down when a conversation begins so the voices come through. In this article, we'll implement that dynamic music control with the Audio Mixer's three weapons—snapshots, ducking, and crossfades.
What You'll Learn
- Snapshots—save the mixer's state and switch between them smoothly by situation
- Ducking—automatically lower the BGM only during dialogue or SFX (no code)
- Crossfades—swap two tracks without a gap
- Operate volume smoothly with exposed parameters and dB conversion
- Practical: build exploration↔combat switching + dialogue ducking in one scene
Tested with: Unity 6 (6000.x)
Three Weapons and the Prerequisite
"Dynamic BGM" is a broad term, and the tool you reach for changes with what you're trying to do. Let's start with the big picture.
| Weapon | What it does | Main use |
|---|---|---|
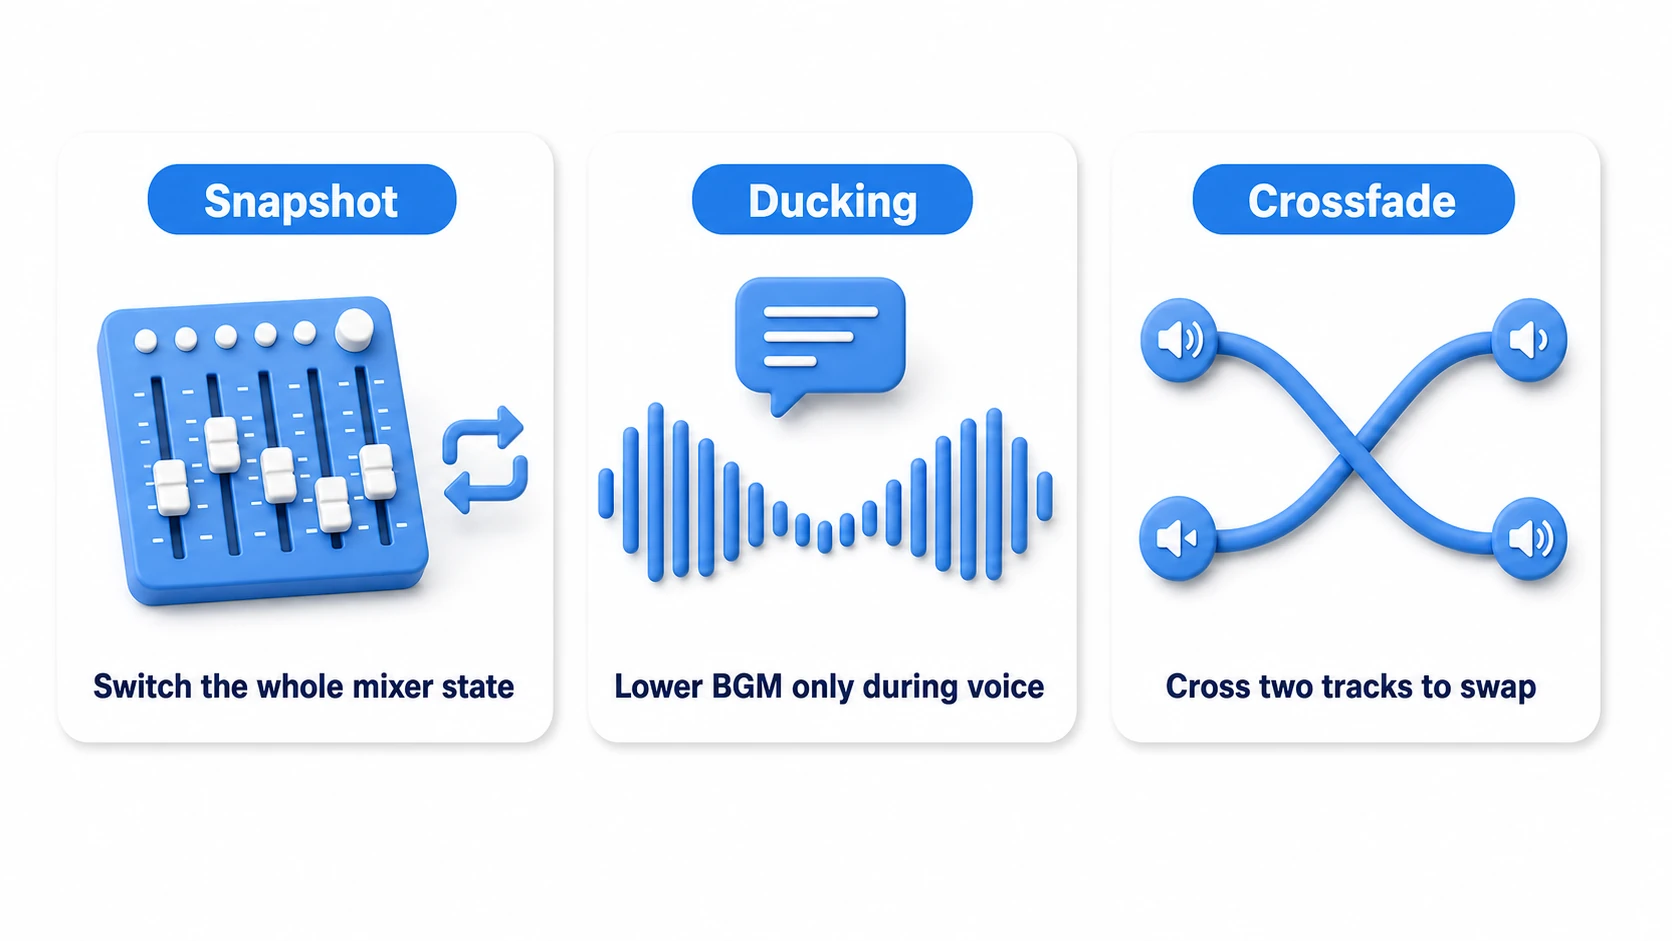
| Snapshot | Switches the mixer's volume/effect state wholesale | Change the soundscape between exploration and combat |
| Ducking | Automatically lowers the BGM only while voice or SFX plays | Make voices clear during dialogue and cut-ins |
| Crossfade | Swaps two tracks without a gap | Switch to a different track, e.g. entering a boss fight |
The foundation for all of them is the Audio Mixer from Getting Started with Unity Audio. We start from a state where you've made three groups—BGM, SE, and Voice—and exposed each one's volume parameter.
Snapshots: Switch the Mixer State by Situation
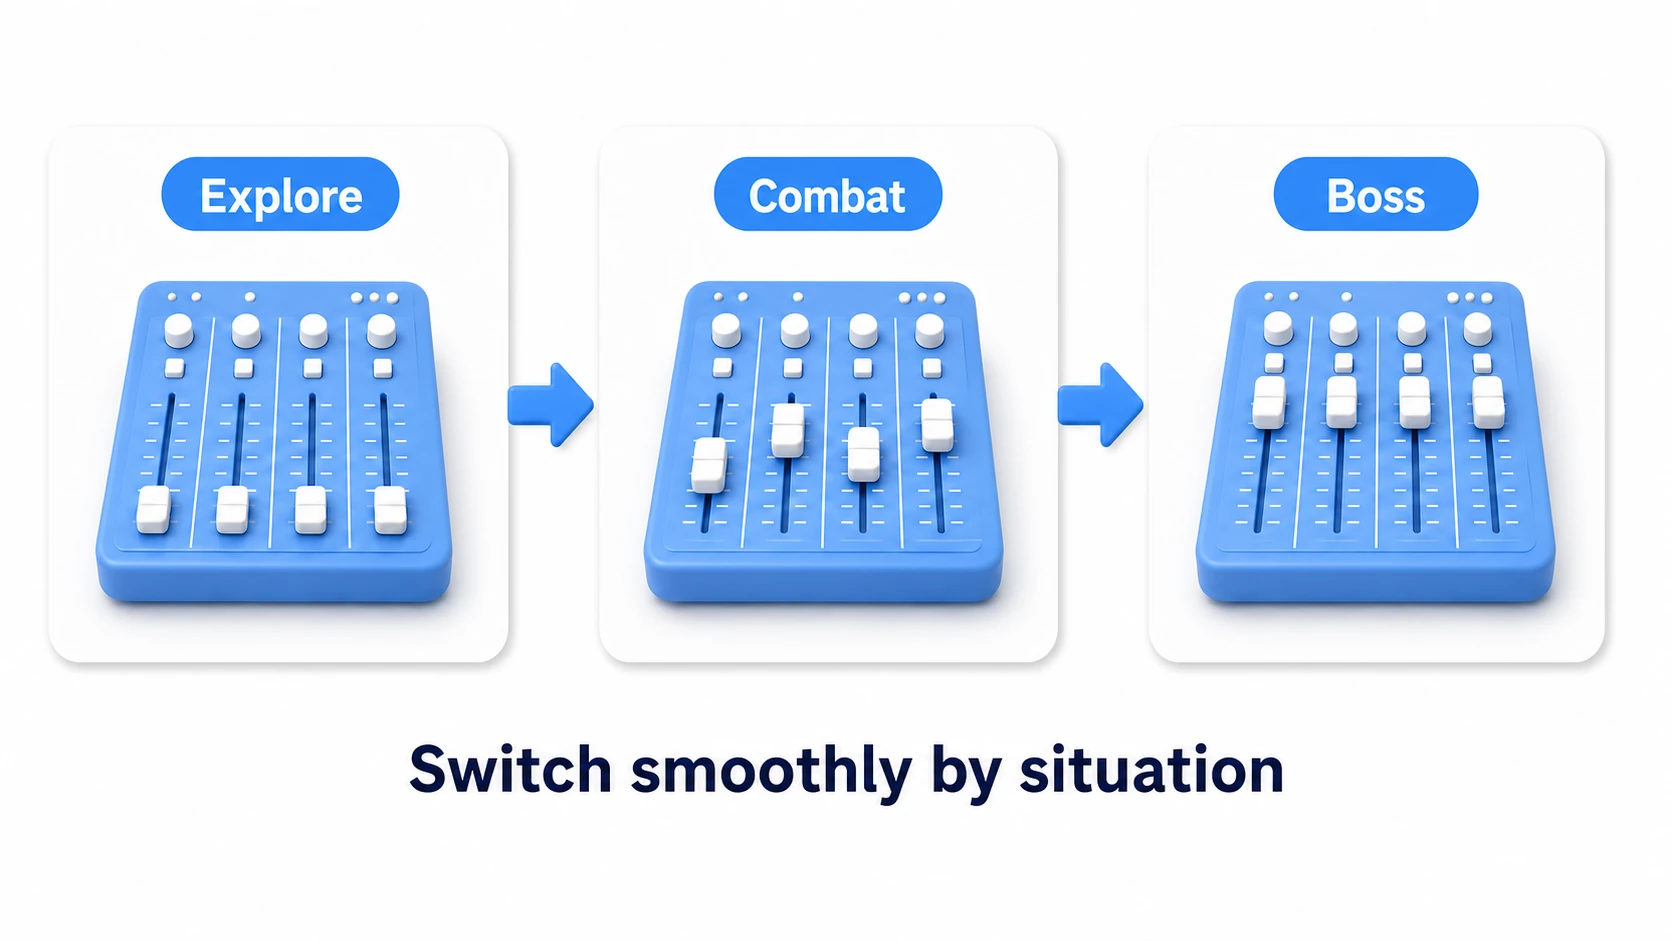
A snapshot saves the mixer's settings at that moment (each group's volume and effect values) wholesale. You save states like "exploration," "combat," and "boss," then switch between them as the situation changes.
Creating snapshots
- In the Audio Mixer window, click "+" under Snapshots on the left to add e.g. "Combat"
- With that snapshot selected, adjust each group's volume and effects for combat (e.g. raise the combat BGM group, lower ambience)
- Reselect another snapshot to edit its state anytime. The startup state is the snapshot with the star icon (at first, "Snapshot"). Change it with Set as Start Snapshot from the right-click menu
To adjust while listening during Play, turn on the mixer's Edit in Play Mode. Values you change while it's on stay after you stop Play.
Switching from code
Transitioning to a snapshot is a one-liner: AudioMixerSnapshot.TransitionTo(). The transition time in the first argument is the smoothness of the switch.
using UnityEngine;
using UnityEngine.Audio;

public class MusicStateController : MonoBehaviour
{
    // Assign the snapshot assets in the Inspector
    [SerializeField] private AudioMixerSnapshot explorationSnapshot;
    [SerializeField] private AudioMixerSnapshot combatSnapshot;

    private AudioMixerSnapshot current;

    void Start()
    {
        current = explorationSnapshot;
    }

    public void EnterCombat()
    {
        if (current == combatSnapshot) return; // Skip a redundant switch to the same state
        combatSnapshot.TransitionTo(1.5f);     // Fade to the combat soundscape over 1.5s
        current = combatSnapshot;
    }

    public void ExitCombat()
    {
        if (current == explorationSnapshot) return;
        explorationSnapshot.TransitionTo(2.0f); // Return a little more slowly
        current = explorationSnapshot;
    }
}
To blend multiple:
mixer.TransitionToSnapshots(snapshots, weights, time)lets you blend multiple snapshots by weight. It's good for continuous changes like mixing exploration and combat 70:30 based on "how intense the combat is."
The key is to keep both the exploration BGM and the combat BGM playing the whole time, and switch only the volume balance with snapshots. Since the tracks' playback positions never shift, the switch feels natural.
One caution: a volume parameter you've set with SetFloat, for example from a volume slider on a settings screen, no longer moves when you switch snapshots (the script's value wins until you call ClearFloat). Keep the player's volume on Master or a parent group and the per-scene volume on child groups, and the two work together.
Ducking: Lower the BGM Only During Dialogue and SFX
When a dialogue voice or a cut-in SFX plays but the BGM stays loud, the important voice gets buried. Lowering it by hand instead leads to forgetting to raise it back. That's where ducking comes in—a mechanism that "automatically dips the BGM only while a voice is playing."
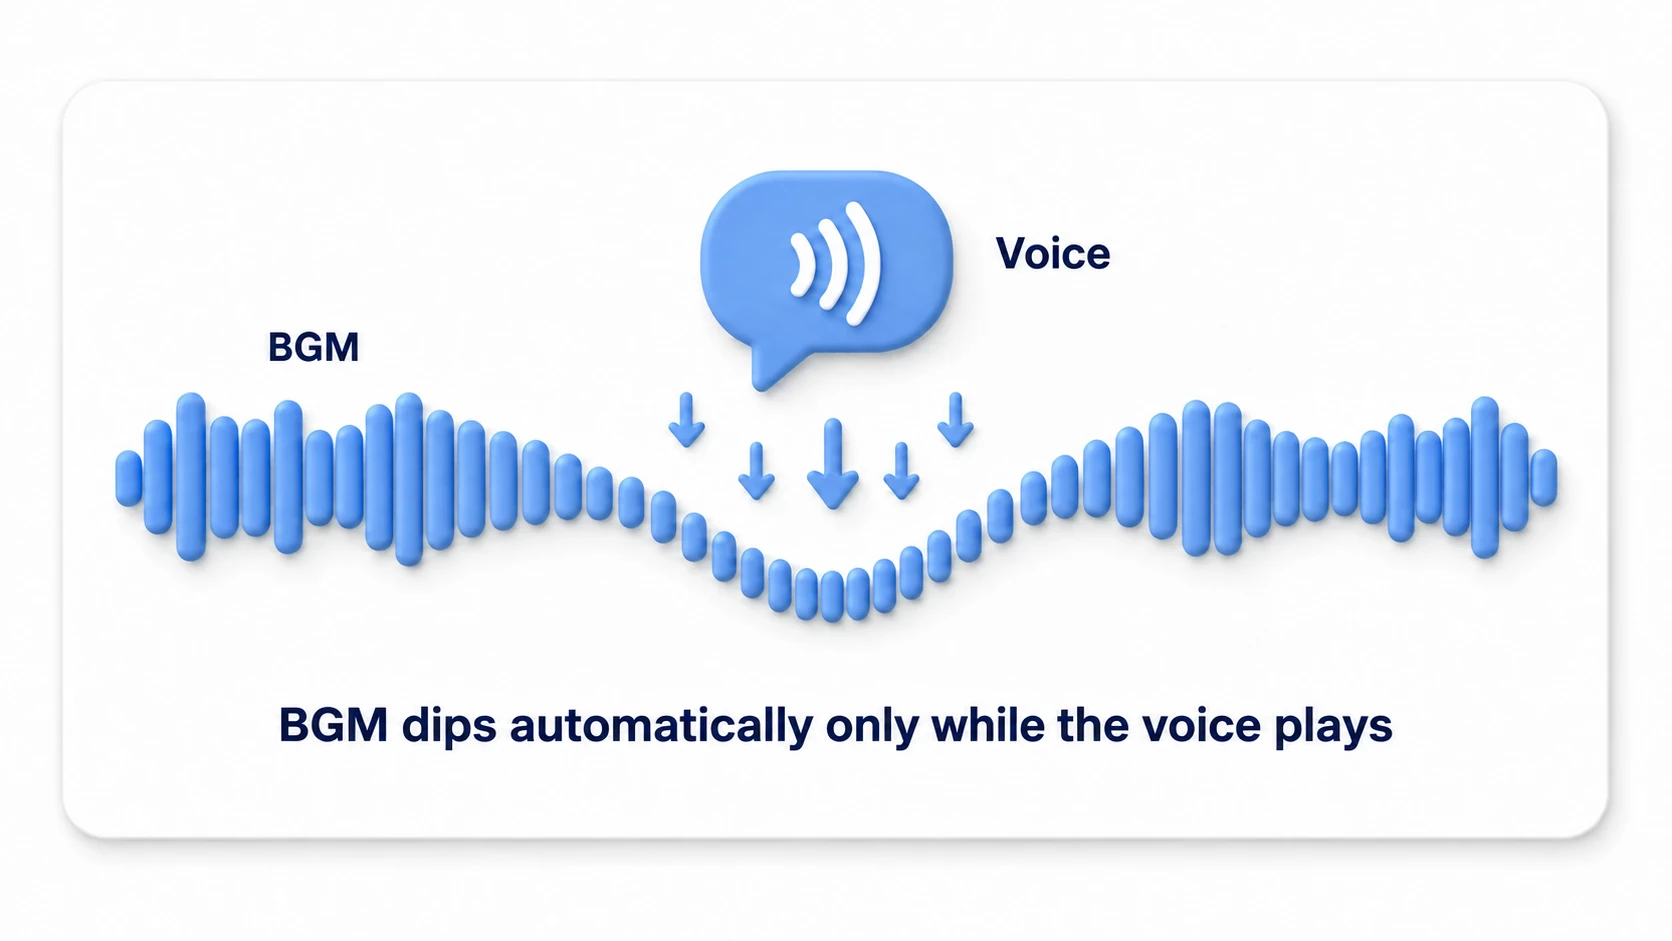
The nice part is that this works with mixer wiring alone, no code.
- Add "Add Effect > Duck Volume" to the BGM group
- Add "Add Effect > Send" to the Voice (or SE) group, and set its destination (Receive) to the BGM group's Duck Volume
- Raise the Send's Send level to around 0 dB (the default is -80 dB, which sends nothing)
- On the BGM group's Duck Volume, adjust Threshold (the level that triggers it), Ratio (how much it lowers), and Attack Time / Release Time (how fast it drops/recovers)
Now, every time the Voice group produces sound, the Duck Volume automatically lowers the BGM, and when the voice stops, it eases back over the Release time. You don't need to write "voice plays → lower BGM" in code every time.
Attack/Release guideline: A short Attack (a few ms to a few tens of ms) drops it instantly, and a longer Release (roughly 300–800 ms) makes the return natural. If the Release is too short, the BGM flutters at every pause in the conversation, so be careful.
Crossfade: Swap Tracks Without a Gap
Snapshots were a tool for switching "the volume balance among the same tracks." When you want to swap to a completely different track (field track → boss track), a crossfade is what you want. You fade one track out while fading another in, swapping them without ever creating a silent moment.
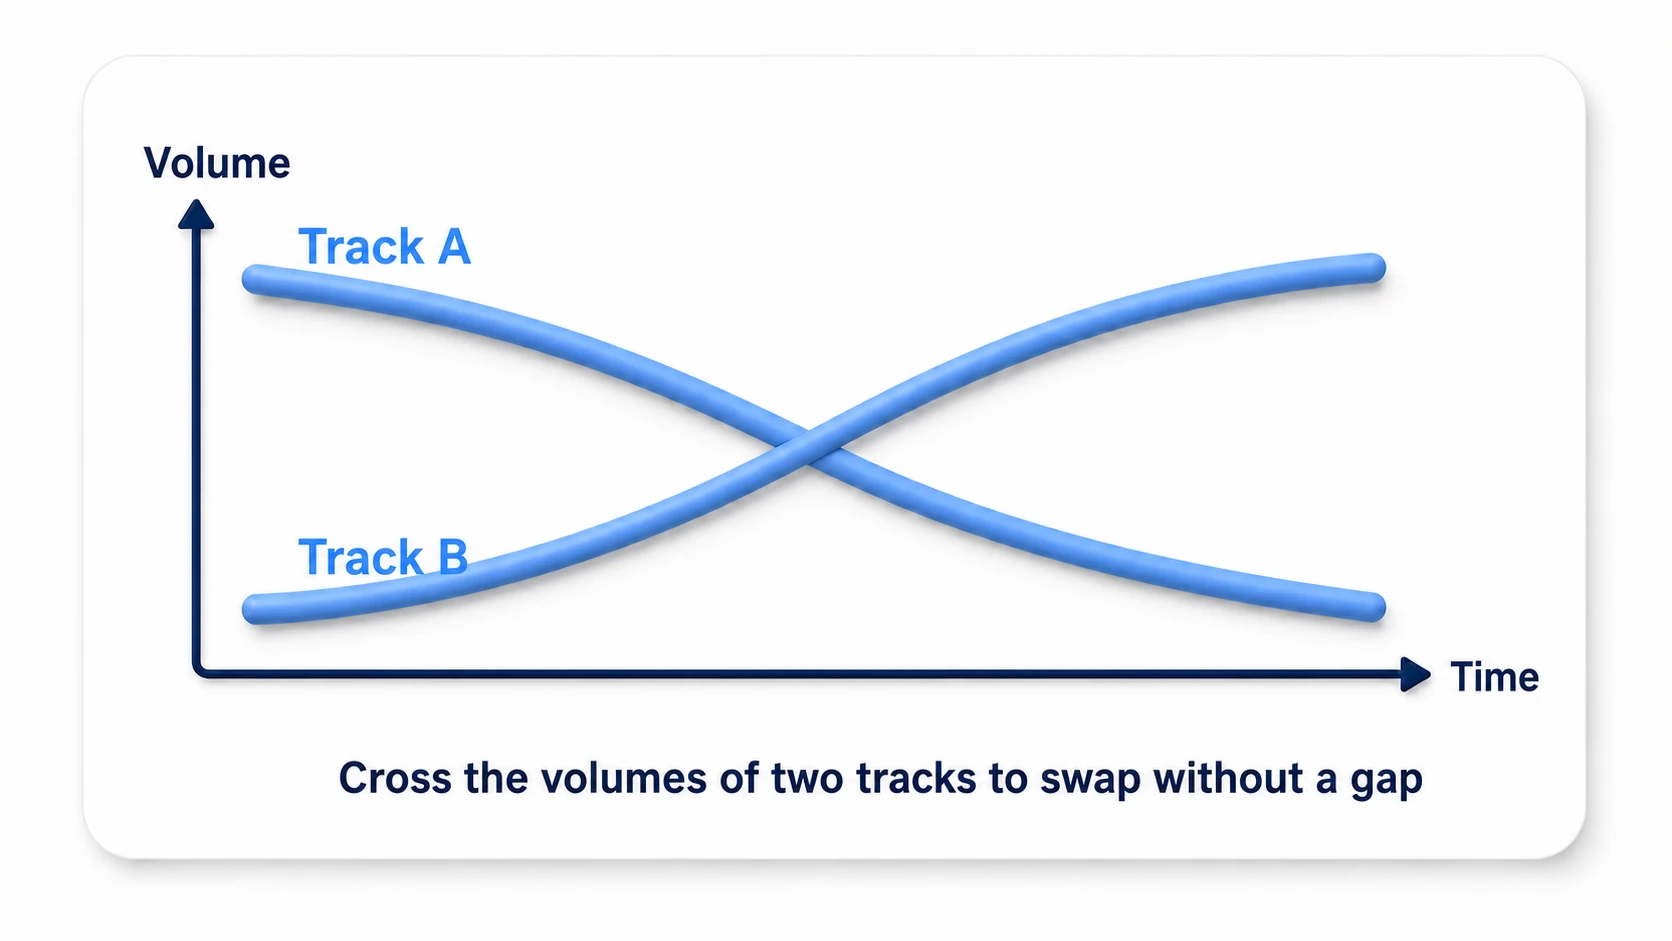
You need two AudioSources (both output to the BGM group). You use one as "the one currently playing" and the other as "the one to use next," alternating between them.
using System.Collections;
using UnityEngine;

public class MusicCrossfader : MonoBehaviour
{
    [SerializeField] private AudioSource sourceA;
    [SerializeField] private AudioSource sourceB;
    [SerializeField] private float fadeTime = 2f;

    private AudioSource active;   // The one currently playing
    private AudioSource standby;  // The one to use next
    private Coroutine fadeRoutine; // Remember the fade in progress

    void Awake()
    {
        active = sourceA;
        standby = sourceB;
    }

    // Crossfade to the next track
    public void CrossfadeTo(AudioClip nextClip)
    {
        // If a fade is in progress, stop it and promote the fading-in track first
        if (fadeRoutine != null)
        {
            StopCoroutine(fadeRoutine);
            active.Stop();
            (active, standby) = (standby, active);
        }

        standby.clip = nextClip;
        standby.volume = 0f;
        standby.Play();
        fadeRoutine = StartCoroutine(CrossfadeRoutine());
    }

    private IEnumerator CrossfadeRoutine()
    {
        // Interpolate from the *current* volume so interruptions still sound natural
        float startActive = active.volume;
        float t = 0f;
        while (t < fadeTime)
        {
            // Use unscaled so it progresses even while paused
            t += Time.unscaledDeltaTime;
            float k = Mathf.Clamp01(t / fadeTime);
            // A linear crossover sounds thin in the middle, so cross them on cos and sin curves
            active.volume = startActive * Mathf.Cos(k * Mathf.PI * 0.5f); // Current track: fade down
            standby.volume = Mathf.Sin(k * Mathf.PI * 0.5f);              // Next track: fade up
            yield return null;
        }

        active.Stop();
        // Swap active and standby, ready for next time
        (active, standby) = (standby, active);
        fadeRoutine = null;
    }
}
The trick is to use active and standby while swapping them. That way, no matter how many times you switch, there are always just two AudioSources—no double playback, no forgetting to stop one. Since we want the fade to progress even on the pause screen, we use Time.unscaledDeltaTime instead of Time.deltaTime (see the pause implementation article).
The other line of defense is guarding against rapid switches. If CrossfadeTo gets called again mid-fade, the naive implementation runs two coroutines at once, the active/standby swap happens twice, and the bookkeeping falls apart. The code above stops the fade in progress with StopCoroutine before starting the next one, so two coroutines never run at once. However, if you call it again early in a fade, the previous track, still playing loudly, cuts off abruptly. If switches happen often, make the next request wait until the current fade finishes.
Note: what we're modifying here is
AudioSource.volume(0–1). The volume the user adjusts on the settings screen lives on the Mixer group side (the exposed volume parameter), so the fade never overwrites the user's settings. This "effects on the Source, settings on the Mixer" division of labor is another benefit of using the Mixer.
Practical: Building Exploration↔Combat + Dialogue Ducking
An action RPG's exploration⇄combat, a roguelike's floor⇄boss, a stealth game's normal⇄spotted—the structure of "moving back and forth between two states while keeping voices audible during dialogue" is built the same way regardless of genre. Let's assemble the weapons so far into one scene.
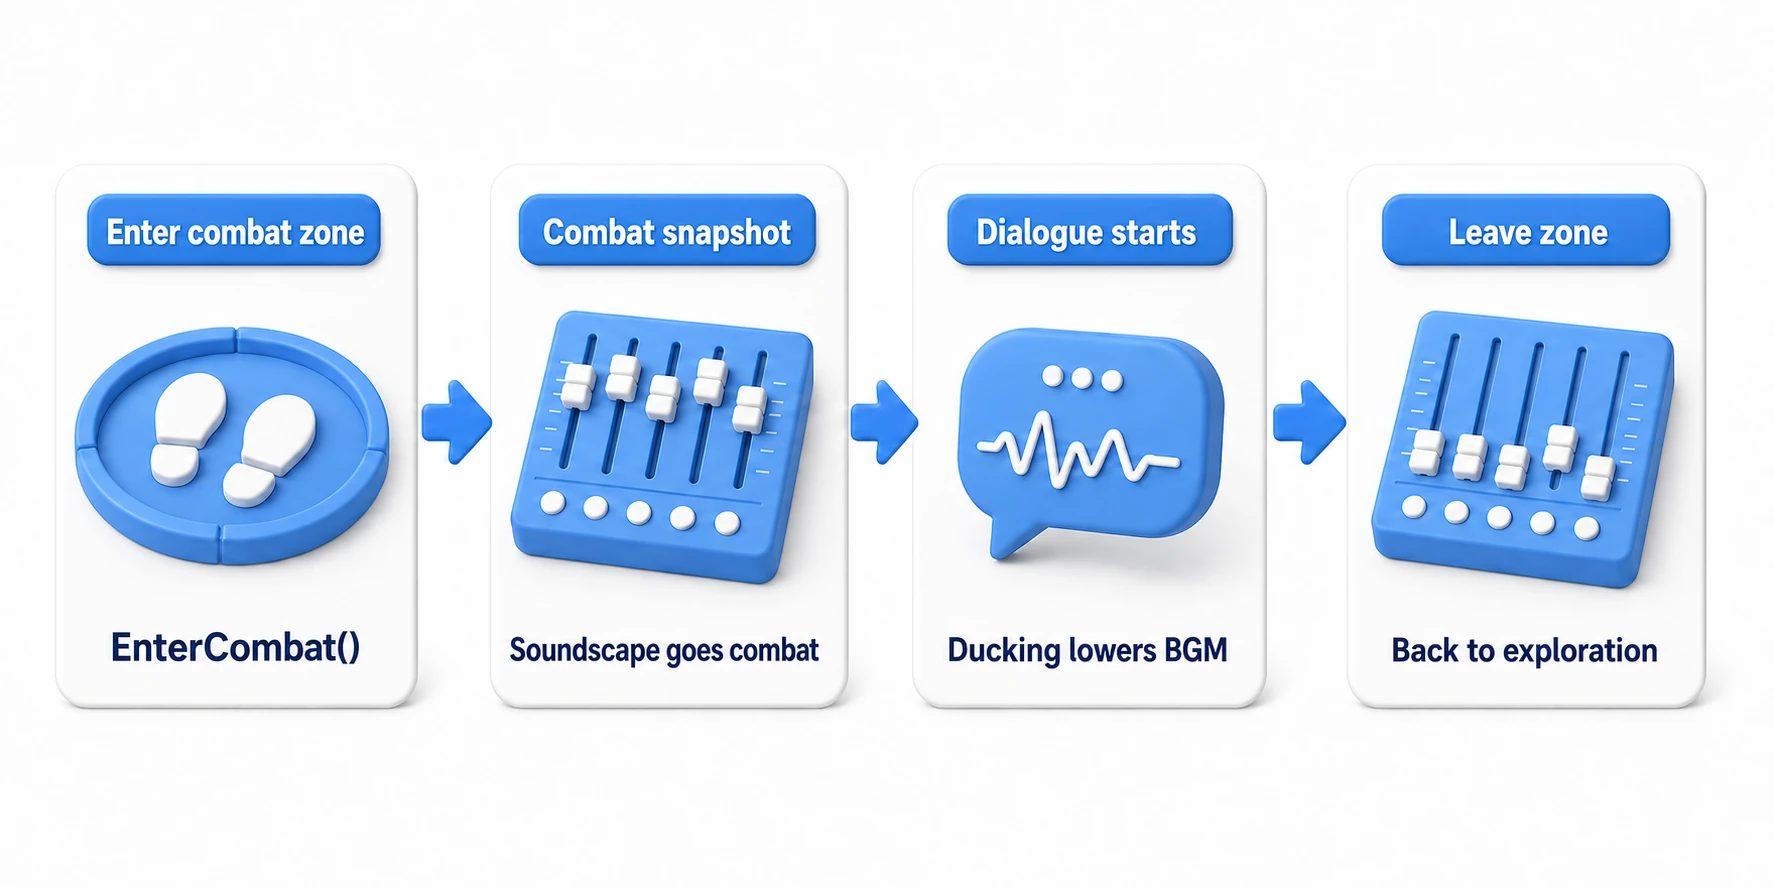
Mixer-side setup (do the wiring before the code):
- Make three groups—BGM, Voice, SE—and expose each volume
- Make two snapshots, Exploration / Combat, and tune the combat one's BGM balance for combat
- Add Duck Volume to the BGM group and a Send (→ BGM's Duck Volume) to the Voice group (= dialogue ducking)
The code just focuses on "when, to which snapshot." Use the MusicStateController from earlier as-is for entering/leaving combat, called from the combat zone's trigger.
using UnityEngine;

[RequireComponent(typeof(Collider))]
public class CombatZone : MonoBehaviour
{
    [SerializeField] private MusicStateController music;

    private void OnTriggerEnter(Collider other)
    {
        if (other.CompareTag("Player")) music.EnterCombat();
    }

    private void OnTriggerExit(Collider other)
    {
        if (other.CompareTag("Player")) music.ExitCombat();
    }
}
If you place combat areas so they overlap, leaving one of them sends you back to exploration. Count how many areas the player is in, and call ExitCombat() only when that count reaches 0.
For dialogue, you add no code at all. As long as your dialogue system plays the voice on the Voice group's AudioSource, the mixer's ducking lowers the BGM on its own and raises it back when the voice stops. That completes the experience of "the soundscape changes in combat, and voices stand out in conversation."
There are two key points. "Don't write ducking in code" (if you manually lower the BGM volume for every voice, you'll forget to restore it somewhere. Leave it to the mixer's Send + Duck Volume, and the moment you wire it, it applies automatically to every voice) and "Skip switching to the same state" (remember the current state in current so you don't re-transition to the combat snapshot every time you meet an enemy mid-combat. Neglect this and the transition fires repeatedly, making the soundscape jittery). Making a manager receive the switch triggers from various places is cleaner if you design it as an event channel.
Bonus: Good to Know for Later
- Handle volume in the log scale (dB): If you touch an exposed parameter directly, convert 0–1 to dB like
mixer.SetFloat("MusicVolume", Mathf.Log10(Mathf.Clamp(value, 0.0001f, 1f)) * 20f). Human loudness perception is logarithmic, so lowering it linearly sounds like it suddenly goes silent. For saving settings, head to Getting Started with PlayerPrefs. - Snapshots save more than volume: The amount of Duck Volume, a Lowpass cutoff, and so on—effect parameters are part of the state too. You can make a "slightly muffled sound only in the boss fight" effect just by switching snapshots.
- Reverb Zones for space-specific echo: For per-location reverb like "it echoes when you enter a cave," an Audio Reverb Zone is easy. Applying it to ambience/SFX rather than BGM sounds natural.
- Track length and loop points are in the asset: Seamless loops and intro→loop structures rest on how the audio asset is authored (loop-point setup). Keep the code focused on "when to switch."
Summary
From just looping the same BGM to music that reacts to the situation—you can implement most of it with the Audio Mixer's three weapons.
- Snapshot: Save the mixer state wholesale and switch smoothly with
TransitionTo(time). Keep the tracks playing and change only the volume balance. - Ducking: Just wire a Duck Volume on the BGM and a Send on the voice/SFX, and the BGM drops automatically during voices. No code.
- Crossfade: Use two AudioSources and cross the volumes to swap to a different track without a gap.
- Skip redundant state switches: Remember the current state in
currentand skip re-transitioning to the same state. - To move volume in code, convert to dB with
Mathf.Log10(value) * 20.
Start by making two snapshots, "exploration" and "combat," and change TransitionTo's transition time to hear the difference. Once the music starts reacting to the scene, the game feels a notch deeper. Is your game's BGM still playing at the exact same volume from start to finish?
Further Learning
- Getting Started with Unity Audio: BGM, SFX, and 3D Sound — the foundation of Audio Source/Mixer and Expose
- Pause Implementation Guide —
unscaledDeltaTimeto keep fades progressing during pause - Getting Started with ScriptableObject Event Channels — relay state changes to a manager with loose coupling
- Unity Manual: Audio Mixer Snapshots — the primary source on snapshots