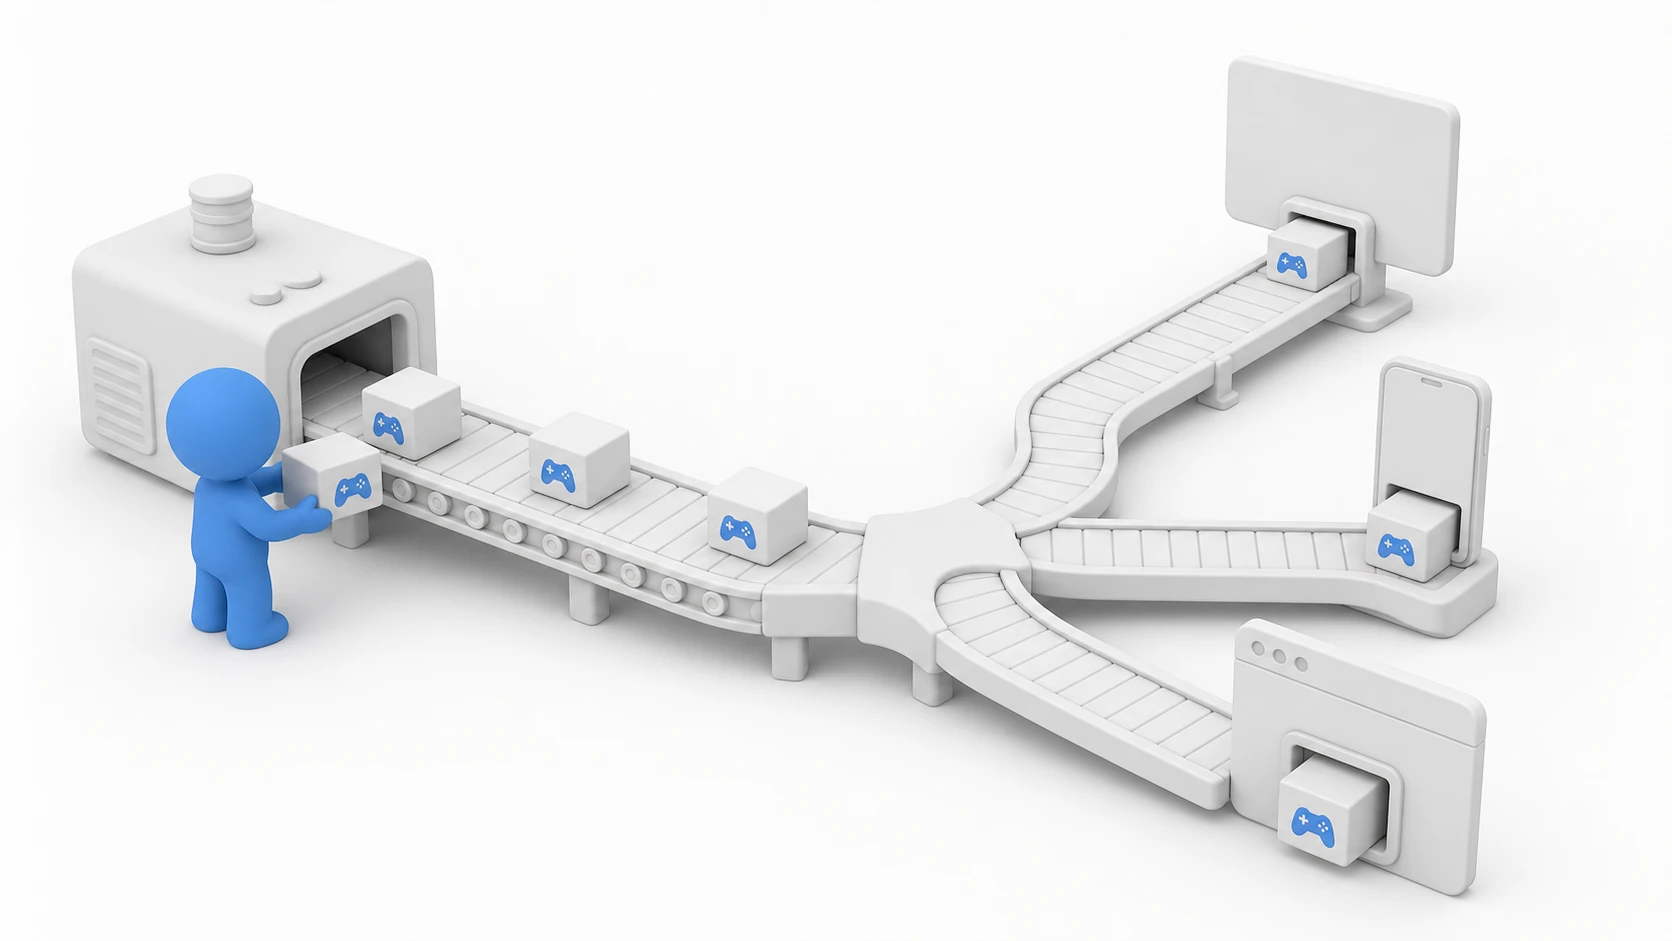
Your game may run perfectly with the editor's Play button, but in that state, you're the only one who can play it. Sharing it with friends, publishing on itch.io, releasing on a store—the final step to get there is the build. Building converts your project into an executable that runs on machines without Unity installed.
This article covers the essential build settings and the steps and common pitfalls for each major platform (PC, WebGL, Android, and iOS).
What You'll Learn
- The basics of Build Profiles (formerly Build Settings)—the Scene List and platform switching
- The Player Settings to check (Product Name, icon, Bundle Identifier)
- Build steps and pitfalls for PC / WebGL / Android / iOS
- When to use Development Build before you distribute
- Practical: the whole journey to publishing a WebGL game on itch.io
Tested with: Unity 6 (6000.x)
The Build Profiles Window
The gateway to building is File > Build Profiles (renamed from "Build Settings" in Unity 6; the role is the same).
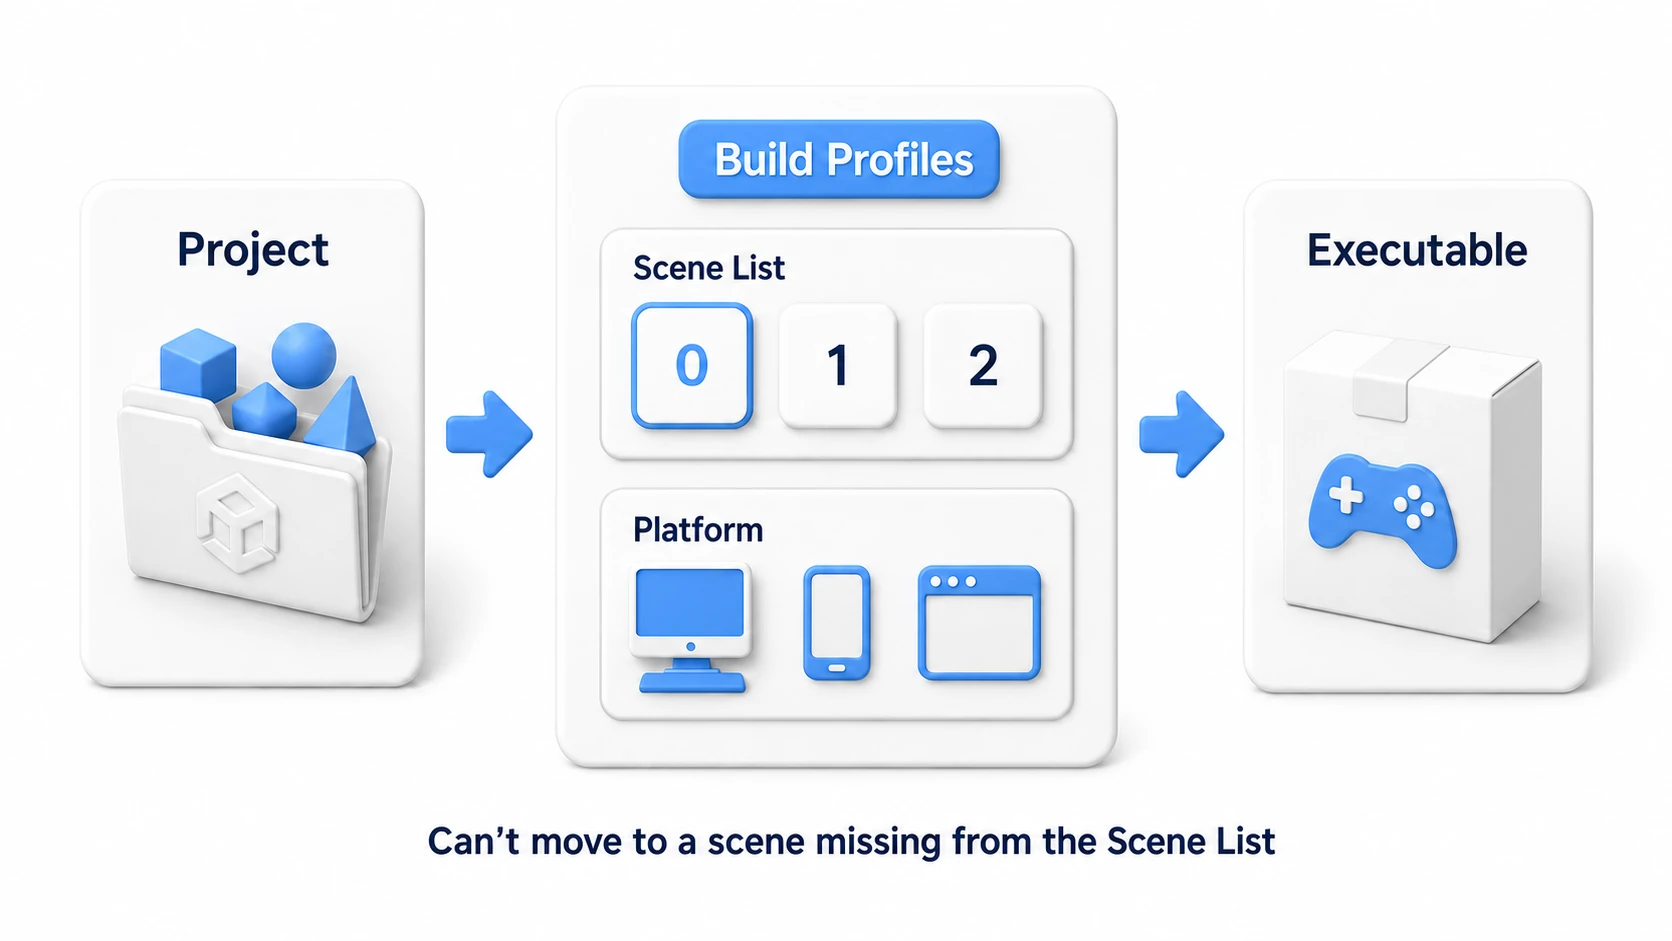
- Scene List (formerly Scenes In Build): The list of scenes included in the build. Your built game cannot transition to any scene that isn't registered here. This is the classic cause of "it works in the editor, but the build freezes at a scene transition" (see the SceneManager article). The topmost checked scene (Build Index 0) loads first at startup.
- Platform list: Choose the target platform for your build. Pressing "Switch Platform" reimports assets to suit the target platform, so the bigger your project, the longer it takes. If you already know your target, it's best to switch early in development.
Player Settings
Click the "Player Settings" button in Build Profiles to configure your app's details. At minimum, check the following.
| Setting | Description |
|---|---|
| Company Name / Product Name | Author and product names. Used for the window title and app name |
| Default Icon | The app's icon image |
| Resolution and Presentation | Resolution, fullscreen mode, and screen orientation (detailed article) |
| Other Settings > Bundle Identifier (Bundle ID) | A unique ID in the com.CompanyName.ProductName format (called Package Name on Android and Bundle Identifier on iOS). Required on mobile |
Platform-by-Platform Build Guide
PC (Windows / Mac / Linux)
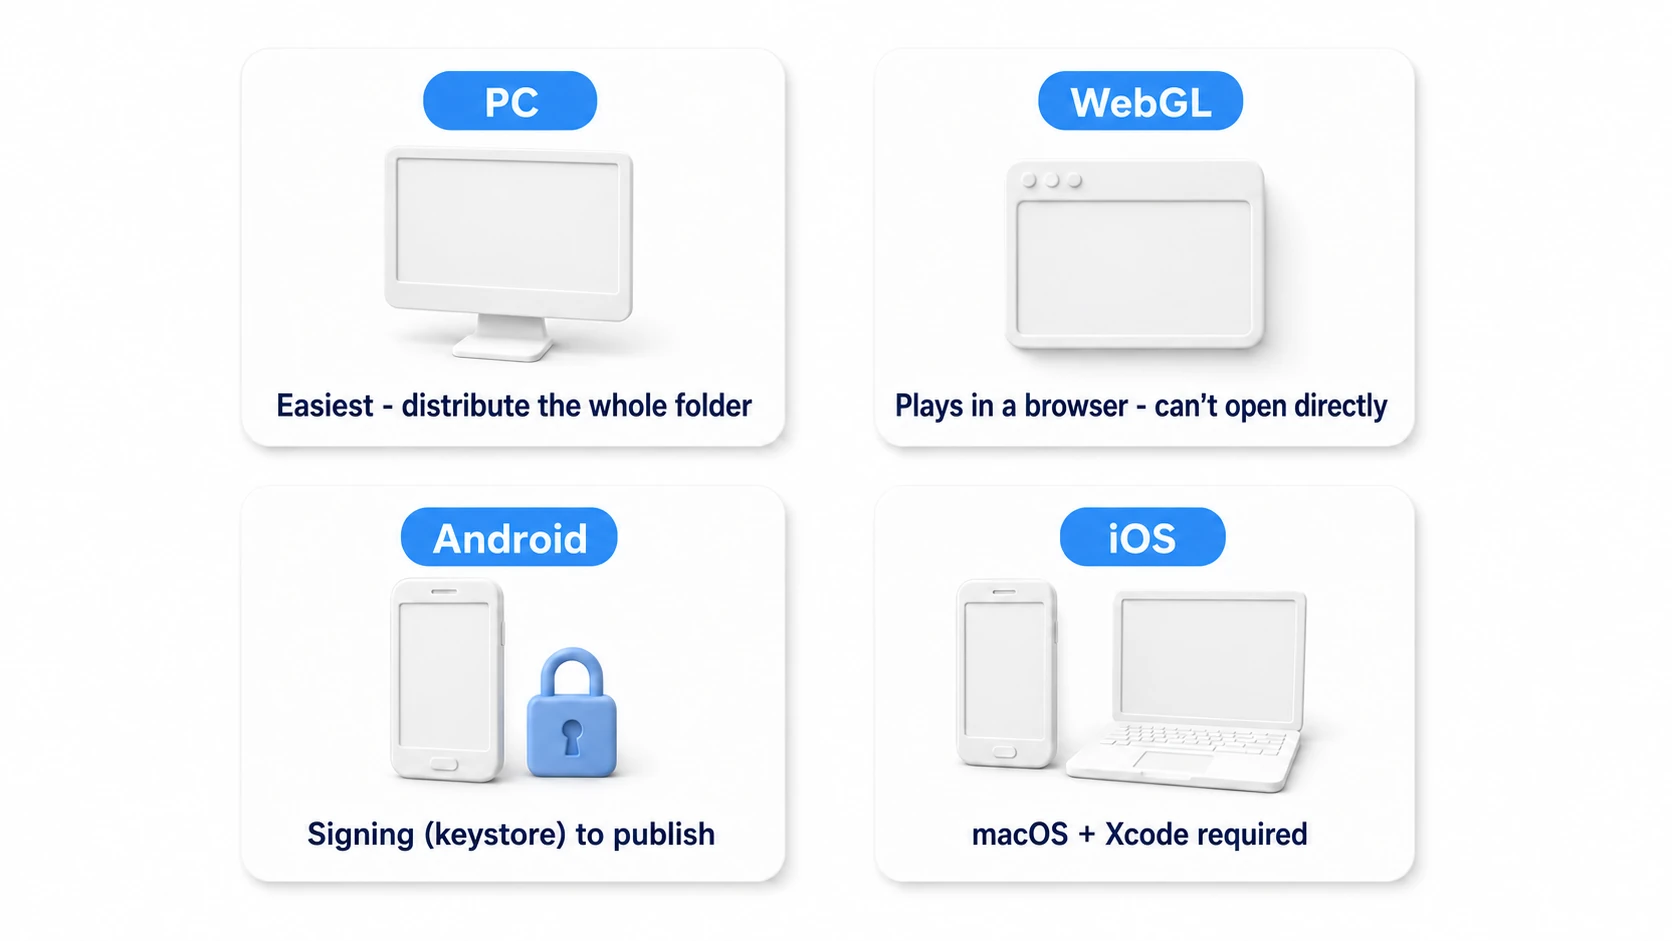
This is the easiest build. Pick the target OS in the platform list, press "Build," and choose a save location—that's all it takes to generate an .exe (Windows) or .app (macOS). The generated executable doesn't work on its own—distribute the whole folder together with the _Data folder and other files output alongside it (zipping the folder is the standard approach). Leave out any folder whose name ends in ButDontShipItWithYourGame, though; it's for debugging.
WebGL
This format runs in the browser. Since players don't need to install anything, it's the go-to choice for game jams and itch.io releases.
- Switch the platform to
WebGL(the reimport takes a while). - Pressing "Build" outputs an
index.htmlplus aBuildfolder. - Upload this whole set to itch.io or a web server, and you're live.
Caution: Double-clicking index.html won't run the game (due to browser security restrictions). To test locally, use "Build And Run"—Unity spins up a temporary server and opens the game for you.
Android
- Add the module: In Unity Hub's "Installs" tab, add
Android Build Support(including SDK & NDK Tools and OpenJDK) to your Unity version. - Switch the platform to
Android. - For testing, you can simply press "Build" to generate an
.apk, copy it to a device, and install it (enable USB debugging in the device's Developer options). - For Google Play releases, you need the
.aab(Android App Bundle) format and keystore signing. Create a keystore in "Player Settings > Publishing Settings > Keystore Manager." If you lose the keystore file or its password, you may no longer be able to update the app as the same app, so guard them carefully (with Google Play App Signing, you may be able to reset the upload key).
iOS
- macOS is required. You can export the Xcode project (step 3) on Windows, but everything after that happens in Xcode on macOS.
- Switch the platform to
iOSand configure the Bundle Identifier and other settings. - Pressing "Build" generates an Xcode project, not the app itself.
- Open it in Xcode, sign it with your Apple Developer account, then deploy to a device or submit to the App Store.
Practical: Publishing a WebGL Game on itch.io
The night before a game jam deadline, the debut of your first homemade game, a public build for your portfolio—getting to a state where "anyone can play it just by clicking a URL" is the first goal of solo development. Let's walk through publishing a WebGL build to itch.io, the free go-to site, end to end.
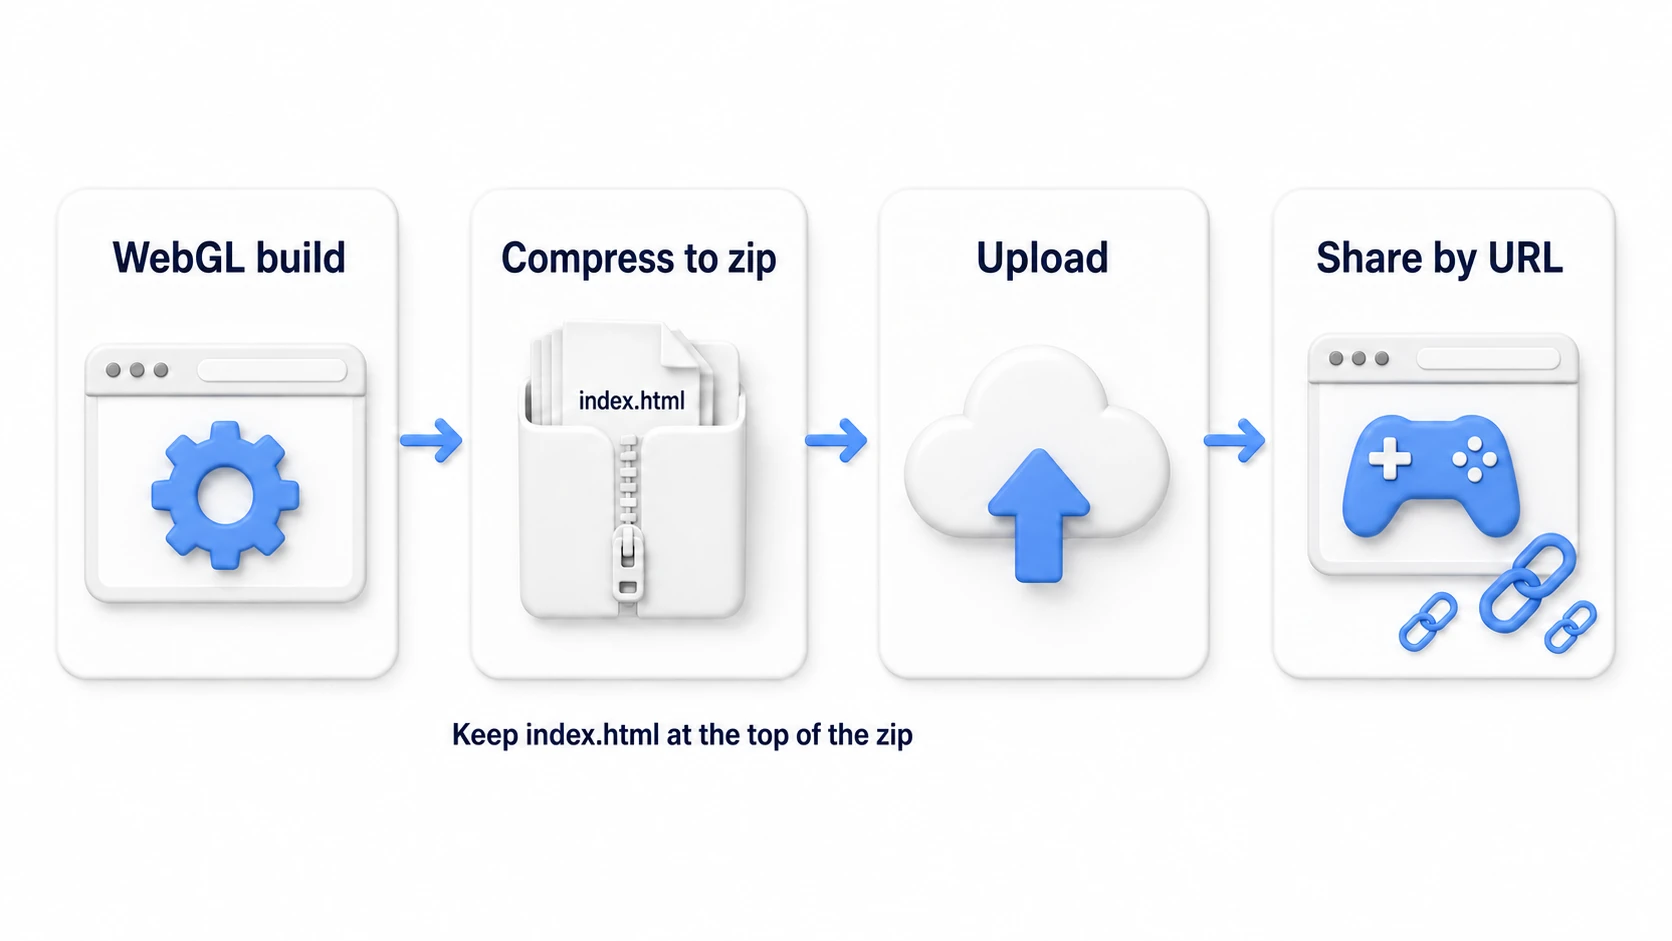
- Switch the platform to WebGL: Switch to WebGL in Build Profiles (the first reimport takes a while, so go make some tea while you wait).
- Tidy up Player Settings: Check the Product Name and set the canvas size (e.g., 960×600) in "Resolution and Presentation." Matching the size to itch.io's embed frame keeps the presentation clean.
- Check the compression setting: The default in "Publishing Settings > Compression Format" (Gzip in Unity 6) is fine (itch.io supports it). If a server other than itch.io throws loading errors after publishing, try turning on
Decompression Fallback. - Build and zip it: Take the
index.htmland folder set output by "Build" and bundle the contents of the folder into a single zip (so thatindex.htmlsits at the top level of the zip). - Upload to itch.io: Upload the zip via "Upload new project" and check "This file will be played in the browser". Match the Embed size to step 2. Finally, set
Visibility & accesstoPublicand save (a new page starts as a draft that nobody else can open). - Open it on your own phone too: Open the published URL in your browser and on your phone to test. If it's too heavy, it's time for mobile optimization.
There are two key points. "Zip it so that index.html sits at the top level" (if you wrap the folder one layer too deep, itch.io can't find the game and shows a blank page—half of all publishing troubles are this) and "Test locally with Build And Run before publishing" (opening index.html directly won't work, so always check via Unity's temporary server).
Bonus: Good to Know for Later
- Development Build: Check this option before building to use Profiler connections even on device and to see errors shown in a corner of the screen (
Debug.Logitself still goes to the log file in a normal build). The rule of thumb: on while debugging, off when you distribute. - Investigating build size: Right after a build, open "Open Editor Log" from the menu at the top right of the Console window (
Window > General > Console) to see which assets take up how many megabytes. It's the first step toward shrinking your build. - IL2CPP and Mono: These are scripting backends. Mono builds faster and suits development; IL2CPP takes longer to build but can have the edge at runtime, is required on iOS, and is also needed for Android 64-bit support. Switch between them in Player Settings > Other Settings.
- Automating builds: When building by hand gets tedious, you can write a one-click build script with an editor extension (BuildPipeline). Start with the Editor Extension Basics article.
Summary
- The gateway to building is File > Build Profiles (formerly Build Settings).
- Forgetting to register scenes in the Scene List is the classic first-build pitfall. Include every scene you transition to.
- PC is the easiest (distribute the whole folder). WebGL is great for quick publishing (but won't run from a local double-click).
- Android's hurdle is signing (keystore); iOS requires macOS + Xcode.
- Publishing on itch.io comes down to "a zip with index.html at the top level" + "checking play-in-browser".
- Set the Bundle Identifier, icon, and product name in Player Settings.
Rather than waiting until your game is finished, try your first build early in development. The sooner you discover the gaps between the editor and real devices (resolution, performance, input), the less painful they are to fix. Has your game already made it out into the world beyond the Play button?