Level, held items, current position, cleared stages—with PlayerPrefs and its "only three types: int/float/string," saving a game's entire progress quickly hits a wall. Have you ever gotten stuck at "how do I even save a List of items?"
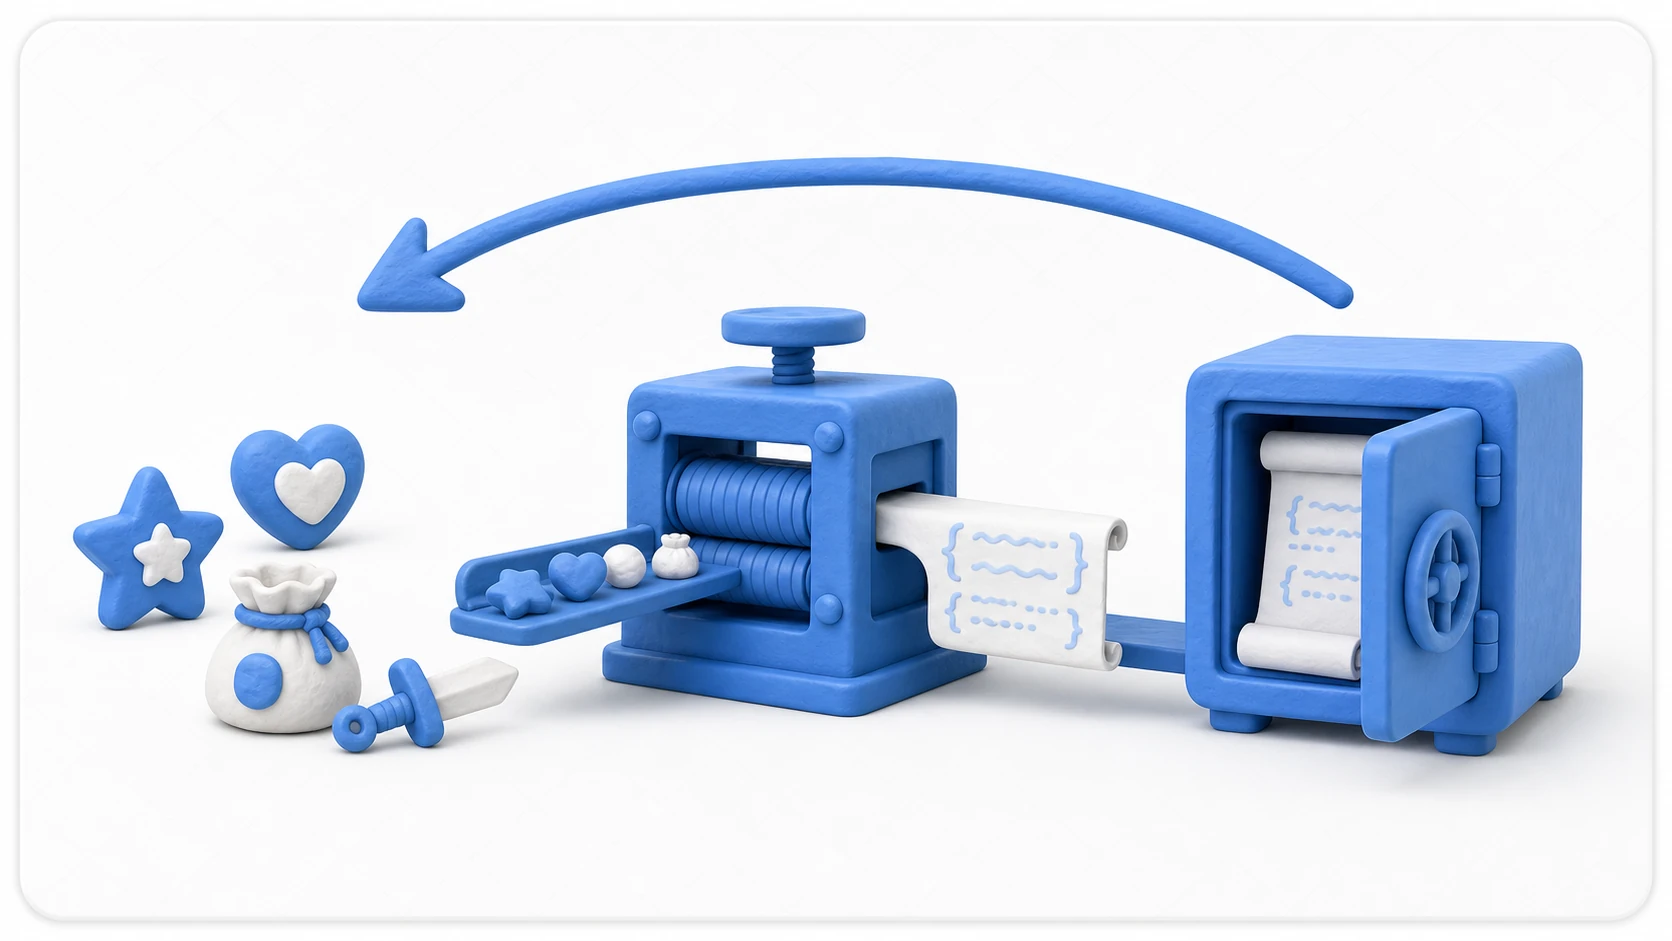
The answer is serialization to the JSON format. Group the data you want to save into a single C# class, convert it to a JSON string with JsonUtility, and write it to a file—build this shape once, and you can add new save fields just by adding fields to the class.
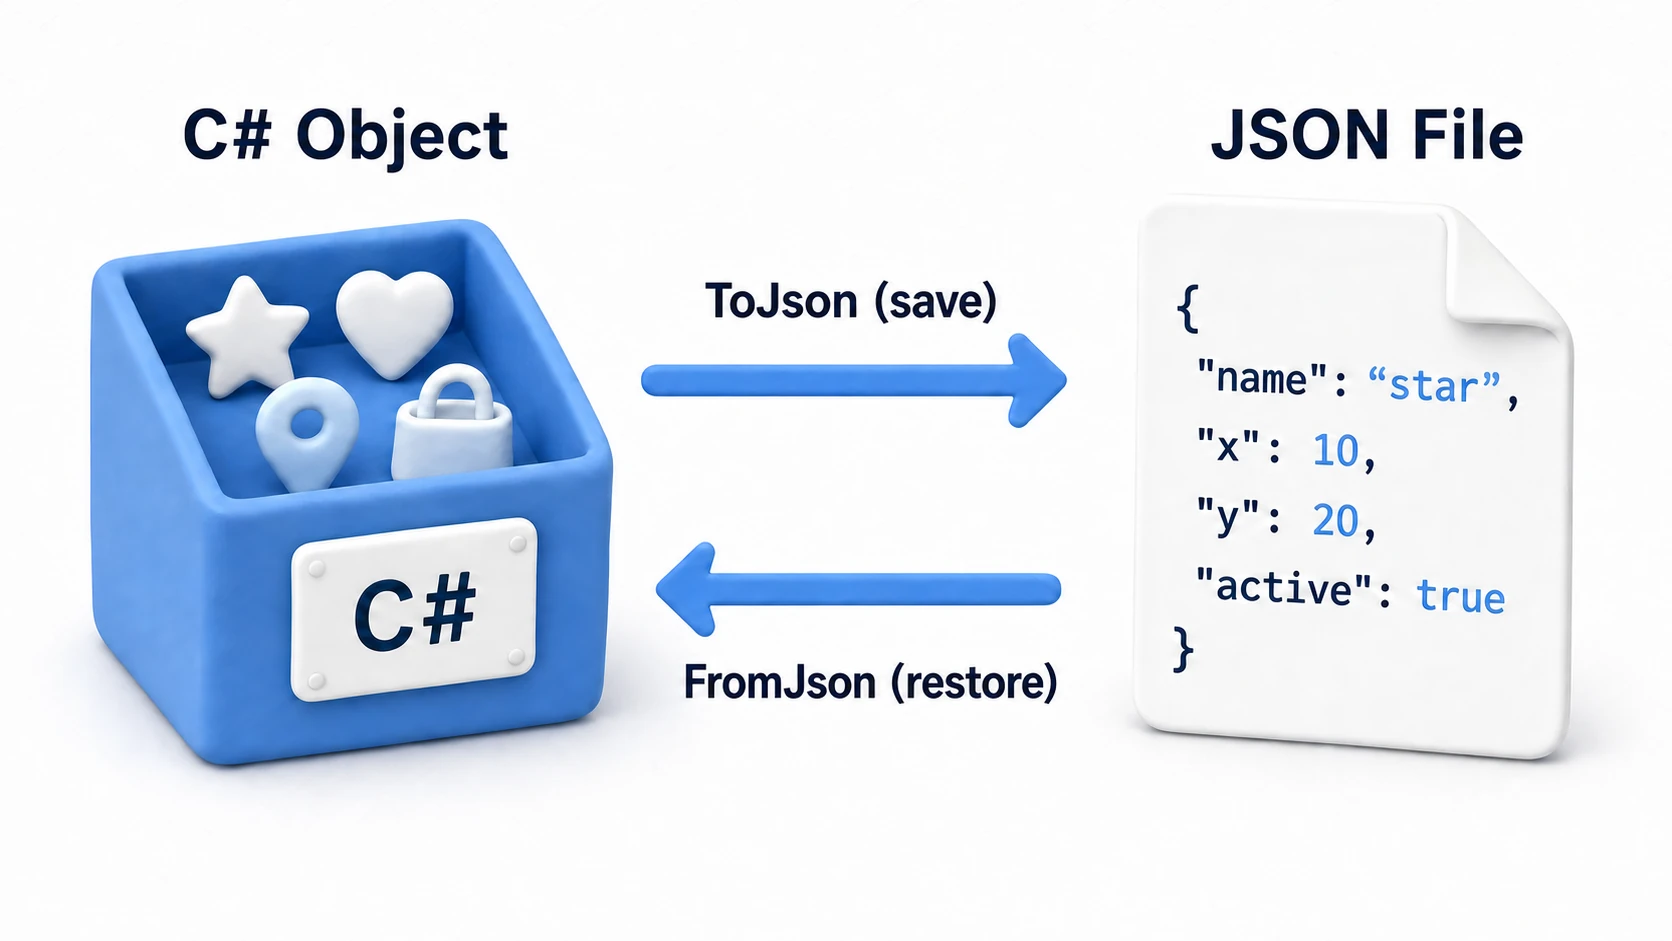
- Serialization: Converting a C# object (in-memory data) into a format that can be saved to a file (a JSON string).
- Deserialization: Restoring a JSON string back into the original C# object.
This article covers the basic pattern for saving and loading game data as JSON files with Unity's built-in JsonUtility, all the way to wiring it into a title screen's "Continue" button.
What You'll Learn
- Serialization / deserialization — the round trip between C# objects and JSON strings
[System.Serializable]and the public-fields-only rule- Saving and loading files with
JsonUtility.ToJson/FromJsonplus theFileclass- The right place to save —
Application.persistentDataPathJsonUtility's limitations (no Dictionary support, etc.) and workarounds
Tested with: Unity 6 (6000.x)
Step 1: Define the Data Class to Save
First, create a C# class that defines the data structure you want to save. The key point is to mark the class with the [System.Serializable] attribute. Without this attribute, JsonUtility cannot serialize the class.
using System.Collections.Generic;
using UnityEngine;

// This attribute is required!
[System.Serializable]
public class GameData
{
    public int level;
    public float currentHealth;
    public Vector3 playerPosition;
    public List<string> inventoryItems;

    // Set default values in the constructor
    public GameData()
    {
        this.level = 1;
        this.currentHealth = 100f;
        this.playerPosition = Vector3.zero;
        this.inventoryItems = new List<string>();
    }
}
Things to keep in mind:
publicfields andprivatefields marked[SerializeField]are serialized. Plainprivatefields and properties are ignored.JsonUtilitycannot directly serialize certain complex types such as multidimensional arrays andDictionary(Dictionarythrough Unity 6.5; from 6.6, one marked[SerializeField]is saved).Listis supported.
![Diagram of which fields JsonUtility saves. Within a class marked with the System.Serializable attribute, public int gold, public List items, and a private int level marked [SerializeField] are saved, but a plain private int memo and a property are not](/8a208205d3d59853e20a9ebd93cebe09/20251207_unity-save-load-json-serialization-guide_serializable-rules.webp)
Step 2: Serialize the Data to JSON and Save It
Next, store the current game state in a GameData instance, convert it to a JSON string with JsonUtility.ToJson(), and write it to a file.
using UnityEngine;
using System.IO; // Required for file operations

public class SaveLoadManager : MonoBehaviour
{
    private string saveFilePath;
    private GameData gameData;

    void Awake()
    {
        // Determine the save file path
        // Application.persistentDataPath points to a persistent directory
        // that is safe to write to on every platform
        saveFilePath = Path.Combine(Application.persistentDataPath, "gamedata.json");

        gameData = new GameData();
    }

    public void SaveGame()
    {
        // --- Copy the current game state into the gameData object here ---
        // Example:
        // gameData.level = FindFirstObjectByType<GameManager>().currentLevel;
        // gameData.playerPosition = FindFirstObjectByType<PlayerController>().transform.position;
        // ----------------------------------------------------------

        // Convert the GameData object into a JSON string
        // Passing true as the second argument pretty-prints the output for readability
        string json = JsonUtility.ToJson(gameData, true);

        // Write the JSON string to a file
        File.WriteAllText(saveFilePath, json);

        Debug.Log("Save successful! Path: " + saveFilePath);
    }
}
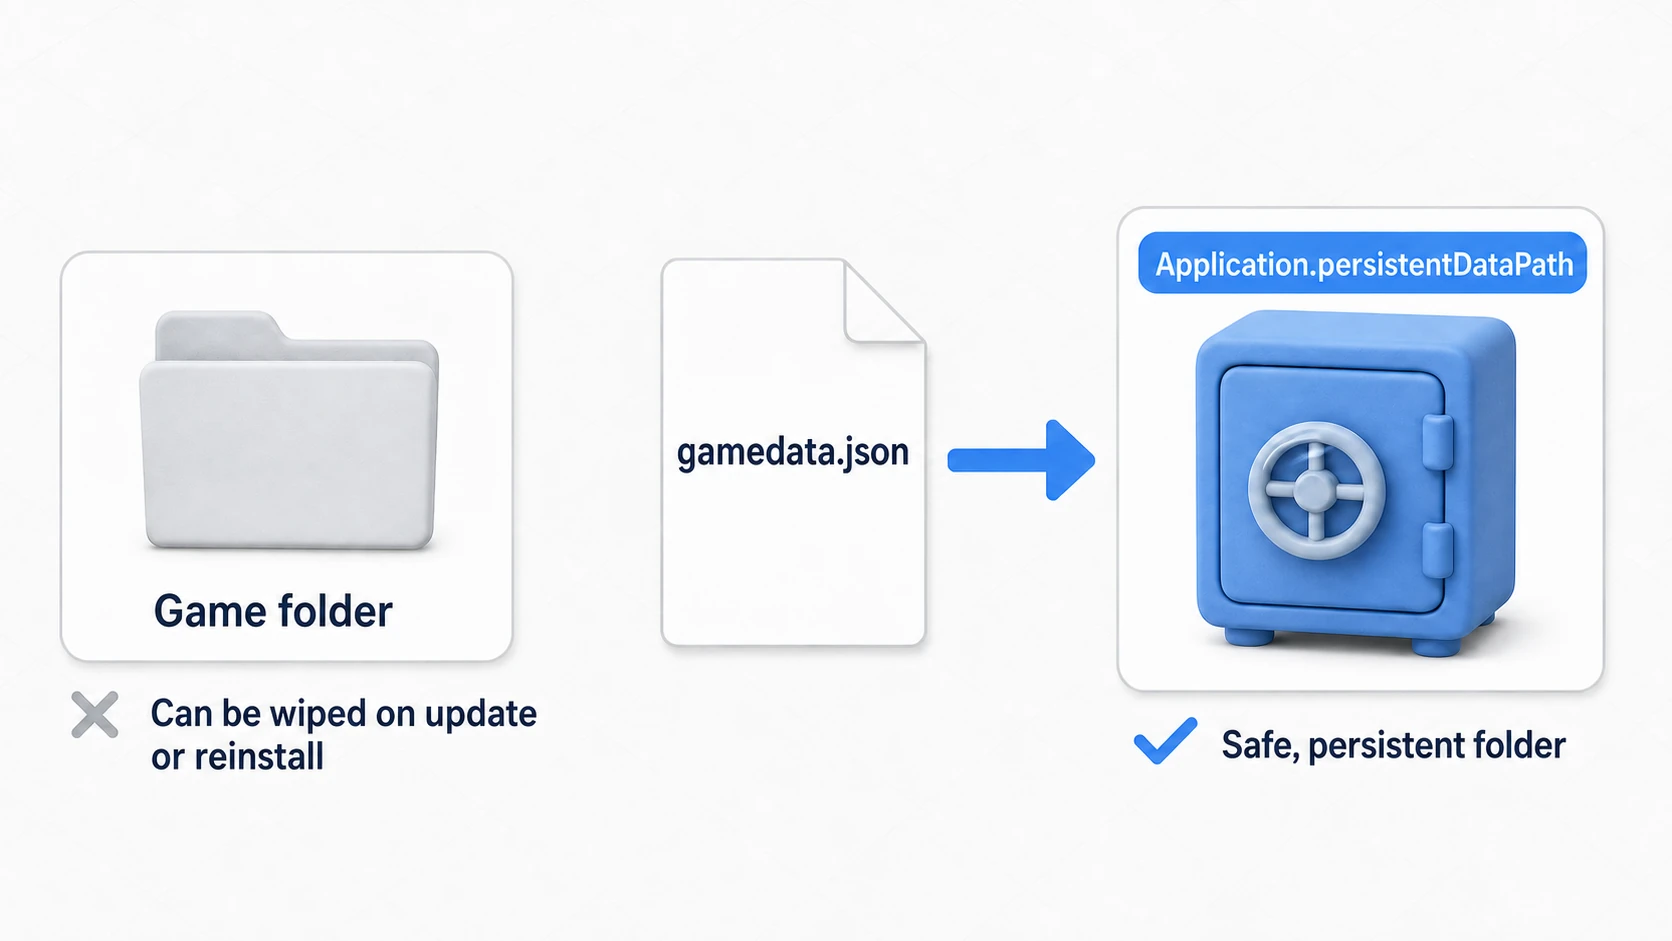
Application.persistentDataPath points to a safe location — such as a folder inside the user's documents directory — that survives game updates (some platforms delete it on uninstall), making it the ideal place for save data.
Step 3: Load the JSON File and Deserialize It
When the game starts or the player presses a load button, read the saved JSON file and restore it into a GameData object with JsonUtility.FromJson().
// Continued from the SaveLoadManager class

public void LoadGame()
{
    // Check whether a save file exists
    if (File.Exists(saveFilePath))
    {
        // Read the JSON string from the file
        string json = File.ReadAllText(saveFilePath);

        // Restore a GameData object from the JSON string
        gameData = JsonUtility.FromJson<GameData>(json);

        // --- Apply the restored data to the game here ---
        // Example:
        // FindFirstObjectByType<GameManager>().currentLevel = gameData.level;
        // FindFirstObjectByType<PlayerController>().transform.position = gameData.playerPosition;
        // --------------------------------------------------

        Debug.Log("Load successful!");
    }
    else
    {
        Debug.LogWarning("Save file not found. Starting new game.");
        // Logic for starting a new game
        gameData = new GameData();
    }
}
The FromJson<T>() method creates a new object of the specified type T, fills its fields from what's in the JSON, and returns it (it doesn't rewrite your existing gameData; you replace it with the new one).
Practical: Building a Title Screen "Continue" Button
Saving at an RPG inn, auto-saving when you pass an action-game checkpoint, a roguelite's "suspend save"—the shape differs, but the first thing the player touches is the title screen's "Continue" button. Let's connect the save & load from Steps 1–3 to this classic UI.
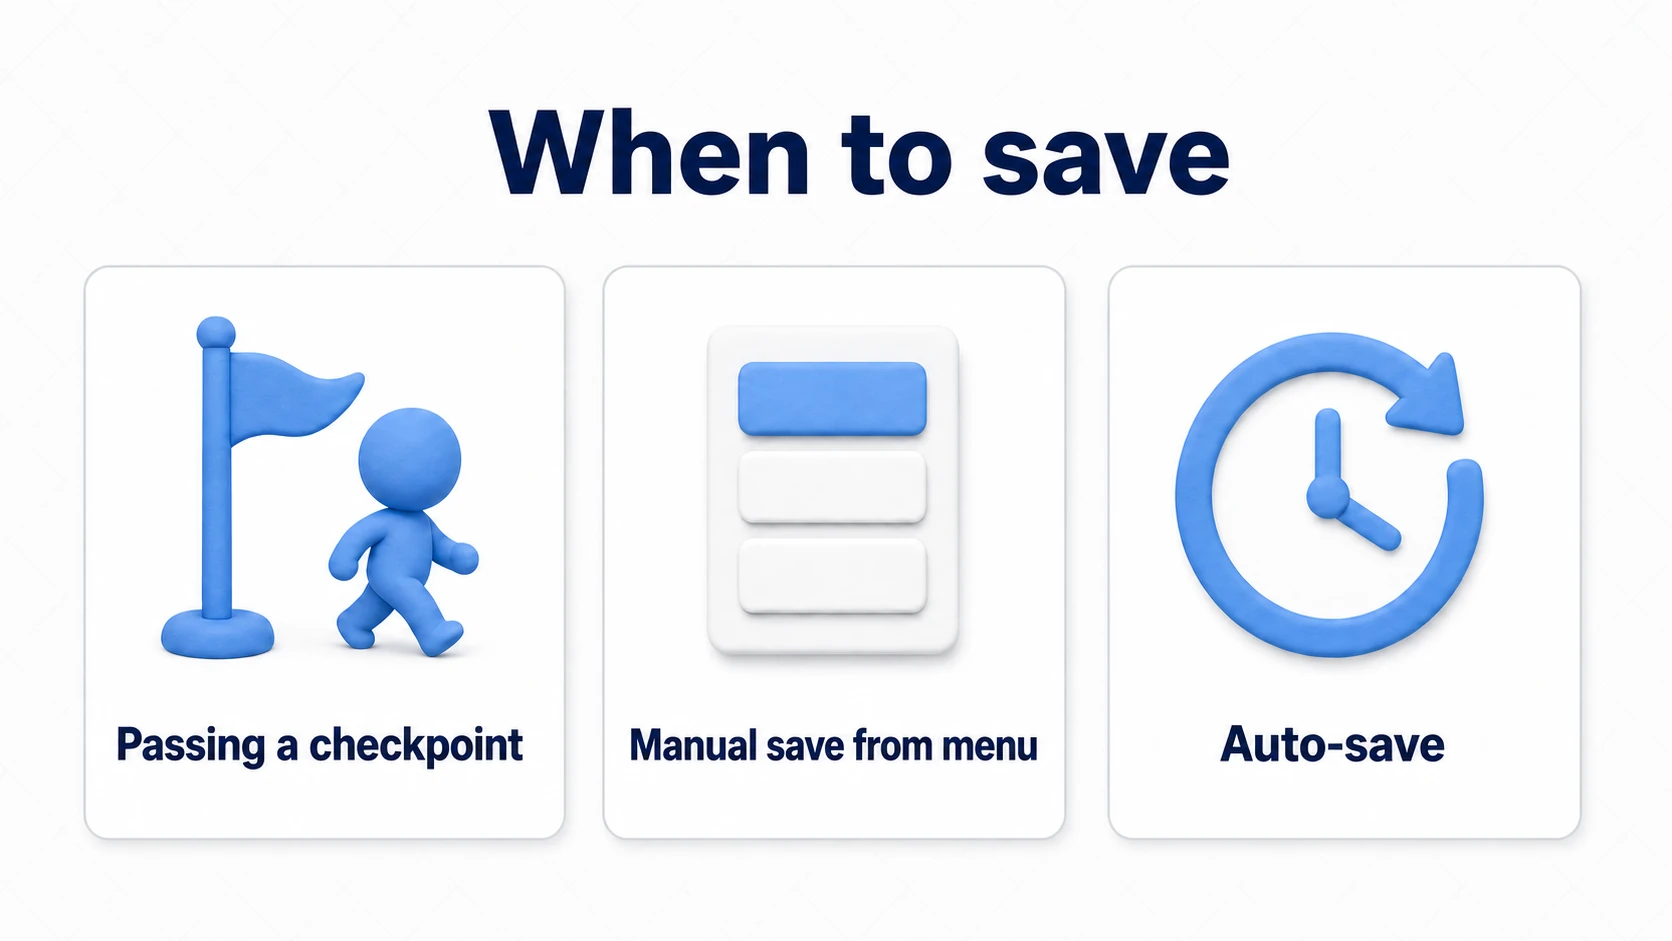
First, decide "when to save." The three standard moments are below, and all of them just call SaveGame() internally.
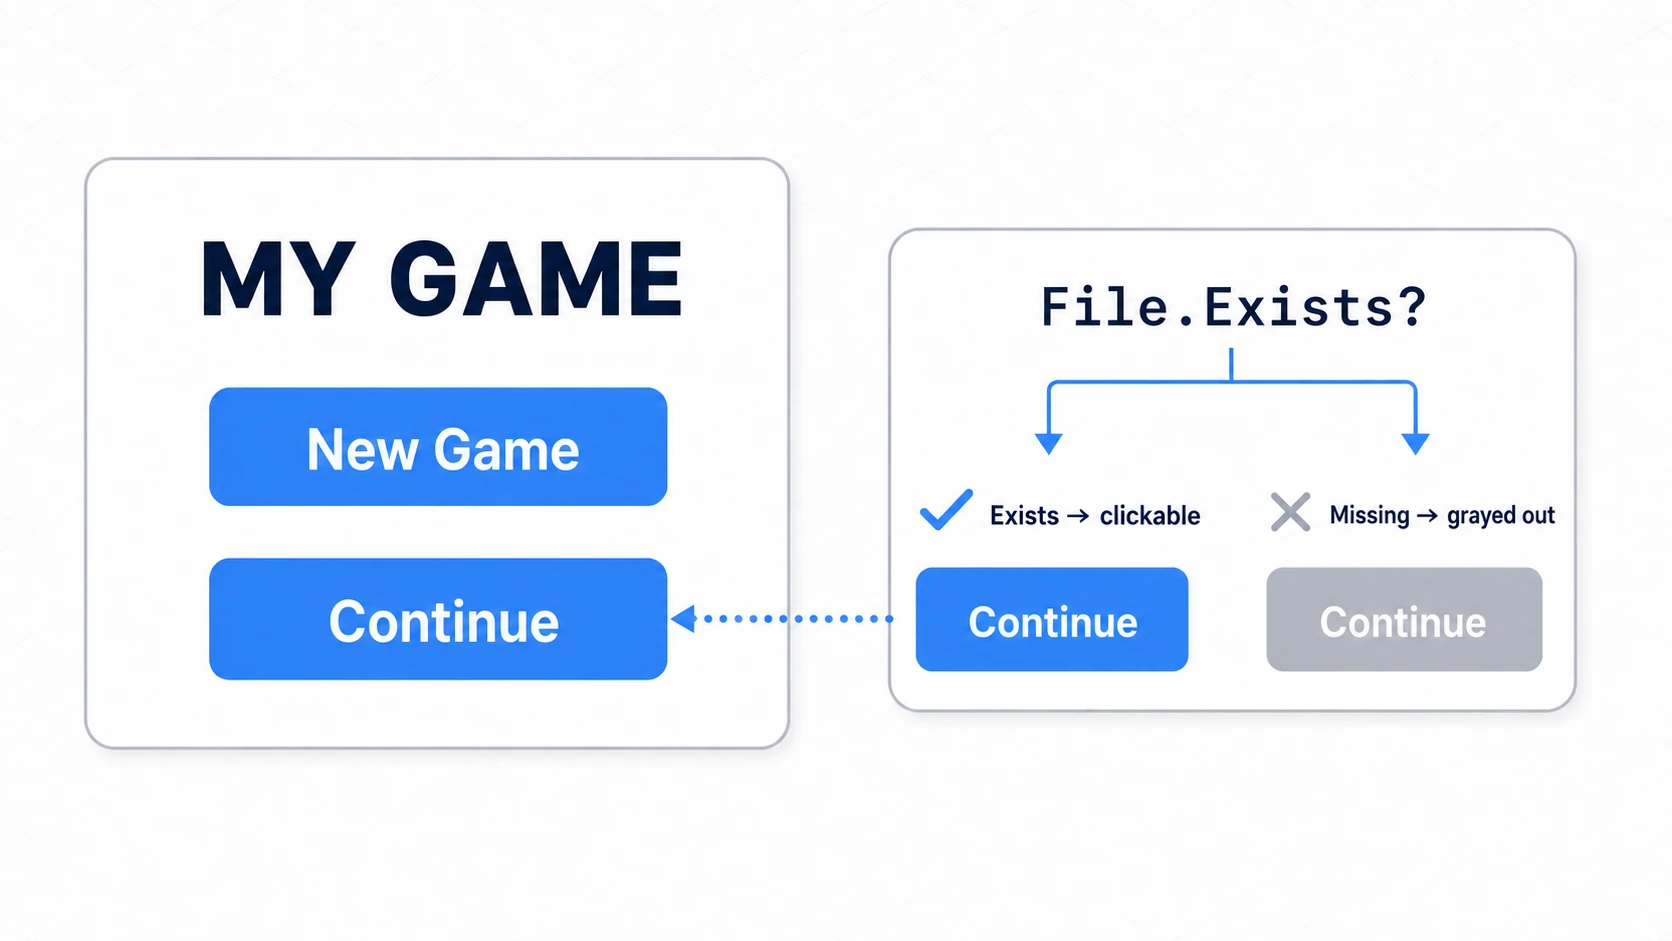
On the title screen side, the key is to toggle the "Continue" button's state based on whether a save file exists.
using UnityEngine;
using UnityEngine.UI;
using System.IO;

public class TitleMenu : MonoBehaviour
{
    [SerializeField] private Button continueButton;
    private string saveFilePath;

    void Start()
    {
        saveFilePath = Path.Combine(Application.persistentDataPath, "gamedata.json");

        // Disable "Continue" if there's no save file, or it's empty (say, the game died mid-write)
        continueButton.interactable = File.Exists(saveFilePath) && new FileInfo(saveFilePath).Length > 0;
    }

    // "New Game" button: recreate the save and start fresh
    public void OnNewGame()
    {
        var newData = new GameData();   // Start from the constructor's default values
        File.WriteAllText(saveFilePath, JsonUtility.ToJson(newData, true));
        // → Transition to the game scene
    }

    // "Continue" button: load and start
    public void OnContinue()
    {
        string json = File.ReadAllText(saveFilePath);
        GameData data = JsonUtility.FromJson<GameData>(json);
        // → Pass data to a GameManager, etc., and transition to the game scene
    }
}
There are two key points.
- Control "Continue" with
interactable: If it's clickable when there's no save,File.ReadAllTextwill throw an exception downstream. Tying theFile.Existspre-check directly to the button's appearance (grayed out) is friendlier to the user. - Design the "hand-off" of the loaded data: The
GameDatarestored byFromJsonneeds to be passed to the main game across scenes. The standard approach is to combine scene transitions with DontDestroyOnLoad (or a ScriptableObject).
Bonus: Good to Know for Later
- Multiple save slots: Simply varying the file name —
save_slot1.jsonand so on — turns this into a slot system. For a slot-selection UI, showing each file's last modified time (File.GetLastWriteTime) is a nice touch. - Dictionary workaround:
JsonUtilitycannot handle Dictionaries directly (through Unity 6.5). It throws no error; that field just silently goes unsaved, which makes it easy to miss. The standard workarounds are to keep a separate List of keys and a List of values, or to use a List of a[Serializable]class that pairs each key with its value. - Backward compatibility of save data: If an update adds new fields, old save files won't contain them.
FromJsonleaves missing fields at their constructor defaults (when there's a parameterless constructor), so always give new fields safe initial values. - More capable libraries: If the type restrictions become too limiting,
Newtonsoft Json.NET(an official Unity package is available) supports Dictionaries and properties. Start withJsonUtilityand switch when you actually need to. - For settings only: Saving to a file is overkill for simple option values like volume. Be mindful of when to use the PlayerPrefs article instead.
Summary
A save & load system built on JsonUtility gives you far more flexible and extensible data management than PlayerPrefs.
- Create a class that groups the data you want to save, and mark it with the
[System.Serializable]attribute (public fields and fields marked [SerializeField] are saved). - To save: convert the data into a JSON string with
JsonUtility.ToJson()and write it to a file withFile.WriteAllText(). - To load: read it with
File.ReadAllText()and restore it withJsonUtility.FromJson<T>(). Application.persistentDataPathis the safe, reliable save location.- On the title screen, toggle the "Continue" button's activeness with
File.Exists.
Building on this foundation, you can implement more advanced features such as managing multiple save slots or encrypting save data to deter cheating.