Every C# script you create in Unity comes with the line public class MyScript : MonoBehaviour. You write it as boilerplate without thinking, but could you actually explain what it is? If not, you're far from alone.
MonoBehaviour is the "base class" that connects Unity's API to your own scripts. Just by inheriting from it (writing it after the :), your script can be added to GameObjects as a component, receive events like Update and Start, and use handy properties like transform and gameObject.

What You'll Learn
- What inheriting from
MonoBehaviouractually enables- How to use
transform,gameObject, andGetComponent<T>()- Creating and destroying objects with
Instantiate/Destroy- Common pitfalls like "you can't
newit" and "Invoketakes a string"
Tested with: Unity 6 (6000.x) / Input System
MonoBehaviour's Role
The main benefits of inheriting from MonoBehaviour:
- Componentization: Your script can be attached as a component to GameObjects, adding behavior to objects.
- Lifecycle Event Reception: Use event functions that are automatically called at specific Unity-defined timings—
Awake,Start,Update, etc. - Access to Key Properties: Easily access the GameObject the script is attached to and its Transform component.
- Coroutine Execution: Use
StartCoroutineto write processing that spans time—"run this after 3 seconds," "spread the work across several frames." Coroutines don't run on a separate thread; they're a mechanism for splitting and pausing work on the main thread (see the coroutines article for details).
If you picture where MonoBehaviour sits, it's the bridge between the Unity engine and your script. The moment you inherit from it, Unity's events (Awake, Update, and so on) start reaching your code.
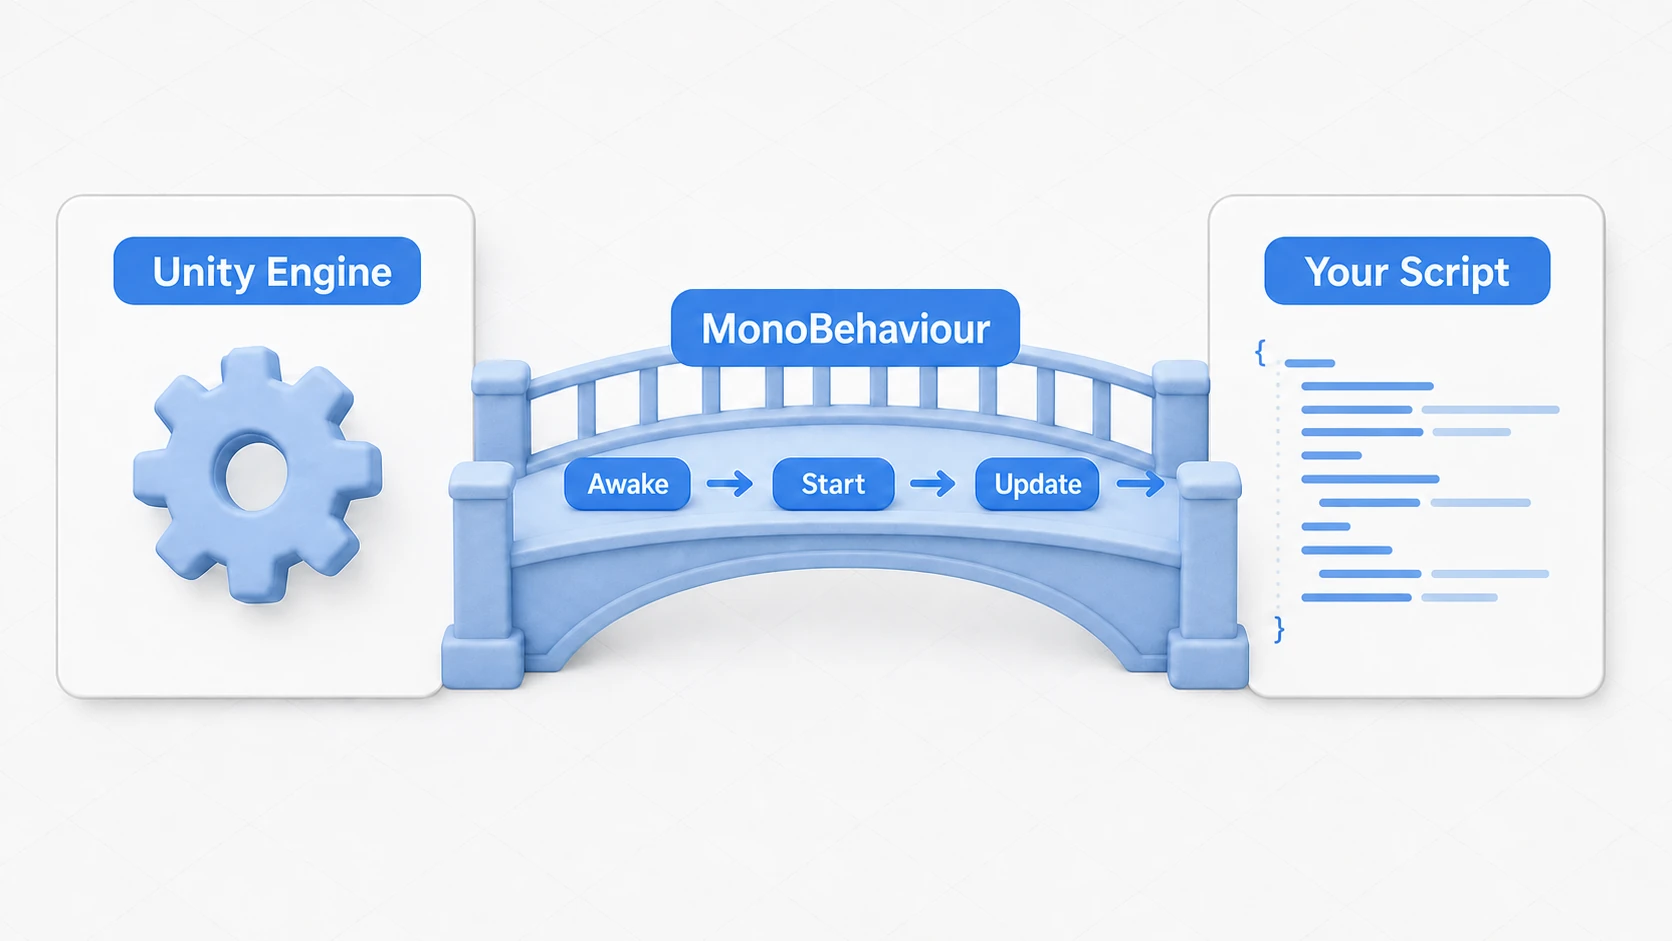
If you create a plain C# class without inheriting MonoBehaviour (sometimes called a POCO - Plain Old C# Object), it cannot be attached to GameObjects and won't receive lifecycle events. Such classes are used for data storage or calculations, called from MonoBehaviour scripts.
Let's see that "extracting" in a tiny example. Damage calculation uses no Unity features at all, so it can live in a plain C# class:
// A plain C# class dedicated to calculation—no MonoBehaviour
public class DamageCalculator
{
    public int Calculate(int attack, int defense)
    {
        int damage = attack - defense;
        return damage < 1 ? 1 : damage; // At least 1 damage
    }
}
Then call it from the MonoBehaviour side:
using UnityEngine;

public class Enemy : MonoBehaviour
{
    // Unlike a MonoBehaviour, a plain C# class can be created with new
    private DamageCalculator calculator = new DamageCalculator();

    public void OnAttacked(int attack, int defense)
    {
        int damage = calculator.Calculate(attack, defense);
        Debug.Log($"Damage taken: {damage}");
    }
}
Structured this way, the damage logic depends on neither the scene nor any GameObject, making it easy to test and reuse. "MonoBehaviour for the parts that talk to Unity; plain classes for pure calculation and data"—this division of labor keeps paying off long after you've leveled up.
Note: A class that inherits
MonoBehaviourcannot be instantiated withnewlikenew MyScript(). The code still compiles, but at runtime the Console shows the warning "You are trying to create a MonoBehaviour using the 'new' keyword. This is not allowed." and the object doesn't work as a component. You must add it to a GameObject withAddComponent<MyScript>()or attach it in the editor. This trips up a lot of beginners, so keep it in mind.
Key Properties and Methods
Within scripts inheriting MonoBehaviour, many convenient properties and methods are directly callable. The key idea is that a script uses "the container it's attached to" (the GameObject) as its home base, with direct access to that container and the other components living inside it.
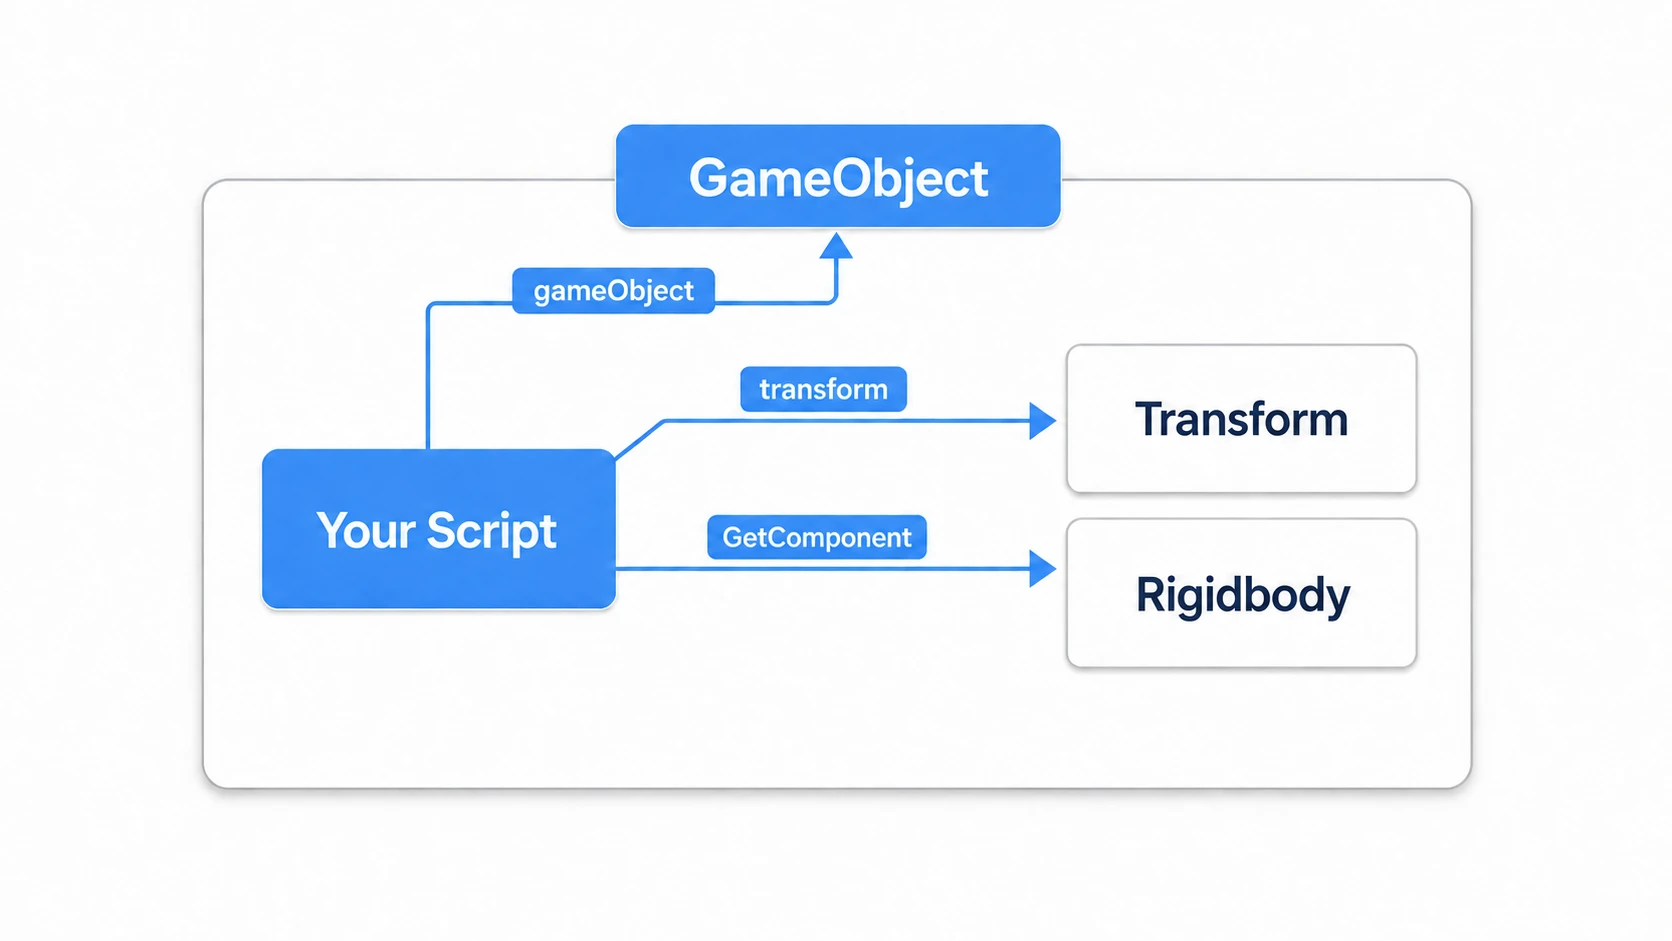
Here are the most frequently used:
transform
Returns a reference to the Transform component of the GameObject this script is attached to. Frequently used for manipulating object position, rotation, and scale. This is a shortcut for GetComponent<Transform>()—provided specially because it's used so often.
using UnityEngine;

public class PositionChanger : MonoBehaviour
{
    void Start()
    {
        // Use the transform property to set the object's Y position to 5
        transform.position = new Vector3(0, 5, 0);
    }
}
gameObject
Returns a reference to the GameObject itself that this script is attached to. The starting point for deactivating objects or getting other components.
using UnityEngine;

public class ObjectController : MonoBehaviour
{
    void Start()
    {
        // Deactivate this GameObject after 5 seconds
        Invoke("DeactivateObject", 5f);
    }

    void DeactivateObject()
    {
        // Use gameObject property to deactivate itself
        gameObject.SetActive(false);
    }
}
Note: The
Invokeused here takes the method name as a string. It's convenient, but typos won't be caught at compile time, and it won't follow along if you rename the method. For real projects, coroutines (covered below) orasync/awaitare safer choices for delayed execution.
GetComponent<T>()
Gets a reference to a component of the specified type T attached to the same GameObject. The most fundamental method for communicating with other components in Unity's component-oriented design.
using UnityEngine;

public class PlayerHealth : MonoBehaviour
{
    private Rigidbody rb;

    void Start()
    {
        // Get the Rigidbody component on the same GameObject
        rb = GetComponent<Rigidbody>();
        if (rb != null)
        {
            // If Rigidbody found, set its mass to 10
            rb.mass = 10f;
        }
    }
}
Performance tip: calling GetComponent<T>() has a cost. Once or twice is nothing to worry about, but repeated calls in per-frame functions like Update() add up. For references you use often, call it once in Awake() or Start() and cache the result in a variable.
Instantiate() and Destroy()
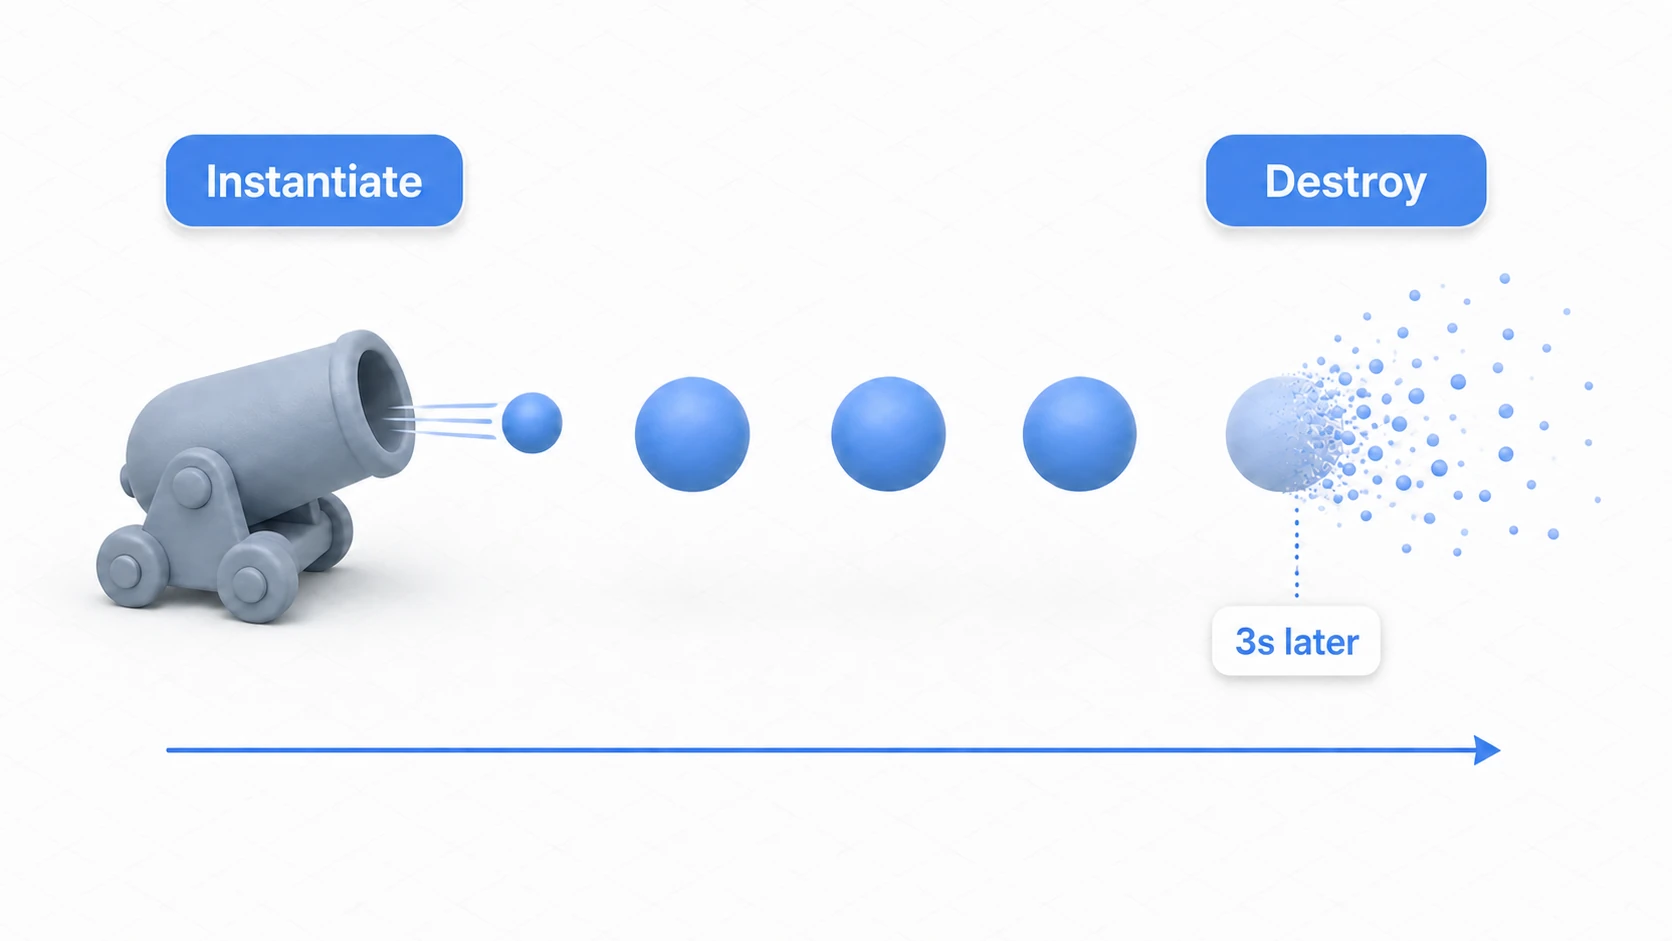
Instantiate(original): Creates a clone oforiginal(a Prefab or existing GameObject) in the scene. Used for dynamically spawning enemies, bullets, effects.Destroy(obj): Destroys the specified GameObject or component. Used for removing unnecessary objects from the scene. It can't destroy the original Prefab asset in the Project window. If you're unsure whether to destroy (Destroy) or hide (SetActive(false)), ask: "Is this object done for good, or will I use it again?"
The Space key is read with the Input System (Keyboard.current), the standard in Unity 6. The old Input.GetKeyDown can throw an error in new Unity 6 projects.
using UnityEngine;
using UnityEngine.InputSystem;

public class BulletSpawner : MonoBehaviour
{
    public GameObject bulletPrefab;

    void Update()
    {
        // When Space is pressed (do nothing if there's no keyboard)
        if (Keyboard.current != null && Keyboard.current.spaceKey.wasPressedThisFrame)
        {
            // Spawn a bullet from the Prefab
            GameObject newBullet = Instantiate(bulletPrefab, transform.position, Quaternion.identity);

            // Destroy that bullet after 3 seconds
            Destroy(newBullet, 3f);
        }
    }
}
Attach BulletSpawner to an empty GameObject, drag your bullet Prefab (for example, one you made by dragging a Sphere from the Hierarchy into the Project window) into the Bullet Prefab field in the Inspector, and press Play. Each press of Space adds a bullet with (Clone) in its name to the Hierarchy, and it disappears 3 seconds later. This example has no code that moves the bullet, so it just appears in place. If it doesn't work, check this table.
| Symptom | Cause | Fix |
|---|---|---|
| Pressing Space spawns nothing (and no error) | The Game view doesn't have focus, so the key never arrives | Click inside the Game view once, then press Space |
UnassignedReferenceException | The Bullet Prefab field in the Inspector is empty | Drag the Prefab from the Project window into the field |
| An object you meant to destroy is still there | You wrote Destroy(this), which removes only the script component | To remove the whole object, use Destroy(gameObject) |
Destroying assets is not permitted to avoid data loss. | You're destroying the original Prefab (bulletPrefab) instead of the spawned bullet | Destroy the newBullet that Instantiate returned |
Bonus: Good to Know for Later
Once you start using what's in this article, you'll eventually run into the "next level" topics below. You don't need to understand them right now, but knowing they exist gives you somewhere to turn when you get stuck later.
Instantiate/Destroyare actually expensive: Repeatedly spawning and destroying lots of objects like bullets or effects can cause stuttering (GC spikes). In real projects, the standard optimization is object pooling—reusing objects you've already created. See the object pooling article for details.- Event functions follow strict ordering rules: Understanding when and in what order
Awake,Update, and friends are called prevents the majority of initialization bugs. It's all covered in the lifecycle article. - Not everything needs to be a MonoBehaviour: Classes that only hold data are cleaner as plain C# classes or ScriptableObjects that don't inherit
MonoBehaviour, keeping your design free of scene dependencies. The ScriptableObject article is a good reference. - How C# itself is written: variables, if, for, methods, and other C# basics that aren't specific to Unity are collected in C# for Unity developers
Summary
MonoBehaviour is the class at the heart of Unity scripting. By inheriting from it, our C# code can finally interact with Unity's world and bring GameObjects to life.
MonoBehaviouris the bridge between Unity and your scripts.- Inheriting enables component behavior and lifecycle event reception.
- Provides convenient properties and methods like
transform,gameObject,GetComponent<T>().
Unity development largely depends on how well you master MonoBehaviour. Start by getting familiar with the basic properties and methods introduced here.