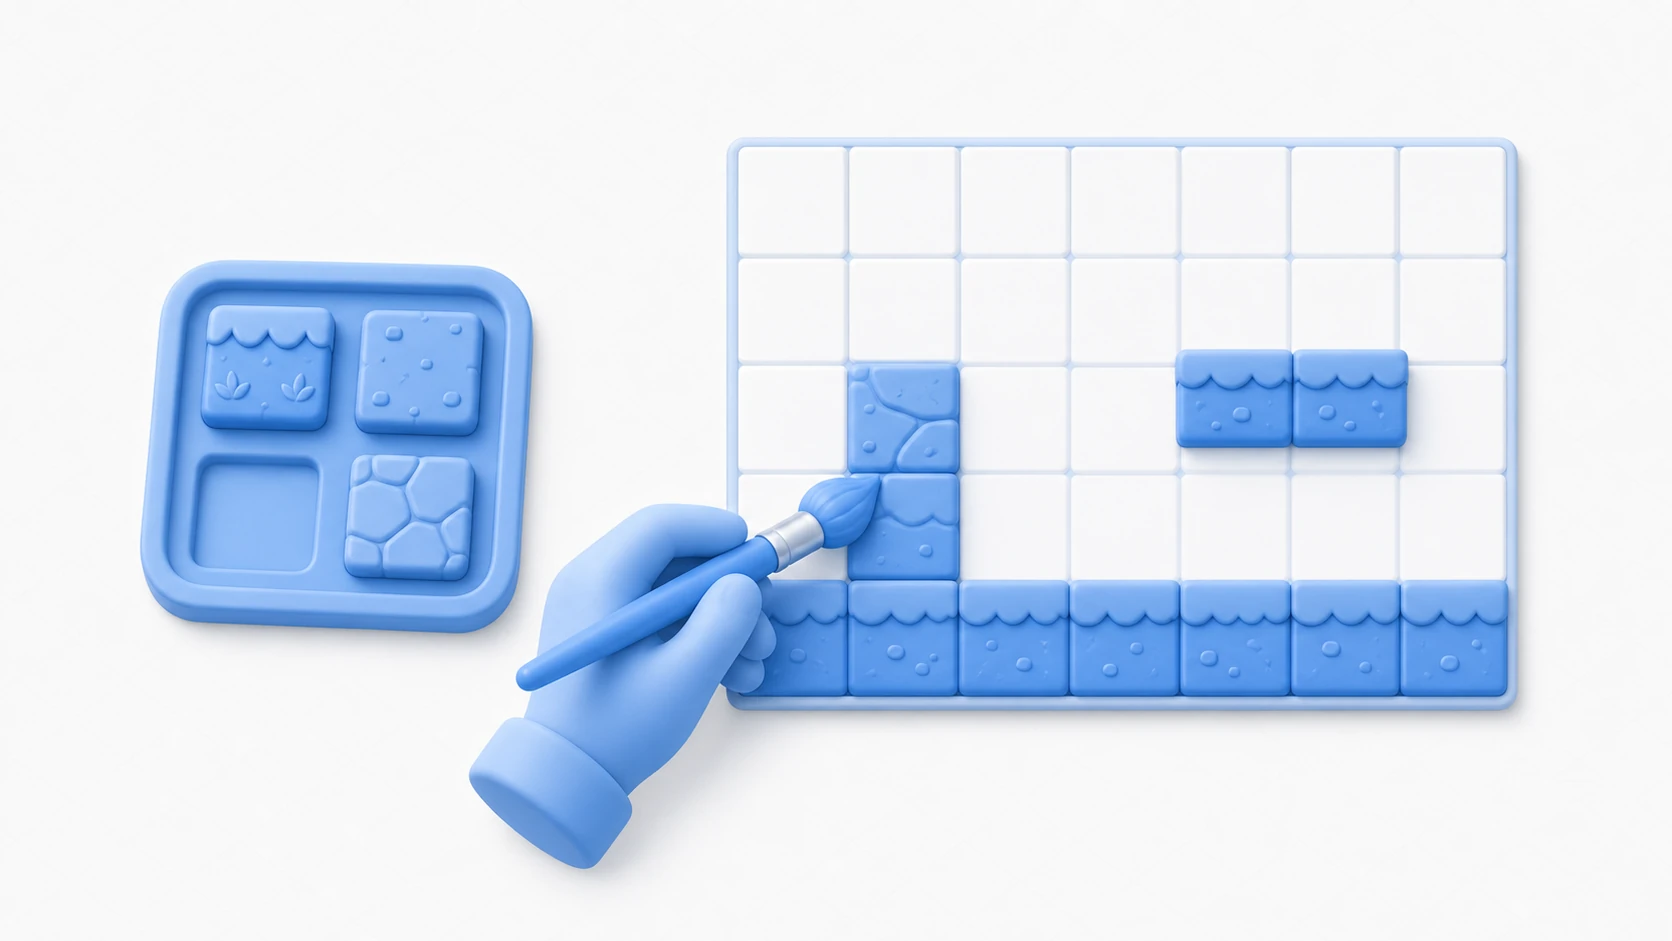
Ground, walls, caves, cityscapes — placing them one Sprite at a time for a 2D game is mind-numbing work. That's what the Tilemap is for: a system that lays small tiles (images) out on a grid to assemble large maps efficiently. Got your sprites and sprite sheets ready, but stuck on how to actually build the stage?
This article walks through the foundation of 2D stage building: the three parts of a Tilemap (Grid, Tilemap, Tile Palette), how to add collision to tiles, how to split ground and decoration into layers, how Rule Tiles auto-place border tiles, and how to place tiles from a script.
What you'll learn
- How Grid, Tilemap, and Tile Palette relate (grid, map, paint box)
- Adding collision to tiles (Tilemap Collider 2D + Composite)
- Splitting ground and decoration into multiple Tilemaps (Sorting Layer)
- Auto-placing border tiles with Rule Tile (2D Tilemap Extras)
- Practice: placing tiles from a script with
SetTile
Tested on: Unity 6 (6000.x)
Grid, Tilemap, and Tile Palette
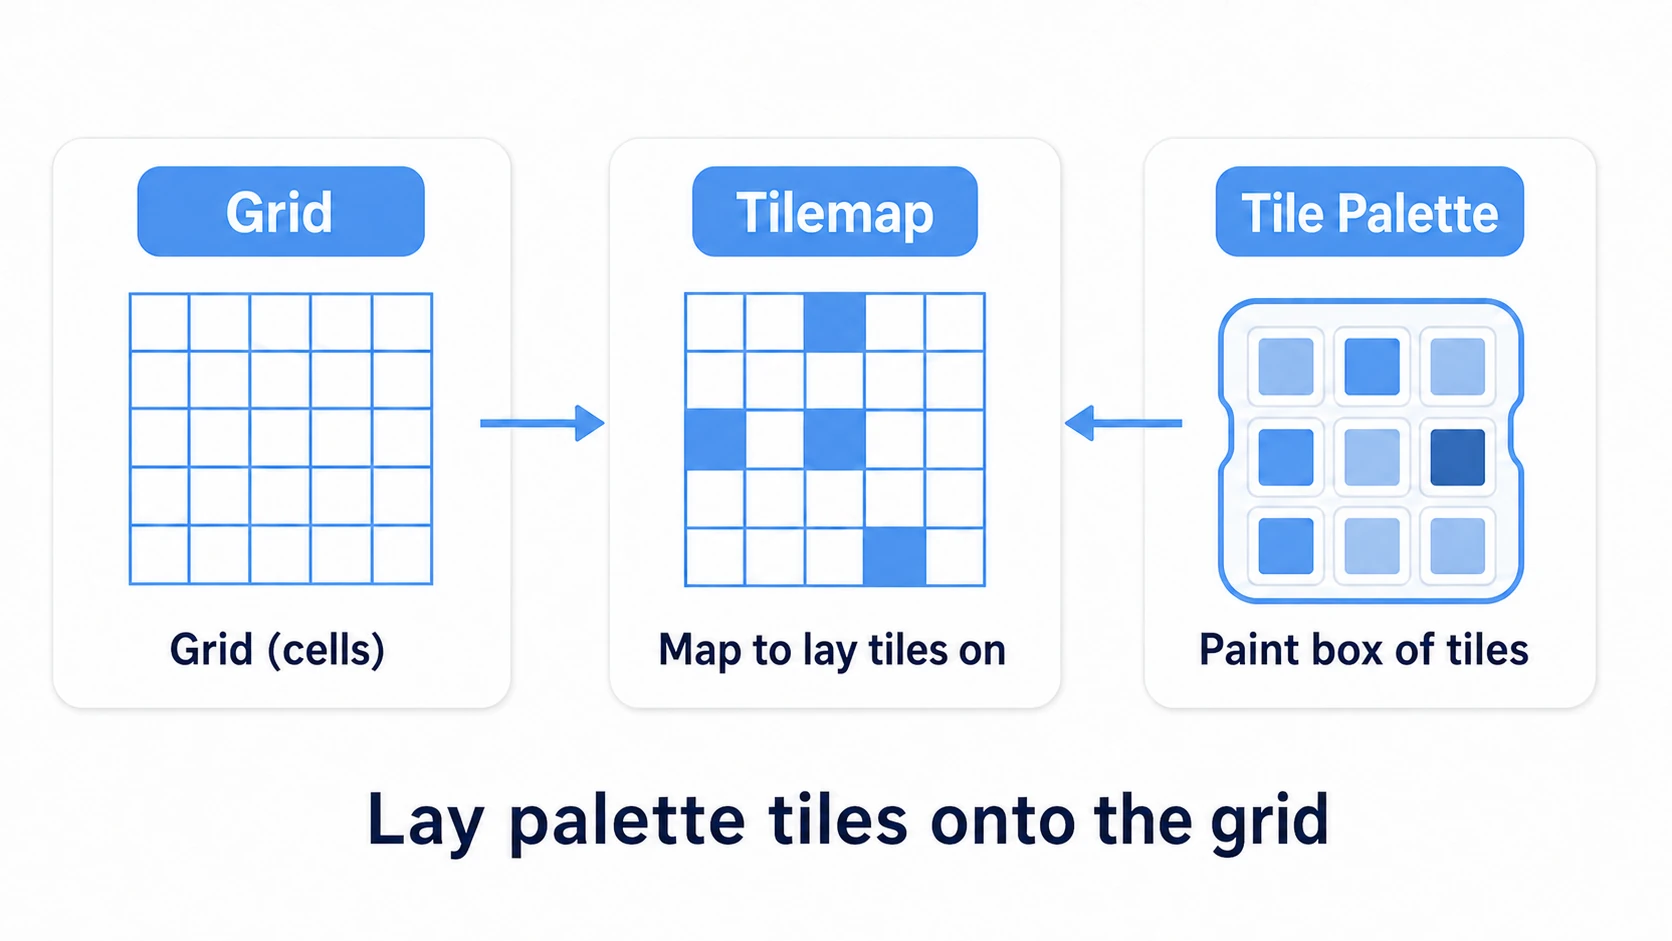
A Unity tilemap is made of three parts. Nail down how they relate and the rest of this article reads smoothly.
| Part | Role |
|---|---|
| Grid | The parent GameObject that manages the grid tiles are placed on. Sets the cell size |
| Tilemap | The child component that actually lays tiles on that grid. One "map" |
| Tile Palette | The paint box holding usable tiles. You pick tiles here and paint |
Steps to build one
- Right-click in the Hierarchy → choose
2D Object > Tilemap > Rectangular, and a Grid + Tilemap are created automatically - Open
Window > 2D > Tile Palette, thenCreate New Paletteto make a new palette - Drag a sliced sprite sheet (the one you made in sprites and sprite sheets) onto the palette. Each cell registers as a "usable tile"
- Pick a tile in the palette and brush across the Scene view to paint
That's all it takes to lay down wide floors and walls in an instant. No need to place Sprites one cell at a time.
Note: One Tile Palette (paint box) can be shared across multiple Tilemaps (maps). One paint box, any number of maps — that's the basic pattern.
Adding collision to tiles
The player walks on the floor and stops at walls — this collision gets applied across all the tiles you've laid, just by adding components to the Tilemap.
- Add a
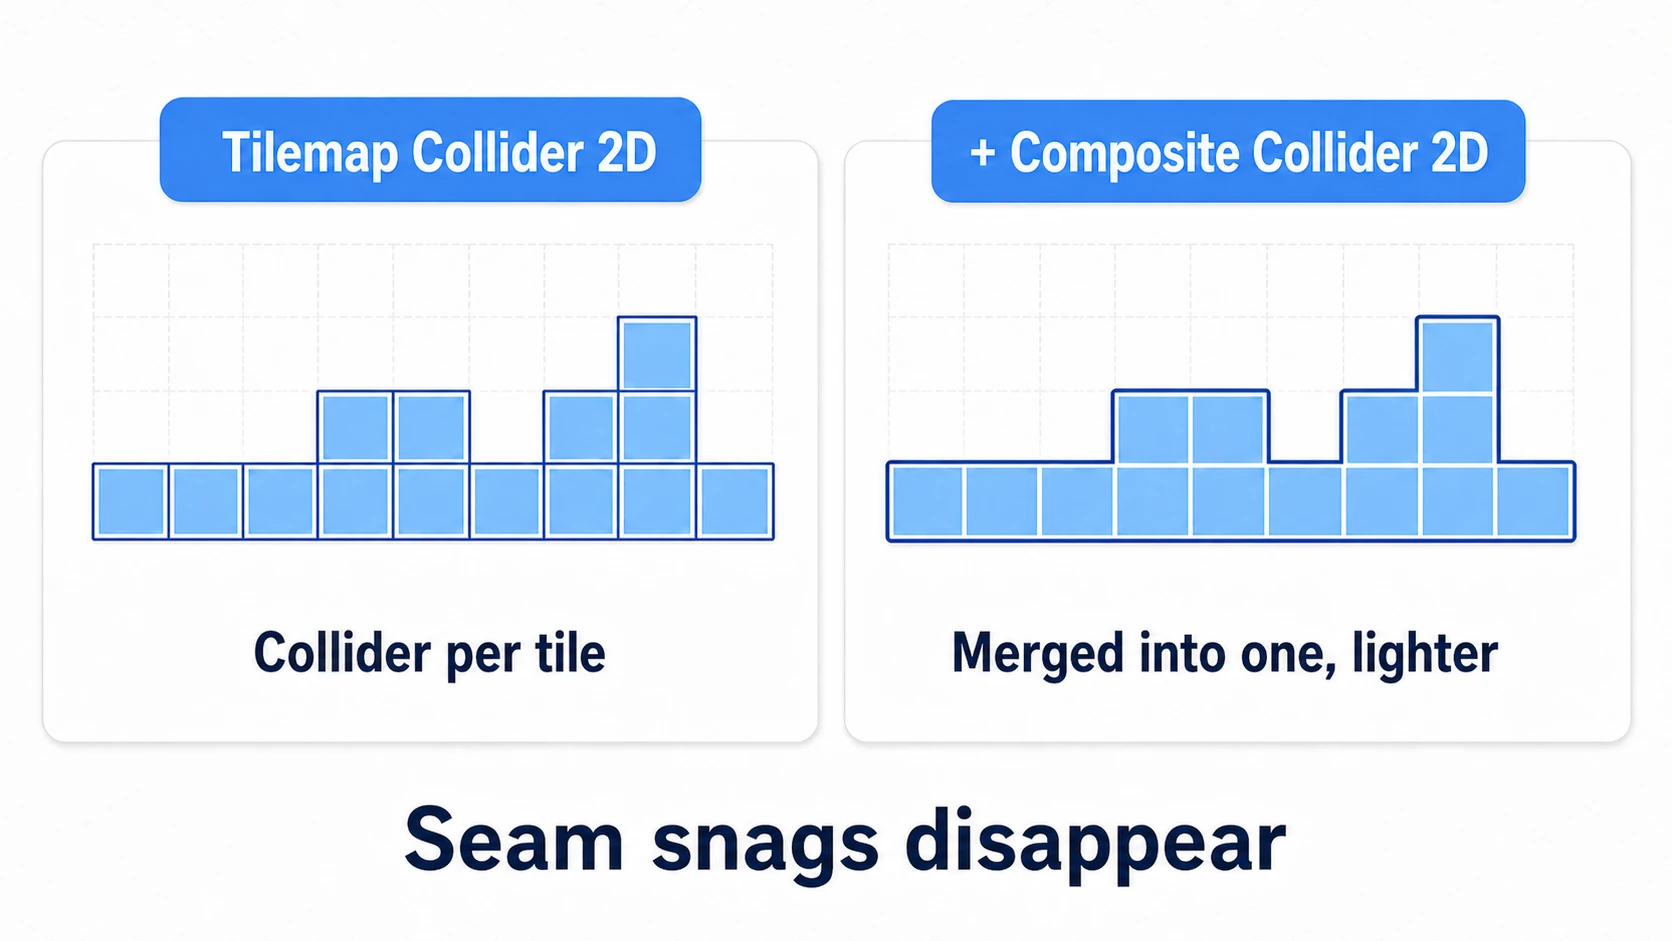
Tilemap Collider 2Dto the terrain Tilemap. This automatically creates collision everywhere tiles are laid - Also add a
Composite Collider 2D(aRigidbody 2Dcomes along with it, so set its Body Type toStatic) - Set
Composite OperationtoMergeon the Tilemap Collider 2D (in Unity 2022 and earlier, checkUsed By Composite)
There are two reasons to add the Composite Collider 2D. The per-tile colliders merge into a single outline, which eliminates the bug where the player snags on tile seams. And the collider count drops dramatically, so it runs lighter, keeping wide maps snappy. The player (Rigidbody 2D + Collider 2D) can now walk on this terrain (see Rigidbody2D and Collider2D).
Layering with multiple Tilemaps
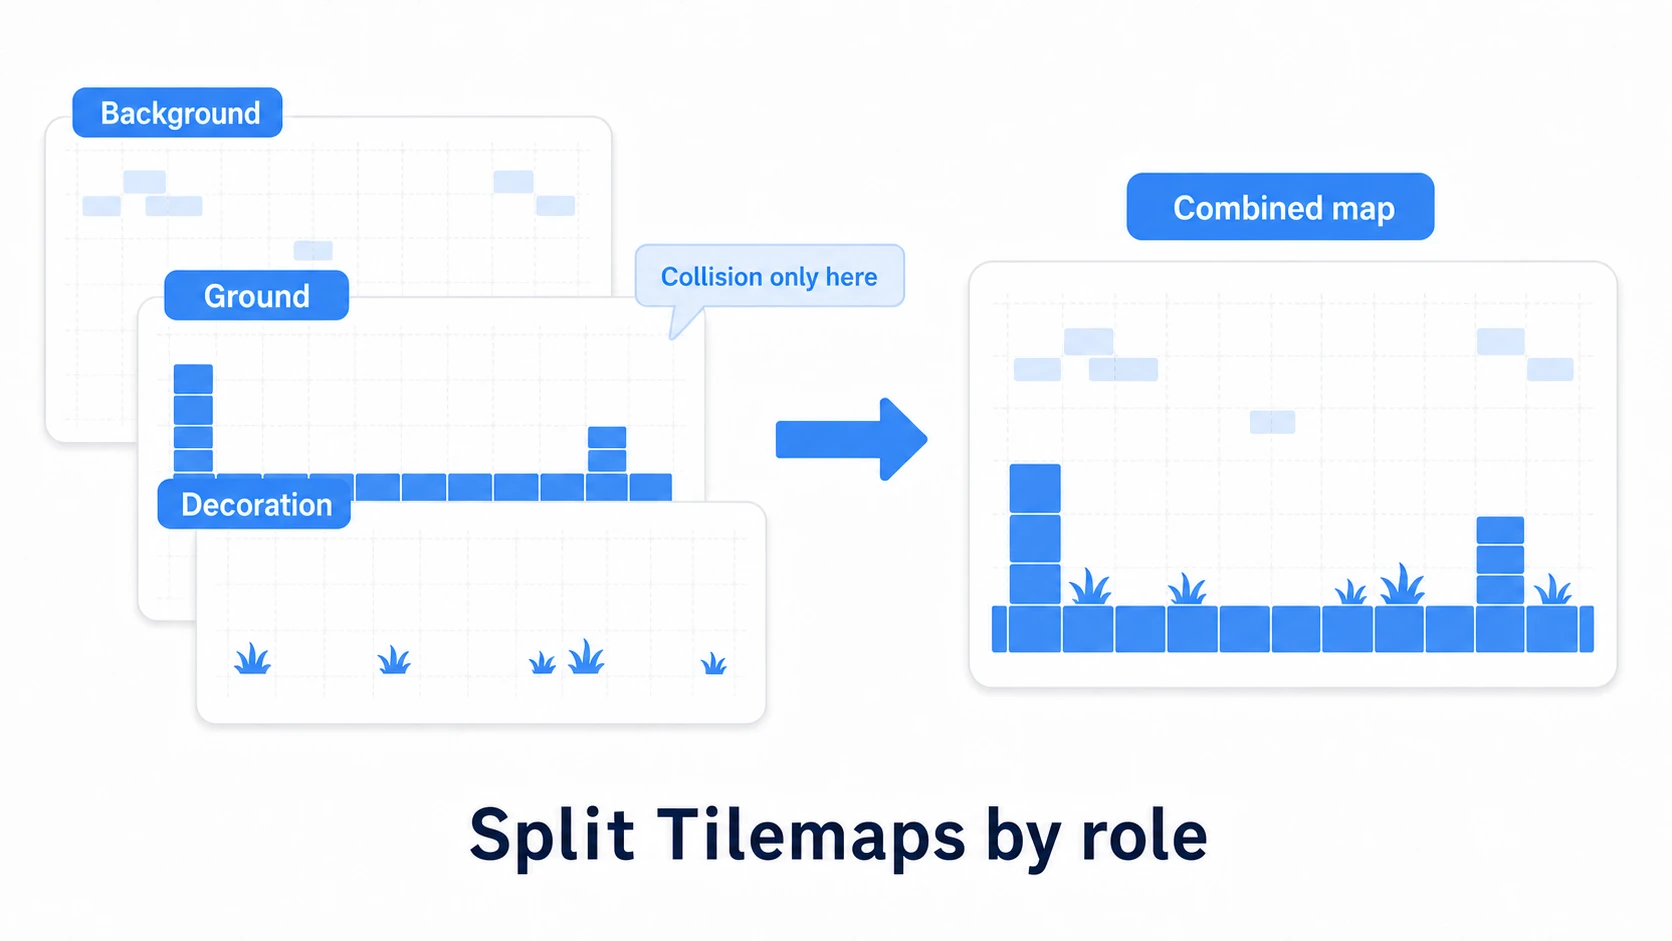
You can build a map with a single Tilemap, but splitting Tilemaps by role makes management far easier. Hang multiple GameObjects with Tilemaps under the Grid.
Grid
├── Background (Tilemap)   # Background (sky, distant view). No collision
├── Ground (Tilemap)       # Ground, walls. Tilemap Collider 2D + Composite
└── Decoration (Tilemap)   # Grass, props. Layered over ground. No collision
- Draw order (front/back): decided by each Tilemap's
Tilemap RendererSorting Layer and Order in Layer. Higher numbers draw in front. To layer grass over the ground, setDecoration's Order higher thanGround. - Separation of roles: give collision only to
Ground, and keepBackgroundandDecoration(grass, signs) collision-free. The trick is not to mix "solid ground" with "decoration only."
Sorting Layer is shared across all Sprites. The player's SpriteRenderer Sorting Layer/Order is compared on the same field, so adjustments like "bring the player in front of decoration" happen here too. See layers and tags for more.
Automating borders with Rule Tile
The seam between grass and dirt, wall corners, road bends — picking these border tiles one by one is tedious. That's what Rule Tile is for: the engine looks at surrounding tiles and automatically picks the right one.
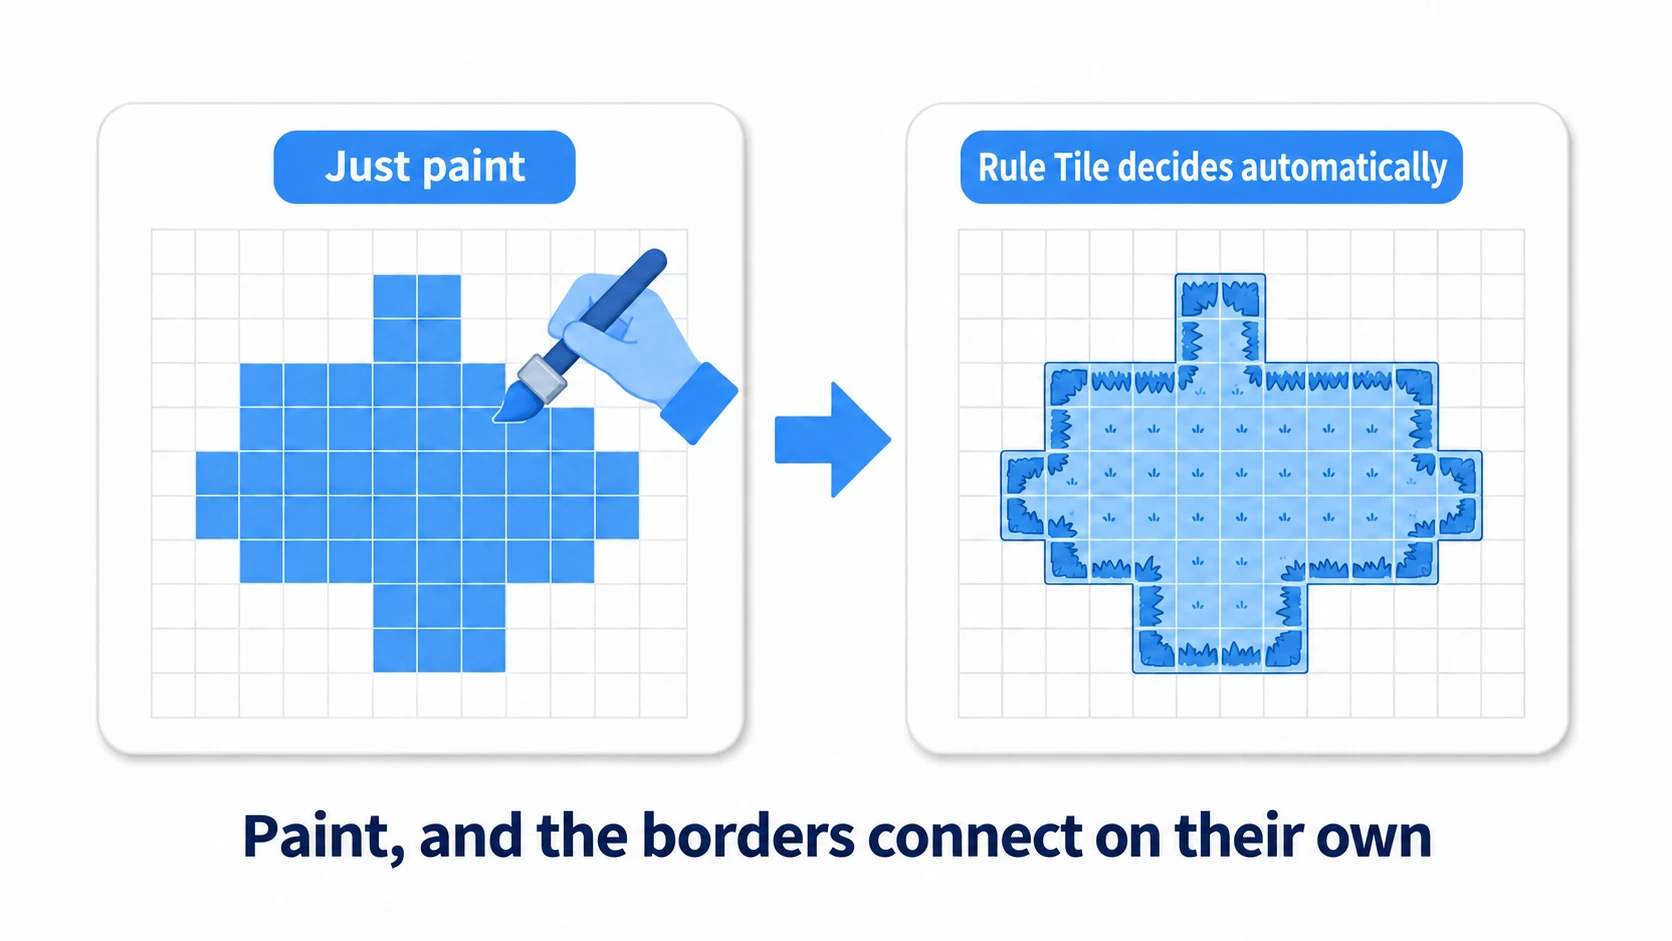
Rule Tile isn't a built-in feature; it ships in the 2D Tilemap Extras package.
- Install
com.unity.2d.tilemap.extras(2D Tilemap Extras) in the Package Manager - Create a Rule Tile asset via
Create > 2D > Tiles > Rule Tile - Set up rules like "use the center tile if the same tile is above/below/left/right, otherwise use the edge tile," and assign a sprite to each pattern
- Register this Rule Tile in the palette and paint
Once the rules are set, the borders connect automatically just by painting terrain. No more hunting for corner tiles by hand — map building gets a lot faster.
Start with plain tiles: Rule Tile is powerful but takes effort to set up. Build your map with plain tiles first, and introduce it once you feel "placing borders by hand every time is painful."
Practice: placing tiles from a script
Tiles aren't just hand-painted in the editor — you can place them dynamically from code. Roguelike dungeon generation, sandbox terrain destruction, simulation terrain generation — it shines in "build the map by rules" genres.
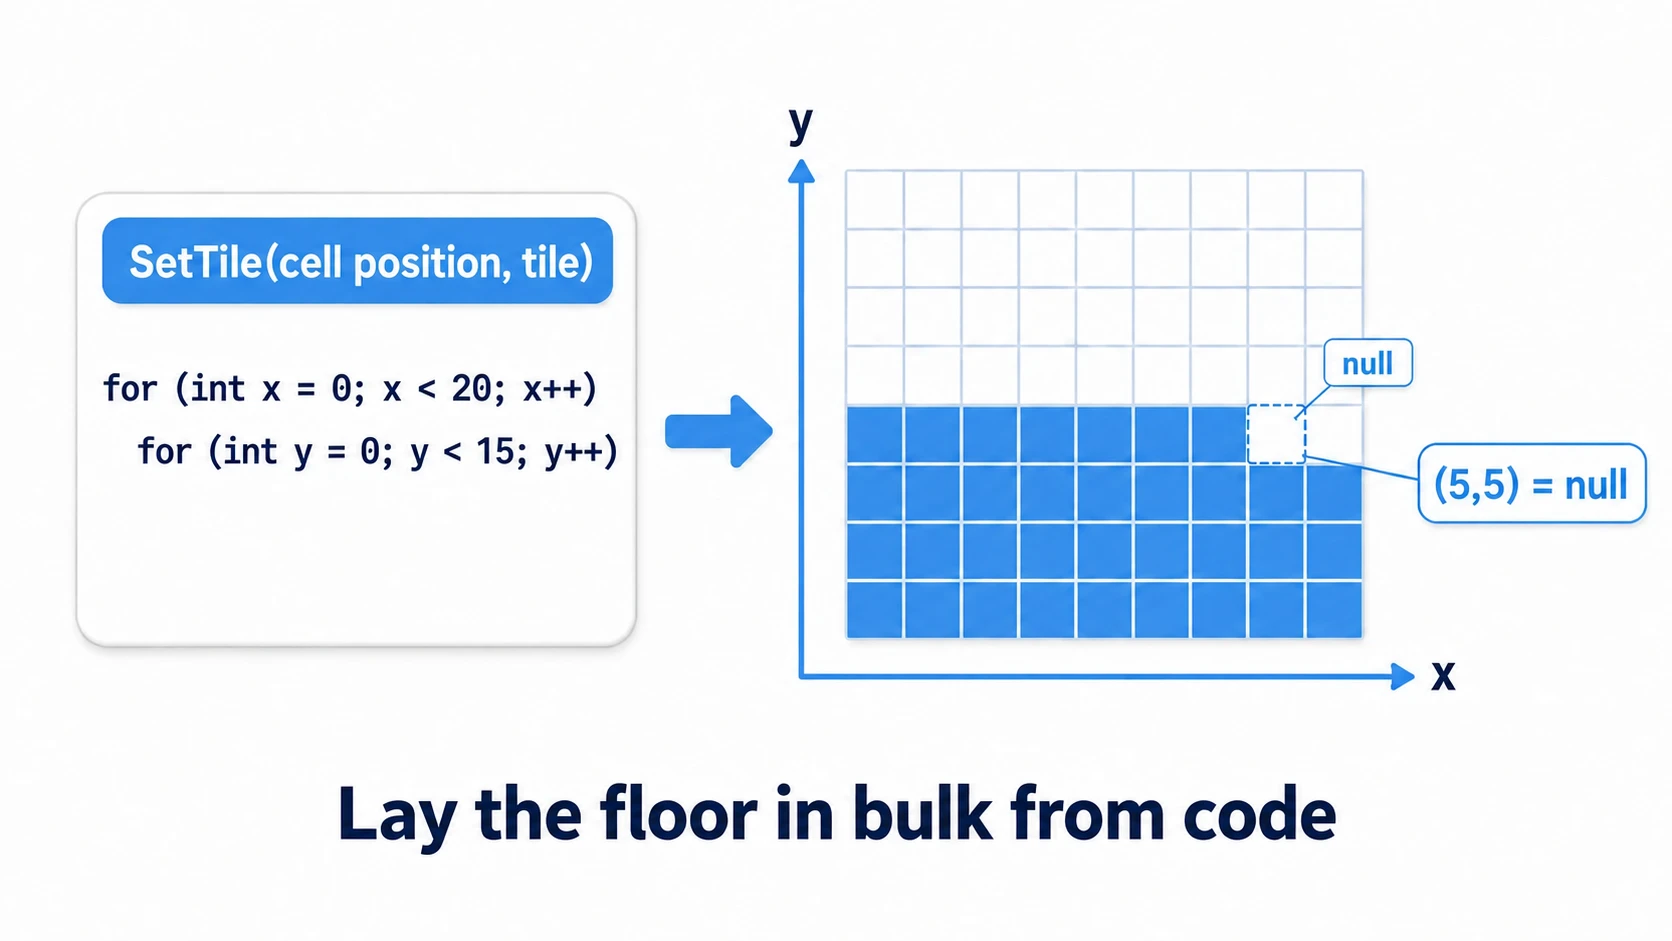
The key is SetTile(). You specify "place this tile at this cell coordinate." The coordinate is a Vector3Int (grid cell coordinate), which is different from world coordinates (pixels).
using UnityEngine;
using UnityEngine.Tilemaps;

public class DungeonGenerator : MonoBehaviour
{
    [SerializeField] private Tilemap groundTilemap;
    [SerializeField] private TileBase floorTile;  // Assign the tile asset in the Inspector

    void Start()
    {
        // Lay a 20x15 floor all at once
        for (int x = 0; x < 20; x++)
        {
            for (int y = 0; y < 15; y++)
            {
                // Place the floor tile at cell coordinate (x, y)
                groundTilemap.SetTile(new Vector3Int(x, y, 0), floorTile);
            }
        }

        // Erase the tile at cell coordinate (5, 5) (poke a hole)
        groundTilemap.SetTile(new Vector3Int(5, 5, 0), null);
    }
}
Two points to remember. "Don't confuse cell coordinates with world coordinates" (SetTile takes a cell coordinate; to get a cell from a world coordinate like the mouse position, convert with tilemap.WorldToCell(worldPos), and the reverse is CellToWorld), and "pass null to erase" (SetTile(position, null) empties that cell; for bulk replacement, SetTilesBlock processes many at once and is faster). The generation algorithm itself just decides "which cells become floor" — pick coordinates with a random walk or cellular automata, then just lay them with SetTile.
Good to know first
- Tiles look blurry or have seams: set your tile sprites'
Filter ModetoPoint (no filter)andCompressiontoNonefor crisp results. If thin lines appear between tiles, set the sprite'sMesh TypetoFull Rector use a padded sprite sheet. - Want enemies to walk on the map: Tilemap-based AI pathfinding is weakly supported by Unity's built-in 2D NavMesh, so A*-style assets or a homemade grid search are common. For 3D pathfinding, see AI pathfinding with NavMesh.
- Scroll wide maps with the camera: for maps bigger than the screen, follow the player with Cinemachine. A Confiner to hide the edges is a classic setup.
- You can make Isometric (quarter-view) too: choose
2D Object > Tilemap > Isometricfor a diagonal top-down tilemap. The basics are the same — only the Grid's Cell Layout changes. - Add light and shadow to the stage: to turn a tiled stage into night or light it with torches, see 2D lighting
Summary
- Build maps from three parts: Grid (the grid), Tilemap (the map), and Tile Palette (the paint box). The palette can be shared across multiple Tilemaps
- Collision is
Tilemap Collider 2D+Composite Collider 2D(Rigidbody 2D as Static). Seam snags disappear and it runs lighter - Split ground and decoration into Tilemaps by role, and control front/back with Sorting Layer / Order in Layer
- Auto-place border tiles with Rule Tile (2D Tilemap Extras). Corners and edges connect just by painting
- Place tiles from a script with
SetTile(cell coordinate, tile). Passnullto erase
Start by laying floor tiles, add a Tilemap Collider 2D + Composite Collider 2D, and get to the point where the player can walk on top. The Tilemap is the foundation of 2D stage building. What kind of terrain will your 2D world begin with?
Further reading
- Mastering Sprites and Sprite Sheets — preparing the sprites tiles come from
- Rigidbody2D and Collider2D Basics — the physics on the player side that walks on terrain
- Cinemachine Follow Camera in Practice — showing wide maps by scrolling
- Unity Manual: Tilemap — the primary source on tilemaps