You wrote a camera that chases the player with transform.position = target.position + offset;—and it works. But when you actually play, the screen jitters with every step, the view bounces on every jump, and it somehow makes you queasy. A follow camera, it turns out, doesn't feel good with simple position matching alone.
This article uses the follow camera from Cinemachine, Unity's official camera control package, to walk through hands-on tuning of the parameters that determine how good the follow feels. For Cinemachine's features in general (camera switching, shake, third-person cameras, and more), see Getting Started with Cinemachine; this article digs into one thing only: building a great player-following camera.
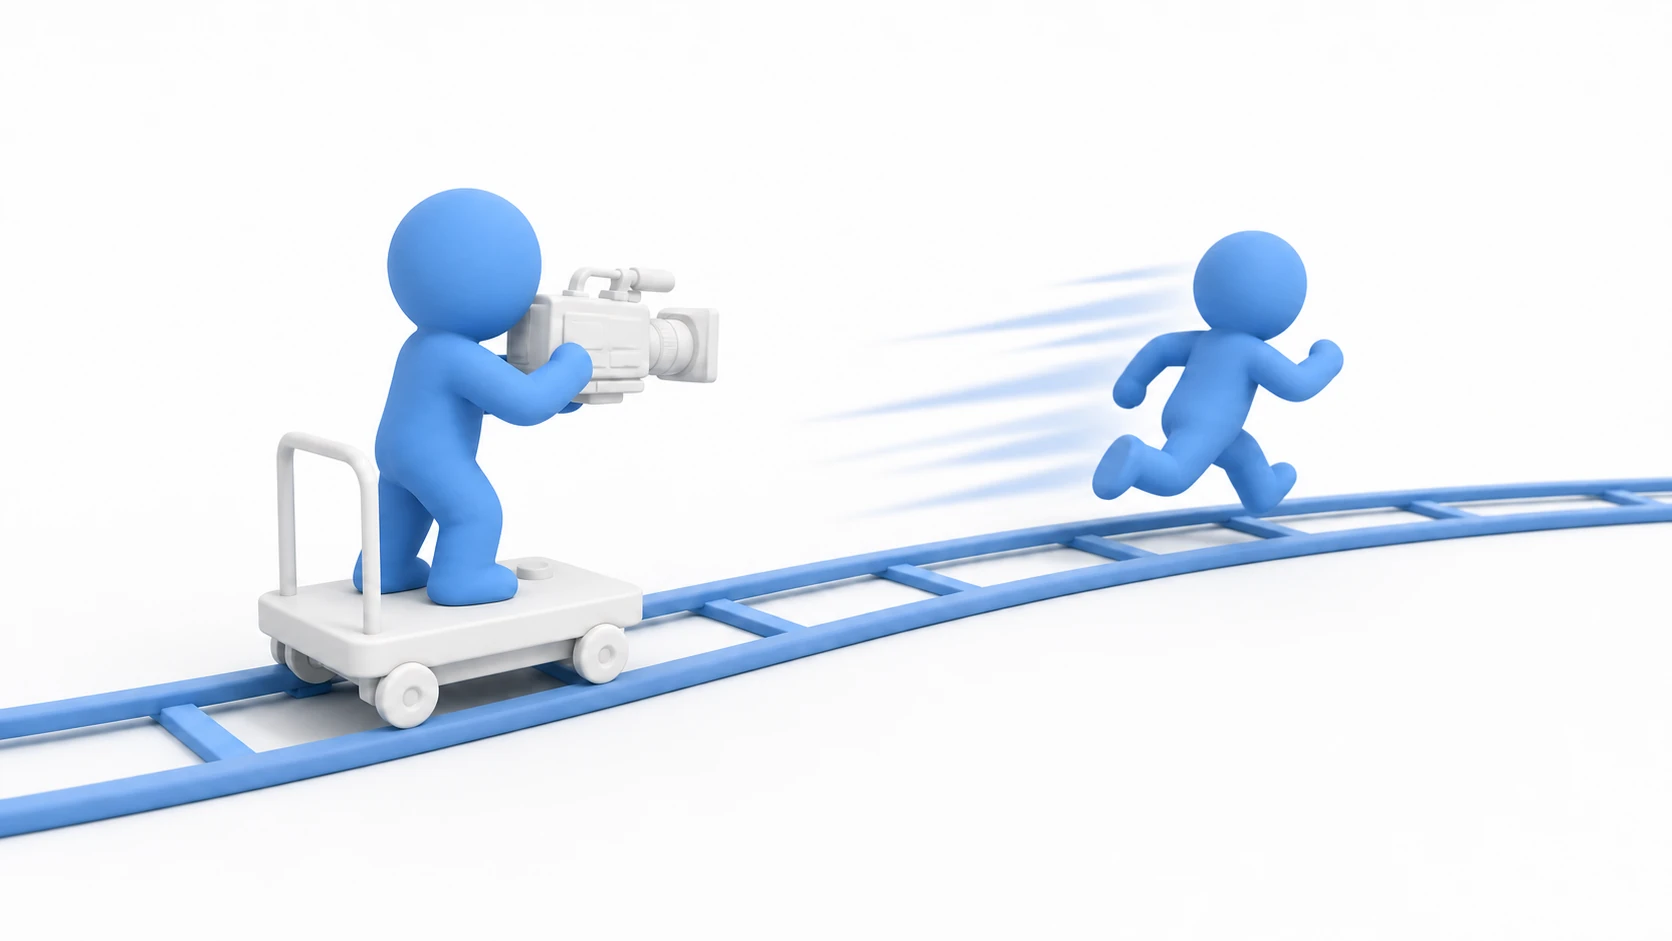
What You'll Learn
- Why hand-written follow code becomes a camera that makes players motion-sick
- The minimal setup for a Cinemachine follow camera (2D/3D)
- The three key parameters of camera feel—Dead Zone, Damping, and Lookahead
- Keeping the camera inside the stage with Confiner 2D (practically required for 2D)
- Practical: a genre-by-genre starting-point settings cheat sheet
Tested with: Unity 6 (6000.x), Cinemachine 3.x
Why Hand-Written Follow Cameras Make You Sick
Snapping the camera directly to target.position + offset combines all three major causes of a camera that makes players motion-sick.
- Amplified jitter: Every tiny movement of the character (slope bumps, animation wobble) becomes a one-to-one shake of the entire screen. If the character moves one pixel, the whole world moves one pixel.
- Abrupt starts and stops: The camera lurches into motion the instant the character moves and slams to a halt the instant they stop. There's none of the "ease" a real camera operator has.
- No lookahead: You can't see ahead in the direction you're running—the player sits in the center of the screen and only ever sees half of where they're headed.
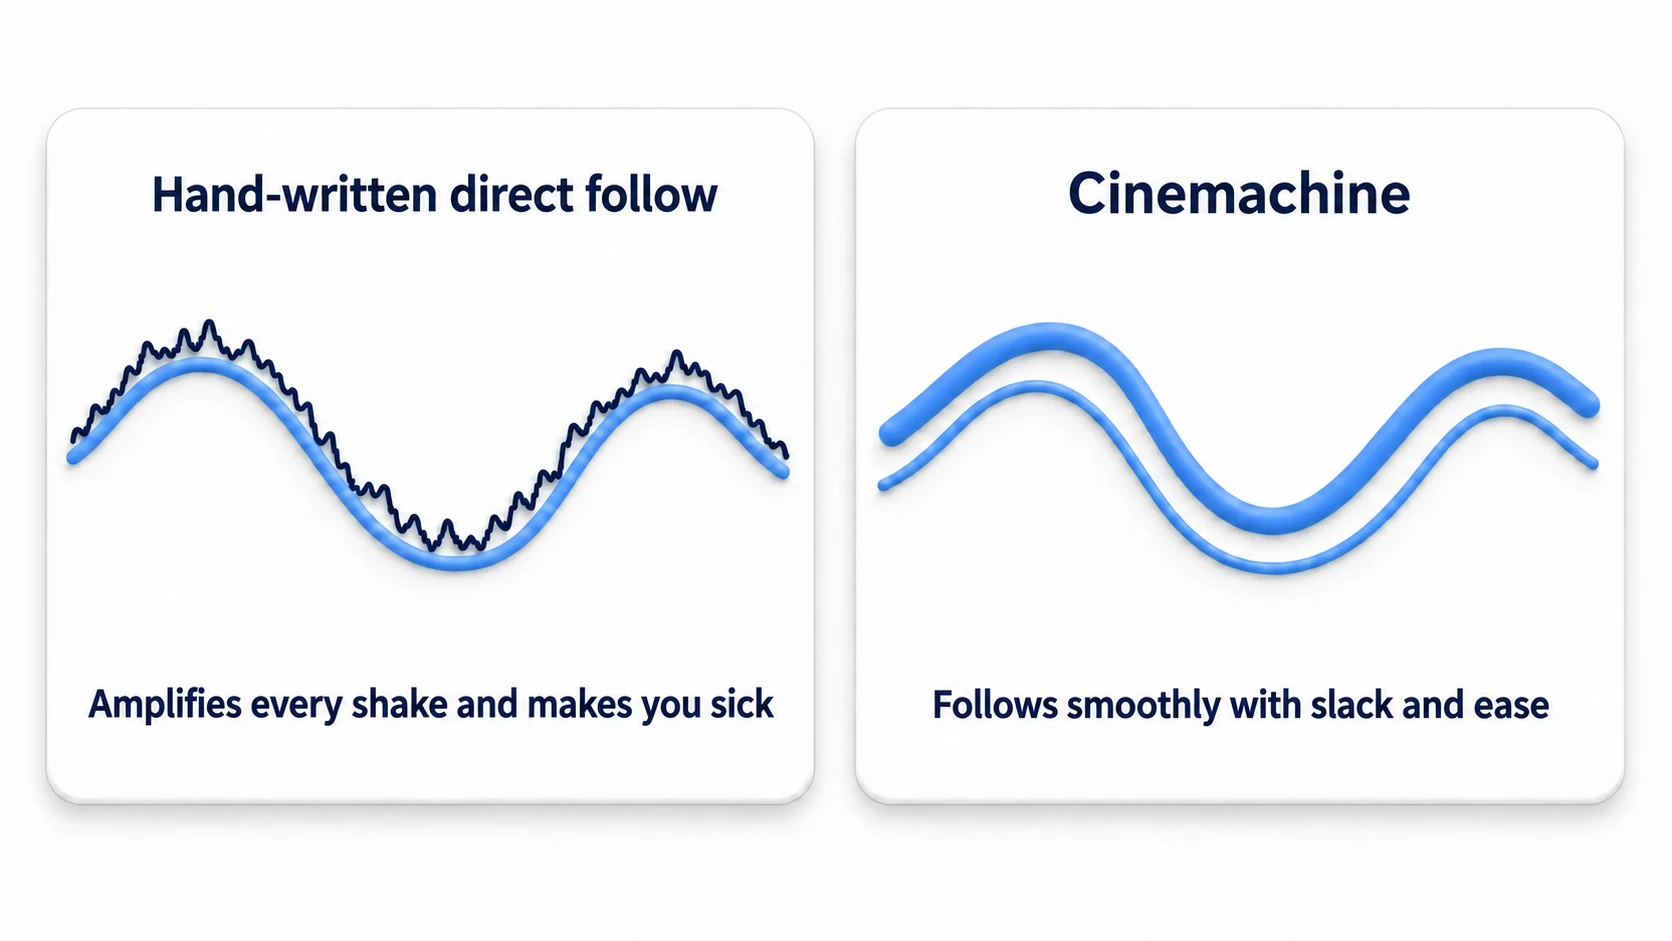
Even rolling your own Lerp or smoothing won't fully fix these; you end up needing a tunable system anyway. Cinemachine provides exactly that, as parameters with these problems already solved.
Minimal Follow Camera Setup
A note on versions: This article uses the names from Cinemachine 3.x (the Unity 6 default). Component names differ in 2.x (
CinemachineCamerawasCinemachineVirtualCamera,Position ComposerwasFraming Transposer).
- Install Cinemachine from the Package Manager.
- Right-click in the Hierarchy and create "Cinemachine > Cinemachine Camera" (a Cinemachine Brain is added to the Main Camera automatically). If you create it from "Cinemachine > Targeted Cameras > 2D Camera" for 2D, or "Targeted Cameras > Follow Camera" for a 3D chase camera, the setting in step 4 is already in place.
- Set the player's Transform as the Tracking Target.
- Choose the Body (Position Control): for 2D or side-view games, start with Position Composer; for a 3D behind-the-player camera, start with Follow.
That's all it takes to get "a camera that follows." Now for the real subject—tuning how it feels.
The Three Key Tuning Parameters
Using Position Composer as the example, we'll adjust three parameters in order of impact. (If you chose Follow for 3D, Follow only has Damping; Dead Zone and Lookahead are Position Composer settings.)
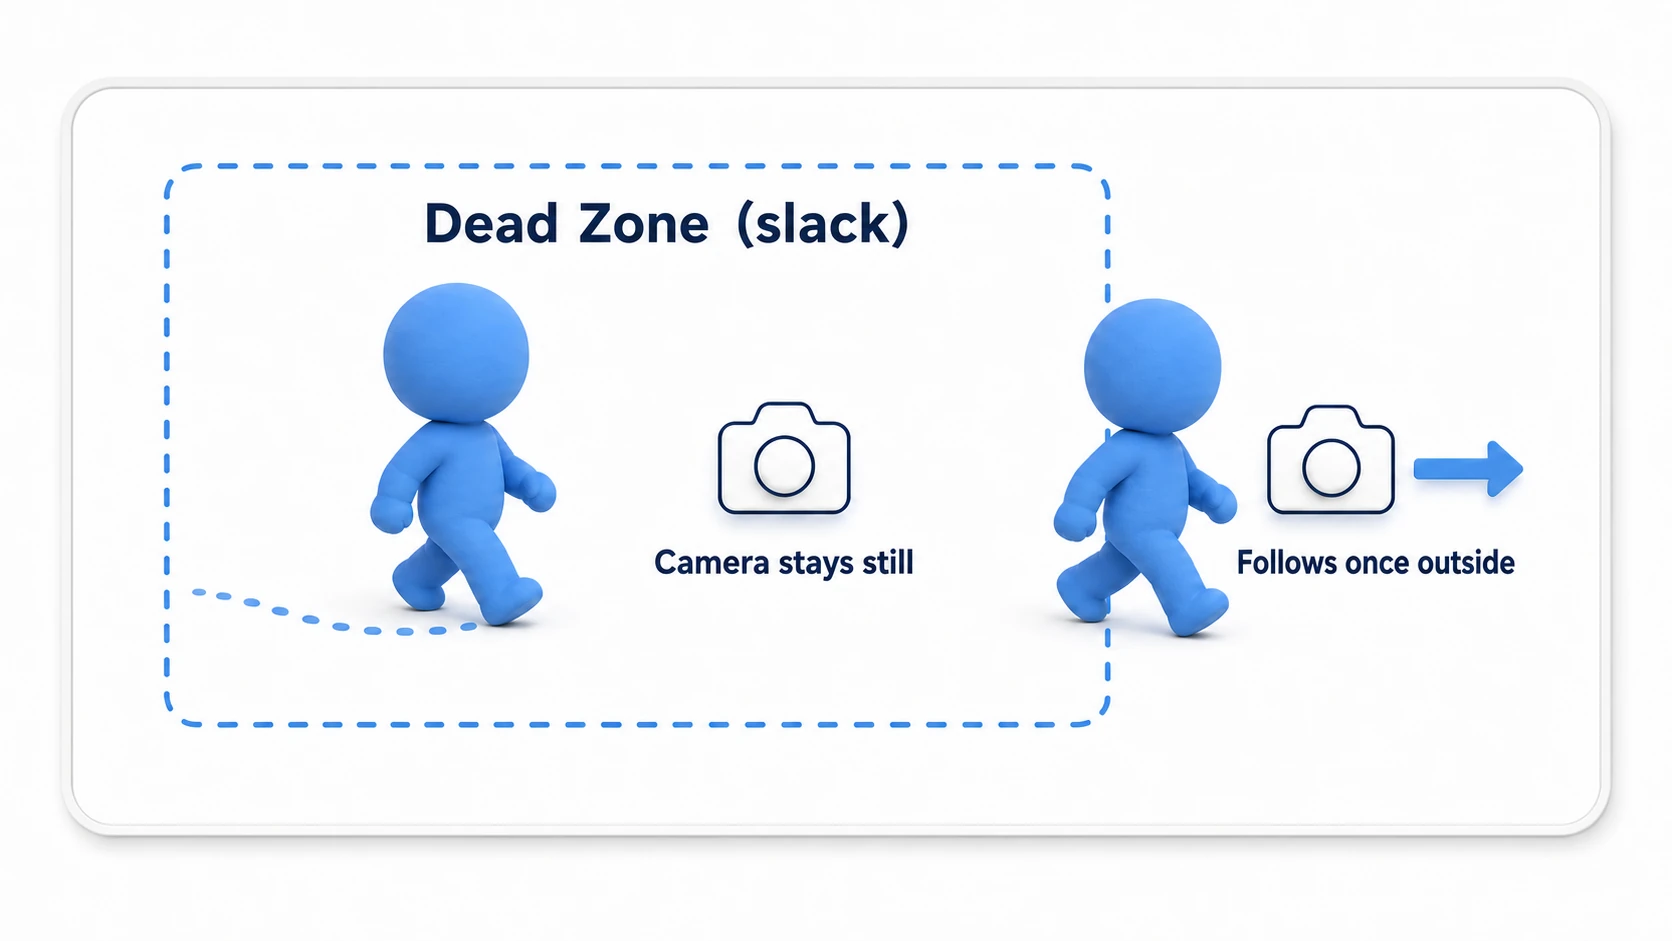
1. Dead Zone: Building In Some Slack
Set up an area in the center of the screen where the camera doesn't react even when the target moves. This prevents the screen from shaking with every small movement or turn—it's your first line of defense against motion sickness.
- Enable Composition (Dead Zone) on the Position Composer and frames (guides) appear in the Game view. Set Game View Guides on the Cinemachine Camera to
Interactiveand you can drag the frames to adjust them. - Rule of thumb: around 0.1–0.2 horizontally (as a fraction of the screen width). Too wide and the character drifts far from the center before the camera moves, which looks cheap—so fine-tune it while actually playing.
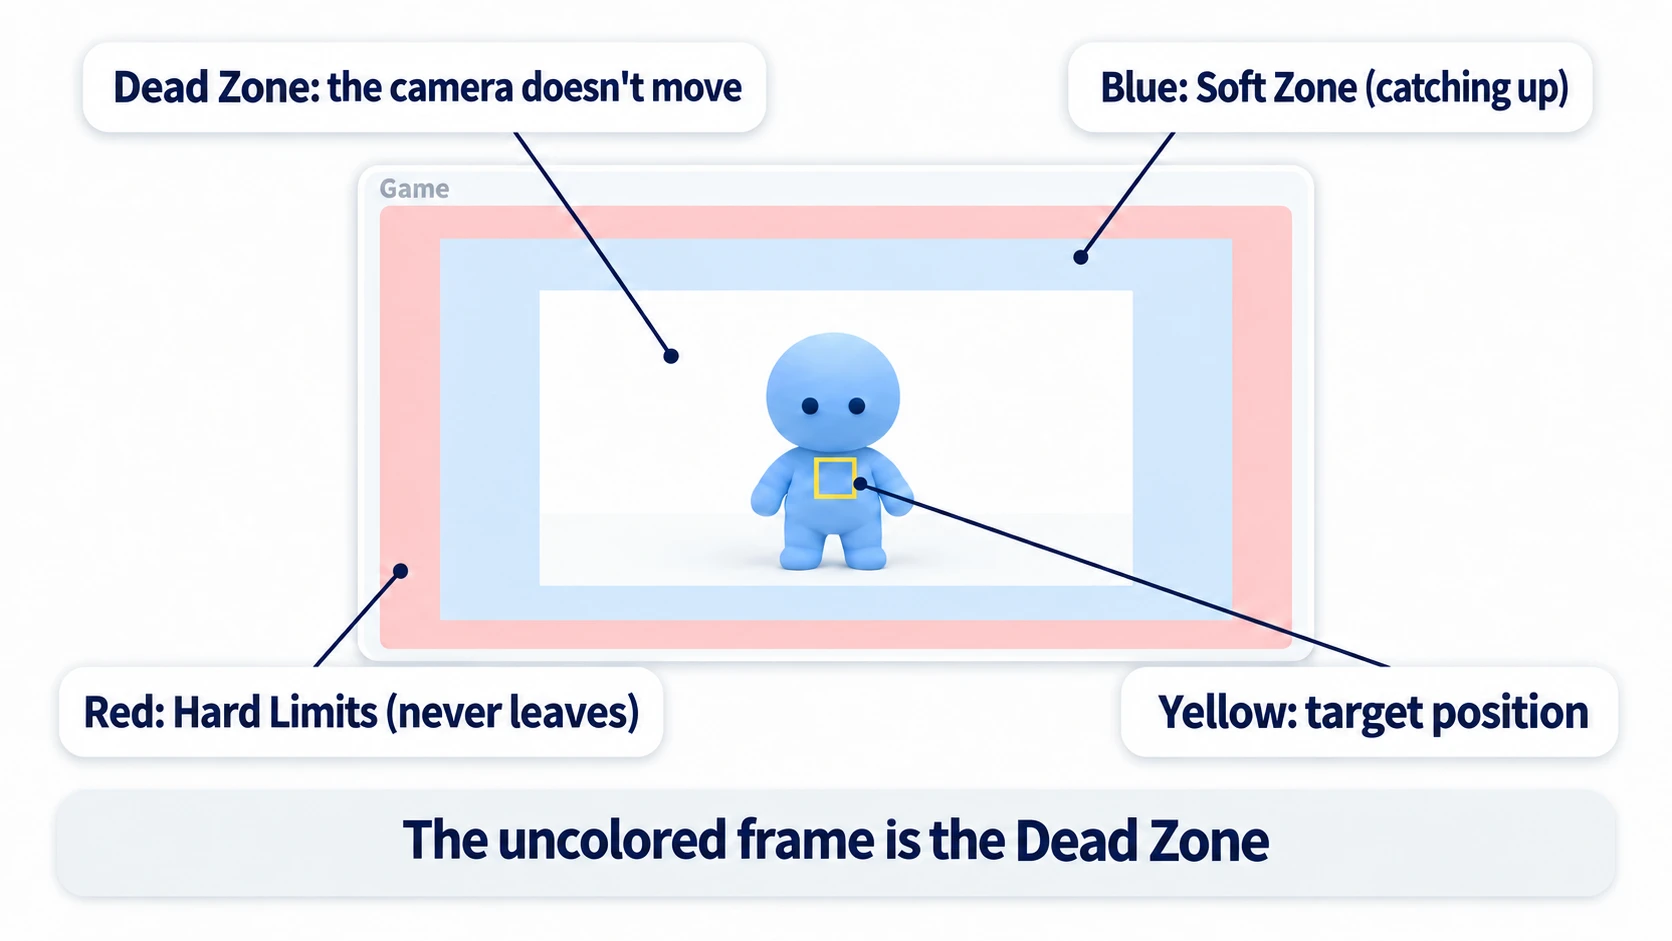
In the guides, the uncolored frame in the center is the Dead Zone, the blue area around it is the Soft Zone (when the target enters it, the camera catches up at the Damping speed), and the yellow square is the target position. The red area only appears when Hard Limits is enabled, and it keeps the target from going outside it. It's easy to mistake the blue area for the Dead Zone, so judge the size by the center frame.
2. Damping: Building In Some Ease
This is how far the camera lags before catching up to its target position. The larger the value, the more slowly and smoothly it follows. The number is a rough feel for seconds; the camera doesn't catch up in exactly that many seconds.
- Rule of thumb: for fast-paced action, keep it small (around 0.5)—if the camera lags too much, the screen can't keep up with your inputs, which is nauseating in its own way. For exploration and adventure games, go larger (1–2) for a relaxed feel.
- The key point is that X/Y/Z can be set independently. In a 2D platformer, "fast horizontally, extra lag vertically (for jumps)" keeps the screen from bouncing up and down with every jump.
3. Lookahead: Building In Anticipation
This shifts the camera ahead in the direction of movement (tick Enabled under Lookahead on the Position Composer, then adjust Time and Smoothing). It widens the view in the direction you're running, giving you a camera that "shows you where you're going."
- Rule of thumb: start with a Lookahead Time of 0.2–0.5. Without enough Smoothing, the camera swings left and right on every turn and does more harm than good. If you notice the swing, first lower Time, then raise Smoothing (raise only Smoothing first and the lookahead itself lags and stops helping much). If it still swings, turning Lookahead off is a perfectly valid call.
- In 2D jump games, turn on Ignore Y to drop the vertical lookahead, so the screen doesn't swing up and down on every jump.
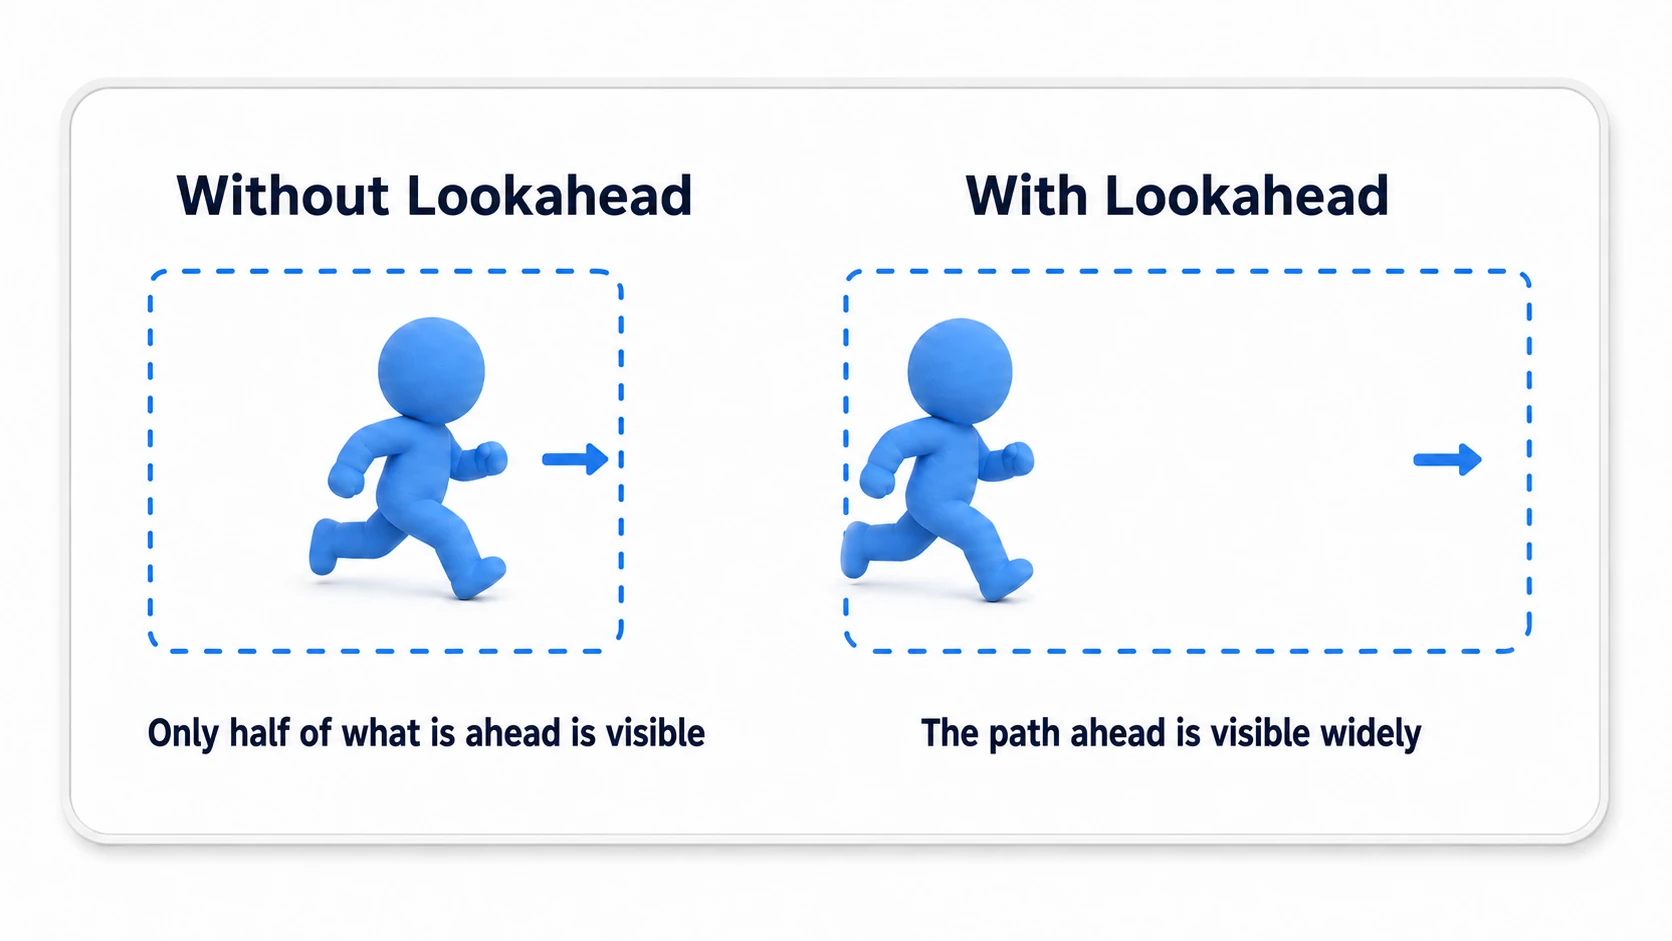
The tuning criterion fits in one line: "Judge by how tired your own eyes are after 10 seconds of play, not by watching the character." You can't evaluate a camera from a still frame.
Confiner 2D: Stopping the Camera at the Stage Edge
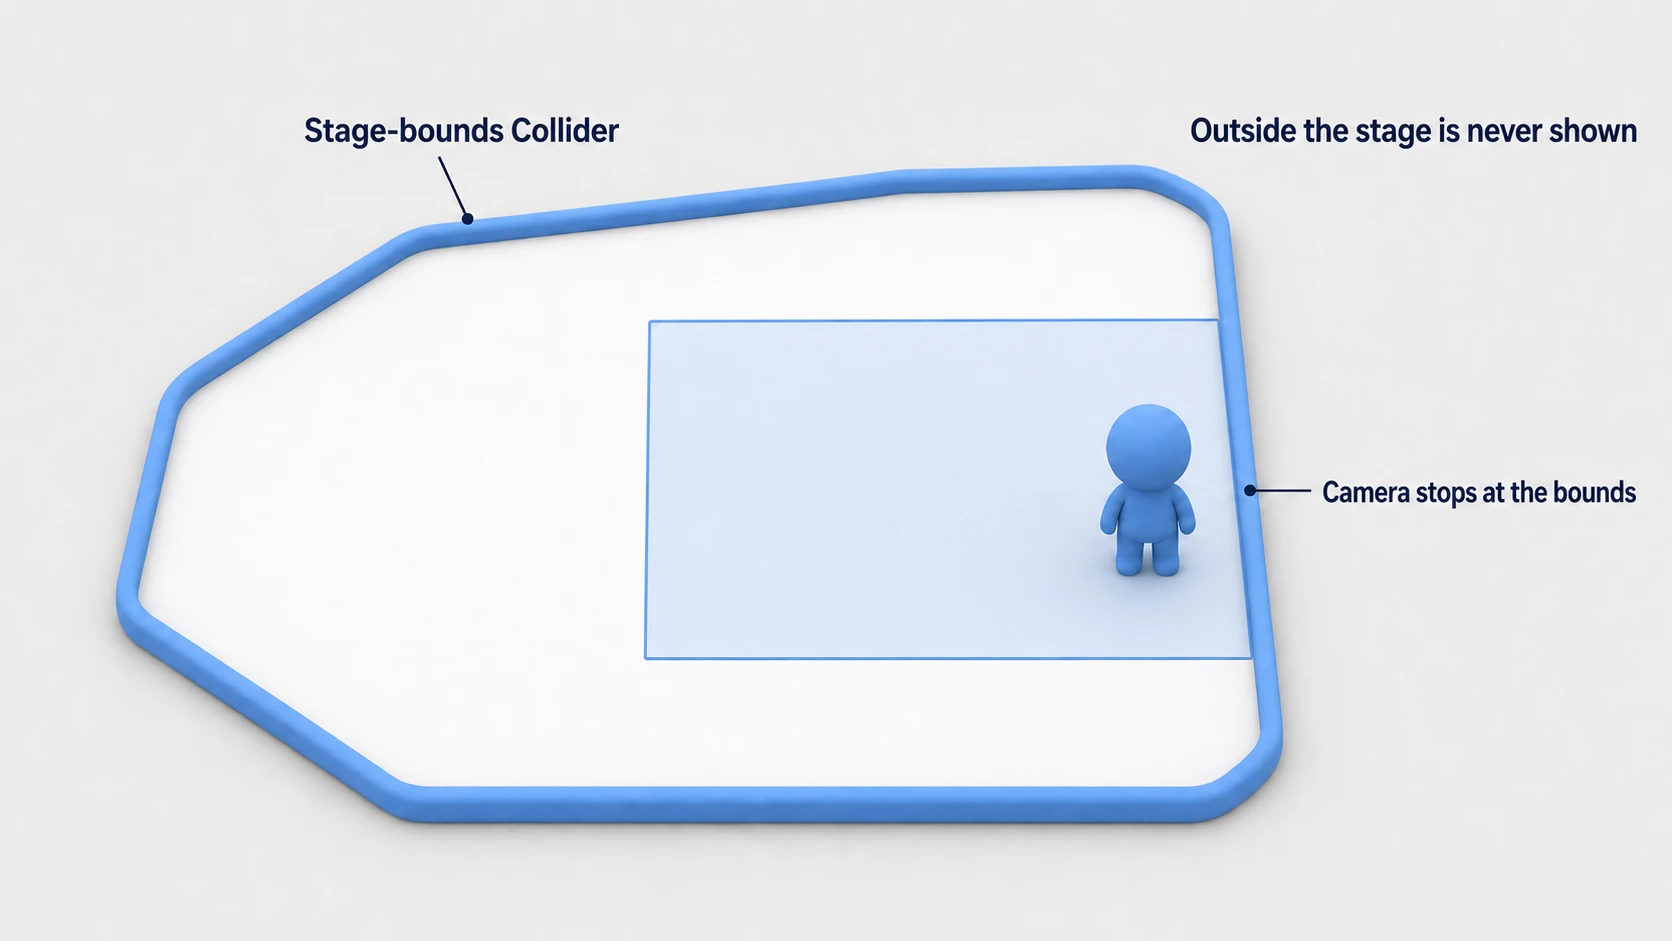
If you use the follow camera as-is, when the player approaches the edge of the stage, the camera shows the empty void outside it.
The Cinemachine Confiner 2D extension solves this.
- Prepare an object with a Polygon Collider 2D (or Composite Collider 2D) enclosing the stage bounds, and turn on
Is Trigger(the Confiner only reads the shape, so it isn't required, but it keeps the player from bumping into this collider). If you pass in the Tilemap's collider as is, the camera judders along the jagged edges, so prepare a dedicated collider with few vertices. - In the Cinemachine Camera's Inspector, choose "Add Extension > Cinemachine Confiner 2D".
- Assign the Collider from step 1 to Bounding Shape 2D.
Now the camera moves only within the stage bounds. For 2D platformers this finishing touch is practically required (3D has the equivalent Confiner 3D).
Practical: Genre-by-Genre Starting Points
The "right answer" for the three key parameters differs greatly by genre. A side-scrolling platformer, a top-down ARPG, an exploration-focused Metroidvania—here's a cheat sheet of the combinations that make good starting points for each. From here, repeat the "play 10 seconds → fine-tune" loop.
| Genre | Dead Zone | Damping | Lookahead | Goal |
|---|---|---|---|---|
| Fast platformer | H 0.1 / V 0.15 | H 0.3 / V 1.5 | 0.3 (strong Smoothing) | No screen bounce on jumps; the path ahead is visible |
| Top-down ARPG | ~0.1 (square) | 0.8 all axes | 0 (off) | Stable, not jerked around by all-directional movement |
| Exploration Metroidvania | H 0.15 / V 0.2 | 1–2 all axes | 0.2 | Relaxed and atmospheric; never rushed |
| Bullet-hell shmup | 0 (off) | 0–0.2 | 0 | Knowing your ship's exact position is the top priority |
| Puzzle (near-fixed screen) | Wide 0.3+ | Large 2 | 0 | Barely moves; glides smoothly only when needed |
Look at the table and a pattern emerges. The more a game lives or dies by precise controls, the more "honest" the camera should be (smaller Dead Zone and Damping); the more a game is about atmosphere and exploration, the more "relaxed" (both larger).
There are two key points: "start from the genre's starting point, then repeat play 10 seconds → change one setting at a time" (change multiple parameters at once and you won't know what did what), and "think of vertical and horizontal as separate parameters." In particular, the vertical Damping in 2D is the single most important knob for solving jump-game motion sickness in one shot. For the Canvas and UI foundations a camera builds on, see Canvas Basics; for camera switching, head to Getting Started with Cinemachine.
Bonus: Good to Know for Later
- Cameras for pixel art: In pixel-art games, sub-pixel camera movement causes pixel shimmer. Use a Pixel Perfect Camera on the Main Camera together with the Cinemachine Pixel Perfect extension on the Cinemachine Camera.
- Matching update timing: If the follow trembles, the classic cause is a mismatch between when the target moves (physics movement in
FixedUpdatevs.Update) and the camera's update. If you move it with physics, first set the Rigidbody (2D) Interpolation to Interpolate. Keep the Cinemachine Brain's Update Method at the default Smart Update as a rule (Update vs FixedUpdate). - One camera, any number of Cinemachine Cameras: Cinemachine's design keeps a single rendering Main Camera while you switch between per-situation Cinemachine Cameras (normal play, boss fight, cutscene) via Priority. For switching in practice, see Getting Started with Cinemachine.
- Adding screen shake: Shake on hits and explosions can be added with an Impulse Source (add an Impulse Listener to the Cinemachine Camera you want to shake)—independently of your follow tuning, and after the fact.
Summary
- Directly snapped hand-written follow code produces a camera that makes players motion-sick: amplified jitter, abrupt starts and stops, and no lookahead.
- The minimal Cinemachine setup is Cinemachine Camera + Tracking Target + Position Composer/Follow.
- Camera feel comes from three key parameters—Dead Zone (slack), Damping (ease), and Lookahead (anticipation).
- For 2D, use larger vertical Damping, and finish with Confiner 2D to keep the void outside the stage off-screen.
- Tune from the genre's starting point, one setting at a time per 10 seconds of play.
- For the broader feature set—camera switching, shake, third-person cameras—see Getting Started with Cinemachine.
The camera is the piece of UI players stare at longer than anything else. Does your game tire your eyes after 10 minutes of play? If it does, the culprit is probably the camera.