A torch flickering in a dark dungeon, neon lighting the edge of a character, a town sinking into a crimson dusk — the mood of a 2D game changes dramatically with lighting. But drop a Directional Light from 3D lighting into a 2D scene and your sprites won't budge. 2D has its own light system.
This article covers the foundation for getting started with 2D lighting in Unity's URP: switching to the 2D Renderer, using the four Light 2D types, the Global + Point two-layer design, casting shadows with Shadow Caster 2D, and a practical example of a player carrying a torch.
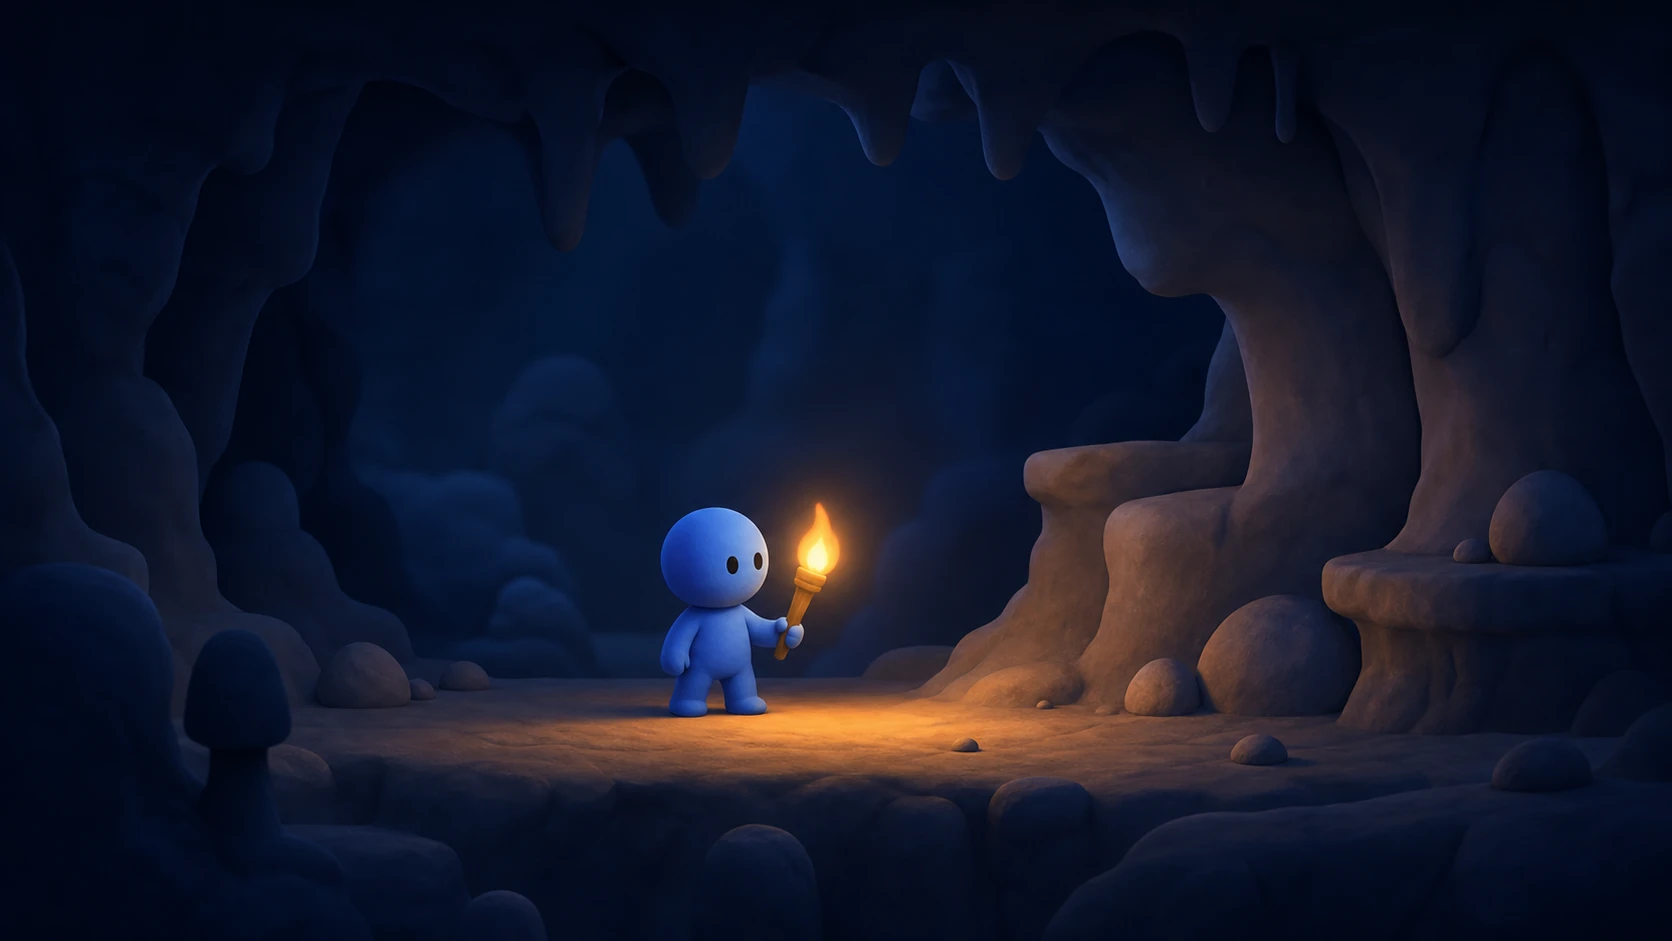
What you'll learn
- Switching to URP's 2D Renderer (why 3D lights don't affect 2D)
- Using the four Light 2D types (Global, Point, Freeform, Sprite)
- Designing by darkening with Global Light, then adding Point Light
- Casting shadows on sprites with Shadow Caster 2D
- Practice: a dark cave + a torch that follows the player
Tested on: Unity 6 (6000.x) (URP required)
First, switch to URP's 2D Renderer
2D Light 2D is a feature exclusive to URP's (Universal Render Pipeline) "2D Renderer". It doesn't work in the standard Built-in Render Pipeline, or even in URP with a 3D-oriented Renderer. The reason 3D Directional / Point Lights don't light 2D sprites is that sprite rendering doesn't reference those lights.
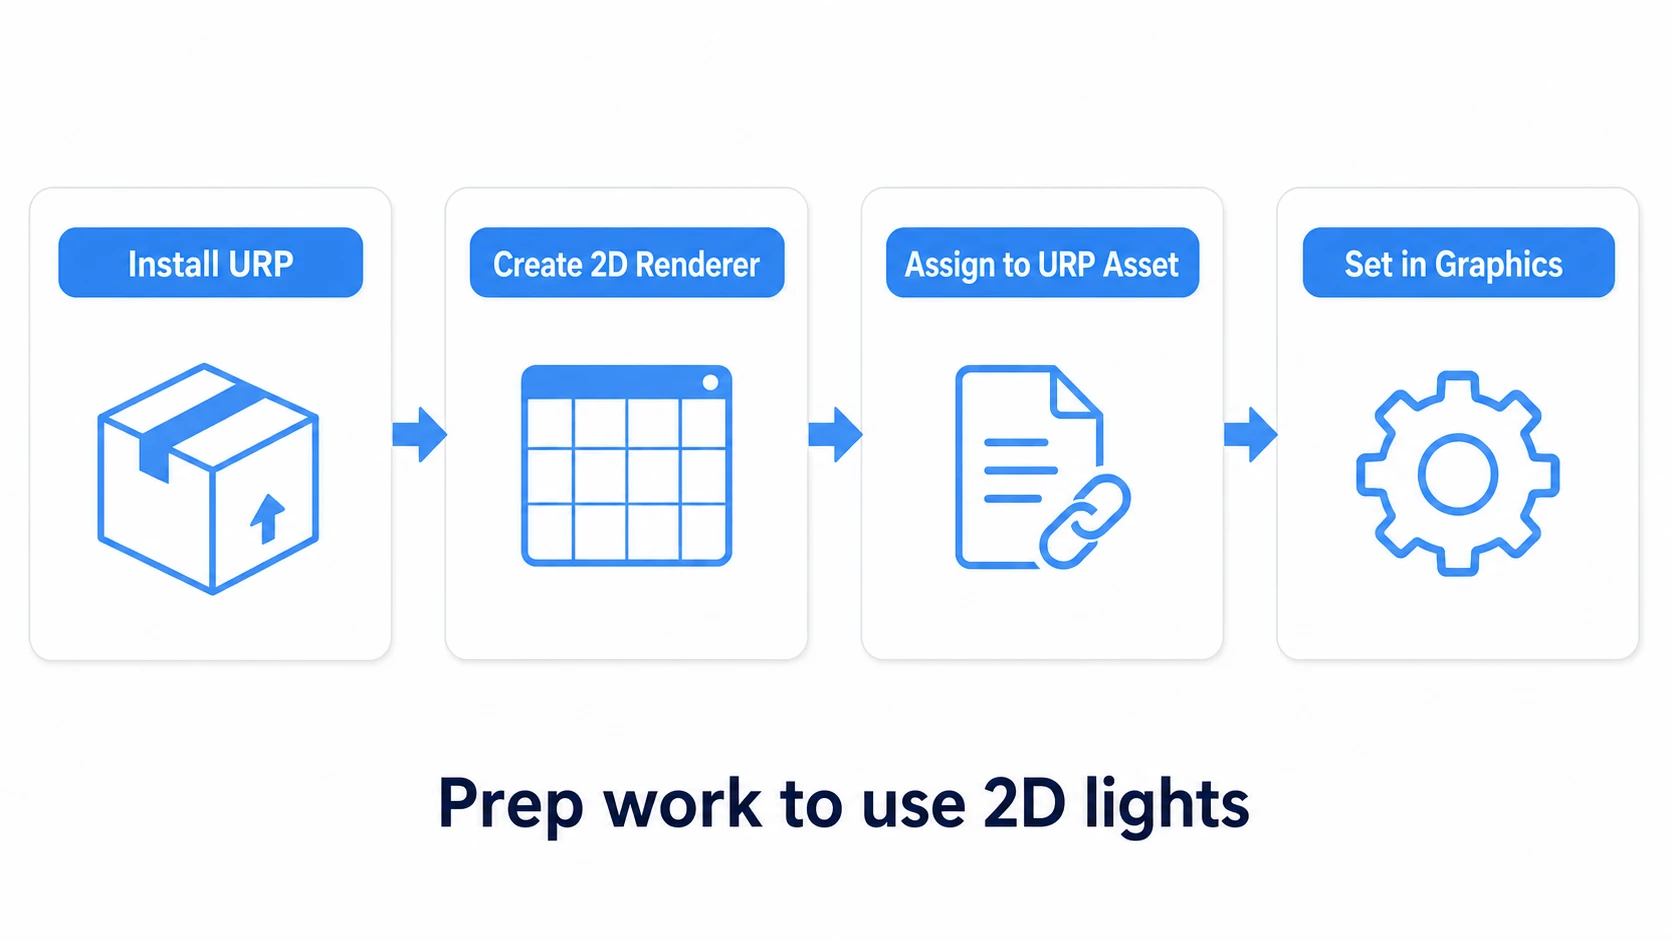
- Install Universal RP in the Package Manager
- Create
Create > Rendering > URP Asset (with 2D Renderer)(this makes a URP Asset and a 2D Renderer together, with the 2D Renderer already assigned to theRenderer List) - If you created them separately, assign the 2D Renderer to the URP Asset's
Renderer List - Set this URP Asset as the Render Pipeline in
Project Settings > Graphics(andQuality; if Quality has one, it takes priority)
Now, placing a Light 2D in the scene lights up your sprites. If you migrate an existing project to URP midway, materials may turn pink (unsupported shader). In that case, convert them in Window > Rendering > Render Pipeline Converter by choosing Built-In Render Pipeline 2D to URP 2D. Also check that your sprites use the Sprite-Lit-Default material (with Sprite-Unlit-Default or the Built-in Sprites-Default, lights have no effect).
Note: For a new project, pick the "Universal 2D" template ("2D (URP)" in older versions of the Hub) in the template selector and you start with all of this already set up. That's the easiest path.
The four Light 2D types
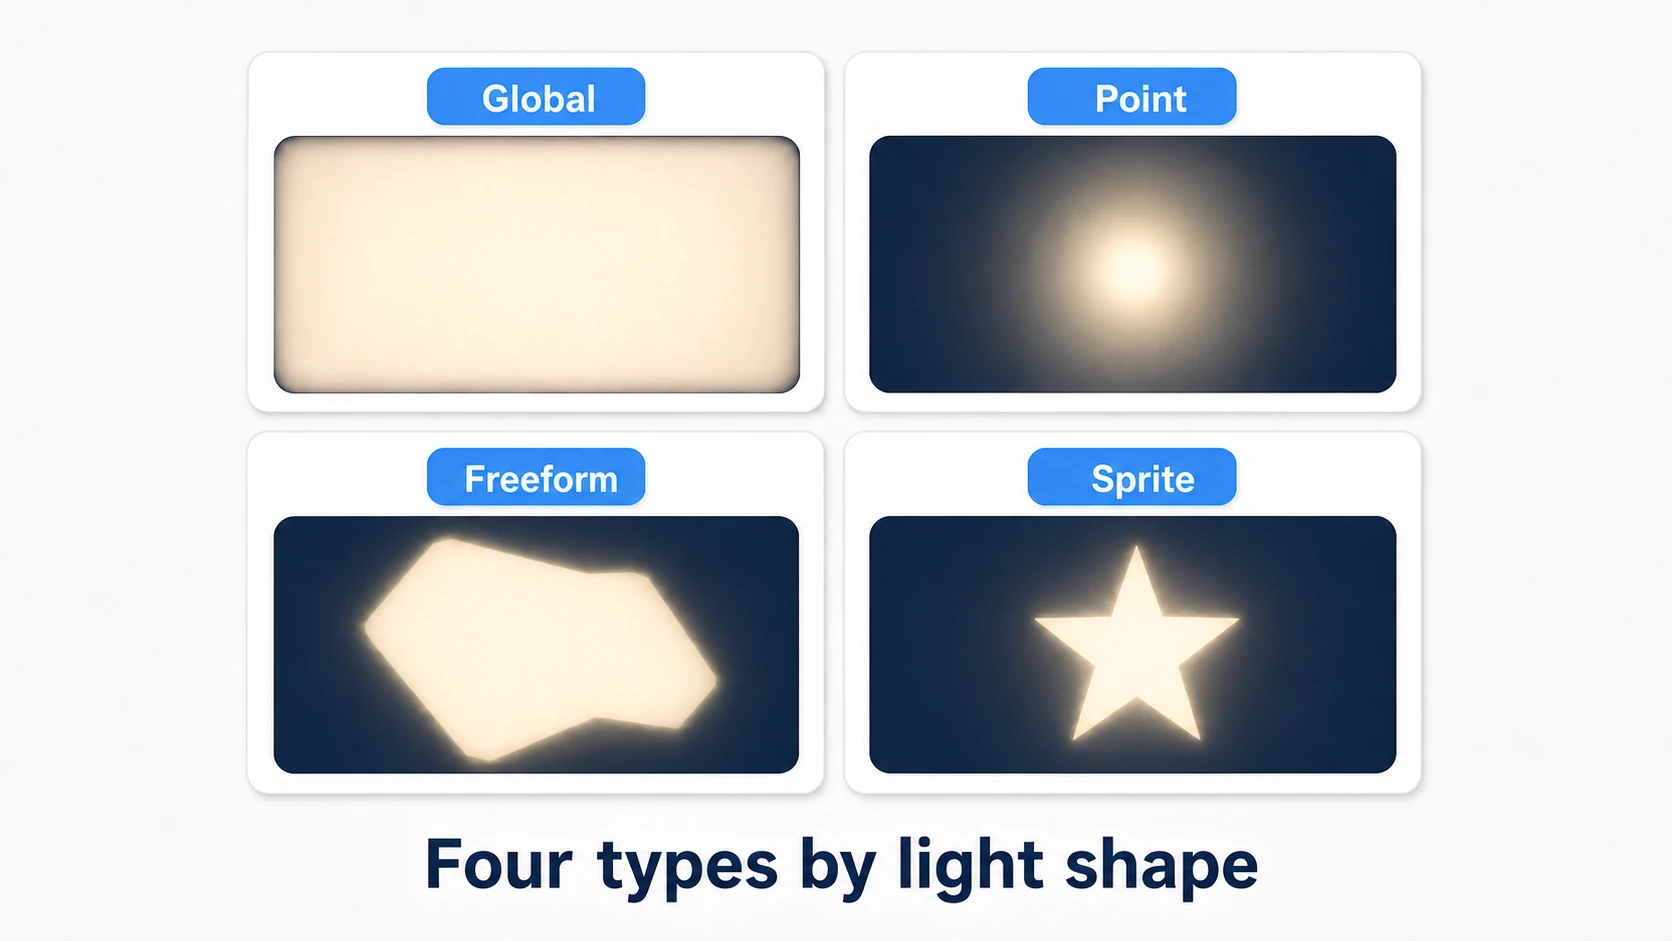
2D lights all use one Light 2D component, switching the Light Type. You pick among four types depending on the purpose.
| Light Type | Role / when to use |
|---|---|
| Global | Ambient light that lights the whole screen uniformly. Sets the scene's "base brightness." Place one first |
| Point | Light spreading in a circle from a point. Torches, lamps, bulbs. Has inner/outer radius and angle |
| Freeform | Lights a free polygon shape. Light from a window, board-shaped neon, etc. |
| Sprite | Lights in the shape of a specified sprite. Logo-shaped signs, complex light sources |
In Unity 6's create menu and Inspector, Point is listed as Spot (Spot Light 2D) (in C#, it's still Light2D.LightType.Point). This article keeps calling it Point below.
The main Light 2D settings are Color (light color), Intensity (strength), Radius (Point's inner/outer radius), and Target Sorting Layers (which Sorting Layers to light). With Target Sorting Layers you get per-sprite-layer control, like "light the background but not the foreground effects layer" (Screen Space Overlay uGUI is outside Light 2D's reach to begin with—see the Bonus section).
Design with Global + Point
The most effective approach in 2D lighting is the two-layer design of "darken the whole scene first, then add light."
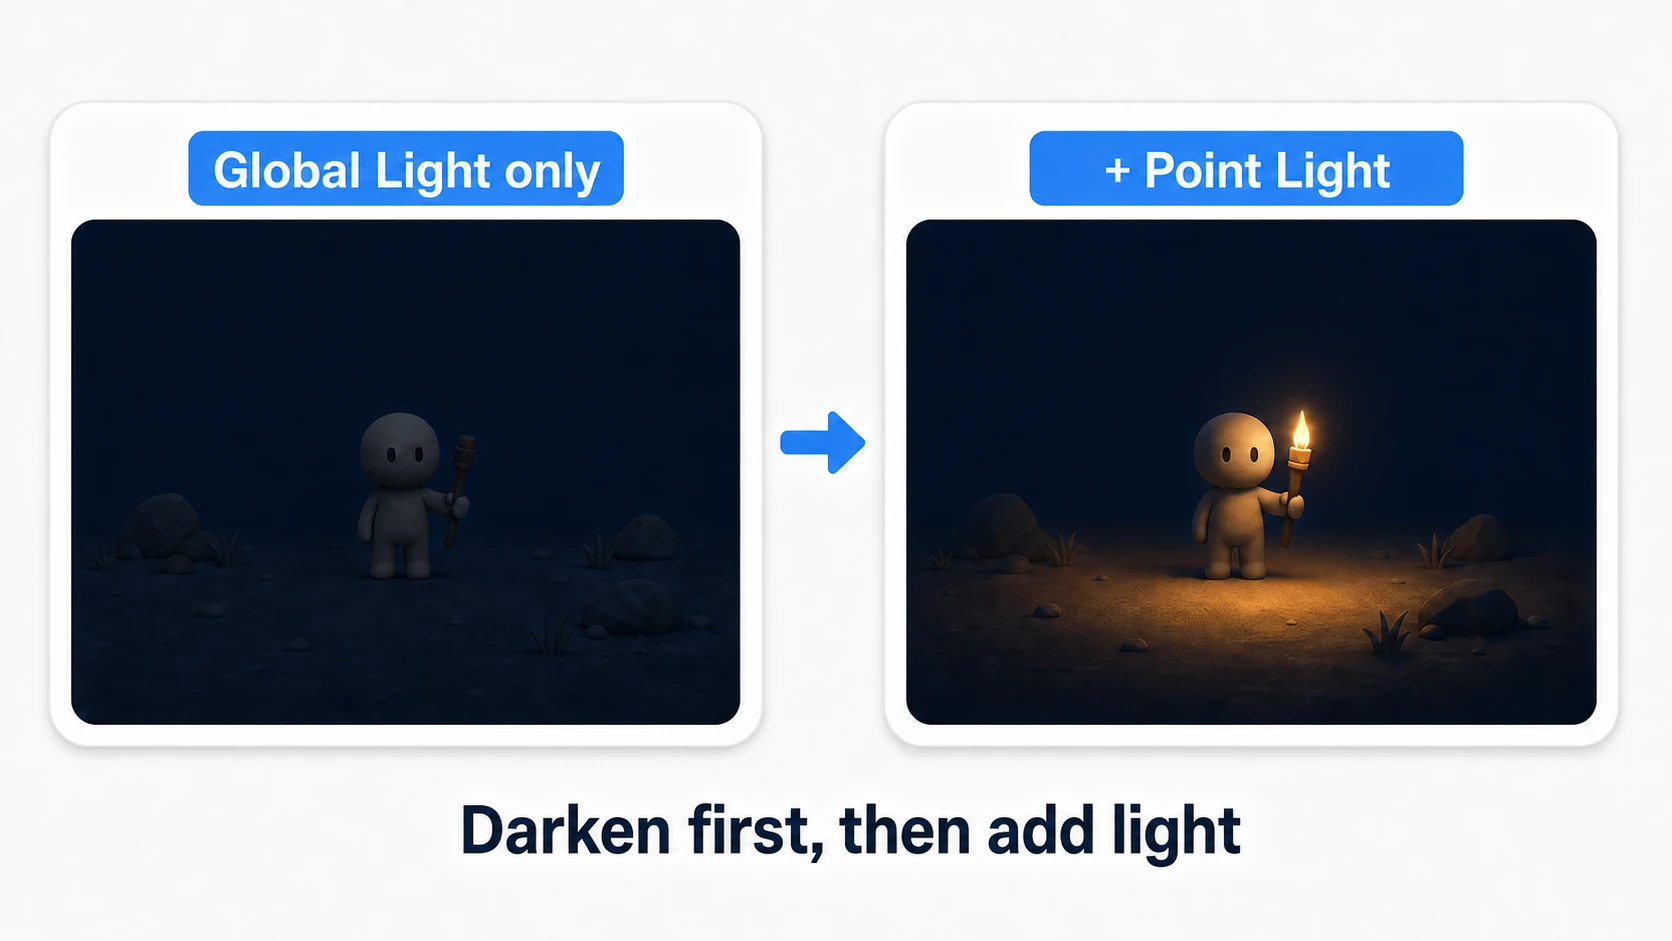
- Place one Global Light 2D and set its Intensity low (e.g., 0.1–0.3). This sinks the whole screen into darkness, creating the atmosphere of "night" or "inside a cave"
- Add a Point Light 2D to light only around a torch or lamp. An island of light appears in the darkness, naturally guiding the player's eye
Thinking in this order — "raise the darkness floor → add light" — makes lighting design much easier. If you place only Point lights from the start, unlit areas go pure black (brightness 0 without a Global), which is hard to tune. Think of the Global Light's brightness as setting "the brightness of the darkest place" in the scene.
Set the mood with color: tint the Global Light slightly blue for night, orange for dusk. Make the Point Light warm, and the torch's warmth pops against the dark background. Color contrast (cool dark + warm light) is a classic mood-building trick.
Cast shadows with Shadow Caster 2D
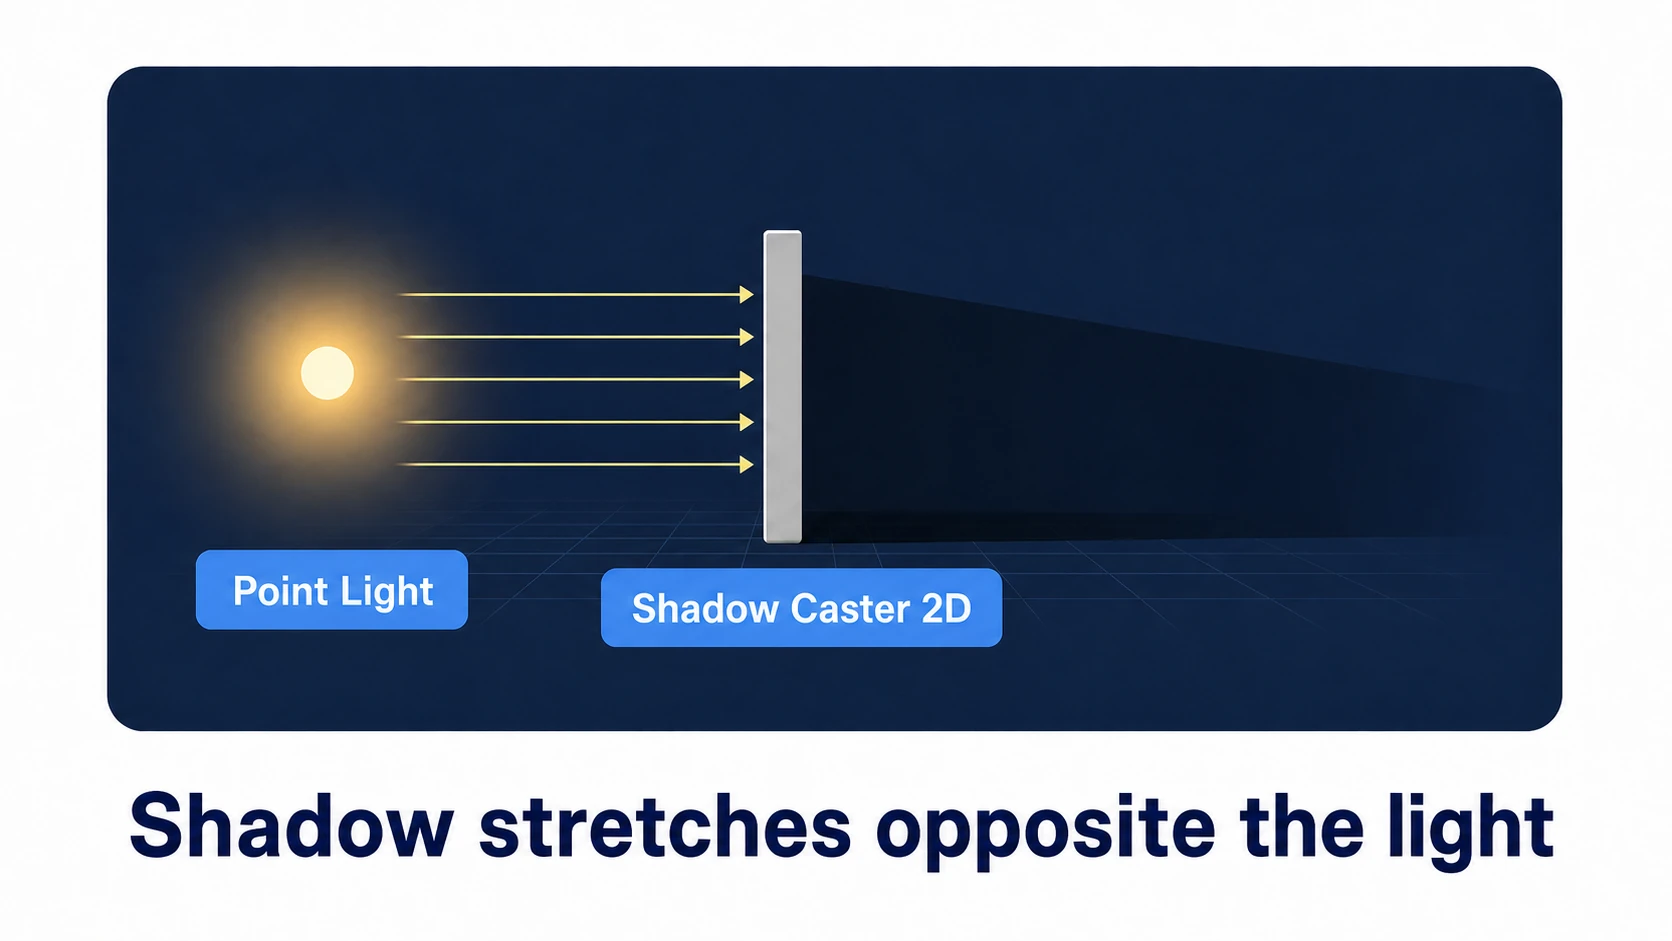
Where there's light, you'll want shadows too. In 2D you create shadows on sprites with the Shadow Caster 2D component.
- Add a
Shadow Caster 2Dto the casting object (wall, pillar, character, etc.). Choose the shadow's shape withCasting Source(Sprite Renderer, Collider 2D, or Shape Editor) - On the light-source Light 2D that creates the shadow, enable
Shadows(Shadow Intensity) (no shadow appears at 0)
Now a shadow stretches on the far side of the object from the Point Light. When the light moves, the shadow direction changes too — so carrying a torch as you walk makes wall shadows sway. To treat multiple sprites as a single shadow, put a Composite Shadow Caster 2D on the parent.
Shadows can be heavy: Shadow Caster 2D looks great, but lots of them cost performance. The trick is to limit it to "objects where the shadow really matters" (walls near the player, etc.).
Practice: a player carrying a torch
Let's build a classic look — exploring a dark cave with a torch — common in 2D action, roguelikes, and horror. A dark section of a Metroidvania, limited vision in a top-down dungeon RPG, a handheld lantern in exploration horror — all built with the same setup.
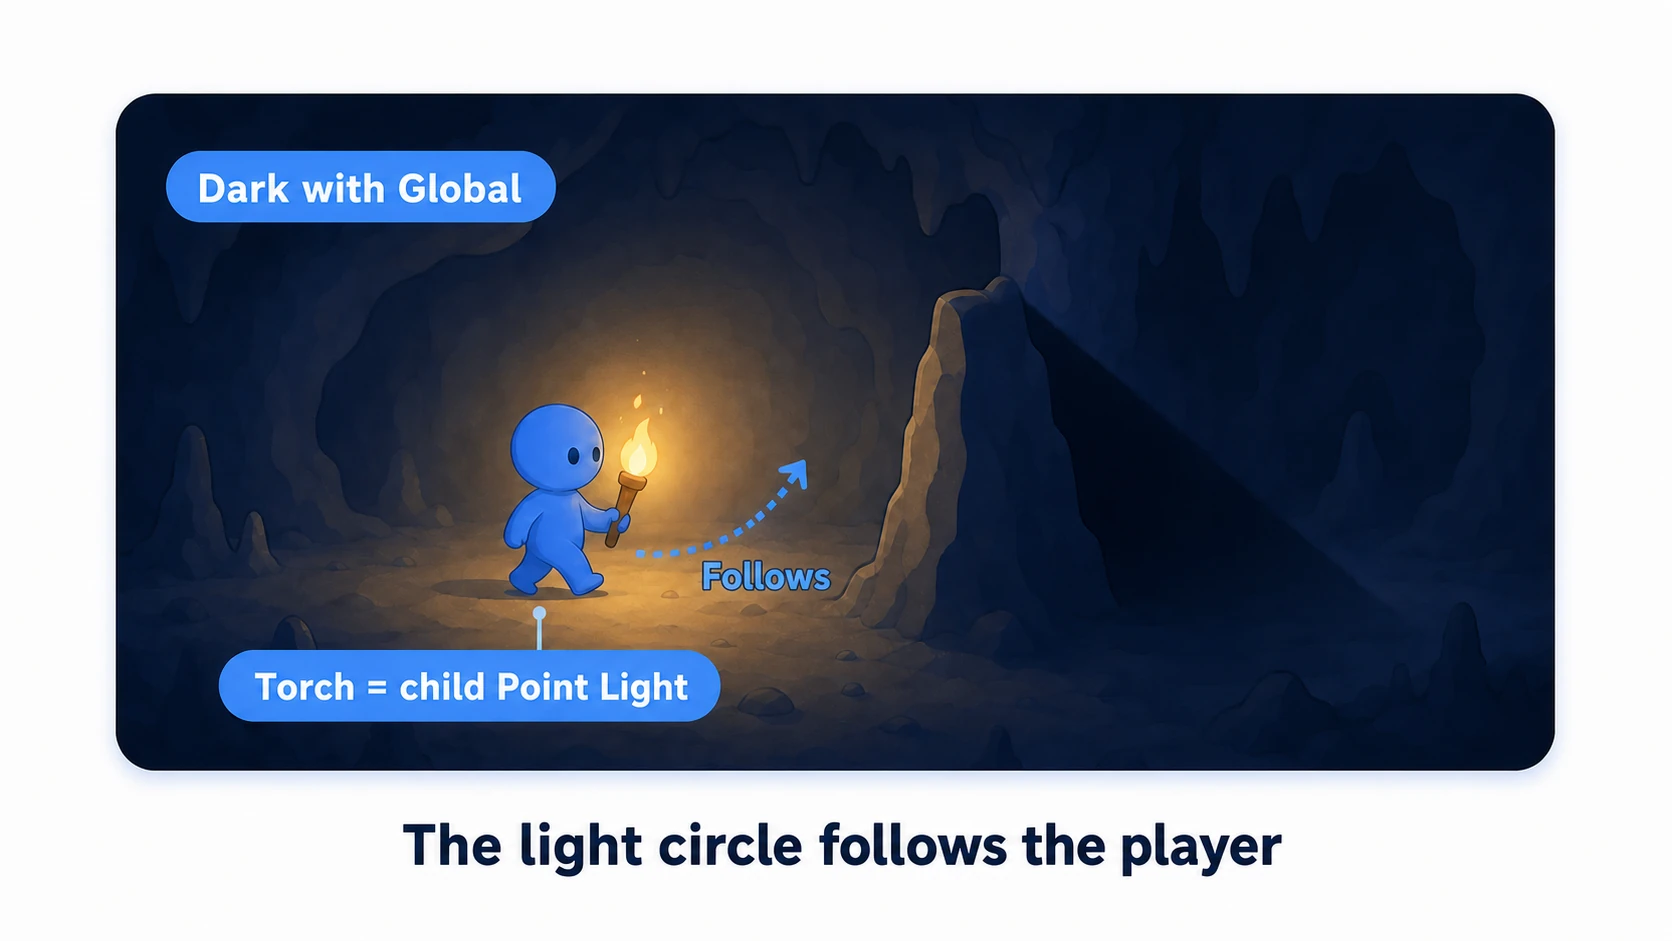
The design is simple. Sink the whole cave into darkness with a Global Light, and attach a Point Light to the player's child object as a "carried light." Making the Point Light a child of the player means it automatically follows as they move.
using UnityEngine;
using UnityEngine.Rendering.Universal;  // Needed to use Light2D

// Flickers the torch light attached to the player's child
public class TorchFlicker : MonoBehaviour
{
    [SerializeField] private Light2D torchLight;
    [SerializeField] private float baseIntensity = 1.0f;
    [SerializeField] private float flickerAmount = 0.15f;
    [SerializeField] private float flickerSpeed = 8f;

    void Update()
    {
        // Use Perlin noise for a natural "flicker"
        float noise = Mathf.PerlinNoise(Time.time * flickerSpeed, 0f);
        torchLight.intensity = baseIntensity + (noise - 0.5f) * 2f * flickerAmount;
    }
}
Two points to remember. "Make the light a child of the player" (its Transform follows the parent, so the light follows without any movement code), and "flicker the Intensity to bring it to life" (a smooth flicker with Mathf.PerlinNoise gives that flame-like shimmer; raw random values look jittery, so use noise or interpolation). Add a Shadow Caster 2D to the walls and the shadows move with the torch, ramping up the tension of cave exploration.
Good to know first
- Add relief/shading to sprites: assign a Normal Map to a sprite and even a flat sprite shows three-dimensional shading based on light direction. Set it up with the Light 2D's
Blend Styleand the sprite's Secondary Texture. It instantly upgrades the feel of stone walls and brick. - uGUI never goes dark (it's not affected): Screen Space Overlay uGUI (HP bars, menus) is not affected by Light 2D. Darkening the scene leaves the UI as-is, so don't worry. What does go dark are sprite-based effects and particles—put those on a dedicated Sorting Layer and exclude it from
Target Sorting Layersto keep them always bright. - Light cuts off in squares / tile seams glow: when lighting a Tilemap, revisiting the tile sprite settings (Filter Mode / padding) can help.
- Mind URP version differences: the names and locations of
Renderer 2Dand various settings shift slightly across URP versions. This article is based on Unity 6. Check the official manual for your version.
Summary
- 2D Light 2D is exclusive to URP's 2D Renderer. Standard 3D lights don't light 2D sprites
- Light 2D has four types: Global, Point, Freeform, Sprite. Set the base brightness with Global first
- The darken with Global Light, then add Point Light two-layer approach is the design basis
- Cast shadows on sprites with Shadow Caster 2D (+ enabling Shadows on the light source)
- Practice: darken a cave with a Global Light, give the player a child Point Light (torch), and flicker its Intensity
Start by creating a new project with the "Universal 2D" template, place one Global Light and lower its Intensity, then add one Point Light. The screen should turn far more dramatic. What light and shadow will color your 2D game?
Further reading
- Lighting Basics (3D) — as a contrast; how 3D lights think
- Render Pipeline Basics (Built-in/URP/HDRP) — the prerequisite for switching to URP
- Mastering Sprites and Sprite Sheets — preparing the sprites you'll light
- 2D Tilemap Basics — building the 2D stage you'll light
- Unity Manual: 2D Lights — the primary source on Light 2D