"I want to paste footage from another camera onto UI or a 3D object" — minimaps, rearview mirrors, security-camera monitors, character portraits, and even the view beyond a portal. These all start from a single mechanism: the Render Texture. Draw a camera's footage into a "texture" instead of the "screen," and paste it wherever you like — think of it that way and the breadth of applications comes into view.
This article covers what a Render Texture is, the basic flow of Camera → Render Texture → RawImage / Material, building the classic top-down minimap, applying it to mirrors and security cameras, and handling the per-frame rendering cost.
What you'll learn
- What a Render Texture is (drawing camera output to a texture, not the screen)
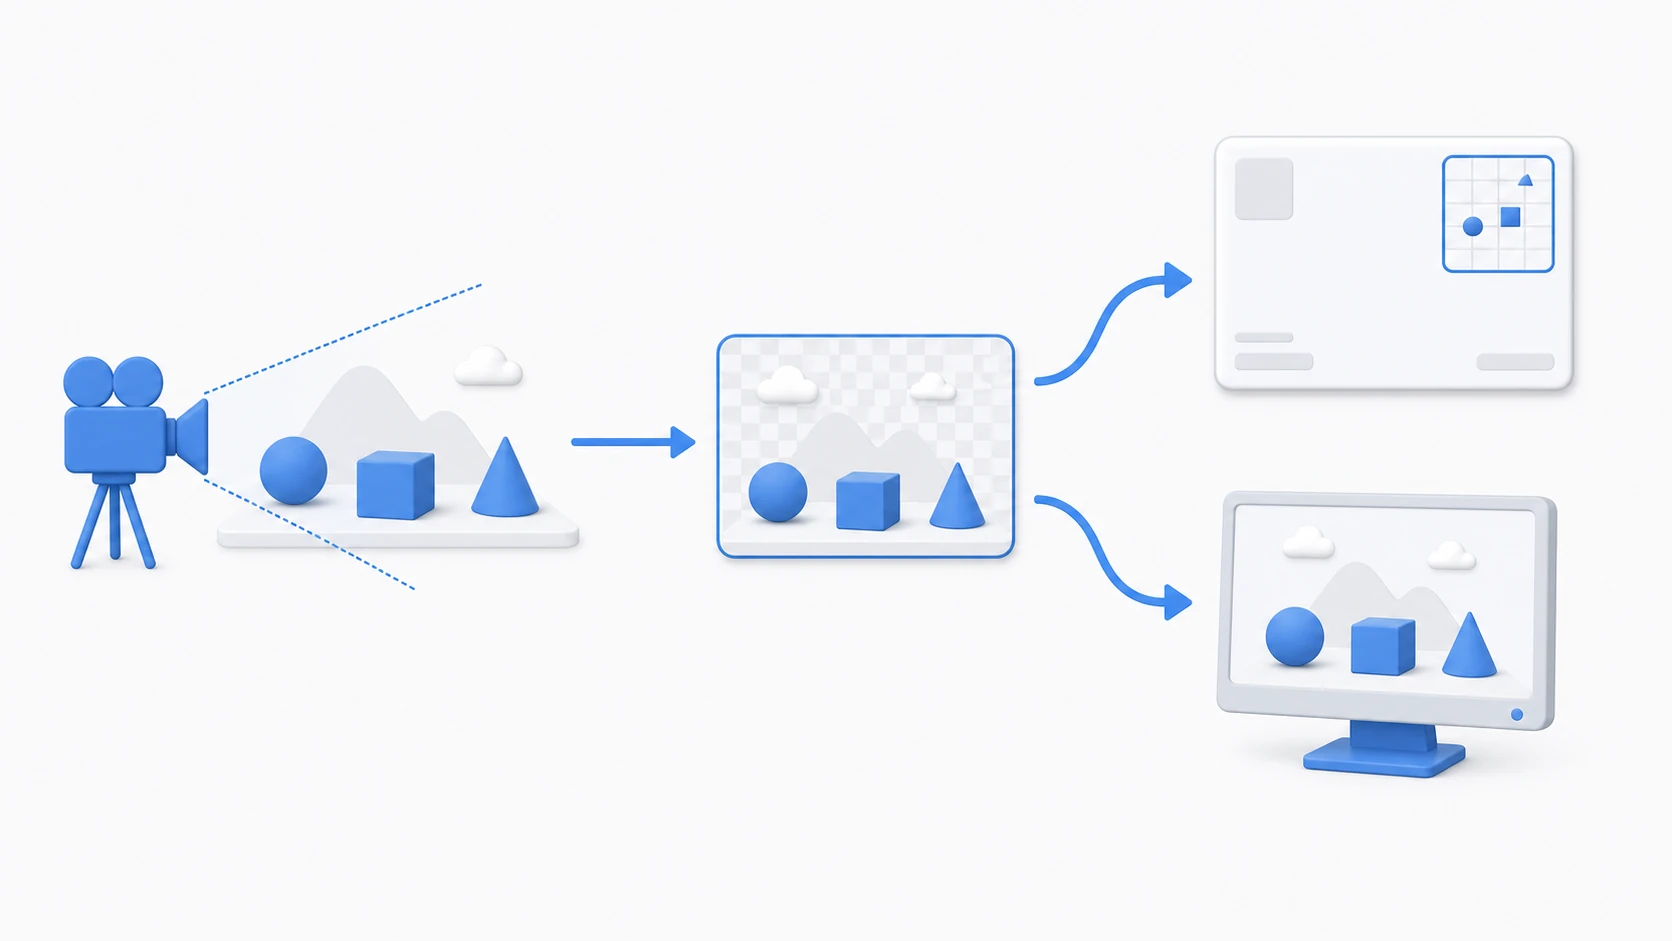
- The basic flow: Camera → Render Texture → RawImage / Material
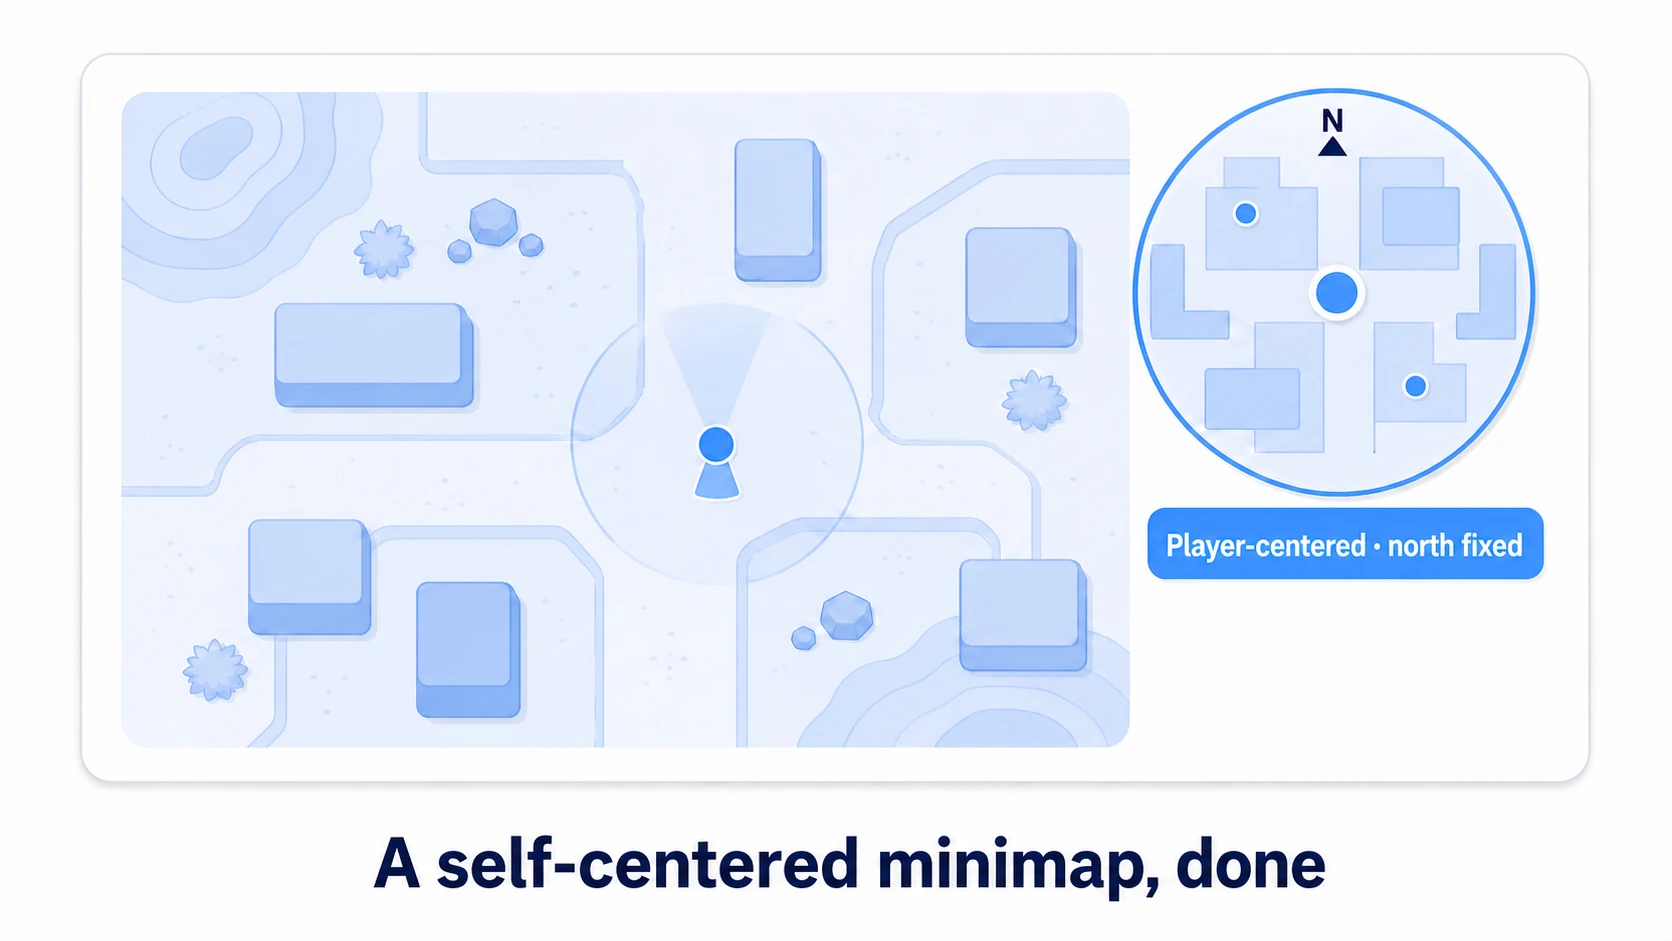
- Building a top-down minimap (follow the player, fixed north)
- Applying it to mirrors and security cameras (paste onto a Material)
- Handling the per-frame rendering cost (resolution, update frequency, disabling)
Tested on: Unity 6 (6000.x)
What a Render Texture is
Normally, a camera's footage shows on the screen (display). With a Render Texture, you can draw that footage into a texture (image asset) instead of the screen. Once it's a texture, you can freely paste it onto UI or onto the surface of a 3D object.
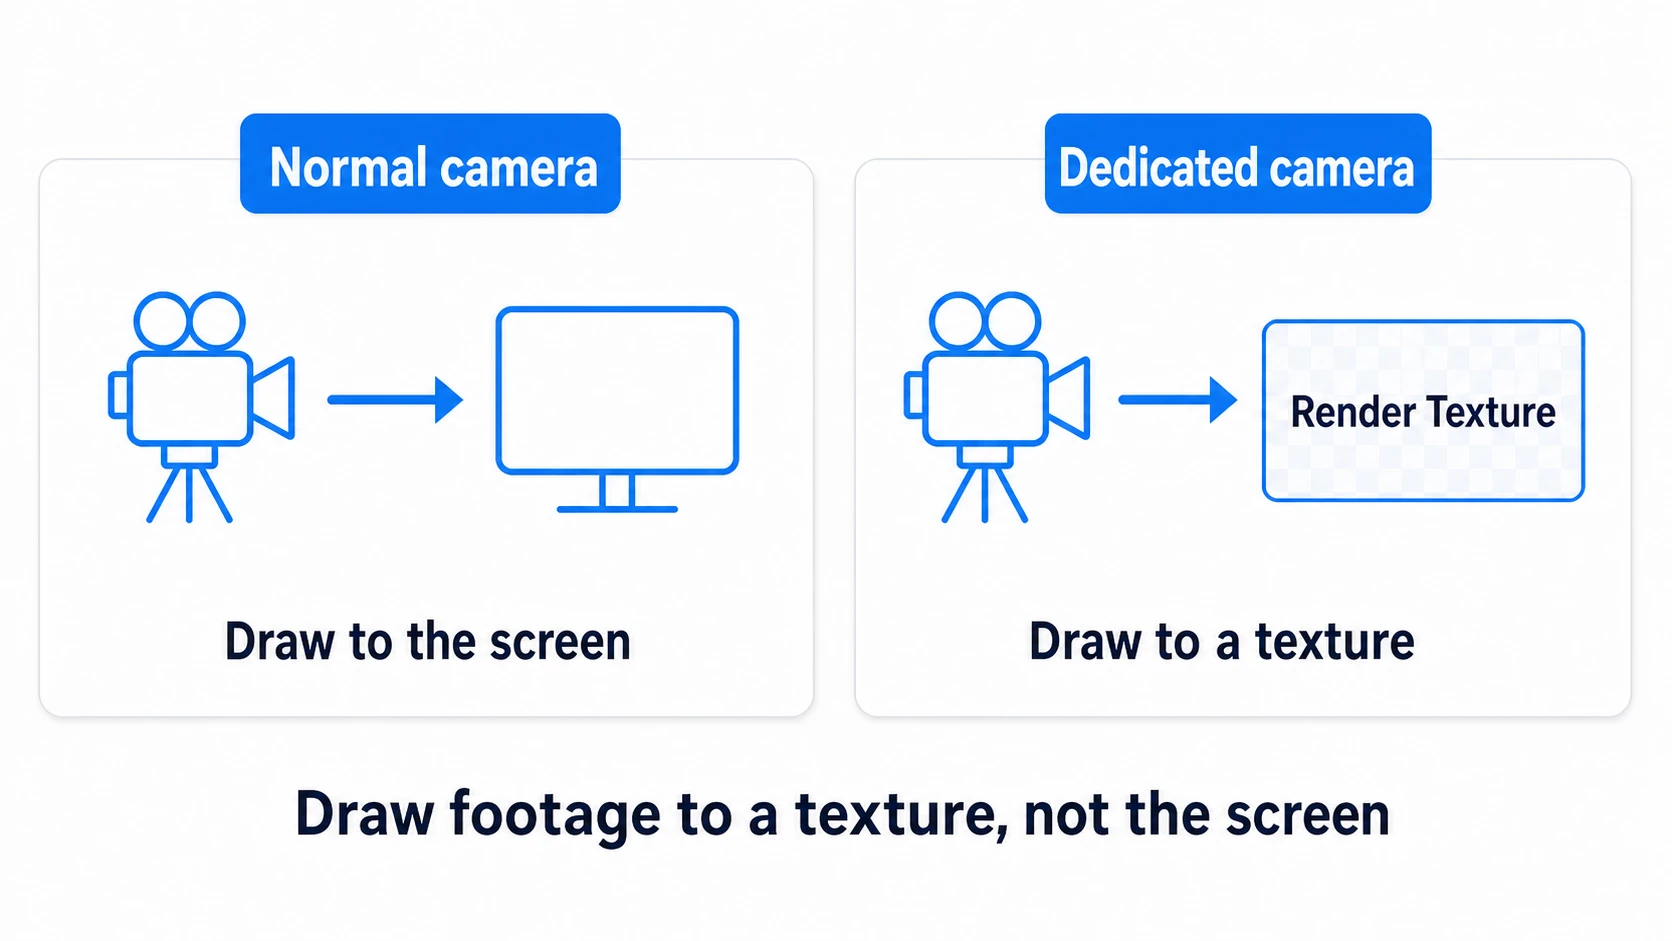
The key is to prepare a dedicated texture camera separate from the "camera that draws to the screen." The main camera keeps showing the player's view on screen as before, while the added dedicated camera draws "top-down minimap footage" or "footage reflected in a mirror" into a texture.
Right-click in the Project view → Create > Render Texture to make the asset, and assign it to the dedicated camera's Target Texture (in Unity 6 with URP, this field is Output Texture under Output in the Camera's Inspector, and it only appears on cameras whose Render Type is Base). That switches the camera's output from the screen to the texture.
The basic flow: Camera → Render Texture → display
Using a Render Texture is the same three steps for any use case.
- Create a Render Texture asset:
Create > Render Texture. Set the resolution (e.g., 256×256, 512×512) - Assign it to the dedicated camera's Target Texture: set up a camera capturing what you want to show, and set the step-1 Render Texture in its Inspector
Target Texture - Display it on the target: paste the resulting texture onto a RawImage for UI, or a Material for a 3D object
There's a critical caveat here. For UI display, use RawImage, not Image. The regular Image is Sprite-only and can't handle a Render Texture directly. RawImage pastes a Texture as-is, so use it for Render Textures.
[Minimap camera] --Target Texture--> [Render Texture] --paste--> [RawImage (UI)]
                                                       \--paste--> [Material (mirror, monitor)]
To paste onto a 3D object, create a Material, assign the Render Texture to its Base Map (Albedo in the Built-in Standard shader; or Emission), and apply it to the mirror or monitor mesh.
Practice: build a top-down minimap
The most classic use of a Render Texture is the minimap. An RPG overview map, a TPS surrounding radar, a strategy game's situation display — all built with this setup.
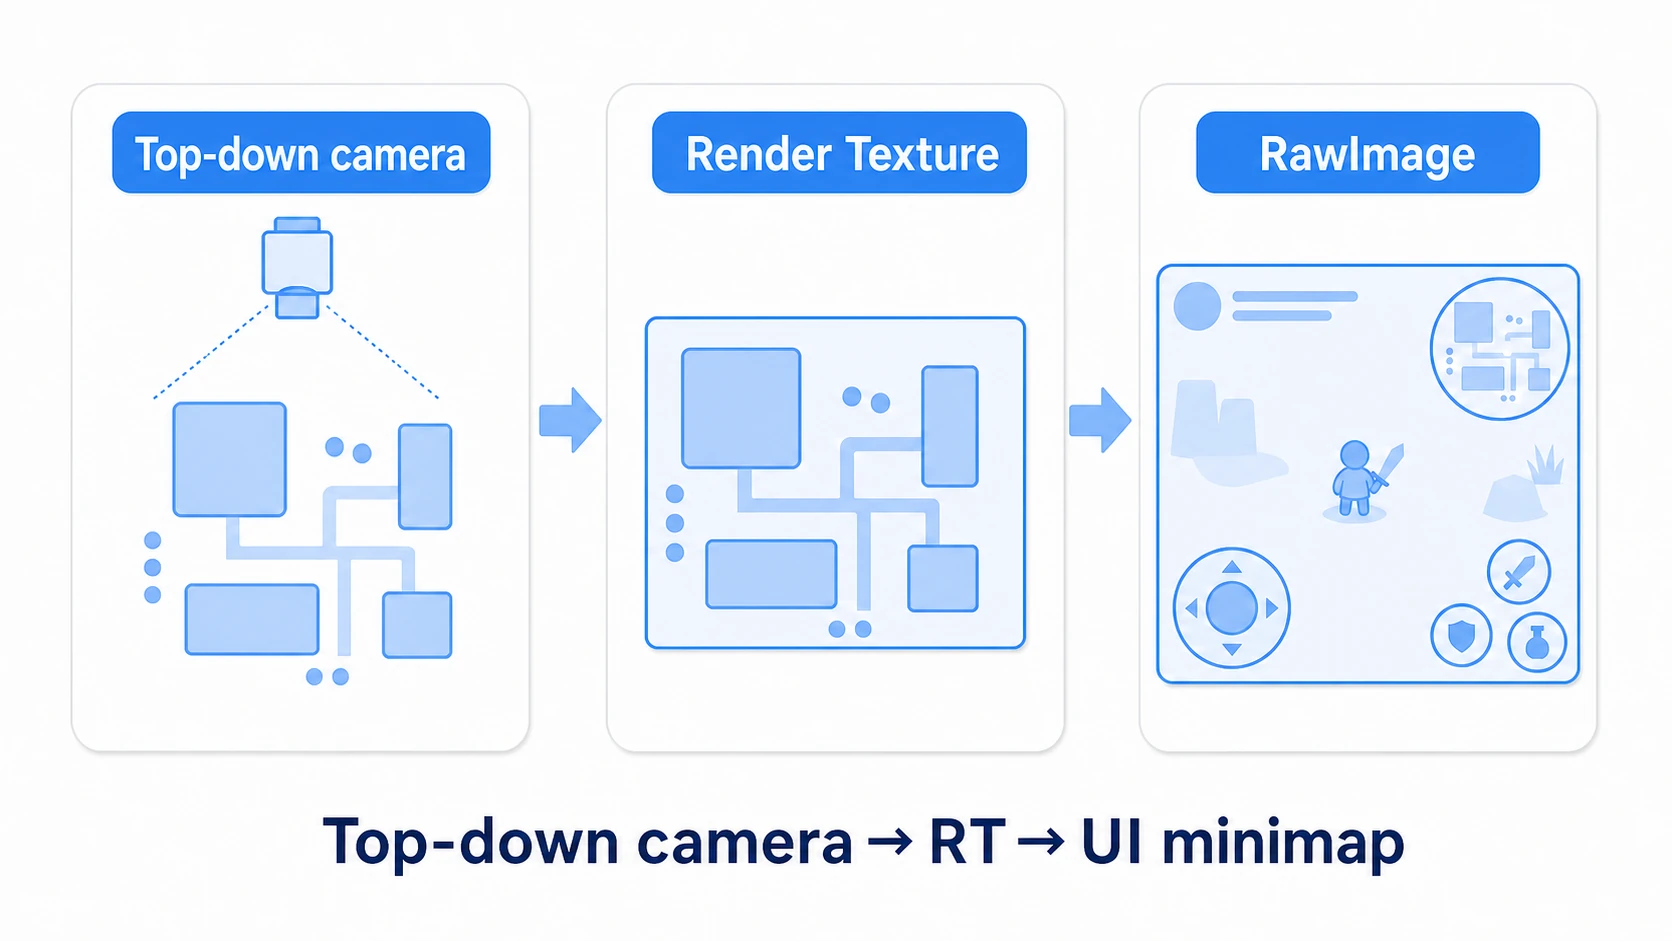
The build is simple. Place a top-down camera directly above the player and show its footage on a RawImage via a Render Texture.
- Add a top-down camera: place it directly above the player and set its
RotationX to 90 degrees to face straight down. SettingProjectiontoOrthographicgives a map-like look with no perspective - Assign a Render Texture: set a Render Texture in this camera's
Target Texture - Display on a RawImage: place a RawImage on the Canvas, assign the Render Texture to its
Texture, and position it in a screen corner - Follow the player: make the camera a child of the player, or follow just its position via script (not following rotation gives a "fixed north" map)
using UnityEngine;

// Follow the minimap camera directly above the player (orientation fixed)
public class MinimapCamera : MonoBehaviour
{
    [SerializeField] private Transform player;
    [SerializeField] private float height = 20f; // Height above the player's head

    void LateUpdate()
    {
        if (player == null) return; // Do nothing if the player is unassigned or destroyed

        // Stay exactly height above the player (don't change rotation = north always up)
        Vector3 pos = player.position;
        pos.y += height;
        transform.position = pos;
    }
}
Two points: "don't follow rotation" (match only the position to the player and keep the camera's orientation fixed for an easy-to-read "north always up" map; there's a type that rotates with the player, but fixed is simpler to start) and "Orthographic for a map look" (parallel projection gives the top-down map look; adjust Size for the map's display range). The player icon is just a small image overlaid at the center of the RawImage. Overlay enemy and item icons too by converting world coordinates to minimap coordinates, and you get a proper radar.
Applying it to mirrors and security cameras
A Render Texture pastes not only onto UI but also onto the surface of a 3D object. This lets you make mirrors and security monitors.
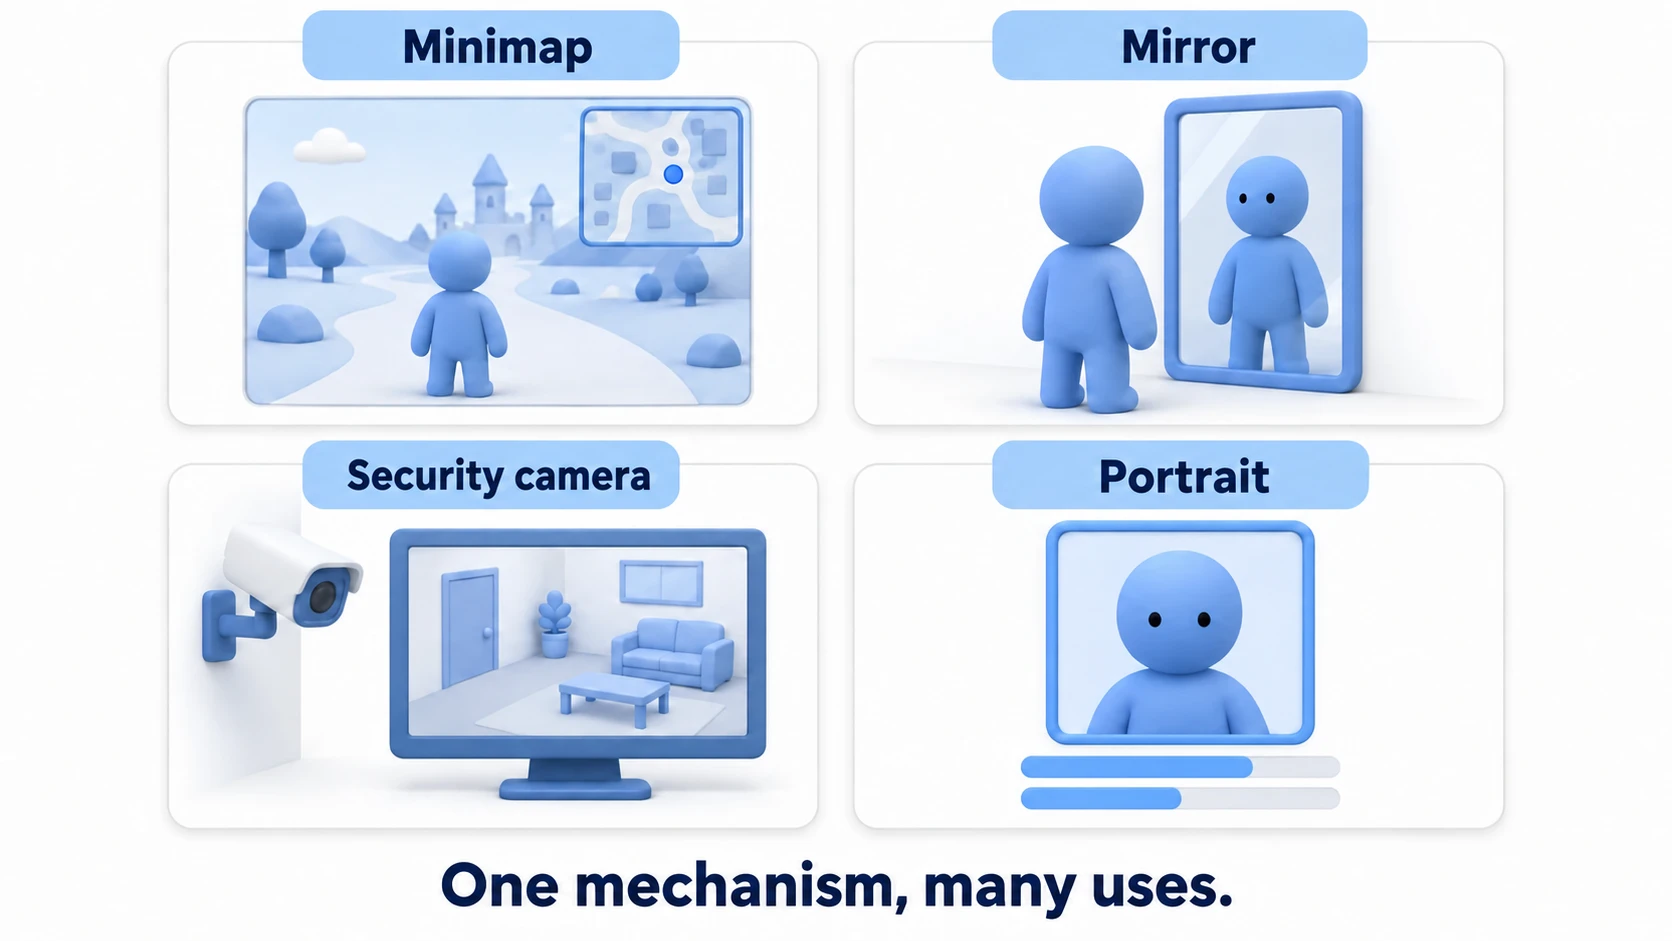
- Mirror: place a camera at a position symmetric to the mirror surface and paste its footage onto the mirror's Material via a Render Texture. The reflection moves as the player moves (left and right aren't flipped as-is, so set the mirror Material's Tiling X to -1 and Offset X to 1 to flip it)
- Security camera: set a camera in another room and paste its footage onto a monitor screen (Quad) Material. A classic surveillance-monitor effect for horror games
- Character portrait: set up a camera that shows only the character and display it as a portrait in a dialogue UI or status screen. Turn a 3D model directly into an icon
- Portal: paste footage from a camera showing the far side of an exit onto the portal surface for a "hole you can peer through"
The mechanism is the same for all — "dedicated camera → Render Texture → target." The only difference is whether the target is a UI RawImage or a 3D object's Material.
Performance: the per-frame rendering cost
Render Textures are powerful, but a dedicated camera renders the scene again every frame, which costs accordingly. Think of the rendering cost as growing by whatever that camera draws (culling, draw calls, pixels). It's not negligible, especially on mobile.
- Lower the resolution: minimaps and monitors display small, so a low Render Texture resolution is plenty (256×256, etc.). Don't reach for 1024×1024 needlessly
- Reduce update frequency: if per-frame rendering isn't needed, toggle
camera.enabledto render once every few frames. A security camera lagging a few frames is hard to notice - Disable when not needed: while the minimap is closed or the monitor is off-screen, disable the dedicated camera to stop rendering
- Narrow what it renders: use the minimap camera's
Culling Maskto render only terrain and icons — fewer things to draw runs lighter
If performance concerns you, check the camera's rendering cost with the Profiler. From a draw call standpoint too, narrowing what's shown helps.
Good to know first
- UI is RawImage, not Image: I'll stress it as many times as needed — display a Render Texture with
RawImage. Trying to paste it onto anImageand puzzling over "it doesn't show" is a classic stumble. - URP/HDRP differences: the basic mechanism is shared, but URP handles camera
Base/Overlayand the locations of some settings differently. This article covers the basics that apply to both Built-in and URP. - Circular minimap mask: to cut a RawImage into a circle, use a circular mask image or combine a
Maskcomponent. It works square, but going circular instantly makes it feel like game UI. - Render Texture format: if you need transparency, choose an alpha-capable format for the Render Texture's
Color Format. Used when you want a transparent portrait background, etc.
Summary
- A Render Texture is an asset that draws camera output into a texture instead of the screen
- The basic flow is dedicated camera's Target Texture → Render Texture → RawImage (UI) or Material (3D)
- For UI display, use
RawImage, notImage - The classic minimap is a top-down Orthographic camera + position following (fixed rotation)
- Mirrors, security cameras, portraits, and portals are all applications of the same "camera → RT → target"
- A dedicated camera means per-frame rendering = cost. Rein it in with resolution, update frequency, disabling, and Culling Mask
Start by adding one top-down camera and showing its footage on a RawImage. The moment a map of your surroundings appears in a screen corner, you'll feel how broadly Render Textures apply. What "second viewpoint" will your game show?
Further reading
- Cinemachine Basics — follow cameras; also applicable to minimap camera following
- Canvas, RectTransform, and Anchors — positioning the RawImage in a screen corner
- Profiler Basics — measuring the camera's rendering cost
- Draw Calls and Batching — reducing what's shown to run lighter
- Unity Manual: Render Texture — the primary source on Render Textures