"I want to add versus or co-op play" — multiplayer is exciting, but it comes with difficulties that are fundamentally different from single-player. The game runs on a separate machine for each player, and every time someone moves, the game must keep everyone's screen showing the same synchronized world.
The thing that takes on all this complex communication and synchronization is a networking solution, and Unity's current official one is Netcode for GameObjects (the successor to the old UNet; third-party options like Photon are also well known). Because it integrates with your usual GameObject-and-component workflow, it's relatively easy to get started with.
What You'll Learn
- The foundation of multiplayer — the server authority mindset
- The roles of NetworkManager, NetworkObject, and NetworkTransform
- Syncing variables — NetworkVariable<T>
- Requesting execution — RPCs (ServerRpc / ClientRpc)
- Practical: building a minimal two-player setup you can move around in
Tested with: Unity 6 (6000.x), Netcode for GameObjects 2.x
Server and Client
The first thing multiplayer needs is a decider for whose word counts as the truth. If every player's device could freely claim "my attack landed" or "I took no damage," the world's consistency would fall apart.
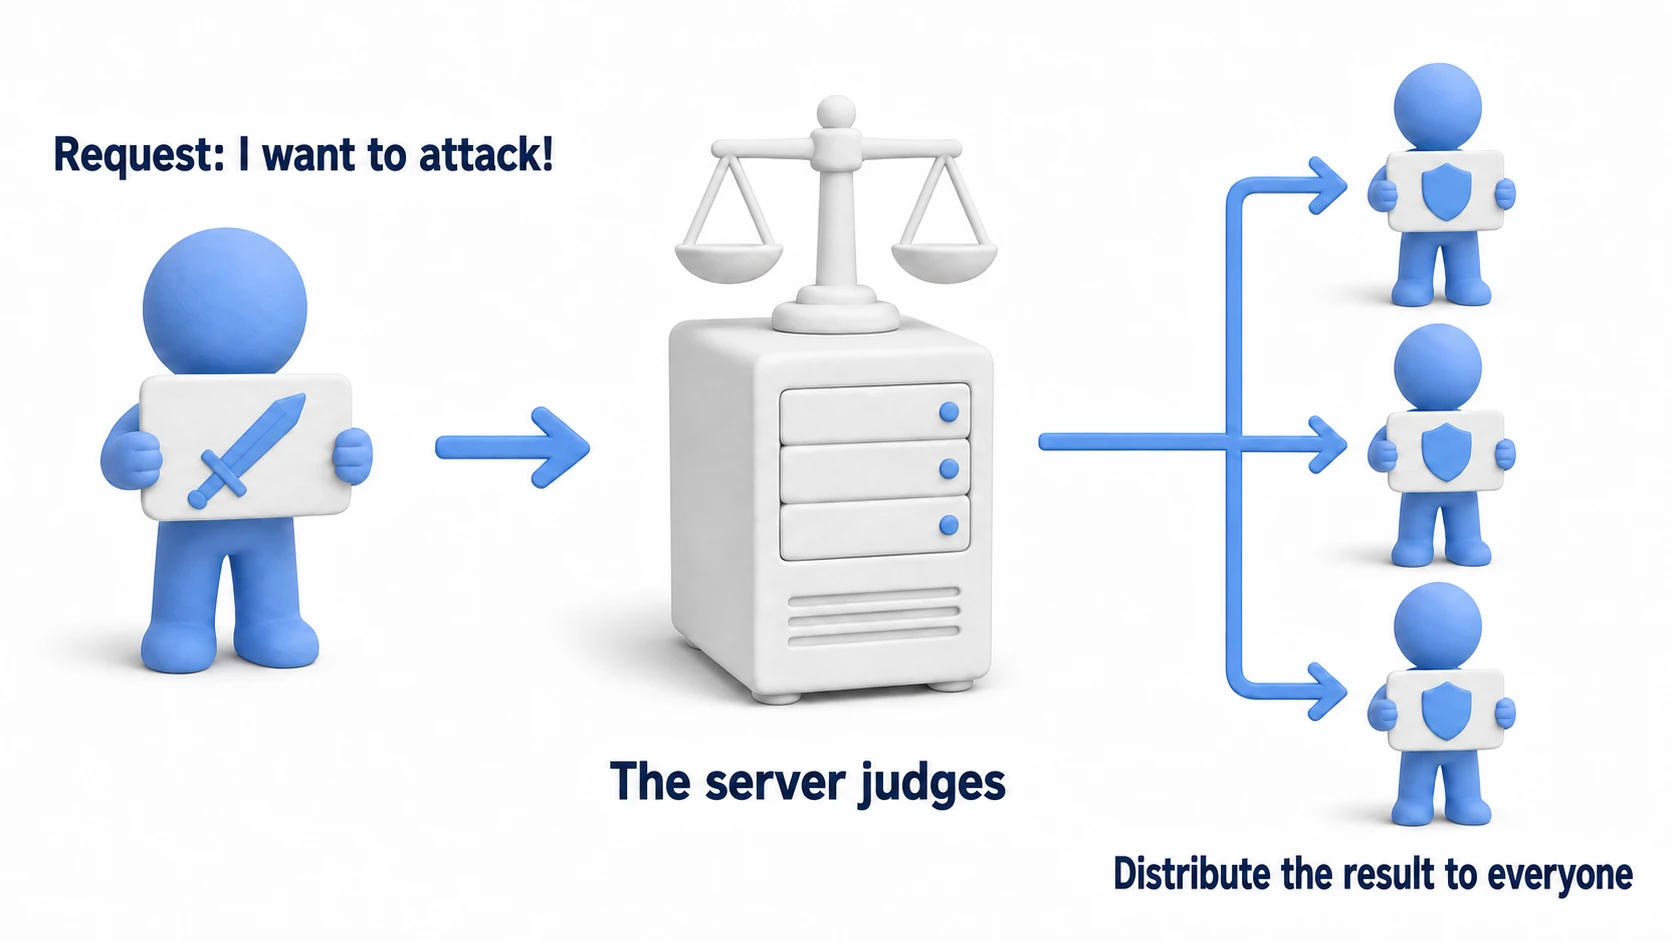
So the authority over game state is held entirely by the Server, and each player connects as a Client and abides by its decisions — this is Server Authority. Clients only send a request like "I want to attack"; whether it actually hits is decided by the server. It's the standard architecture for preventing cheating and keeping state consistent.
Netcode for GameObjects has three startup modes:
- Server: Server only. Dedicated to running the game (a dedicated server setup).
- Client: The side that connects to a server to play.
- Host: Server and client rolled into one — one of the players also acts as the server. This is the most common setup for small games and for testing during development.
NetworkManager and the Transport Layer
The central component is the NetworkManager. It's a singleton responsible for session management, connections, and spawning network objects, and you place exactly one in your scene.
The actual sending and receiving of data is handled by the Transport layer. The standard Unity Transport covers everything from local development to relay connections.
NetworkObject and NetworkTransform
- NetworkObject: Attach it to any object you want synchronized over the network (players, enemies, moving platforms). It gets an ID that is unique across the entire network and becomes managed for synchronization.
- NetworkTransform: Add it when you want position, rotation, and scale synced automatically. The default is server authority (Authority Mode: Server)—movement done on the server is distributed to every client. For objects the owning client should move directly, like the player, switch Authority Mode to
Ownerin the Inspector (we'll use this in the practical section).
The basic setup for a synchronized object is: "attach NetworkObject + NetworkTransform to a prefab, then register it in the NetworkManager's Prefabs list."
NetworkVariable: Syncing Values
For syncing values like health, score, or ammo count, use NetworkVariable<T>.
using Unity.Netcode;
using UnityEngine;

public class PlayerHealth : NetworkBehaviour
{
    // Health variable only the server can write (everyone can read)
    public NetworkVariable<int> CurrentHealth = new NetworkVariable<int>(
        100, NetworkVariableReadPermission.Everyone, NetworkVariableWritePermission.Server);

    public override void OnNetworkSpawn()
    {
        // Called the moment the value changes (great for client-side UI updates)
        CurrentHealth.OnValueChanged += OnHealthChanged;
    }

    public override void OnNetworkDespawn()
    {
        // Stop listening when despawned (so a reused object doesn't get called twice)
        CurrentHealth.OnValueChanged -= OnHealthChanged;
    }

    private void OnHealthChanged(int previousValue, int newValue)
    {
        Debug.Log($"Health: {previousValue} -> {newValue}");
        // Update the health bar UI, etc.
    }

    // Damage logic that runs only on the server
    public void TakeDamage(int amount)
    {
        if (!IsServer) return; // Do nothing unless we're the server

        CurrentHealth.Value -= amount; // Writing it auto-syncs to all clients
    }
}
The server just writes to .Value and the change syncs to all clients automatically; the receiving side detects it via OnValueChanged. "The server writes, clients subscribe" is the basic shape of a NetworkVariable.
RPC (Remote Procedure Call)
Rather than syncing a value, an RPC is a request that says "run this code on the other machine."
[ServerRpc]: A request from a client to the server. Used to pass input like "the attack button was pressed" up to the server.[ClientRpc]: A command from the server to all clients. Used for things that should happen on everyone's screen at the same time — playing effects, sounds, and so on.
using Unity.Netcode;
using UnityEngine;

public class PlayerActions : NetworkBehaviour
{
    // Client side: called when the attack button is pressed
    public void RequestAttack()
    {
        AttackServerRpc(); // Ask the server to execute it
    }

    [ServerRpc] // Client -> Server
    private void AttackServerRpc()
    {
        // This runs only on the server. "Judging" logic like hit detection goes here
        bool hit = CheckHit();

        if (hit)
        {
            PlayHitEffectClientRpc(); // Broadcast the visual result to everyone
        }
    }

    [ClientRpc] // Server -> All clients
    private void PlayHitEffectClientRpc()
    {
        // This runs on every client. Play effects, sound effects, etc.
    }

    private bool CheckHit() => true; // In practice, judge with a Raycast or similar
}
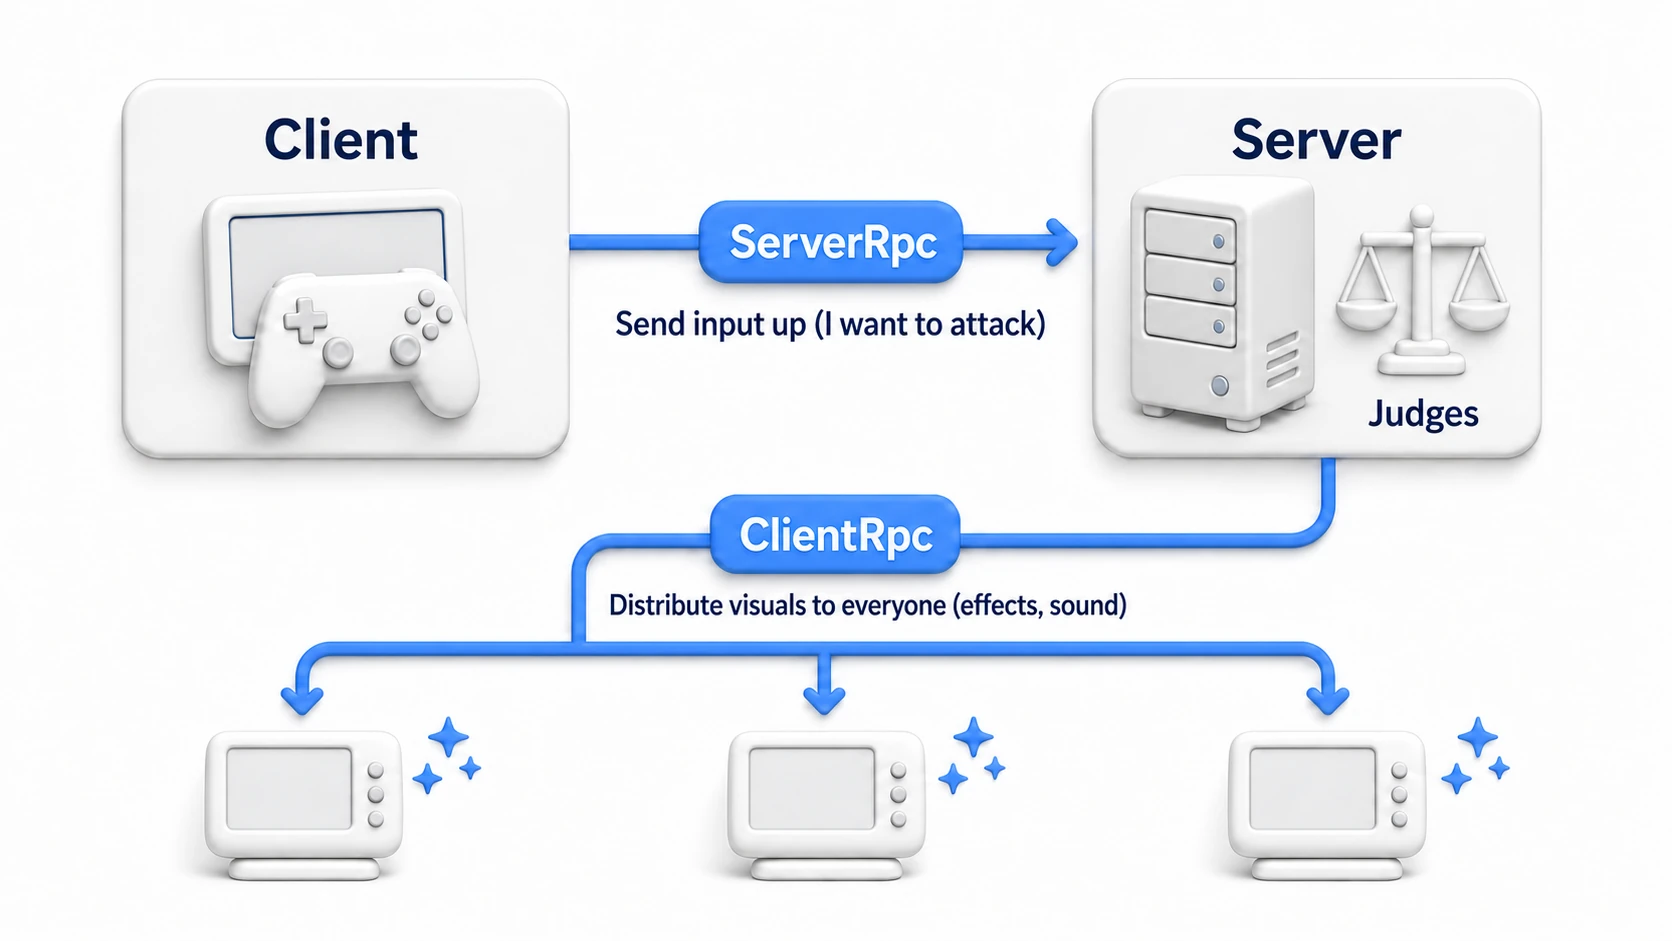
To sum up the flow in one line: send input up with a ServerRpc, judge it on the server, and broadcast the visuals with a ClientRpc. This round trip is the fundamental pattern of server authority.
Practical: Building a Minimal Two-Player Setup
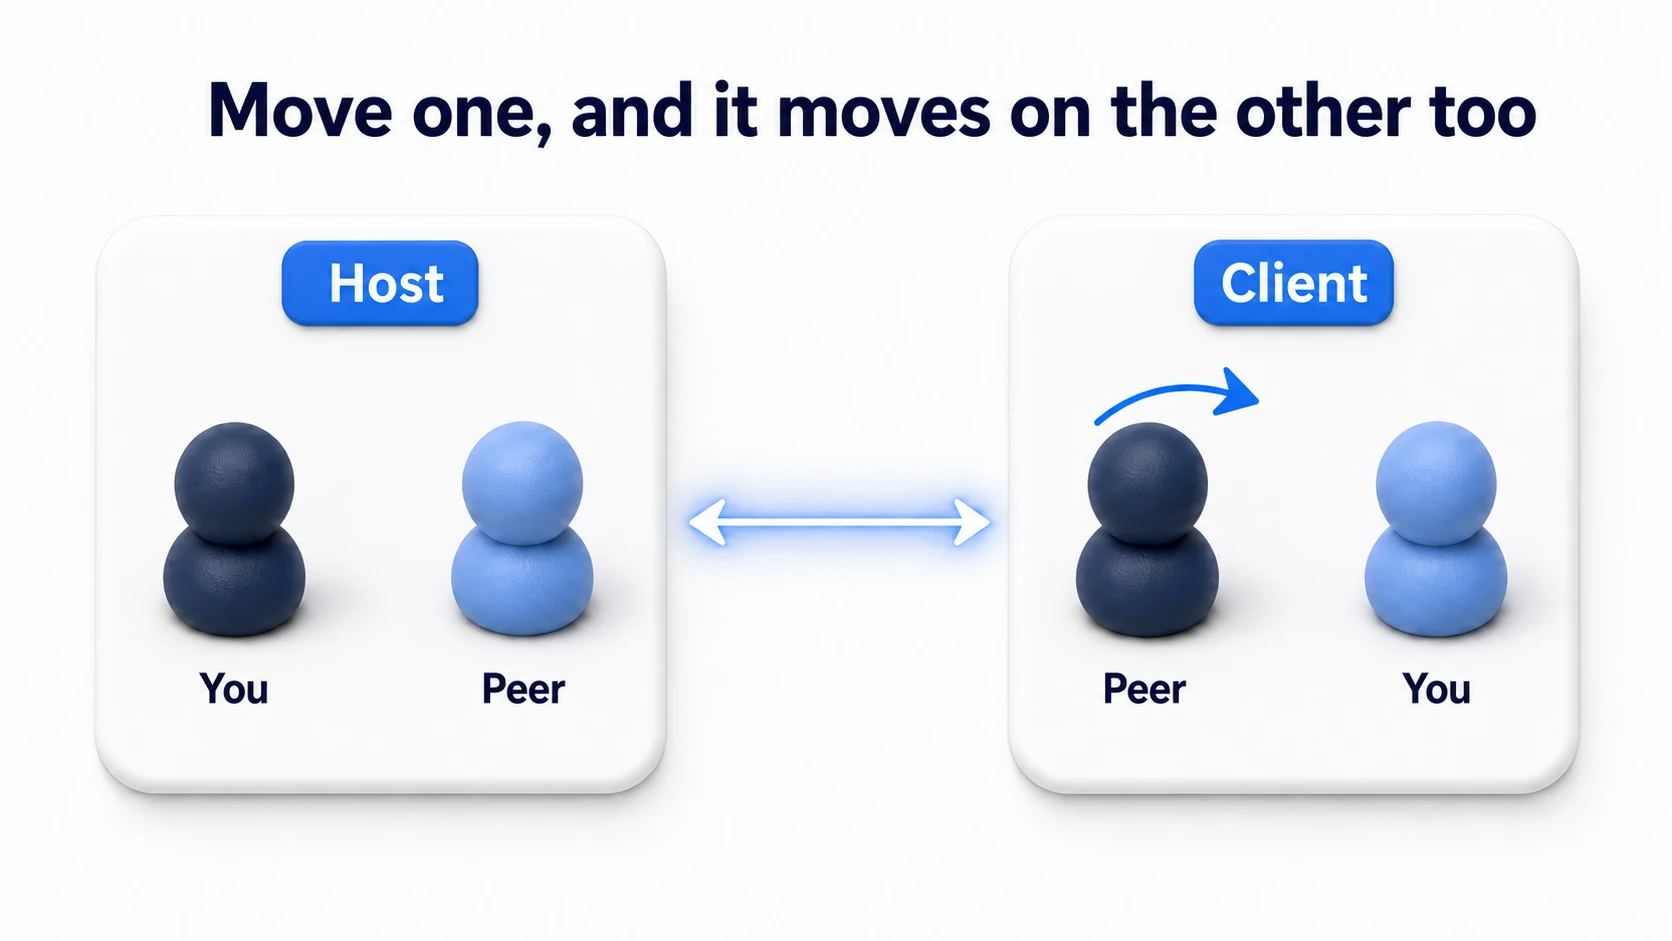
Two-player co-op puzzles, 1v1 versus action, a social game's lobby — every multiplayer game starts the same way: "two windows, each showing the other's character move." With just the pieces from this article, let's build that minimal setup.
Preparing the scene:
- Install "Netcode for GameObjects" from the Package Manager and add a
NetworkManagerto an empty GameObject (chooseUnity Transportfor the Transport) - Create a player prefab and add a
NetworkObjectandNetworkTransform. Switch the NetworkTransform's Authority Mode toOwner(the player is moved directly by its owning client) - Set this prefab in the
NetworkManager's Default Player Prefab field — now a player is spawned automatically for each person who connects
The movement script — this is where the all-important IsOwner appears.
using Unity.Netcode;
using UnityEngine;

public class NetworkPlayerMove : NetworkBehaviour
{
    [SerializeField] private float speed = 5f;

    void Update()
    {
        // Only move the character you own.
        // Without this, key input would move "everyone's" character
        if (!IsOwner) return;
        // Note: this code only works when the NetworkTransform's Authority Mode is Owner

        float h = Input.GetAxis("Horizontal");
        float v = Input.GetAxis("Vertical");
        transform.Translate(new Vector3(h, 0, v) * speed * Time.deltaTime);
    }
}
Input.GetAxis is the old Input Manager API. It works when Active Input Handling in Player Settings is Input Manager (Old) or Both.
Don't forget Authority Mode:
NetworkTransformdefaults to server authority. Left as-is, a non-host client moving itstransformhits the classic trap of being overwritten by the server's values—unable to move, or not syncing. UseOwnerauthority for things the owner moves directly (like the player prefab), and keepServerauthority for things the server moves (enemies, NPCs, moving platforms). Netcode 1.x has no Authority Mode field; the equivalent there was the well-knownClientNetworkTransform—a subclass ofNetworkTransformwhoseOnIsServerAuthoritative()returnsfalse.
Testing it: In Unity 6, install the "Multiplayer Play Mode" package from the Package Manager and, before entering Play mode, enable one virtual player via "Window > Multiplayer > Multiplayer Play Mode." In Play mode, start the Host with Start Host at the bottom of one NetworkManager's Inspector and start the Client with Start Client on the other (these buttons exist only in the editor during Play mode, not in a build). Move the character in one window, and the same character moves in the other window too — that's your first multiplayer.
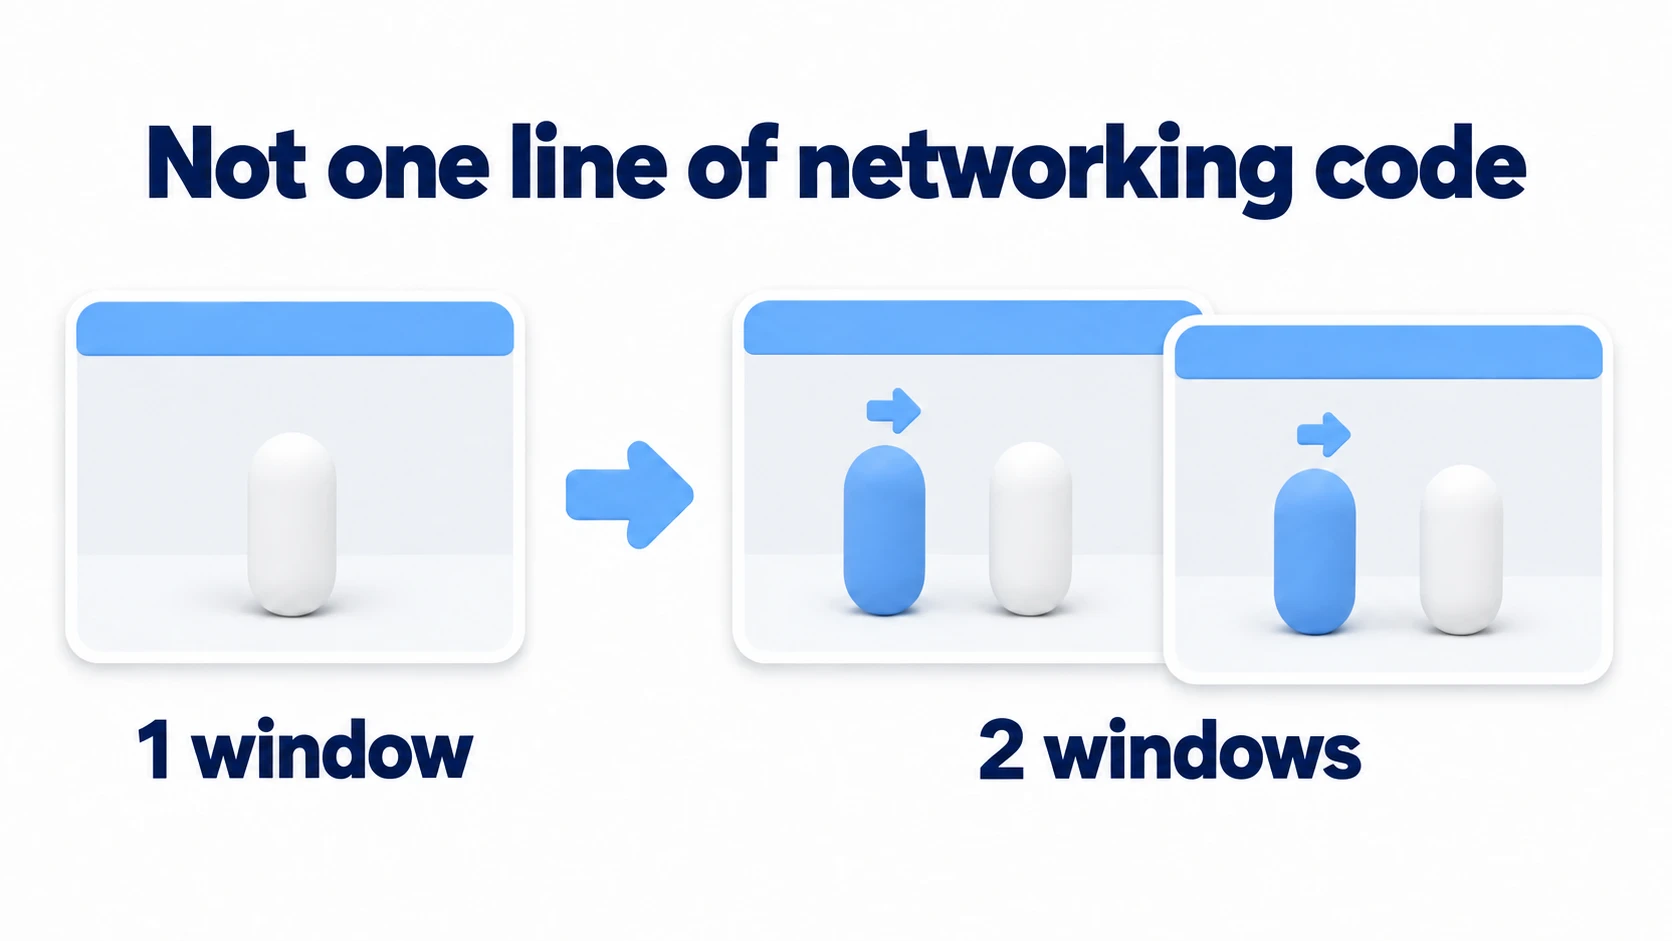
There are two key points. "Always check IsOwner at the entry point of your controls" (multiplayer code constantly asks "whose machine, and whose character, is this code running for?" Forgetting IsOwner is the classic bug where everyone moves at once) and "Leave syncing to NetworkTransform and just write the input" (notice you didn't write a single line of code to send the position). From here, add the pieces from the main article — health syncing (NetworkVariable) and attacks (RPCs).
Bonus: Good to Know for Later
- Multiplayer Play Mode: In Unity 6 you can use the official "Multiplayer Play Mode" package to test multiple players from a single editor. Being able to test Host + Client without building makes a huge difference to development speed.
- The new [Rpc] attribute: Recent versions of Netcode also introduce a unified attribute form:
[Rpc(SendTo.Server)]/[Rpc(SendTo.ClientsAndHost)]. The ServerRpc/ClientRpc in this article still work as-is, but if you see the new form in current docs or samples, read it as serving the same role. One catch:[ServerRpc]is owner-only by default, but[Rpc(SendTo.Server)]lets anyone call it by default. When you switch, addInvokePermission = RpcInvokePermission.Owner(NGO 2.7 and later). - Connecting over the internet: Connecting directly through home routers is difficult, so for real online play the standard setup combines Unity Gaming Services Relay (for relaying traffic) and Lobby (for finding rooms); see playing with friends over the internet with NGO, Relay, and Lobby.
- Hide lag with design: Communication always has latency. Techniques that keep players from feeling it — like "client prediction," where the client moves first and shows the result immediately — are the next step toward serious multiplayer.
- Couch play on one machine needs no network: local multiplayer that splits one screen between two players is covered in split-screen local multiplayer
Summary
- The foundation of multiplayer is Server Authority: the server decides, clients send requests.
- NetworkManager manages the session, NetworkObject marks what gets synchronized, and NetworkTransform auto-syncs transforms.
- Sync values with
NetworkVariable<T>(the server writes, clients subscribe). - Request execution with RPCs — send input up with
[ServerRpc], distribute presentation with[ClientRpc]. - Always guard the entry point of your control code with
IsOwner, and leave syncing to NetworkTransform (set the player prefab to Authority Mode: Owner).
Networking is a deep field, but with these four points plus the minimal practical setup down, it's a straight shot to a first prototype. That thrill of seeing your characters move on each other's screens — when will that moment come for your game?