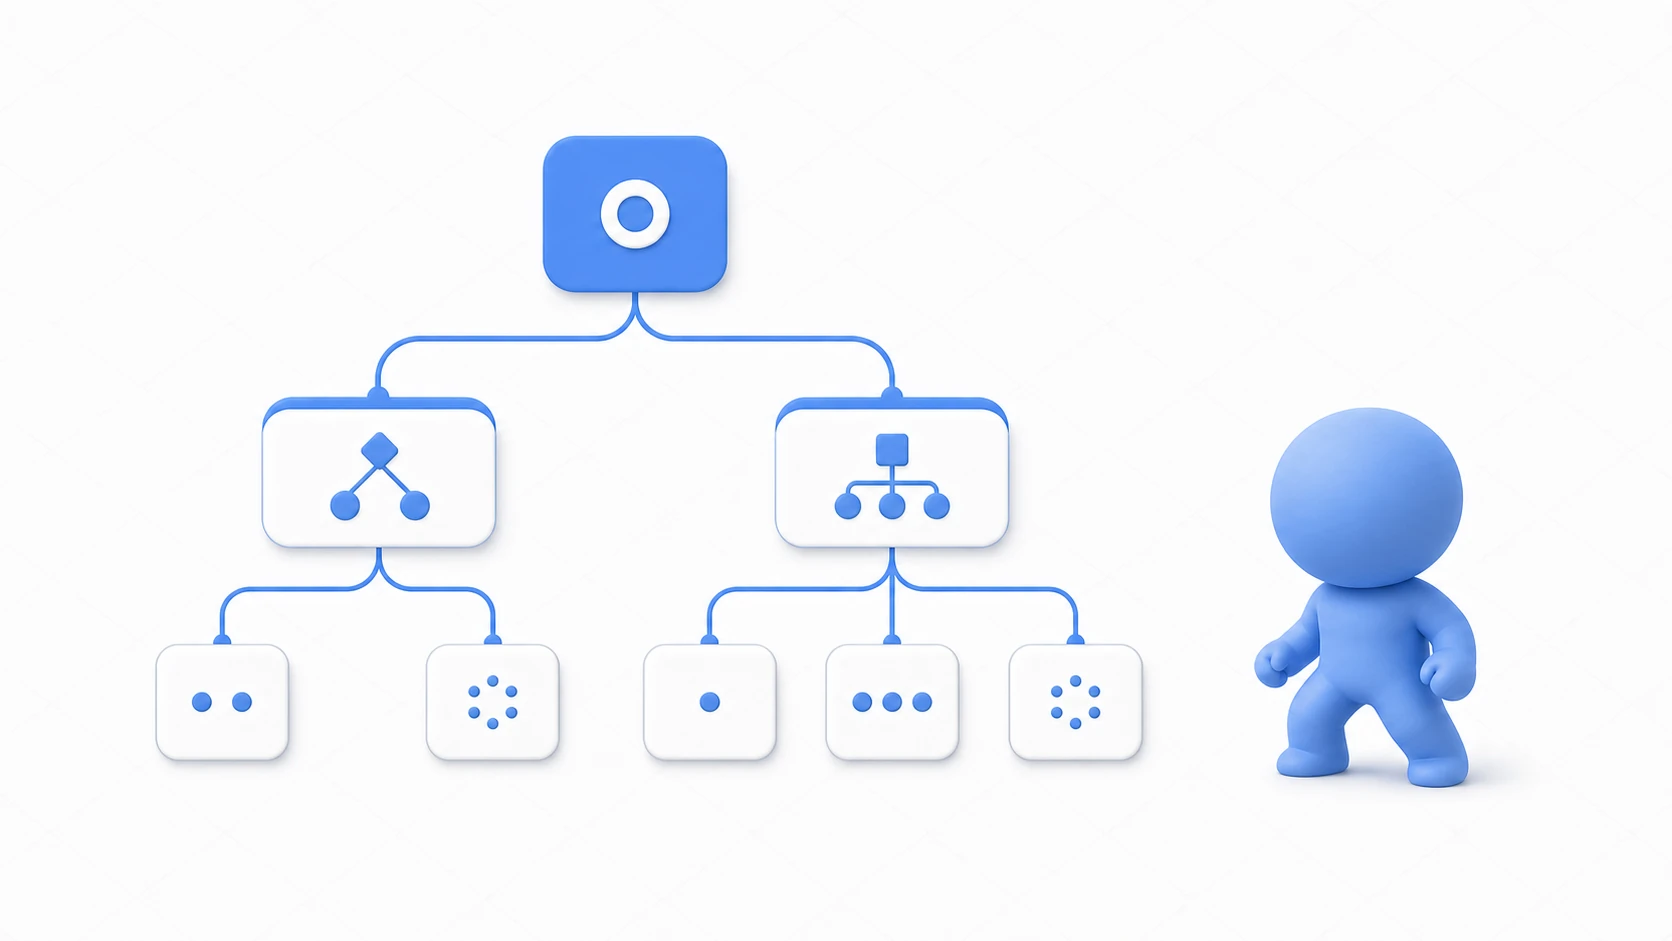
The first implementation that sends an enemy after the player is usually code that moves transform.position straight toward them. And the first bug arrives just as fast— the enemy gets stuck on a wall, staring at you from the other side.
Finding the shortest route to a destination while avoiding walls and obstacles on its own—this is pathfinding, and Unity's standard feature for it is NavMesh (navigation mesh). This article walks through everything from baking a NavMesh to chase AI and the practical patrol-detect-chase-search pattern.
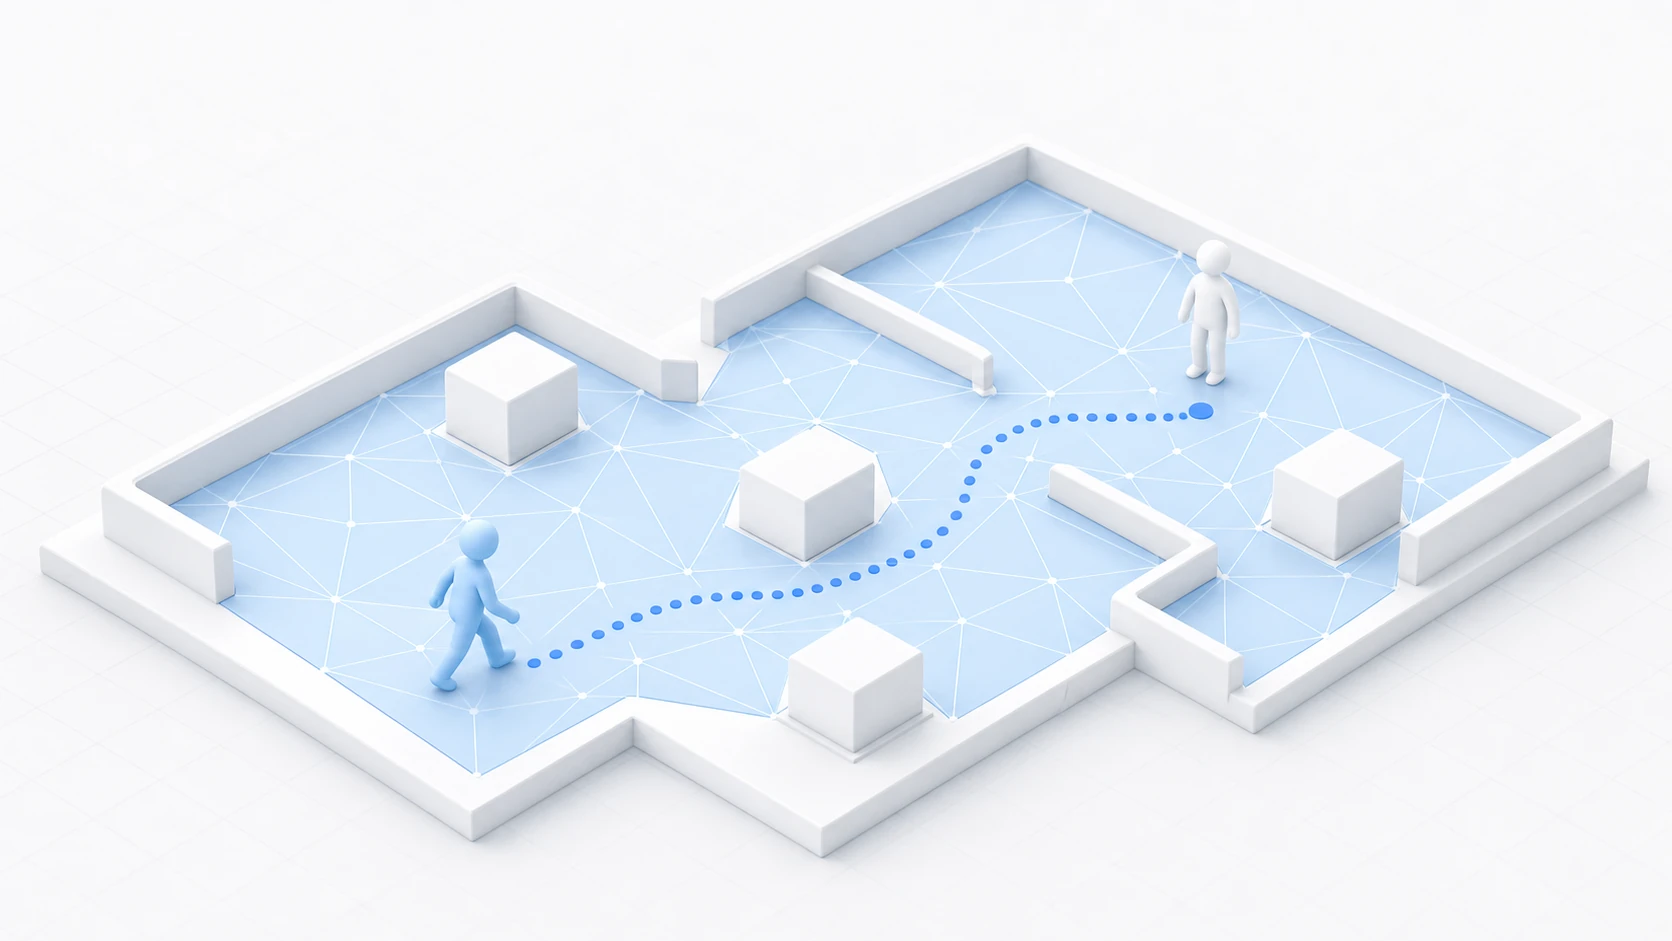
What You'll Learn
- The three players of the NavMesh system: NavMesh / NavMesh Agent / NavMesh Obstacle
- Baking with NavMeshSurface (the current Unity 6 workflow)
- Chase AI that works with just
SetDestination()- Patrol, detect, chase, search—assembling an enemy AI that doesn't give up the moment it loses you
- Arrival checks with
remainingDistance, and the three gauges to read when nothing moves
Tested with: Unity 6 (6000.x) / AI Navigation 2.x
The Three Players of the NavMesh System
The NavMesh system has three cast members. The quickest way to remember them is "the map," "the traveler," and "the roadblock."
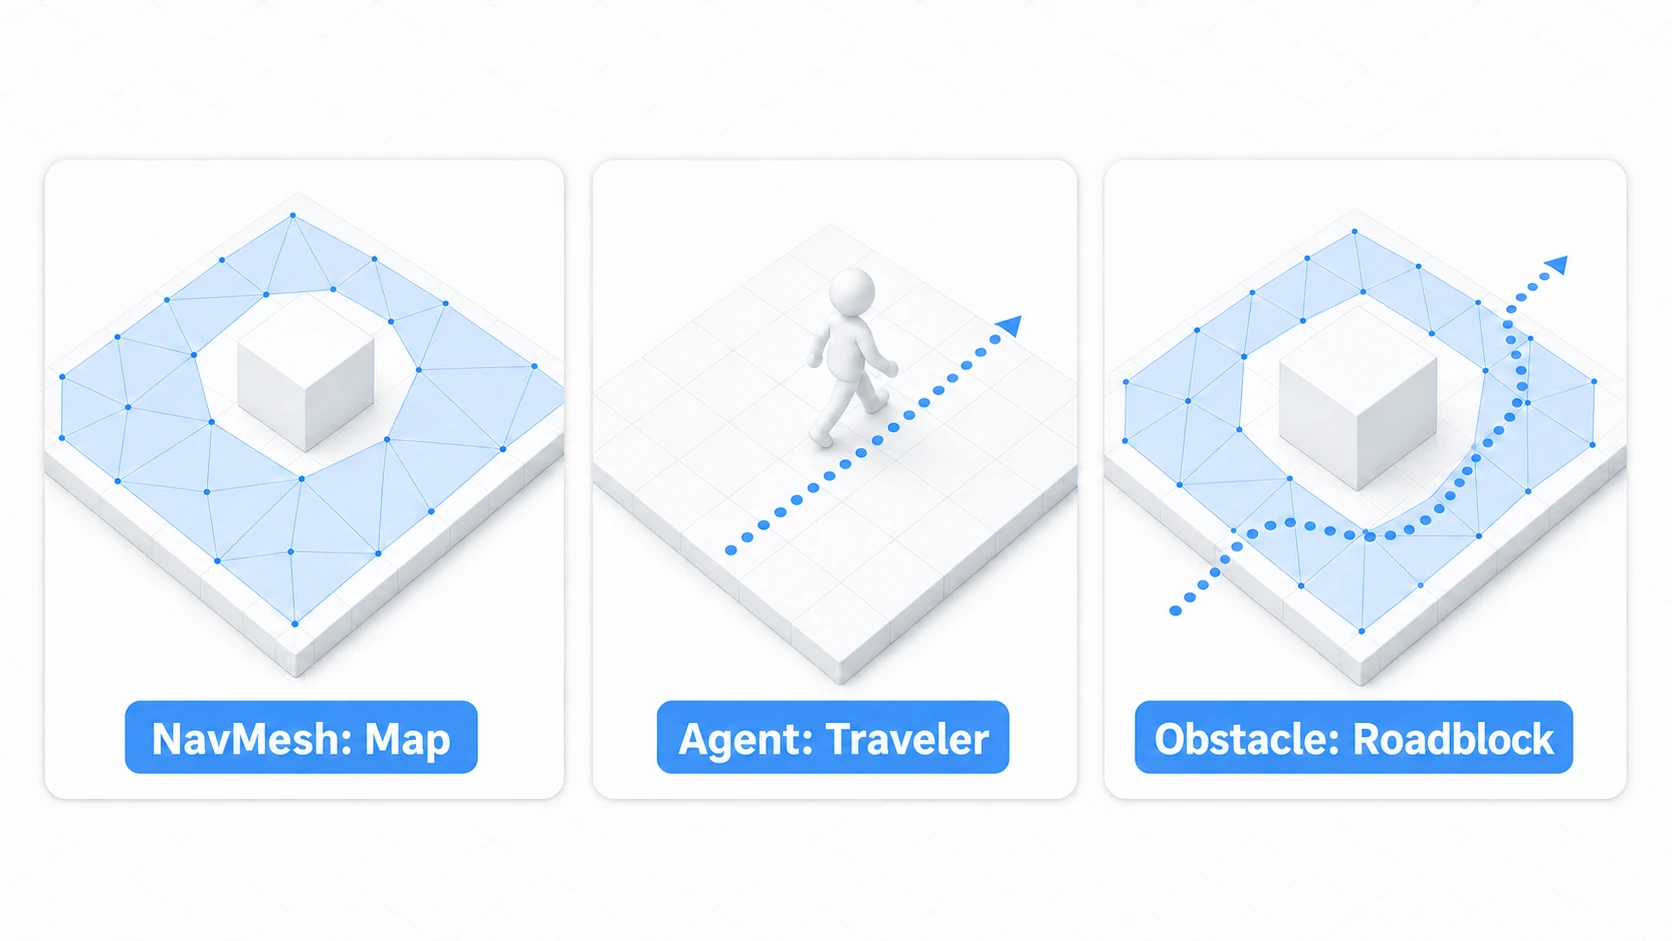
- NavMesh (the map): A polygonal mesh marking the areas the AI can walk on. It is generated (baked) automatically from your scene geometry.
- NavMesh Agent (the traveler): The component that gives a character the ability to move on the NavMesh. Hand it a destination and it handles path calculation, movement, and even collision avoidance with other agents.
- NavMesh Obstacle (the roadblock): A component for dynamic obstacles. Attach it to things like closed doors or fallen pillars, and agents will route around them.
Step 1: Bake the NavMesh (NavMeshSurface)
In current Unity versions (2022.3 and later / Unity 6), the standard workflow uses the NavMeshSurface component from the AI Navigation package.
tips: The steps you'll find in older tutorials—"open
Window > AI > Navigation, mark objects as Navigation Static, and Bake"—are the legacy workflow. The concepts are the same, but for new projects, useNavMeshSurface.
- Check the package: In
Window > Package Manager, confirm that AI Navigation (com.unity.ai.navigation) is installed (in Unity 6 it usually comes preinstalled). - Add NavMeshSurface: Add a
NavMeshSurfacecomponent to your ground object (or an empty GameObject). - Choose what to bake: Use
Collect Objectsto select the scope (such asAll Game Objects). Walls and obstacles are collected as geometry too, and get reflected as "impassable areas." - Run the bake: Click the
Bakebutton in the Inspector, and blue polygons appear in the Scene view. This is where your AI can walk.
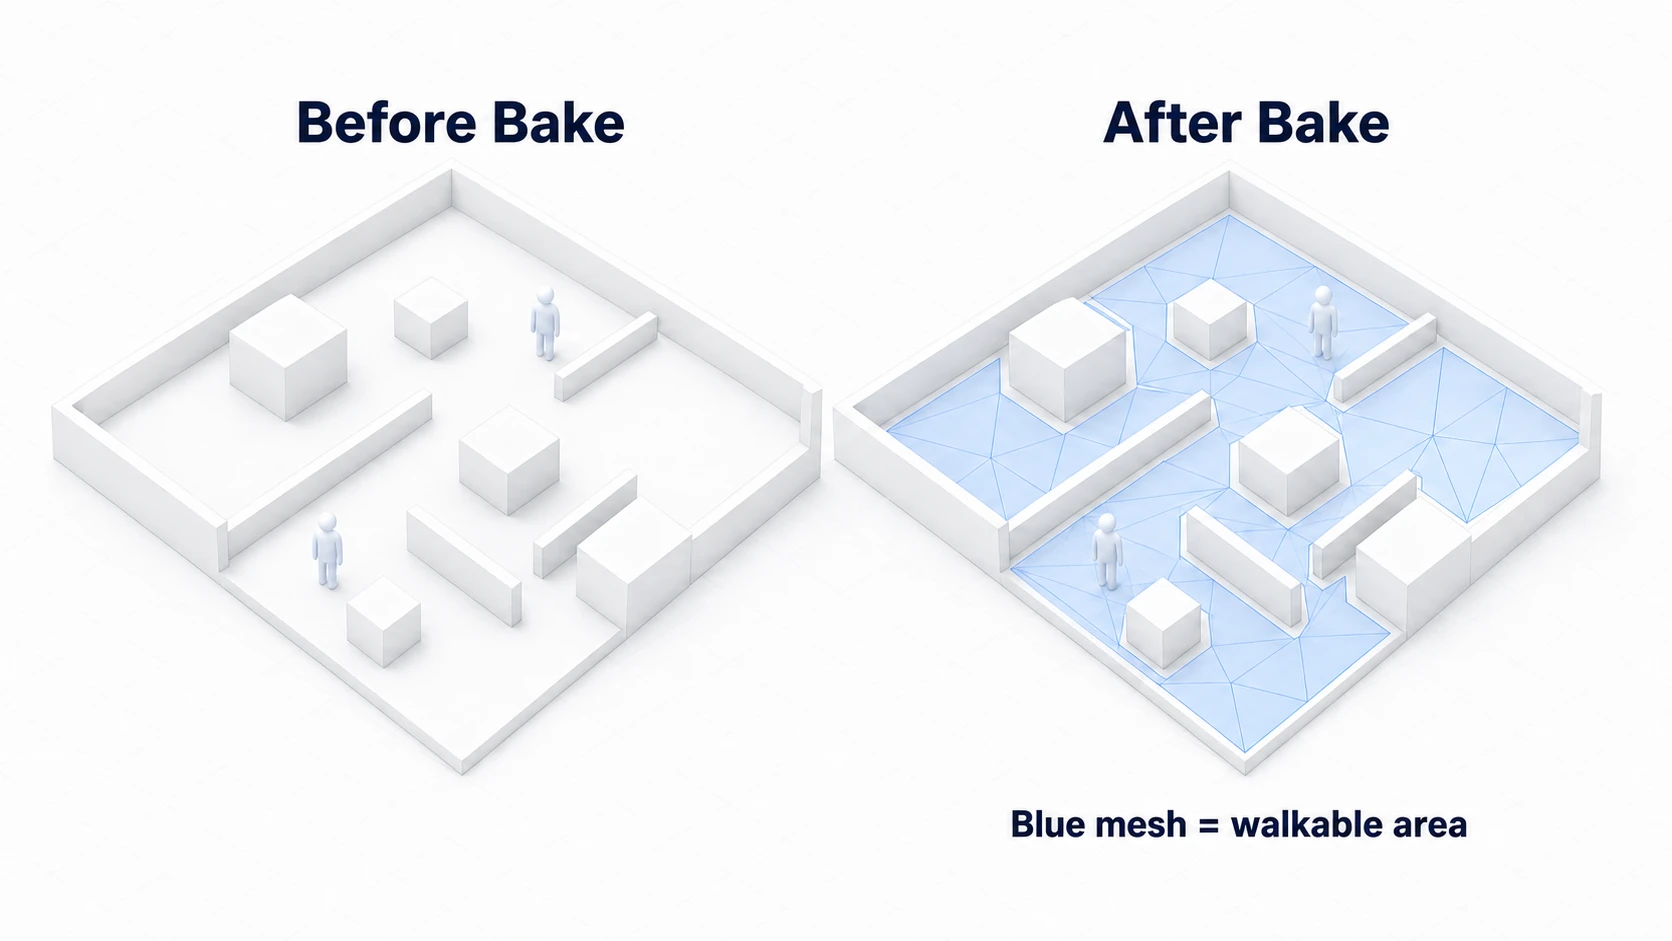
Bake Settings Are the Agent's "Body Type"
What the bake settings really describe is "what body type of character this map is built for."
Agent Radius: The agent's radius. Gaps narrower than this become impassable.Agent Height: The agent's height. Areas under ceilings lower than this become impassable.Max Slope: The steepest slope the agent can climb.Step Height: The tallest step the agent can climb over.
These are set per Agent Type (a kind of body type) on the Agents tab of Window > AI > Navigation. The NavMeshSurface's Agent Type picks which body type the map is baked for. The NavMesh Agent component also has Radius and Height, but those are the size of that one character's body and don't change the shape of the blue mesh.
When "the enemy won't go through a narrow corridor," the culprit is usually an Agent Radius that is too large for the corridor width.
Step 2: Configure the NavMesh Agent
Add Add Component > Navigation > NavMesh Agent to your AI character, then shape its movement personality in the Inspector.
| Property | Role | Guideline |
|---|---|---|
Speed | Maximum movement speed | Around 2 for a strolling villager, 4-6 for a chasing enemy |
Angular Speed | Turning speed | Higher for faster enemies (so they don't stall at corners) |
Acceleration | Acceleration | Lower values make starts and direction changes more sluggish |
Stopping Distance | How far before the destination to stop | The default is 0. Use 0.5+ for chasing enemies, or the attack range for attacking AI |
Radius / Height | This individual agent's size | Affects collision avoidance between agents |
Step 3: Control the Agent from a Script
Issuing a move order takes one line. Pass a destination to SetDestination(), and the agent takes care of pathfinding, movement, and avoidance.
using UnityEngine;
using UnityEngine.AI; // Required for NavMesh-related classes

[RequireComponent(typeof(NavMeshAgent))]
public class EnemyChase : MonoBehaviour
{
    private NavMeshAgent agent;
    private Transform playerTarget;

    void Start()
    {
        agent = GetComponent<NavMeshAgent>();

        GameObject player = GameObject.FindGameObjectWithTag("Player");
        if (player != null)
        {
            playerTarget = player.transform;
        }
    }

    void Update()
    {
        if (playerTarget != null)
        {
            // Keep setting the player's current position as the destination
            agent.SetDestination(playerTarget.position);
        }
    }
}
That's all it takes—the enemy starts chasing the player while avoiding obstacles. The enemy that used to get stuck on walls now swings around corners as if cutting you off.
tips: To sync with a walking animation, the standard approach is to feed
agent.velocity.magnitudeinto the Animator'sSpeedparameter (see the Animator Controller article).
In Practice: Building a Patrol-Detect-Chase-Search Enemy AI
Enemies in real games don't "chase forever." They patrol by default, chase when they spot the player, and attack when close—a set of switching states. Guards in stealth games, field monsters in RPGs, invading units in tower defense—this skeleton is shared across genres.
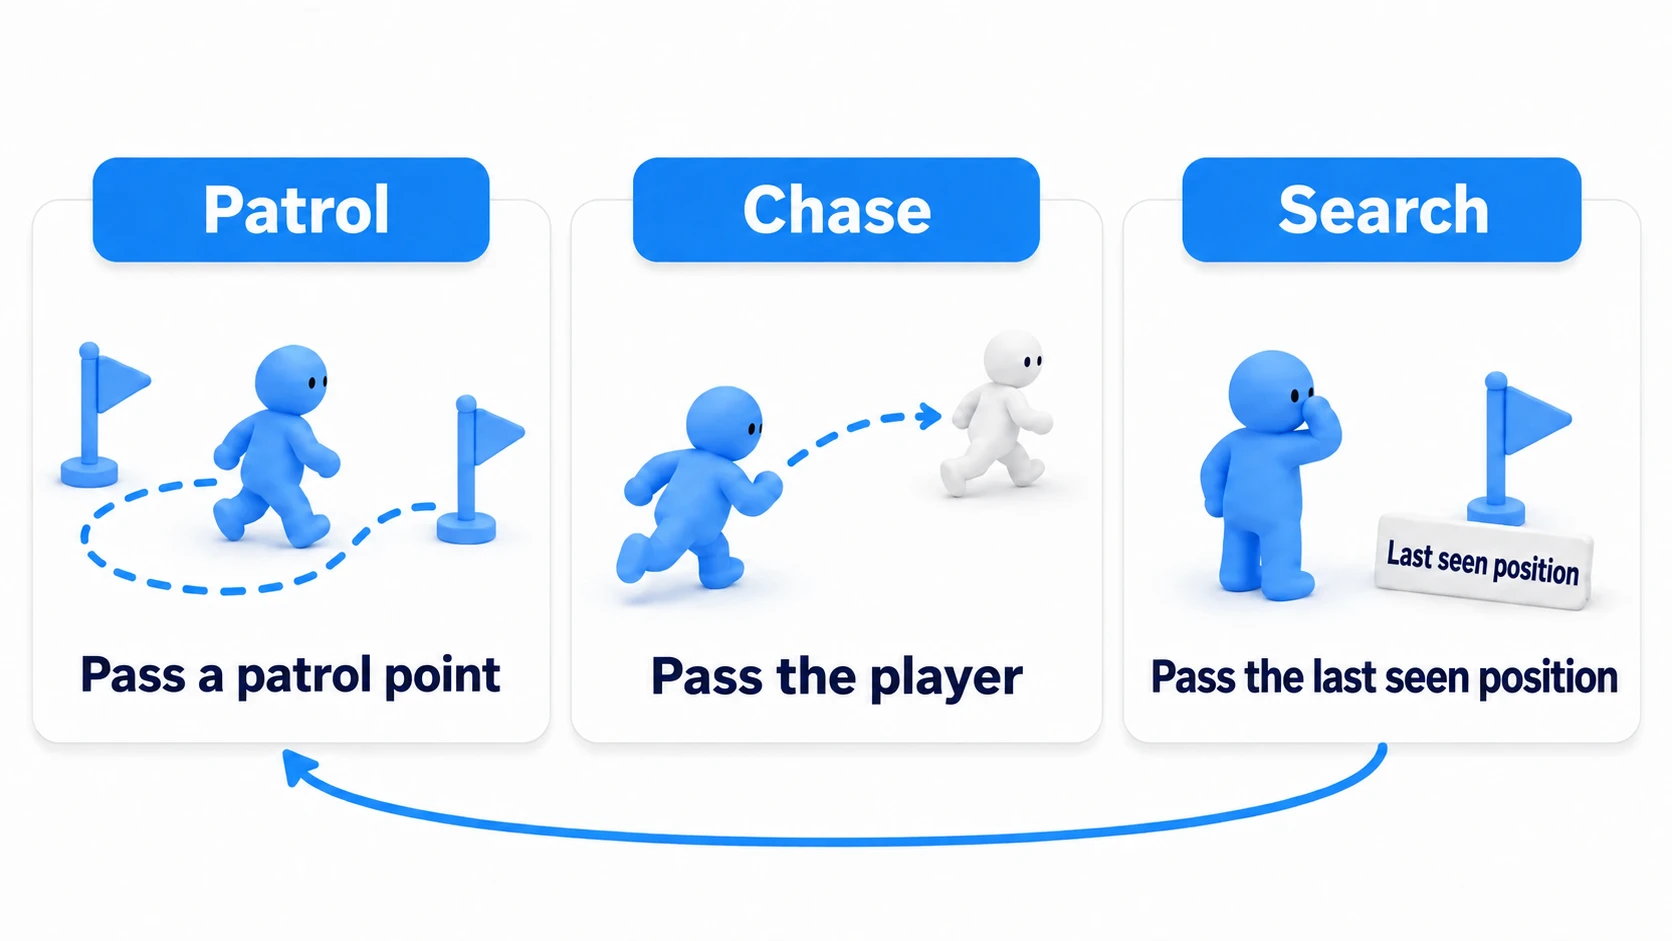
An enemy that snaps straight back to patrol the instant it loses sight of you feels a little fake. So we'll go one step further: walk to the last place the player was seen, linger there a few seconds, then return — a search behavior that makes the guard feel human.
using UnityEngine;
using UnityEngine.AI;

[RequireComponent(typeof(NavMeshAgent))]
public class GuardAI : MonoBehaviour
{
    [SerializeField] private Transform[] patrolPoints; // Patrol waypoints
    [SerializeField] private float sightRange = 8f;    // Detection distance
    [SerializeField] private float attackRange = 1.5f; // Attack distance
    [SerializeField] private float searchTime = 3f;    // Seconds to linger where the player vanished

    private enum Mode { Patrol, Chase, Search }
    private Mode mode = Mode.Patrol;

    private NavMeshAgent agent;
    private Transform player;
    private int patrolIndex = 0;
    private Vector3 lastKnownPosition;
    private float searchTimer;

    void Start()
    {
        agent = GetComponent<NavMeshAgent>();

        // Don't crash when no Player is placed (tag search can return null)
        GameObject playerObj = GameObject.FindGameObjectWithTag("Player");
        if (playerObj != null) player = playerObj.transform;

        if (patrolPoints.Length > 0)
            agent.SetDestination(patrolPoints[patrolIndex].position);
    }

    void Update()
    {
        if (player == null || patrolPoints.Length == 0) return;

        bool canSee = Vector3.Distance(transform.position, player.position) <= sightRange;
        bool arrived = !agent.pathPending && agent.remainingDistance <= agent.stoppingDistance;

        switch (mode)
        {
            case Mode.Patrol:
                if (canSee) { lastKnownPosition = player.position; mode = Mode.Chase; break; }
                if (arrived)
                {
                    patrolIndex = (patrolIndex + 1) % patrolPoints.Length;
                    agent.SetDestination(patrolPoints[patrolIndex].position);
                }
                break;

            case Mode.Chase:
                if (canSee)
                {
                    // Keep updating "last known position" while we can still see them
                    lastKnownPosition = player.position;
                    agent.stoppingDistance = attackRange;
                    agent.SetDestination(player.position);
                }
                else
                {
                    // Lost them -> head to the last known position and start searching
                    agent.stoppingDistance = 0.5f;
                    agent.SetDestination(lastKnownPosition);
                    searchTimer = searchTime;
                    mode = Mode.Search;
                }
                break;

            case Mode.Search:
                if (canSee) { lastKnownPosition = player.position; mode = Mode.Chase; break; }
                if (arrived) searchTimer -= Time.deltaTime;  // Count down only after reaching the spot
                if (searchTimer <= 0f)
                {
                    agent.SetDestination(patrolPoints[patrolIndex].position);
                    mode = Mode.Patrol;
                }
                break;
        }
    }
}
Three points matter here.
- Check arrival with
remainingDistance:!agent.pathPending && agent.remainingDistance <= agent.stoppingDistanceis the standard "we've arrived" idiom. CheckpathPendingso you don't evaluate before the path calculation finishes. - Build the attack range with
stoppingDistance: Set the chase-time Stopping Distance to your attack distance, and "stop at sword's reach instead of hugging the player, then attack" falls out naturally. - Update
lastKnownPositionthe whole time the player is visible: whatever it held at the moment of losing sight becomes the search destination. From the player's perspective, the guard "comes to check where you just were" — a move that instantly reads as intelligence.
Press Play and, mid-chase, get more than 8 m (sightRange) away from the guard (make the guard's Speed slower than the player's so you can pull away). The guard walks to where it last saw you, lingers about three seconds, and — finding nothing — drifts back to its rounds. This code's "can see" is distance only, so within 8 m it keeps chasing you even behind a wall. If you want it to lose you behind walls, or to spot you only within a forward-facing cone, combine an angle check with occlusion checks using Raycast (the finished version lives in the enemy vision article). And once the states start piling up, it's time for the State pattern article.
The Three Gauges to Check When Nothing Moves
When a NavMesh AI won't move, there are three gauges to read before suspecting your code. Print isOnNavMesh and pathStatus with Debug.Log to check them.
| Symptom | Gauge | Common culprit and fix |
|---|---|---|
| Won't take a single step | agent.isOnNavMesh | If false, the Agent is off the NavMesh (spawned in midair, bake didn't cover the spot). Put it back on the mesh with agent.Warp(position) |
| Stops short of the goal | agent.pathStatus | PathPartial (can only get partway) or PathInvalid (unreachable). The Agent goes as far as it can and stops. Move the destination or waypoint to a spot connected to the blue mesh |
| Feels janky and heavy | How often you call SetDestination | Path recalculations are piling up. Every frame is fine for chasing a moving player, but a fixed patrol point needs it only once, on arrival |
Bonus: Good to Know for Later
- NavMesh Obstacle's
Carve: Attach an Obstacle to a dynamic object and enableCarveto cut a temporary hole in the NavMesh, prompting agents to recalculate a detour. Great for closing doors and destructible fences. WithCarve Only Stationaryon (the default), it doesn't cut the hole while moving, only once it stops. - Ledges and jumps use
NavMesh Link: Connections across non-contiguous ground—dropping off a cliff, hopping over a ditch—are defined withNavMesh Link. - Agents with different body types: When a "human-sized" agent and a "giant boss" can fit through different gaps, define multiple Agent Types and bake a NavMeshSurface for each.
- When you need to move an agent directly: For physics-driven movement like knockback, use
agent.Warp()oragent.isStopped. Moving the Transform or Rigidbody directly desyncs the agent from its position on the NavMesh and causes erratic behavior. - Bakes on Terrain too: hilly terrain becomes walkable area once you bake it with NavMeshSurface (Unity Terrain).
Summary
With NavMesh, you can build "smart-moving enemies" without writing a pathfinding algorithm yourself.
- The three players: NavMesh (the map) + NavMesh Agent (the traveler) + NavMesh Obstacle (the roadblock).
- Bake with
NavMeshSurface(the current workflow). Bake settings are the agent's "body type." - Move orders are one line:
SetDestination(). Avoidance and pathing are automatic. - When chasing, don't leave
Stopping Distanceat 0. It also doubles as an attack range. - Real enemy AI is "patrol, detect, chase, search". Check arrival with the
remainingDistanceidiom; when nothing moves, read theisOnNavMeshandpathStatusgauges.
Beyond enemy AI, it powers ally NPCs following you, townsfolk wandering the streets, RTS unit movement—any situation where "a character walks on its own."