Your attacks connect, but there's no sense of impact. You jump, you land, and the screen still feels flat—what's missing, more often than not, is effects (VFX). Explosion smoke, sword trails, magical sparkles. A huge part of what makes a game feel good comes from these tiny particles.
Unity ships with a built-in Particle System—nicknamed "Shuriken". It's a tool that spawns countless small 2D images (particles) and varies their movement, color, and size over time to create a wide range of visual effects.

What You'll Learn
- How the Particle System is structured—remembering modules through the "life of a particle"
- What the Main module, Emission, and Shape do
- How to create changes over time with the "over Lifetime" modules
- A hands-on recipe—building a hit effect as quickly as possible
- When to use the Particle System vs. VFX Graph
Tested with: Unity 6 (6000.x)
How to Create One, and How to Think About It—The Life of a Particle
You can create one from the menu via "GameObject > Effects > Particle System" ("GameObject > Visual Effects > Particle System" in Unity 6.5 and later). The Inspector shows a long list of modules (groups of settings) that can feel overwhelming at first, but there's a simple way to remember them: each module configures one stage in the life of a single particle.
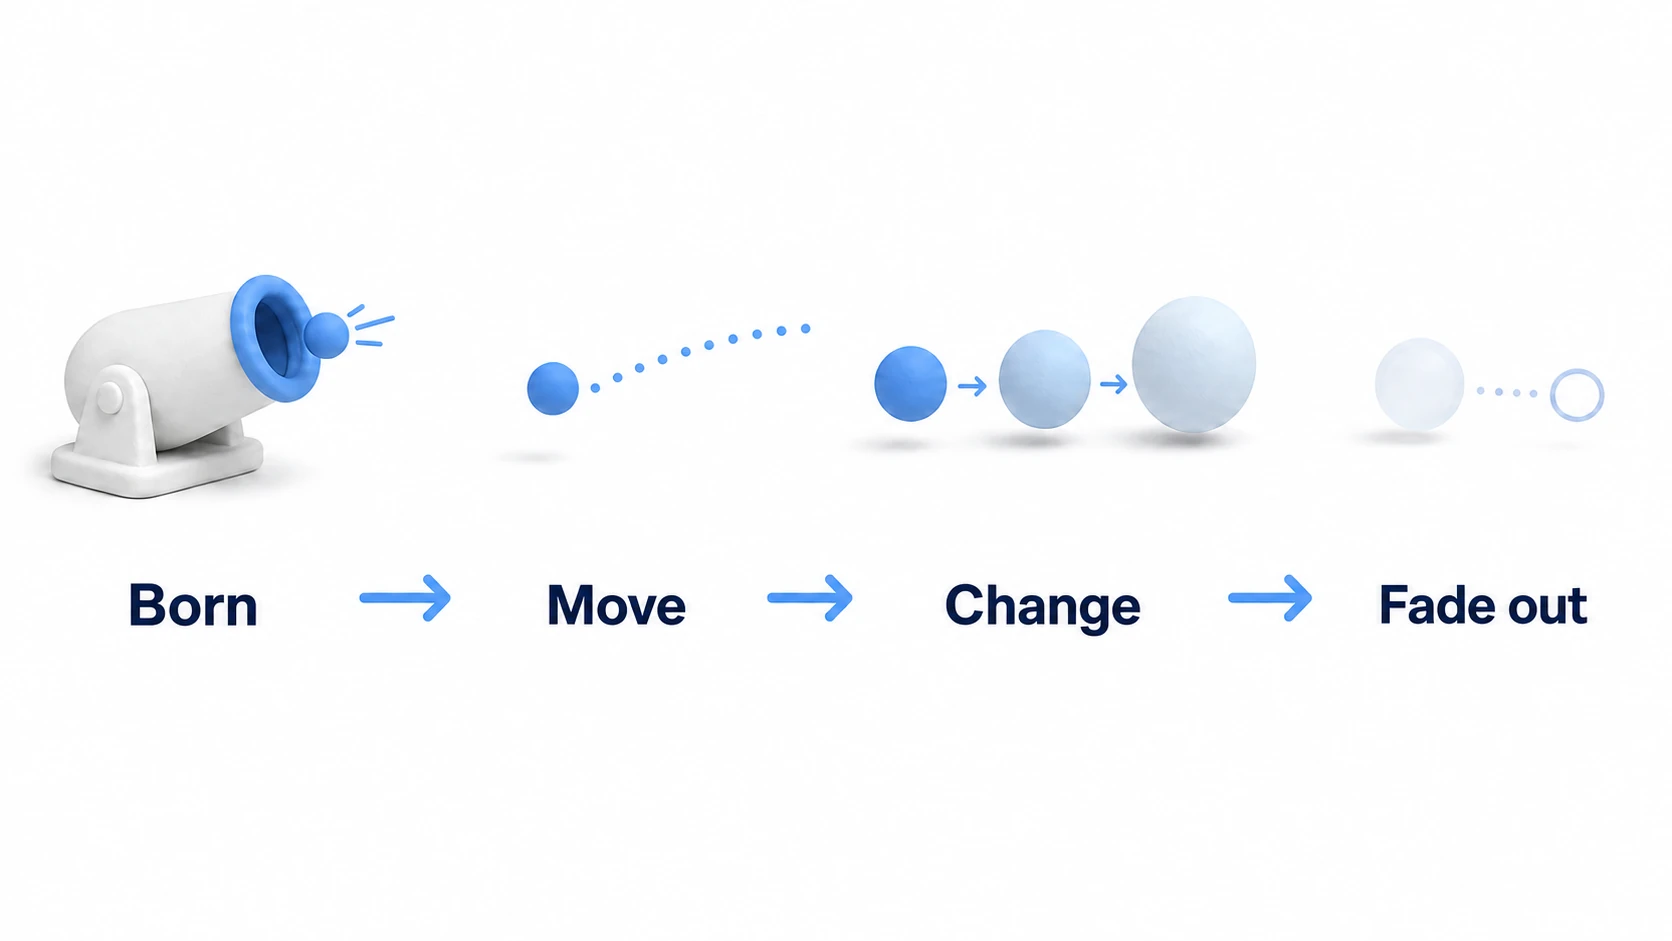
- Born: where they spawn (Shape) and how many (Emission)
- Move: which direction they fly and how fast (Main / Velocity over Lifetime)
- Change: how color and size evolve while they're alive (Color / Size over Lifetime)
- Fade out: their lifetime (Start Lifetime) runs out and they disappear
The Main Module
The always-enabled module at the top, defining the basic profile of each particle.
| Property | Meaning | tips |
|---|---|---|
| Duration / Looping | Total playback time of the effect / whether it repeats | Fire and smoke loop; explosions play once |
| Start Lifetime | Lifespan of one particle (seconds) | Use Random Between Two Constants for natural variation |
| Start Speed | Initial speed at spawn | |
| Start Size / Color | Initial size and color | Color can also be randomized between two values |
| Gravity Modifier | How much gravity affects particles | 0 for embers, 1 for debris, negative for rising smoke |
tips For most properties, the ▼ at the right lets you switch from
Constant(fixed value) toRandom Between Two Constants(random within a range) orCurve. When every particle looks identical, the effect looks artificial—so randomizing lifetime, size, and speed a little is standard practice.
Key Modules
Emission—How Many to Spawn
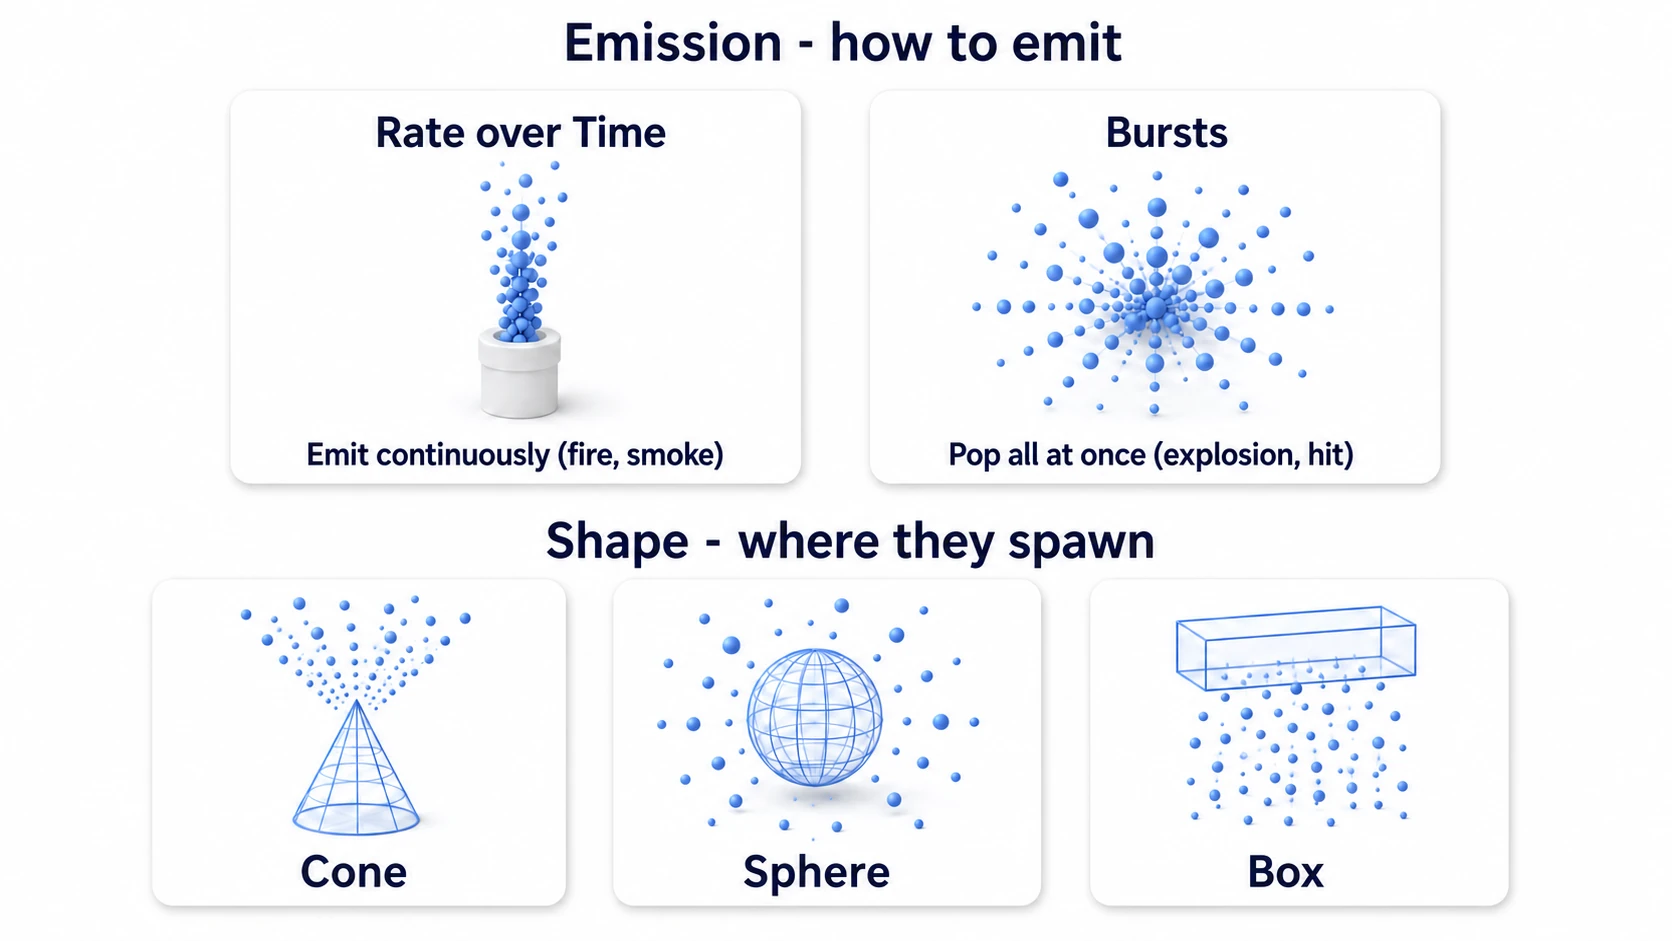
- Rate over Time: particles spawned per second. For continuous effects like fire, smoke, and rain.
- Bursts: emits a batch all at once at a specified moment. For instantaneous pops like explosions and hit effects.
Shape—Where They Spawn
Choose from Cone (campfires, jets), Sphere (explosions, auras), Box (an area where rain or snow falls), Edge (a line), and more. The "silhouette" of an effect is almost entirely determined by Shape, so when in doubt, start by tweaking this.
The "over Lifetime" Modules—Changes While Alive
These modules define how a particle changes over its lifetime. Most of an effect's personality is created here.
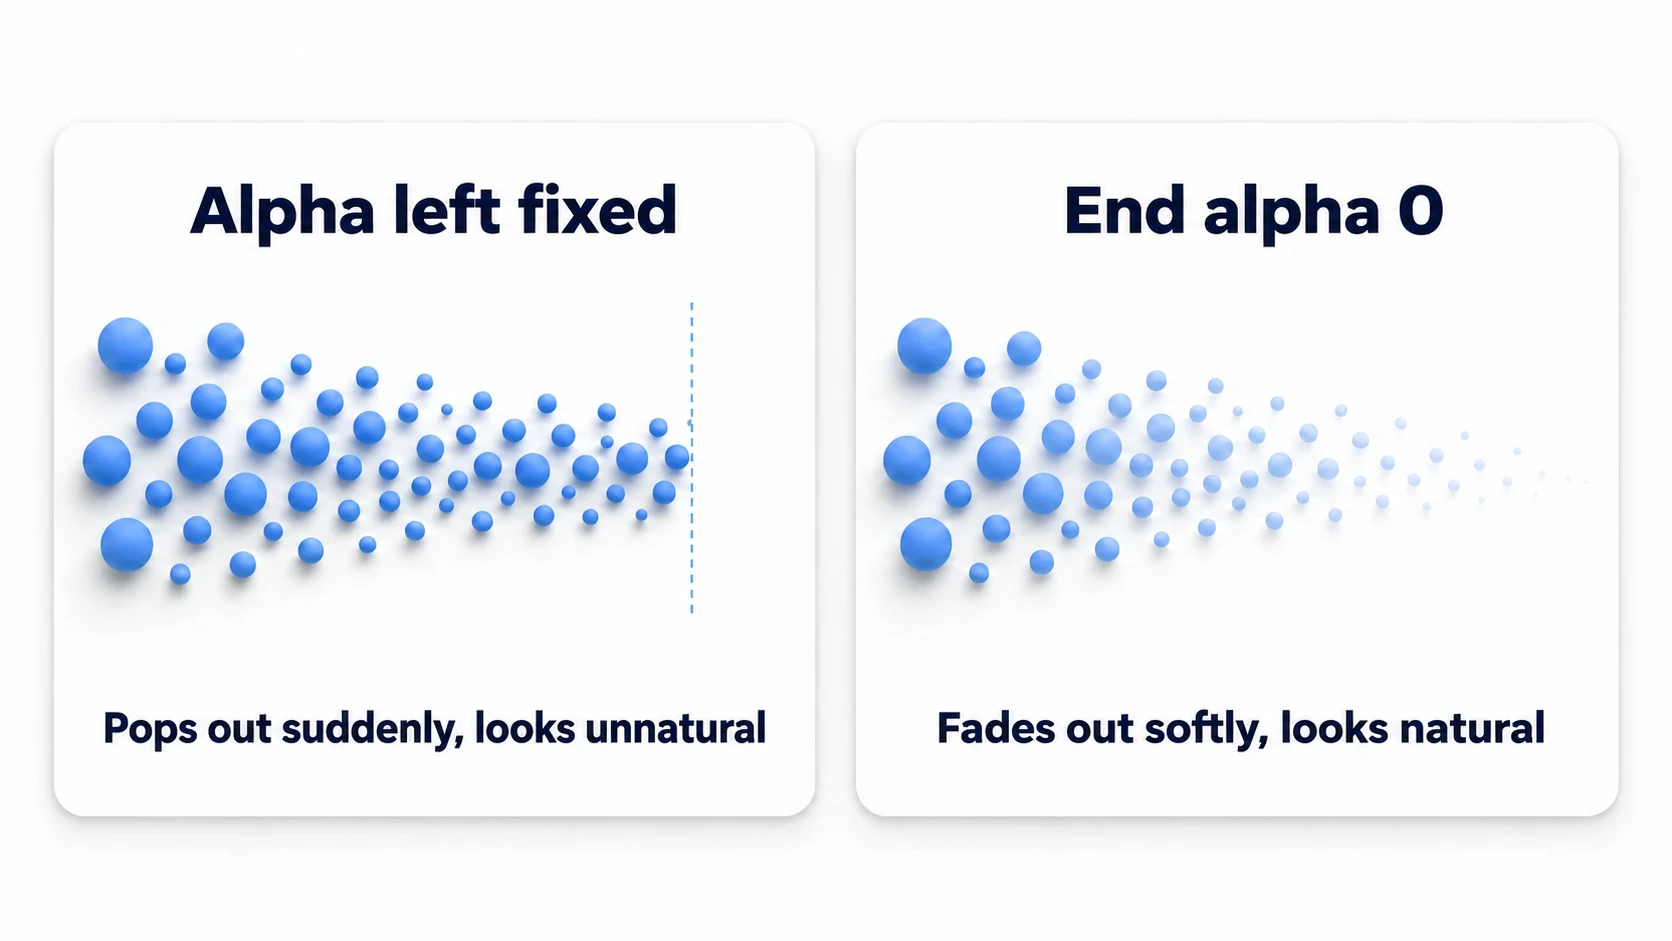
- Color over Lifetime: creates color transitions with a gradient. For fire: "white → orange → red → transparent". Setting the end alpha to 0 so particles "fade out softly" is the single most important technique (the default hard pop-out looks unnatural).
- Size over Lifetime: shapes size changes with a curve. For smoke: "born small, expanding as it fades away".
- Velocity over Lifetime: changes velocity mid-flight.
Orbitaleven lets you create swirls.
Renderer
- Material: assign a material that supports transparent rendering (such as
Particles/Standard Unlit; in URP,Universal Render Pipeline/Particles/Unlit). - Render Mode:
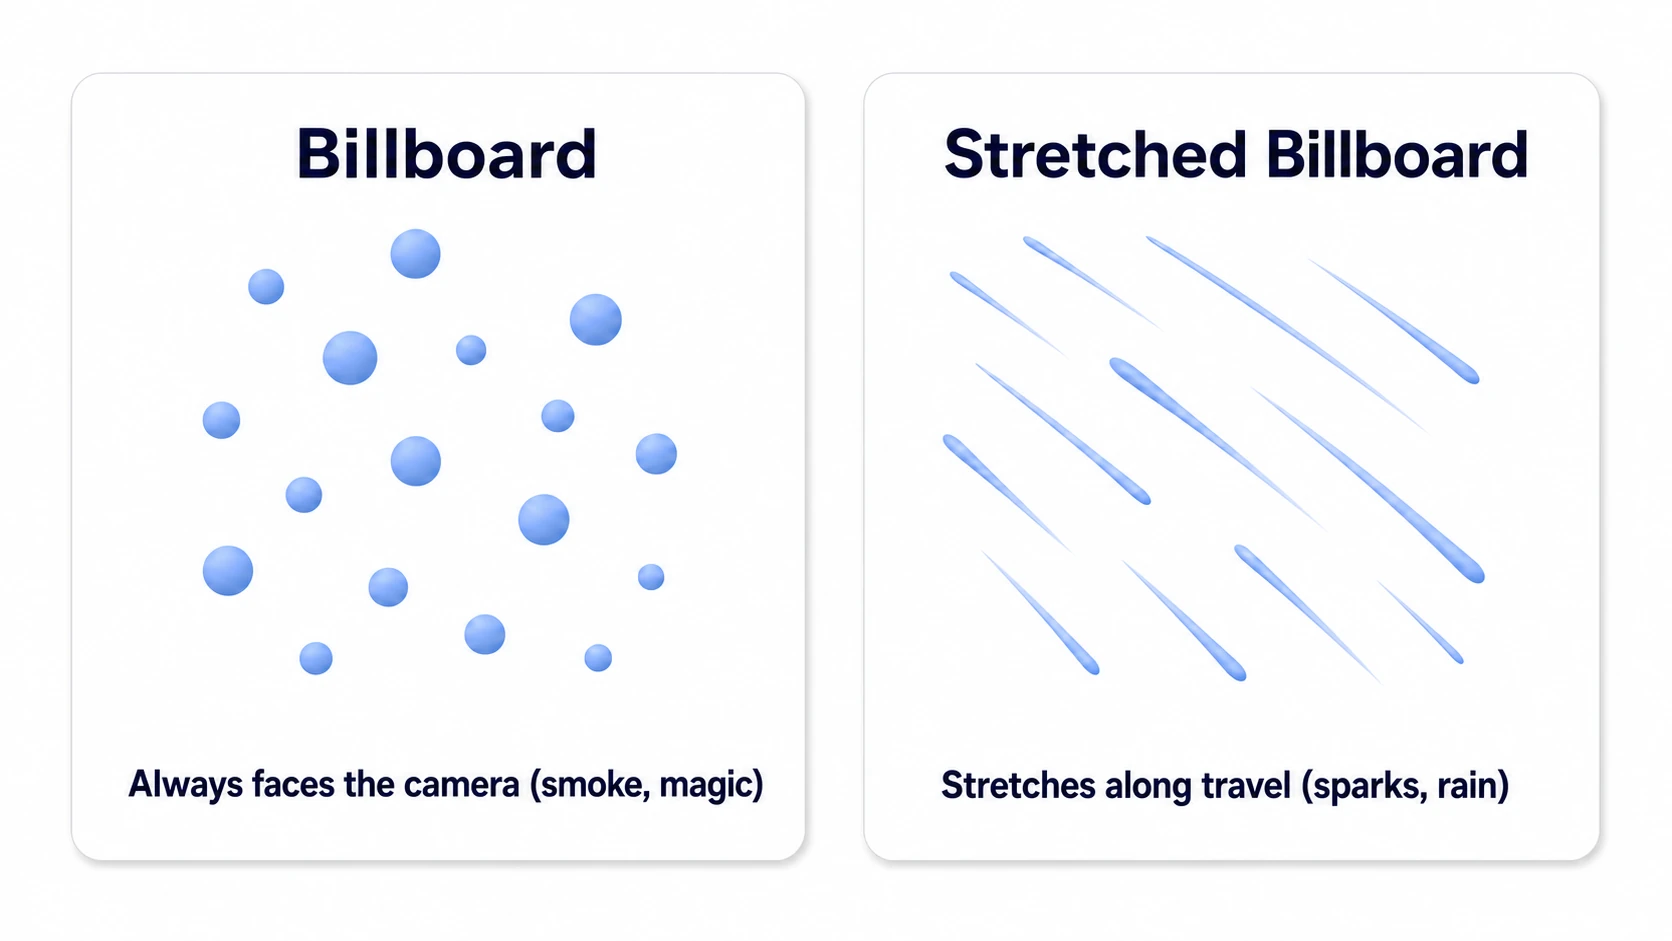
Billboard(a quad that always faces the camera) is the default choice. Switching toStretched Billboardstretches particles along their direction of travel, turning them into sparks, rain, or speed lines.
Hands-On Recipe: Building a Hit Effect
A sword slash landing in an action game, a projectile impact in a shmup, clearing blocks in a puzzle game—regardless of genre, this is the one you'll use most. Let's build "sparks burst out the instant an attack lands" in as few steps as possible.
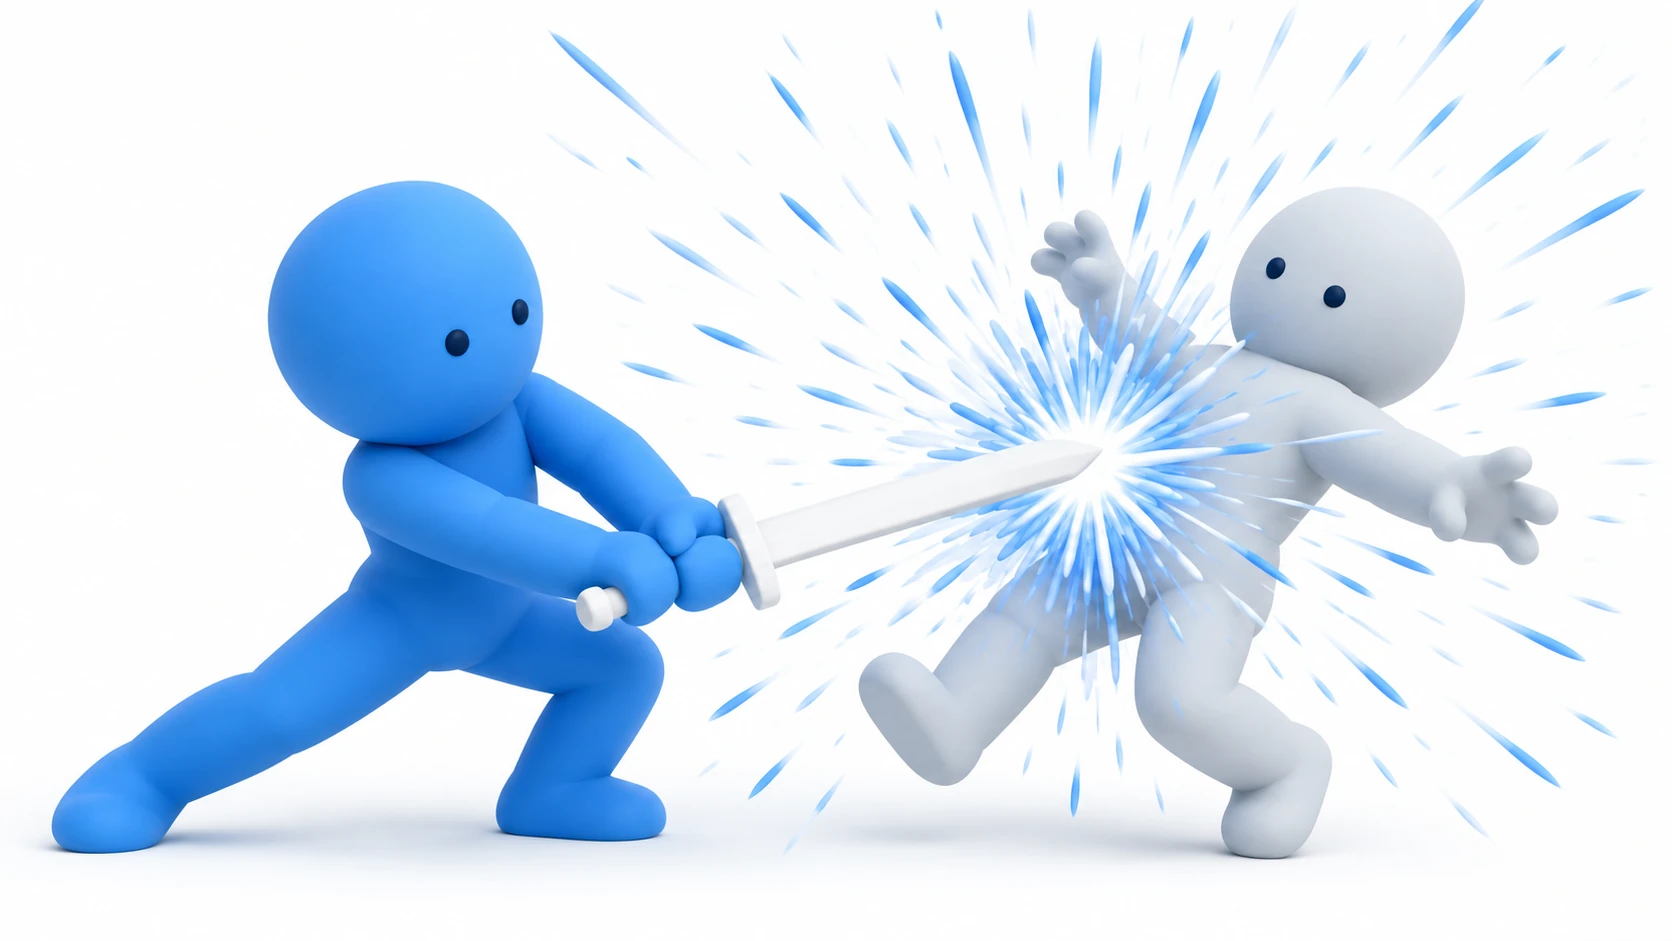
- Main: Looping off, Duration 0.5, Start Lifetime 0.2–0.4 (random), Start Speed 3–6, Start Size 0.05–0.15, Gravity Modifier 0.5
- Emission: set Rate over Time to 0 and add one entry to Bursts with Count 15 (Time 0)
- Shape: Sphere, Radius 0.1 (bursting outward in all directions from a single point)
- Color over Lifetime: tick it to enable the module, then white → yellow → alpha 0 (in the gradient, the markers on top are alpha and the ones below are color)
- Renderer: switch to
Stretched Billboardto stretch the particles like real sparks (adjust how far they stretch with Speed Scale and Length Scale)
Turn this into a Prefab and spawn it at the hit position, and you're done. Set Stop Action at the bottom of Main to Destroy so it removes itself automatically once the last particle dies (with Looping still on, it never goes away). The numbers are just a starting point—hit the play button and tweak them live in the Scene view.
There are two key points: the "pop = Bursts + Sphere" combination (it's the skeleton of this recipe—just change the Count and colors and it becomes a heal effect or a coin pickup), and "make it natural with end alpha 0 and random ranges." For spawning and destroying it in your game, pair it with the practical section of object pooling (return it from OnParticleSystemStopped(), which Stop Action = Callback calls) to reach the finished form.
Differences from VFX Graph
Unity has another system: the GPU-based VFX Graph.
| Particle System (Shuriken) | VFX Graph | |
|---|---|---|
| Particle simulation | CPU | GPU |
| Typical scale | A few thousand | Hundreds of thousands to millions |
| Collision detection | Yes (Collision module) | A different approach (shapes or the depth buffer) |
| Learning curve | Low | Higher (node-based) |
| Pipeline support | All pipelines | URP/HDRP (on platforms with compute shaders; not WebGL) |
The decision rule fits in one line: "If a few thousand particles are enough, use Shuriken; when you need orders of magnitude more, use VFX Graph." For typical in-game effects (hits, smoke, magic, ambient flourishes), Shuriken is all you need.
Bonus: Good to Know for Later
- Reuse effects with a pool: calling
Instantiate/Destroyfor every hit effect causes GC spikes. The battle-tested approach is to set Stop Action toCallback, which callsOnParticleSystemStopped()when playback ends, and return the effect to an object pool there (it isn't returned automatically). - Watch out for overlapping transparency: particles use transparent rendering, so heavy overlap causes overdraw and spikes GPU load. On mobile, the rule of thumb is fewer particles, without stacking ones that cover large parts of the screen (bigger particles cover more area. see mobile optimization for details).
- Collision module: lets particles bounce off terrain and walls. Handy for shell casings and debris, but it costs CPU time, so keep the count modest.
- Sub Emitters: a feature that spawns new particles where a particle dies. Great for multi-stage effects like fireworks (launch → explosion).
- Want hits to feel even stronger: layering hitstop, screen shake, and sound on top of particles is covered in the game feel article.
Summary
- Remember the modules through the "life of a particle" (Born → Move → Change → Fade out).
- Use Rate over Time for continuous effects and Bursts for pops. The silhouette comes from Shape.
- Ending Color over Lifetime at alpha 0 (a soft fade-out) is the biggest factor in how good an effect looks.
- Adding random ranges (lifetime, size, speed) makes effects feel natural.
- Shuriken covers you up to a few thousand particles. Beyond that, move to VFX Graph.
Start by building today's hit effect recipe and dropping it into your game. That sense of "impact" the instant an attack lands—is your game giving you enough of it?