Once your project holds hundreds or thousands of assets, "where did I put that texture?" starts eating real time.
Messy asset management costs more than search time. It leads to overwrite accidents on a team, bloated build sizes, and tangled dependencies that can bring a project to a practical standstill. The flip side: deciding on folder and naming rules up front prevents all of it.
This article explains how to build a project structure that holds up. At the end, we'll also walk through safely relocating assets that are already scattered.
What You'll Learn
- Why a feature-based folder structure is recommended, with an example layout
- Prefix naming conventions such as
BP_,SM_, andT_- Redirectors and the Reference Viewer, the safety nets for moving assets
- When to use hard references vs. soft references (with a C++ example)
- Hands-on: relocating scattered assets without breaking anything
Fundamentals of Project Structure
The heart of a UE project is the Content folder. How you structure it decides the project's future.
Organize by Feature
There are two broad schools of thought for organizing assets.
- Type-based (not recommended): split by asset type, such as
Materials,Meshes, andTextures - Feature-based (recommended): split by game feature, such as
Characters,Environments, andUI
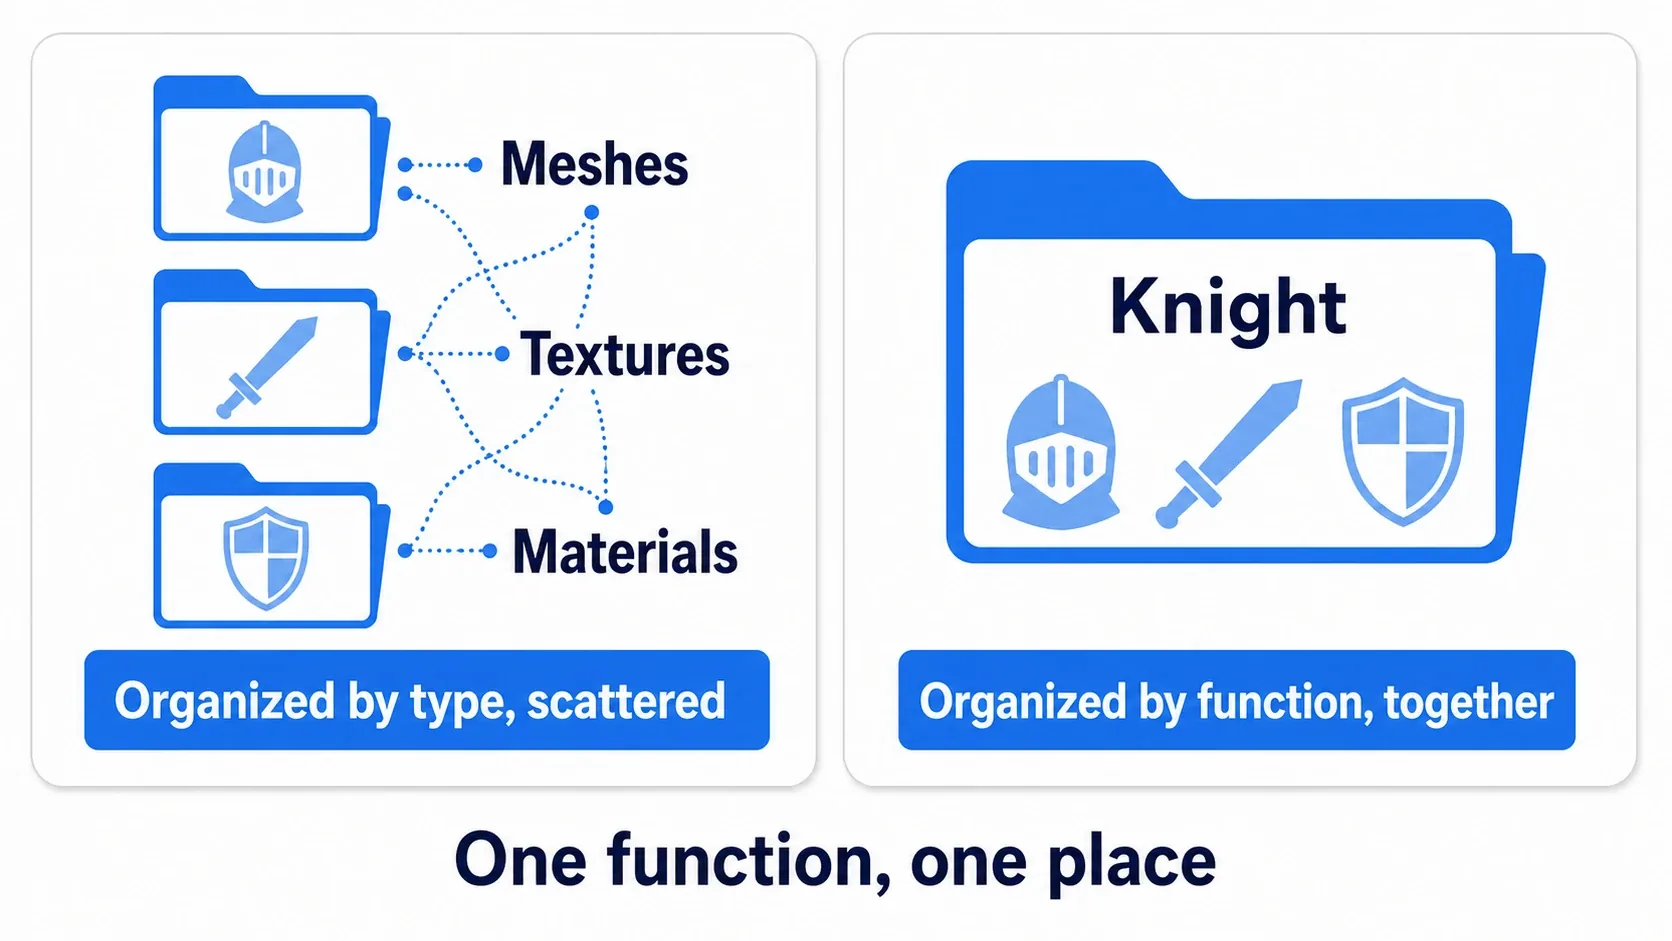
With a type-based layout, the meshes, textures, materials, and Blueprints that make up a single character are scattered across separate folders. Just wanting to "tweak that character" means bouncing between folders, and you lose track of what a migration or deletion will affect. With a feature-based layout, opening Content/MyGame/Characters/Knight/ shows you everything about the knight in one place.
An Example Layout and Three Commitments
/Content
├── /MyGame          ← All project-specific assets live under here
│   ├── /Characters
│   ├── /Environments
│   ├── /Weapons
│   ├── /UI
│   └── /Maps        ← Level files only
├── /External        ← Assets from the marketplace or other outside sources
│   └── /VendorName
└── /Developers      ← Personal sandbox (covered below)
- Create a single root folder named after your project: putting all of your own assets under
/Content/MyGame/keeps them from mixing with third-party assets and lets you manage paths in bulk during future migrations or distribution - Isolate external assets in
External: don't mix marketplace imports with your own assets (see "Common mistakes" for why) - Keep the hierarchy to 3–4 levels: too deep and navigation becomes painful; too shallow and a single folder gets crowded.
/Content/MyGame/Feature/Typeis a good target
Sticking to Naming Conventions
If the folder structure is an asset's address, the naming convention is its ID card. The UE community has a widely agreed-upon set of prefixes, and simply following them lets you identify an asset's type the moment you see its name.
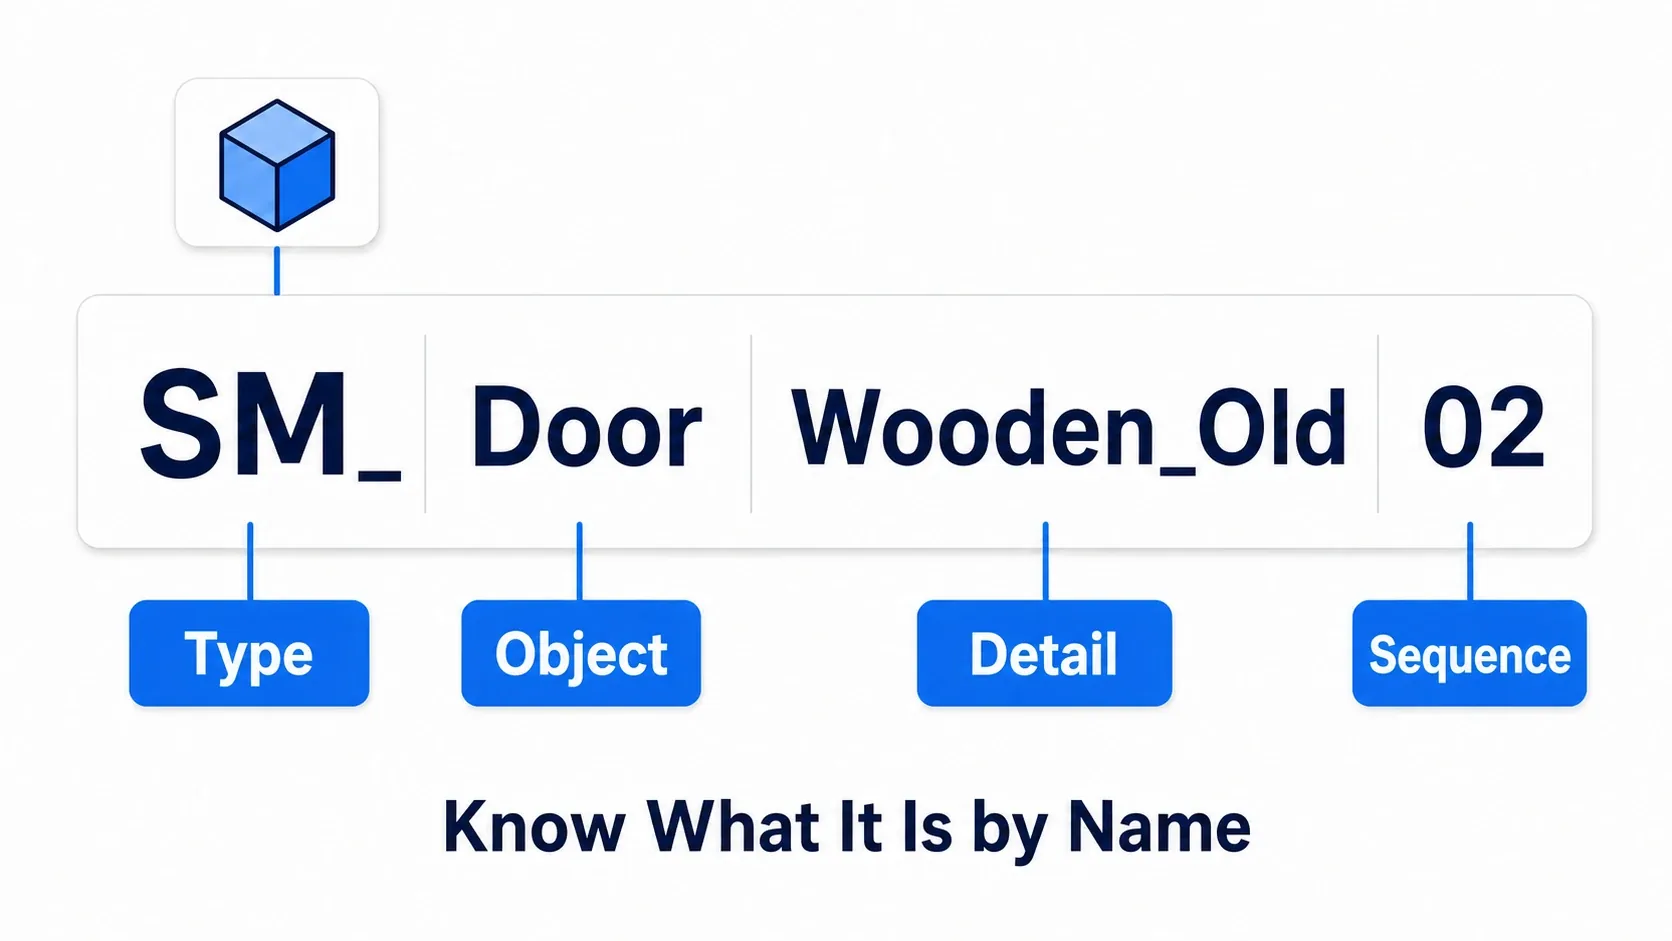
The basic form is [Prefix]_[Subject]_[Detail]_[Index] (for example, SM_Door_Wooden_Old_02).
| Asset Type | Prefix | Example |
|---|---|---|
| Blueprint class | BP_ | BP_PlayerCharacter |
| Material | M_ | M_Ground_Moss |
| Material instance | MI_ | MI_Ground_Moss_Dry |
| Texture | T_ | T_Ground_Moss_D (suffix _D = color, _N = normal) |
| Static mesh | SM_ | SM_Tree_Oak_01 |
| Skeletal mesh | SK_ | SK_Player_Base |
| Animation Blueprint | ABP_ | ABP_Player |
| Animation sequence | A_ | A_Player_Run |
| Level (map) | L_ | L_MainMenu |
| Widget Blueprint | WBP_ | WBP_HealthBar |
Prefixes aren't only for humans to read. Type SM_ into the Content Browser search box and only the static meshes in your project line up. A name is also a tag for the search filter.
Two more rules to go with them.
- No spaces or non-ASCII characters: separate words with underscores or camel case (
BP_PlayerCharacter). This avoids accidents with characters that can't be used in paths - Treat casing as significant and stay consistent: Windows ignores case, but Linux and macOS don't. A project mixing
sm_doorandSM_Doorwill break when you move it to another platform
Three Tools That Keep Assets From Breaking
Here are three standard UE tools that come up in day-to-day housekeeping.
Redirectors: The Forwarding Note Left Behind After a Move
When you move or rename an asset inside the Content Browser, UE leaves an invisible file called a Redirector at the original location. It's like a mail forwarding request, pointing anything that still references the old path to the new location.
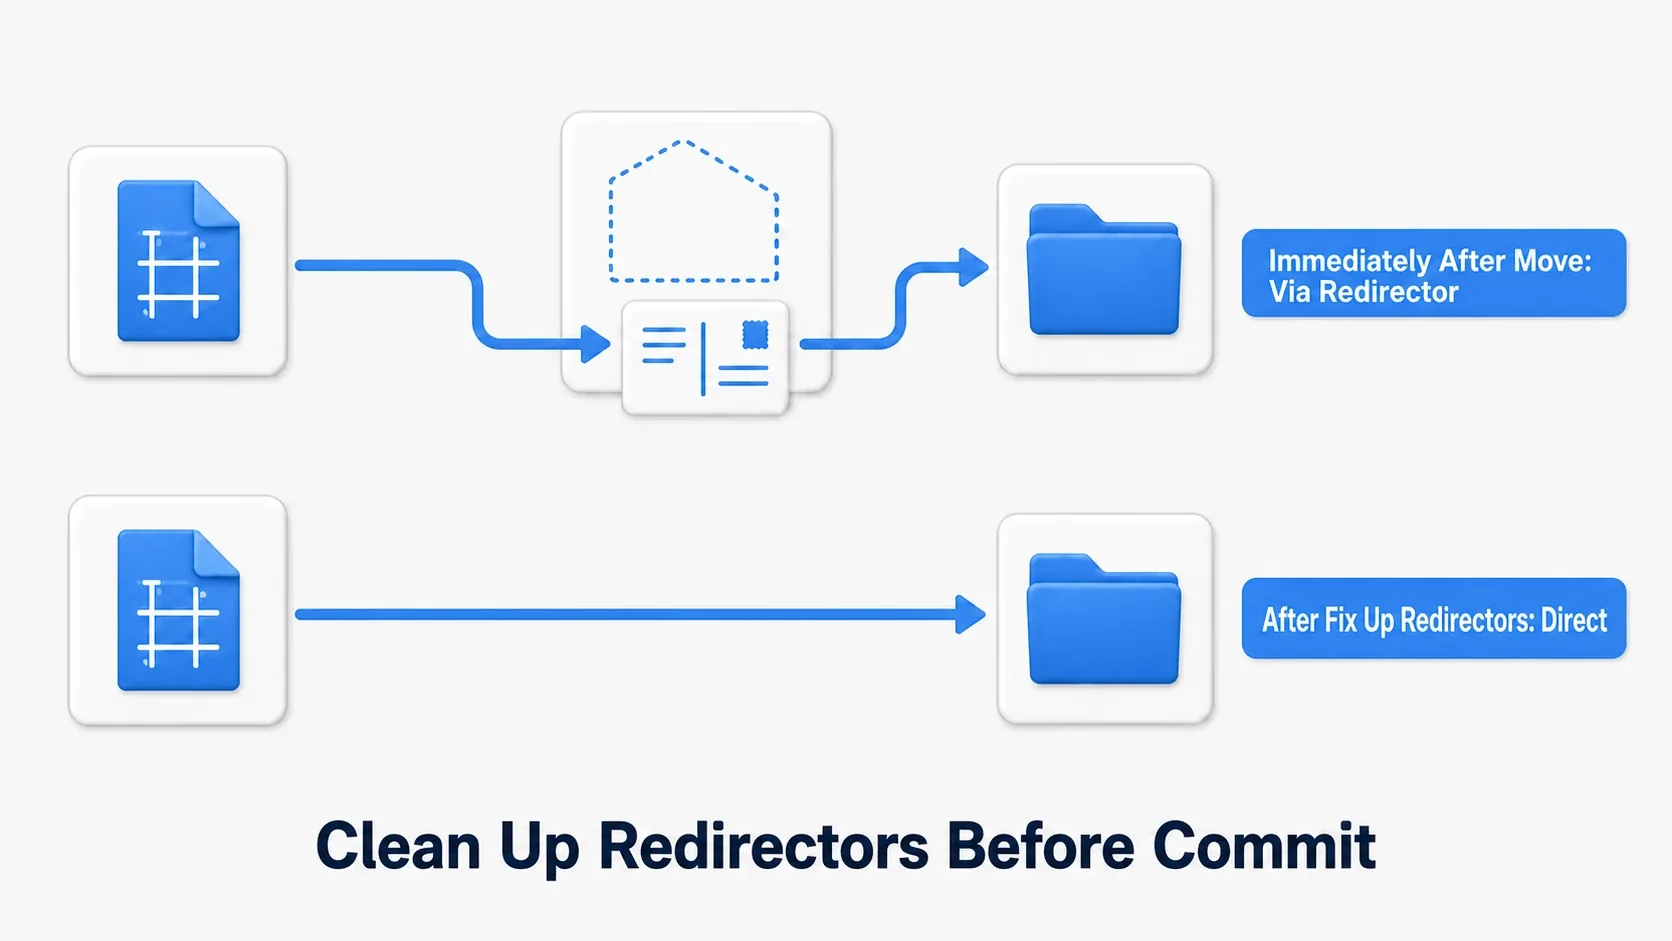
Left alone, forwarding notes pile up, causing indirect reference resolution and junk in source control. Right-click a folder and choose Fix Up Redirectors in Folder to rewrite references to point directly and clean the notes away. Make it a habit to always run this before committing to source control (editor basics are also covered in the editor UI guide).
Reference Viewer: See Who Uses It Before You Delete It
Before deleting or heavily reworking an asset, right-click it and open the Reference Viewer. It draws a graph of what uses the asset and what the asset itself uses. You can see at a glance which materials would break if you deleted a given texture, which makes this the only check you need before deleting.
When You Need to Fix Dozens at Once
Once a move or rename involves a hundred assets, doing it by hand stops being viable. UE lets you build your own editor tools in Blueprint alone and batch-process whatever you have selected (see Building editor tools with Editor Utility Widget).
Migrate: Safely Exporting to Another Project
When taking an asset to another project, never copy and paste files (dependent assets go missing and things break). Right-click and choose Asset Actions → Migrate..., and UE will automatically list every dependent texture and material and copy them over safely, folder structure included. The workflow of checking Fab assets in a test project and Migrating only what you use into production is covered in the Fab article.
Asset Management on a Team
With multiple people, rules matter even more. Source control (Git LFS or Perforce) is a prerequisite. The concrete steps for managing a UE project with Git LFS are in Managing your project with Git LFS, and getting started with Git right after creating a project is covered in the initial setup article.
- Check out before editing: assets are binary files, so they can't be diff-merged like text. If two people edit the same asset at once, one person's work will always be lost. Check out (declare that you're editing) before you start, and commit as soon as you finish
- The
Developersfolder is a personal sandbox: put work-in-progress and test assets here. The iron rule is that production assets must never depend on assets in this folder. When something is finished, move it to its proper home underMyGamebefore committing - Moving or renaming folders is a three-step set: in the editor → Fix Up → commit: manipulating files directly in Explorer destroys dependency tracking, which is the worst kind of accident. Never do it
Hard References and Soft References
The last piece of asset management is how Blueprints and C++ reference assets. This is what drives memory usage and load times.
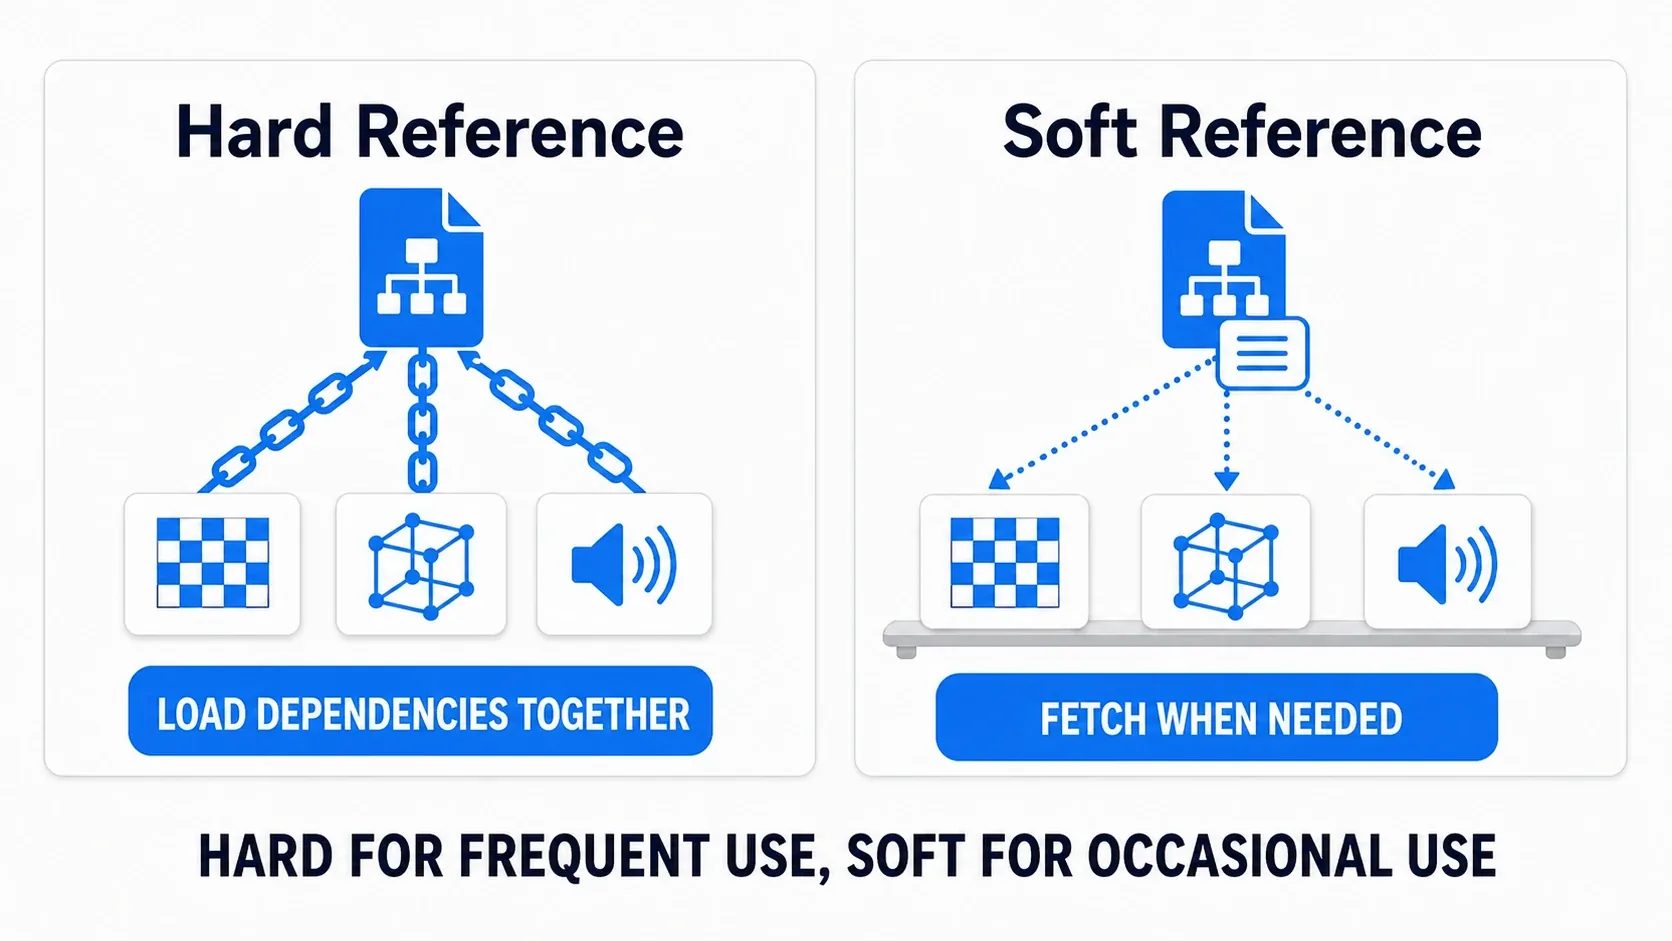
- Hard reference: references the asset directly (for example
TSubclassOf<AMyActor>, or a normal variable reference in Blueprint). When the referencing asset loads, the target loads with it, as if chained together - Soft reference: holds only the asset's address (path), such as
TSoftObjectPtr<UTexture2D>. The actual load can be deferred until the moment it's needed
The rule of thumb is simple: hard for what you always use, soft for what you rarely use. A hard reference to the player character's base class is fine, but making settings-screen backgrounds and high-resolution gallery images hard references means all of them get loaded into memory at startup.
You can do the same thing in Blueprint. In the dropdown where you pick a variable's type, choose "Soft Object Reference" (or Soft Class Reference for a class), and the variable holds only an address instead of the actual asset. When you need the instance, load it asynchronously with the Async Load Asset node.
Variable BackgroundImage (type: Soft Object Reference to Texture 2D)
  → Async Load Asset (Asset: BackgroundImage)
  → Completed → use the returned instance with Set Brush, etc.
A more detailed walkthrough of async loading in Blueprint is collected in Async loading and soft references. The lower-level C++ approach looks like this.
// MyActor.h
UCLASS()
class AMyActor : public AActor
{
    GENERATED_BODY()
public:
    // A soft reference that holds only the asset's "address"
    UPROPERTY(EditAnywhere, Category = "Config")
    TSoftObjectPtr<UMyDataAsset> ConfigData;

    UFUNCTION(BlueprintCallable)
    void LoadConfigData();

private:
    void OnConfigDataLoaded();   // Called when loading finishes
};
// MyActor.cpp
#include "Engine/StreamableManager.h"
#include "Engine/AssetManager.h"

void AMyActor::LoadConfigData()
{
    if (ConfigData.IsNull())   // Do nothing if no address is set (safety check)
    {
        return;
    }

    FStreamableManager& Streamable = UAssetManager::Get().GetStreamableManager();
    // Request an async load and receive a callback when it completes
    Streamable.RequestAsyncLoad(
        ConfigData.ToSoftObjectPath(),
        FStreamableDelegate::CreateUObject(this, &AMyActor::OnConfigDataLoaded));
}

void AMyActor::OnConfigDataLoaded()
{
    if (UMyDataAsset* LoadedData = ConfigData.Get())   // Get the loaded instance
    {
        // LoadedData is usable from here
    }
}
If C++ syntax itself (UPROPERTY, UFUNCTION) is new to you, starting with Your First Step from Blueprint to C++ will make this smoother. For combining this with data-driven design, see the Data Asset article.
Hands-On: Safely Relocating Scattered Assets
The thing to do right after learning the rules is to relocate the project you already have. NewFolder, Untitled, and unnamed materials piled up directly under Content while you were following tutorials: every project has this. Moving all of it into a new structure without breaking a single thing is the capstone of this article.
- Build the destination first: in the Content Browser, create the
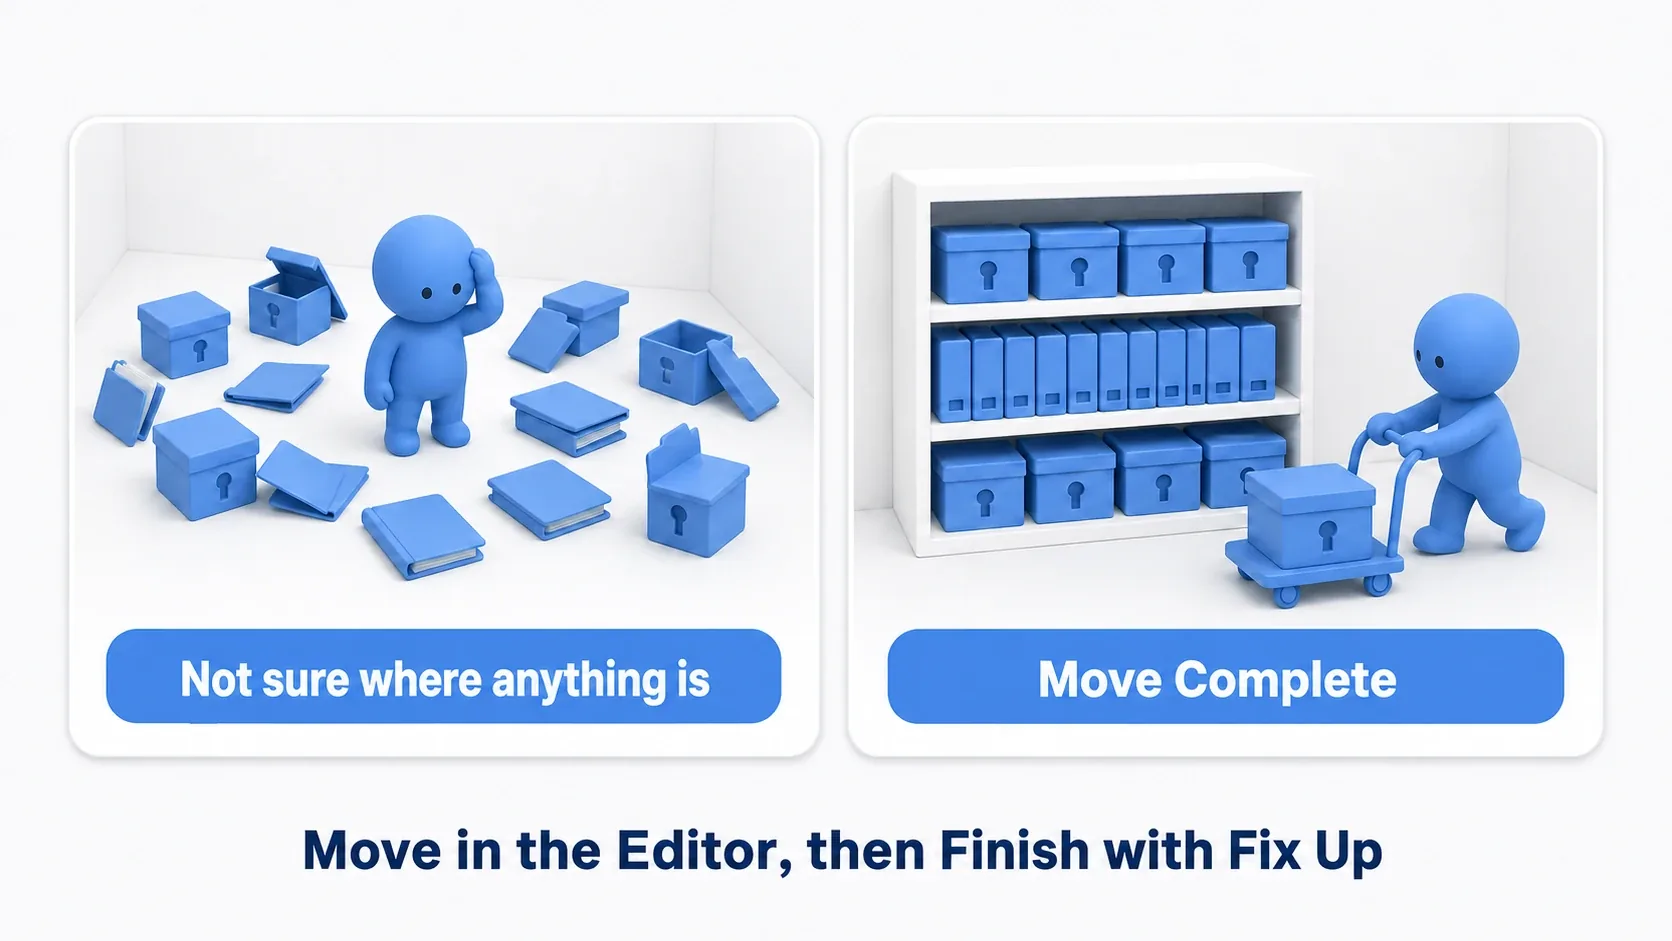
MyGamefolder and the feature folders under it (Characters,UI, and so on) before you start. A move without a decided destination just relocates the mess - Move one group at a time: select related assets together and drag and drop inside the editor to their new address. Not opening Explorer is the single most important rule here
- Rename while you're at it: turn
NewMaterialintoM_Floor_Stone. Using the prefix table, rework names so they identify the asset on sight - Finish with Fix Up: right-click the
Contentfolder and choose Fix Up Redirectors in Folder. This clears out the forwarding notes - Confirm nothing broke: open your main level, hit Play, and check that no materials have turned purple (the broken-reference warning color). For anything you're unsure about, open the Reference Viewer and confirm the references are connected
- Commit: if you're using source control, make a single commit here, something like "Reorganize content folders". A major operation like this is exactly when a save point is worth having
If everything looks normal when you hit Play, the move succeeded. If some material turned purple, open that asset in the Reference Viewer to find the broken reference, then open the moved asset and re-save it. That fixes it most of the time.
Two things to take away.
- Internalize "move in the editor, finish with Fix Up": keep those two beats and moving assets stops being scary
- Relocate in small batches: don't try to do everything in one night. Limiting yourself to "just the UI folder today" also makes it much easier to isolate problems when they come up
Bonus: Good to Know for Later
| Common mistake | What happens | Fix |
|---|---|---|
| Moving or renaming assets in Explorer | References break, and Fix Up Redirectors can't repair them | Always do it inside the Content Browser |
| Skipping prefixes | You can't tell whether MyTexture is a texture or a material, and search and filtering stop working | Consistently use T_ plus suffixes like _D/_N |
| Leaving marketplace assets unpacked directly under Content | They mix with your own assets, causing accidents on update or deletion | Isolate them in /Content/External/VendorName/ |
What to do when an asset breaks (white icon, purple material): (1) use the Reference Viewer to pinpoint where the reference is severed, (2) run Fix Up Redirectors in Folder on the folder you believe was the original location, and (3) if that still doesn't work, delete the broken asset and re-import it to the correct path.
Summary: Asset Management Checklist
| Check | Frequency |
|---|---|
Are folders feature-based (MyGame/Characters/Knight)? | At project start and when adding features |
| Does every asset have the correct prefix? | Every time you create an asset |
| Did you run Fix Up Redirectors after moving or renaming? | Every time, before committing |
| Are rarely used assets soft references? | When writing BP/code |
Are any production assets still sitting in the Developers folder? | At every milestone |
Asset management isn't just tidying up. It's an investment in your future self and your team. Thirty minutes spent organizing structure today erases dozens of hours of searching and debugging tomorrow.
Next, check your Content Browser skills with the editor UI guide, then pick up the ability to investigate things that don't work with debugging using Print String.
How many assets are sitting directly under Content in your project right now with no fixed address? Decide on just one destination folder and start moving.