You open a Blueprint you built a few months ago, and the nodes are tangled, wires run across the screen in every direction, and you have no idea where to start reading. That's spaghetti code.
Blueprint is extremely flexible, and that flexibility means graphs always tangle if you leave them alone. There are three causes: execution pins that can be connected from anywhere, duplication from copy-pasting, and the habit of cramming every new feature into one graph. In this article we sort 10 techniques for untangling them into three families (splitting, appearance, and names and values), and finish with a 15-minute renovation of a messy graph.
What You'll Learn
- 10 techniques for preventing spaghetti (3 for splitting, 4 for appearance, 3 for names and values)
- How Reroute nodes and alignment shortcuts actually work in practice
- The real point of the naming conventions Epic officially recommends
- Hands-on: renovating a messy graph in the order zone, align, box up
Why Blueprints Get Tangled
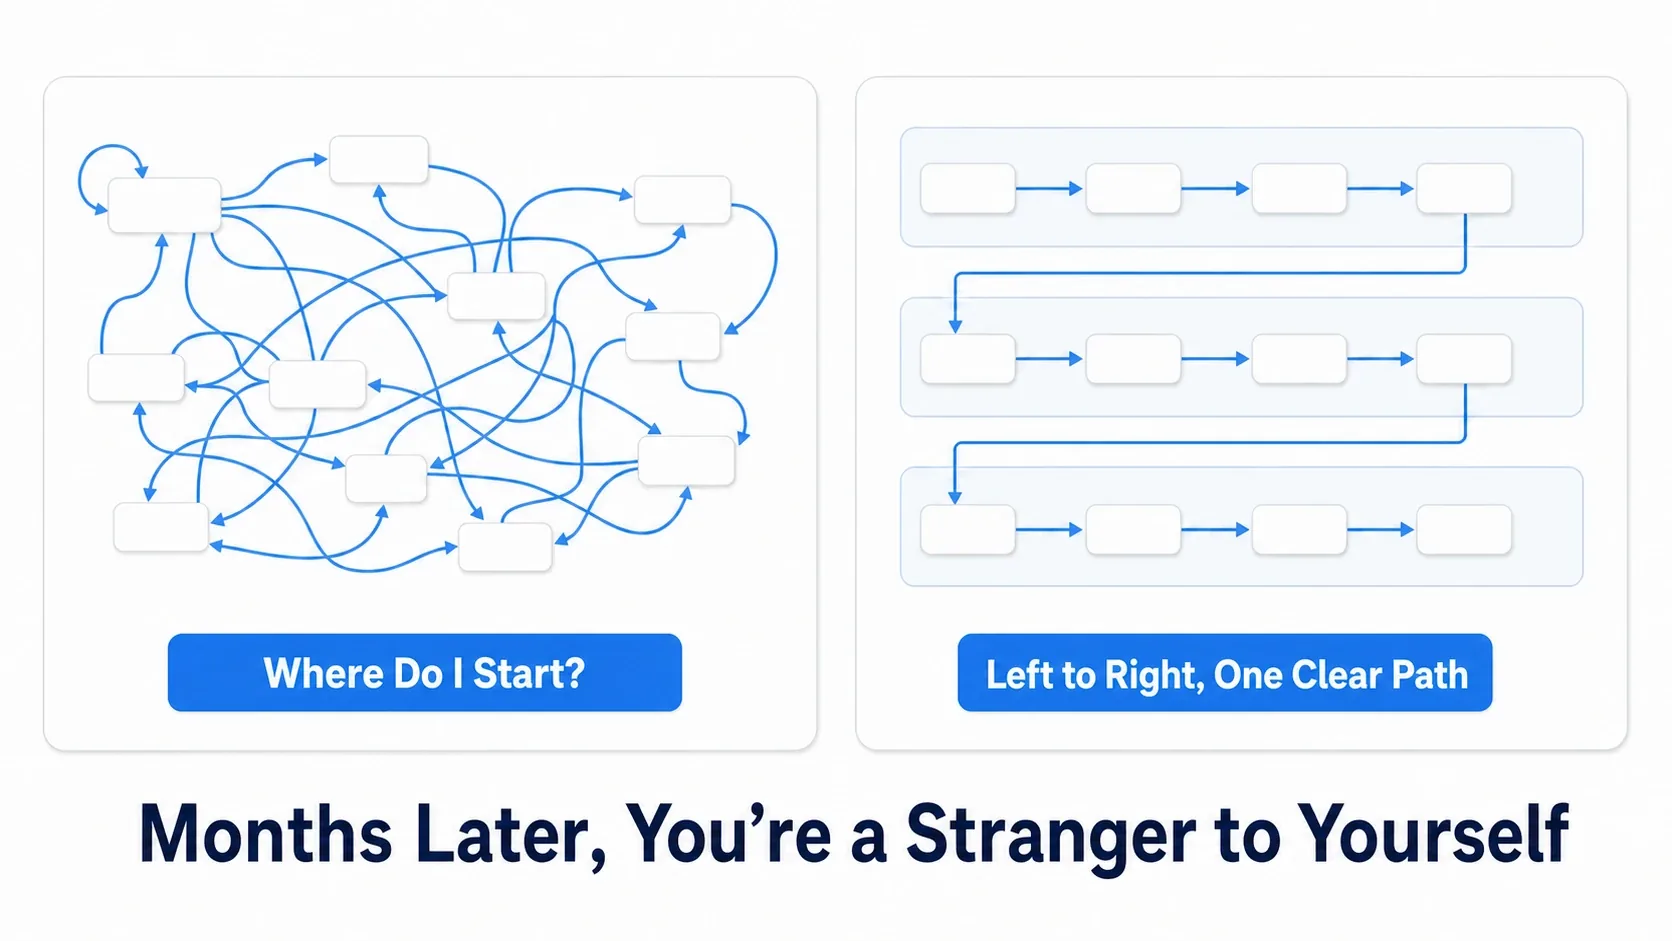
The point of organizing isn't aesthetics. The you of a few months from now is effectively a stranger. Keeping the graph readable for that stranger directly affects how fast you can add features and how few bugs you ship. Bring the culture that's taken for granted in C++ (functions, naming conventions, formatting) into Blueprint too.
10 Techniques in Three Families
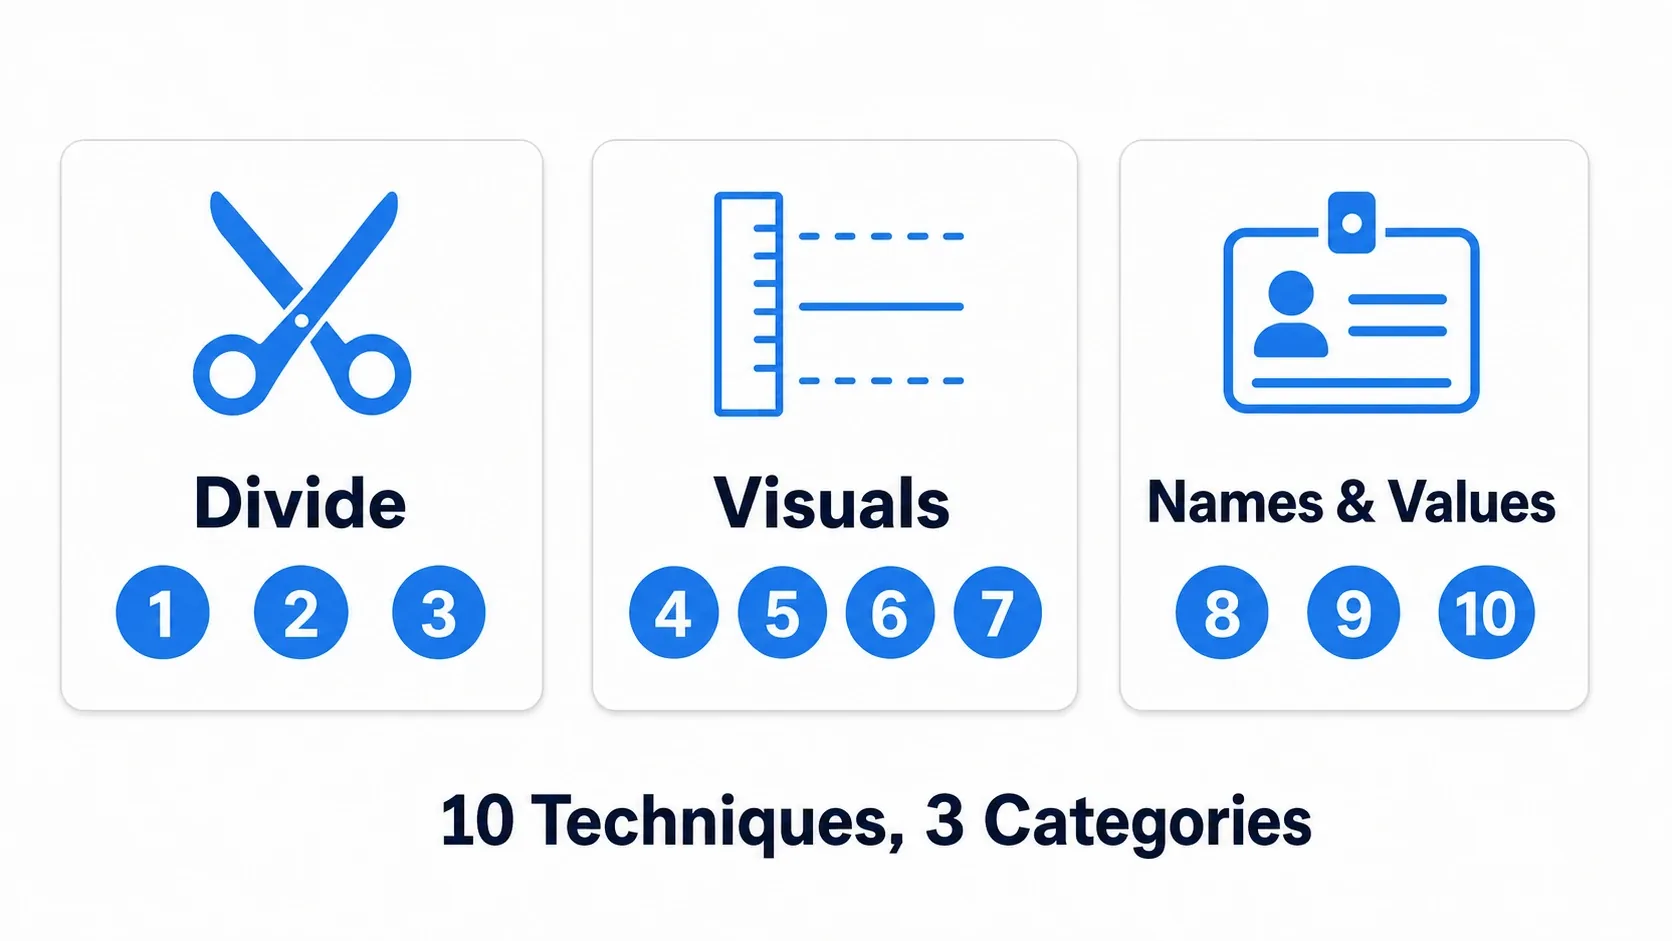
| Family | Techniques |
|---|---|
| Splitting | 1. Functions 2. Macros 3. Splitting into Components |
| Appearance | 4. Comment boxes 5. Node alignment 6. Reroute nodes 7. One direction, left to right |
| Names and values | 8. Variable naming conventions 9. Local variables 10. Turning magic numbers into constants |
Splitting Techniques (1-3)
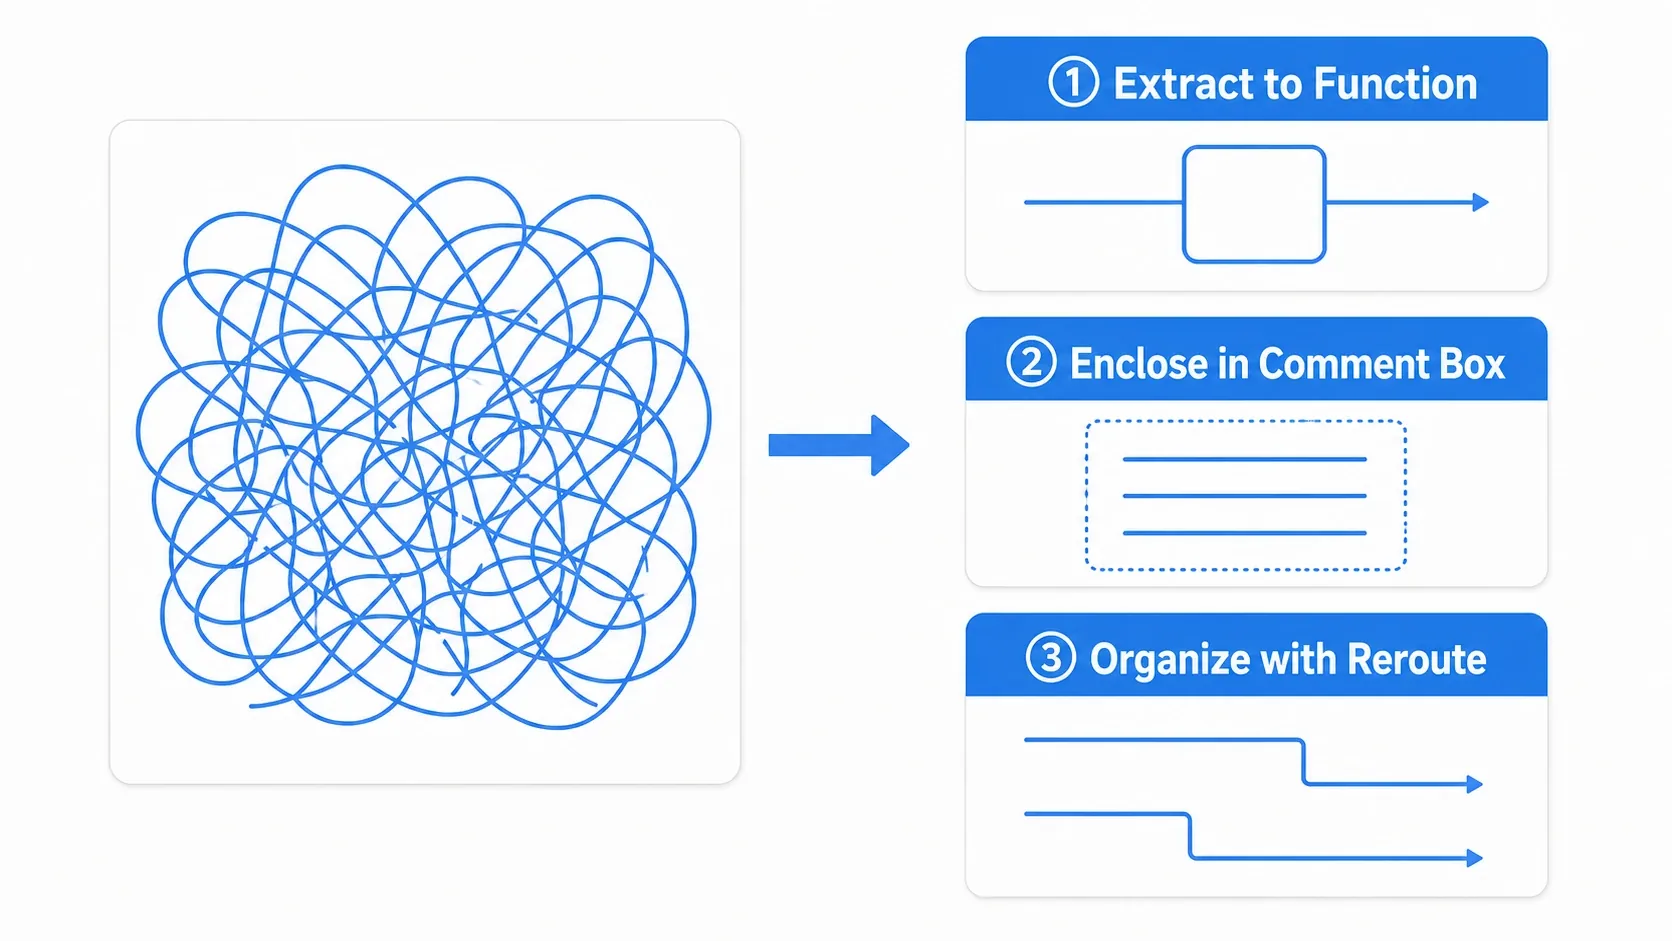
The highest-impact move is extracting logic into the right units.
- 1. Functions: Logic that returns a result, like "calculate final damage" or "search for an item," goes into a Function. You get local variables and easier debugging
- 2. Macros: Execution flow control patterns that include
DoOnceorBranchgo into a Macro. As covered in Function vs Macro, the rule is Function by default, Macro only for timing and branching - 3. Splitting into Components: A single cohesive concern like health or inventory shouldn't live in the same graph at all. Extract it into a custom Component. This is the most fundamental split, because it shortens the Event Graph itself
Appearance Techniques (4-7)
- 4. Comment boxes: Select a group of nodes, press
Cto wrap them, and write what the logic is for. Not "damage processing" but "calculate final damage accounting for defense." The trick is to write the purpose - 5. Node alignment: Select multiple nodes, right-click, and choose Alignment, or use the shortcuts
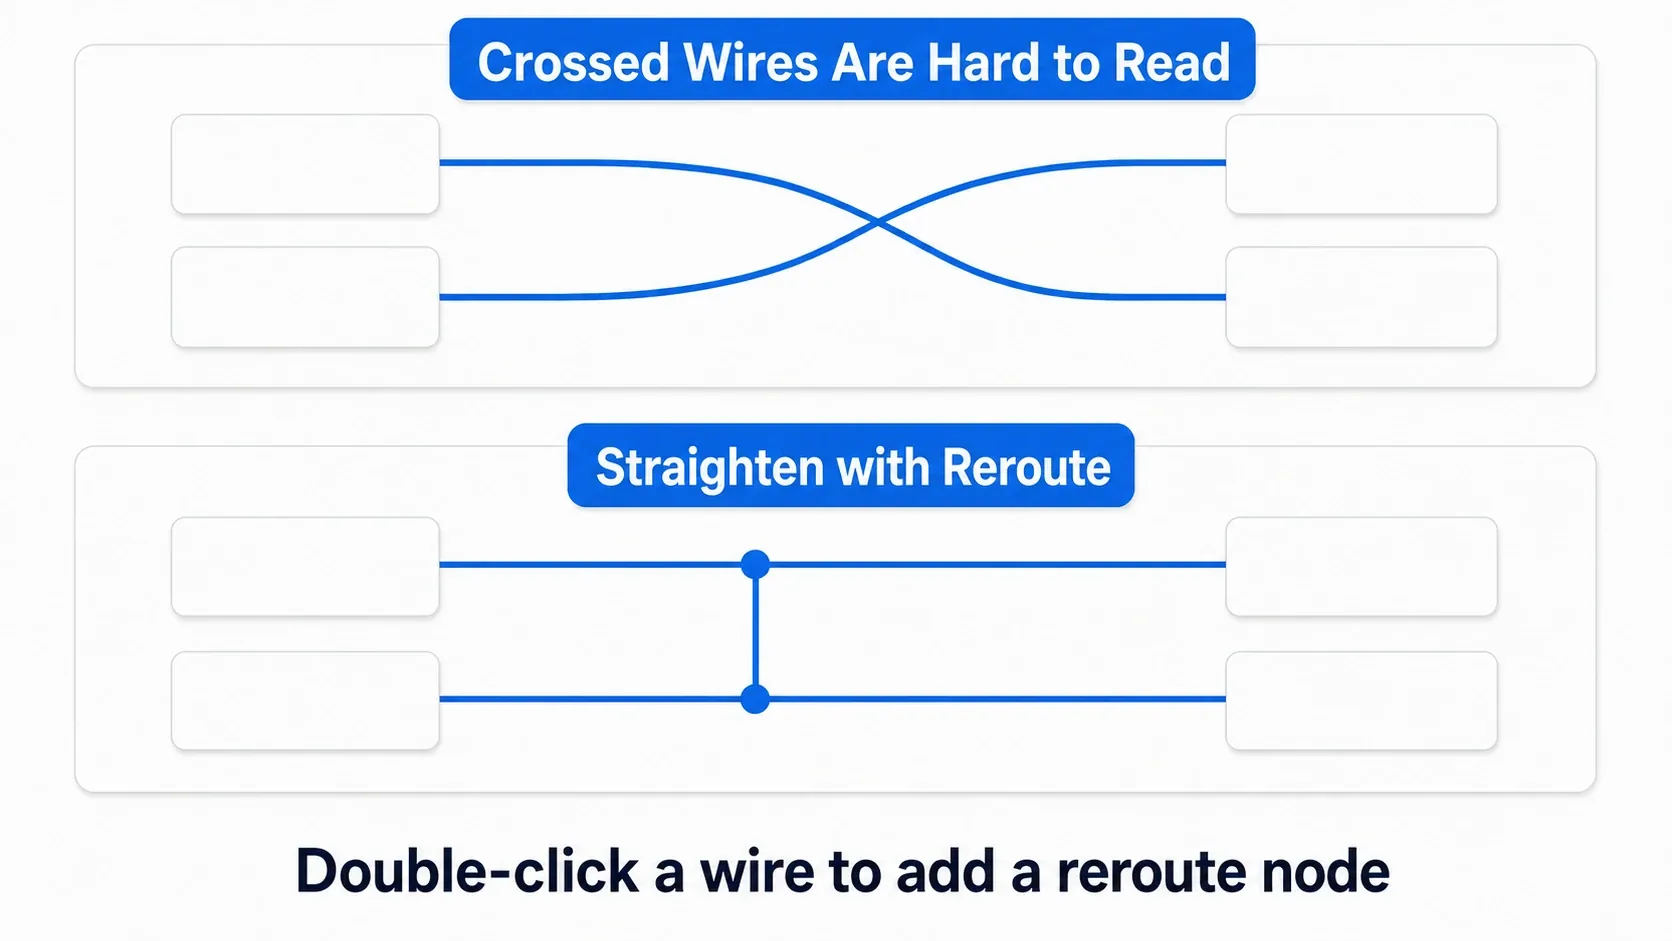
Shift + W/S/A/D(align top/bottom/left/right). Just making this a habit changes the look dramatically - 6. Reroute nodes: Double-click a wire to drop a relay point. Route crossing wires around at right angles and keep the lines readable
- 7. One direction, left to right: Both execution and data should always flow left to right and top to bottom. When a wire starts flowing backwards, that's a sign you need a function or a Reroute
Names and Values Techniques (8-10)
- 8. Variable naming conventions:
Temp1andNewVarare a hostile act against the stranger you'll be in a few months. Some teams prefix variables by type (bIsJumping,fMoveSpeed), but the only prefix Epic's official standard requires isbfor Booleans. Which style you choose matters far less than being consistent within your project - 9. Local variables: Intermediate values used only inside a function belong in local variables. You cut down pins and wires in the graph and prevent accidental overwrites (see Introduction to Blueprint variables)
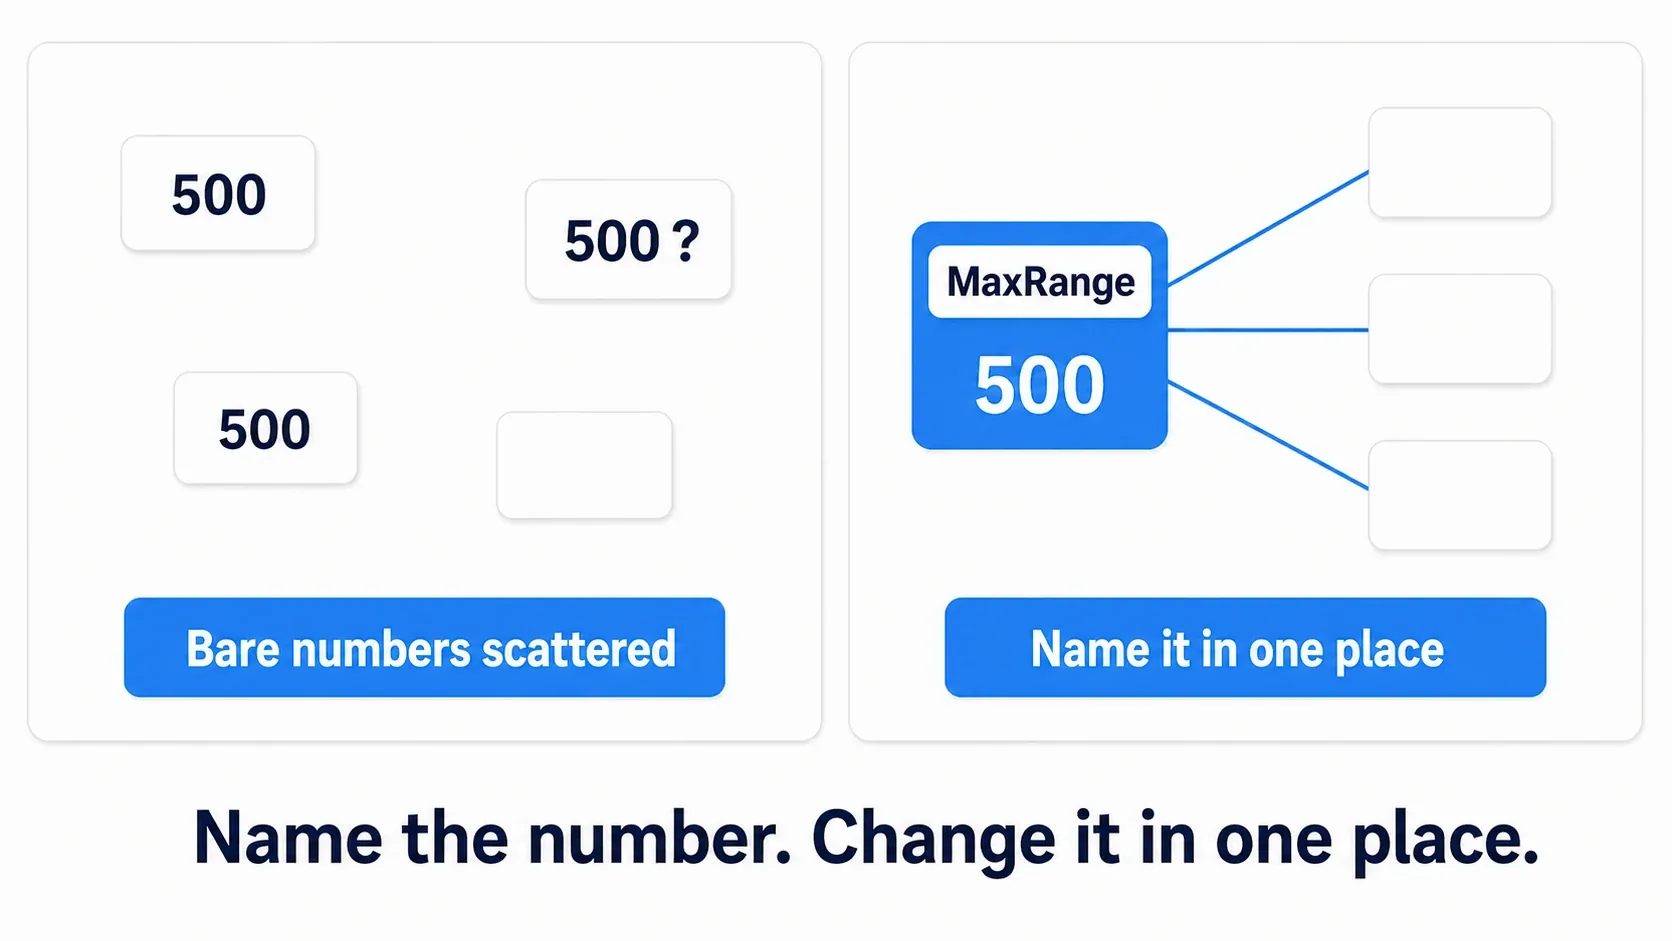
- 10. Turning magic numbers into constants: A raw
500.0typed into a node means nothing to anyone three months later. Whether a tower defense's500.0is range, price, or health is impossible to tell from the number alone. Give it a named variable (MaxRange) and manage it in one place, and the meaning comes across while tuning stays a single edit
Hands-On: Renovating a Messy BeginPlay in 15 Minutes
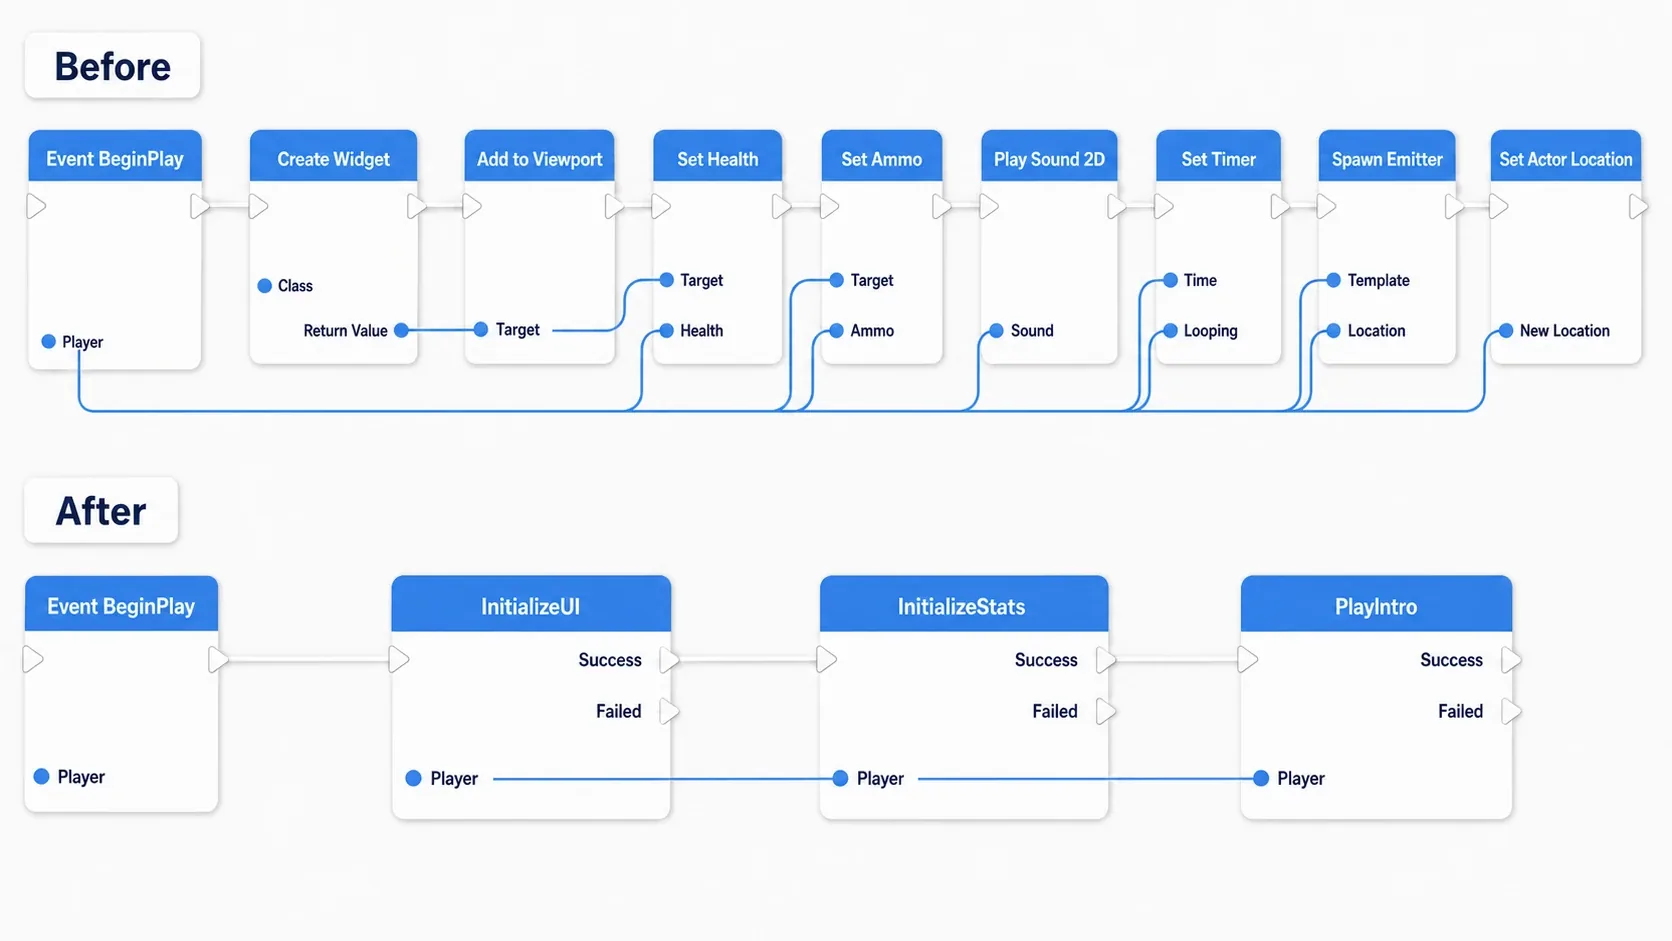
Rather than memorizing all 10 techniques, it's faster to apply them in order. Our subject is the "BeginPlay that has everything crammed into it" that exists in every project. For example, picture these 12 nodes wired into one chain.
Event BeginPlay
  → Create Widget → Add to Viewport             (UI)
  → Set Health(100) → Set Ammo(30)              (stats)
  → Play Sound 2D(BGM)                           (audio)
  → Set Timer by Event(auto-heal)                (stats)
  → Spawn System at Location(intro effect)       (effects)
  → Set Actor Location(start position) → …
Before you start renovating, try explaining out loud, in 30 seconds, what this BeginPlay does. If you can't say it without stalling, it's already a stranger's graph. The renovation takes three steps, the same way you'd tidy a room. The goal is to turn that single line above into a "table of contents that just calls three functions," like the one below.
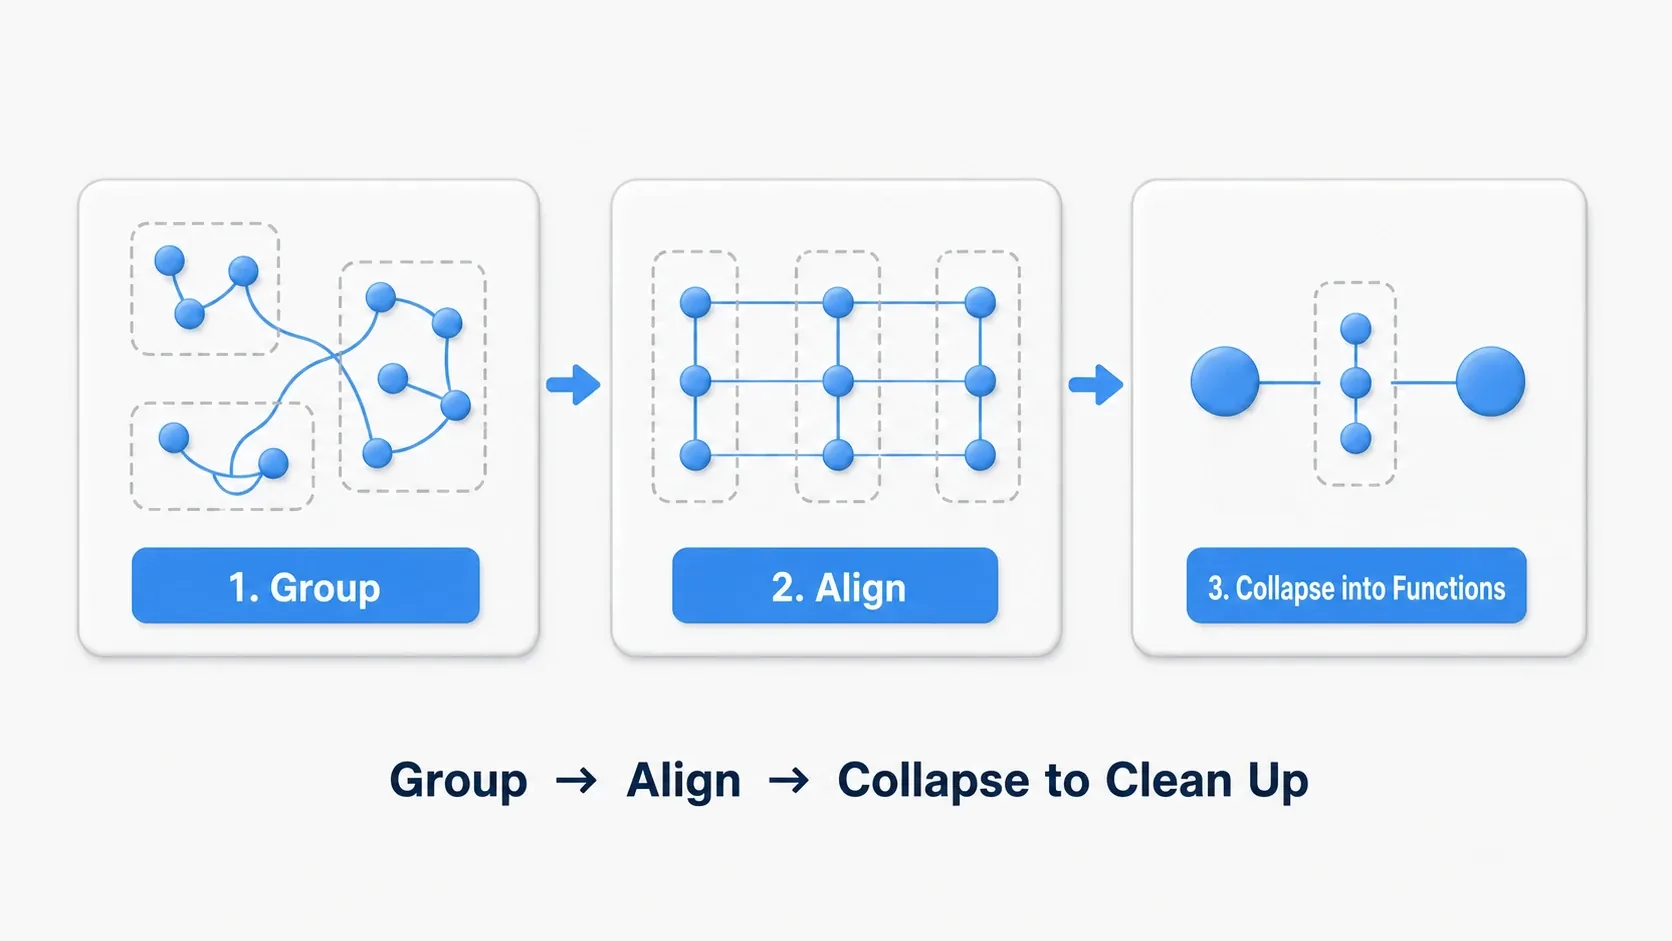
- Zone it (technique 4): First, look over the graph and wrap each meaningful group in a comment box. In the example above it splits into three zones: "UI," "stats," and "audio and effects." You don't have to move a single node yet. Just drawing the zoning lines on the map brings the big picture into focus
- Align it (techniques 5, 6, 7): Within each zone, use
Shift + W/A/S/Dto line up heights and edges, drop Reroute relay points on crossing wires, and get the flow running left to right in a single path. At this point you have "readable spaghetti" - Box it up (techniques 1-3): Look at each zone, and whenever you think "this is a procedure I use every time," select the nodes, right-click, and pick Collapse to Function. The three zones become functions with verb names like
InitializeUI,InitializeStats, andPlayIntro, and BeginPlay becomes a table of contents that just calls those three. Collapsing to a function also lets you skip over it in one go with Step Over while debugging (→ the Blueprint Debugger article)
Finish by hitting Play once and confirming the behavior matches the pre-renovation version. Organizing shouldn't change behavior at all, so if something did change, look for pins you missed connecting during the Collapse. If the whole graph enters your head like a table of contents when you open it the next day, the renovation worked.
Two things to take away.
- Order determines efficiency: If you start with functions, you'll get stuck deciding what to group together. Going zone (find the meaning), align (confirm the flow), box up (execute the split) lets you move without hesitation
- The best time to renovate is right before adding a feature: The day you think "I'm going to add something around here" is exactly when you should spend 15 minutes cleaning first. Building an extension onto a mess only accelerates the tangling
Bonus: Good to Know for Later
- The
Qkey straightens wires: Select multiple nodes and pressQ(Straighten Connections), and the nodes nudge into positions that make the connected wires straight. Combine it with technique 5 for a powerful pairing - Collapse Nodes is appearance only: The right-click Collapse Nodes option just folds nodes up; you can't reuse them. If you want reuse, choose Collapse to Function / Macro instead (see Function vs Macro)
- Review a huge Tick before organizing it: If a graph has everything hanging off Event Tick, question whether it should be Tick at all before you organize it (see designing without Event Tick)
Summary
Boiled down, the 10 techniques are three habits.
- Split: Use functions, macros, and Components to extract logic into small units
- Organize visually: Use comments, alignment, Reroute, and one-way flow to keep the flow easy to follow with your eyes
- Name things: Give names to variables and numbers, and gather the meaning into one place
And the motto is "the you of a few months from now is a stranger." A graph that's kind to that stranger also speeds up your development today.
To get ahead of common pitfalls, see 10 common Blueprint mistakes as well.
Which graph in your project is the messiest? Start today by drawing three comment box zoning lines in that graph.