Once you've created a project, you want to dive straight into building. But there are a few settings worth taking care of first.
Skip the initial setup and you'll later lose time and motivation to problems that have nothing to do with making a game: "why is this so slow," "I deleted a file and can't get it back," "our files keep conflicting." Spend thirty minutes on five settings up front and you get a stable environment, one you can safely break, which means one you can experiment in. This article walks through those five with the reasoning and steps, then finishes with a hands-on session where you make your first commit and start the time machine.

What You'll Learn
- How to set up source control (Git) and how to think about a UE5-specific
.gitignore- When to use Editor Startup Map versus Game Default Map
- What to check for the Enhanced Input System (enabled by default from UE5.1 on)
- The standard language and performance settings for the editor
- Hands-on: make your first commit, then break something on purpose and restore it
Setting Up Version Control
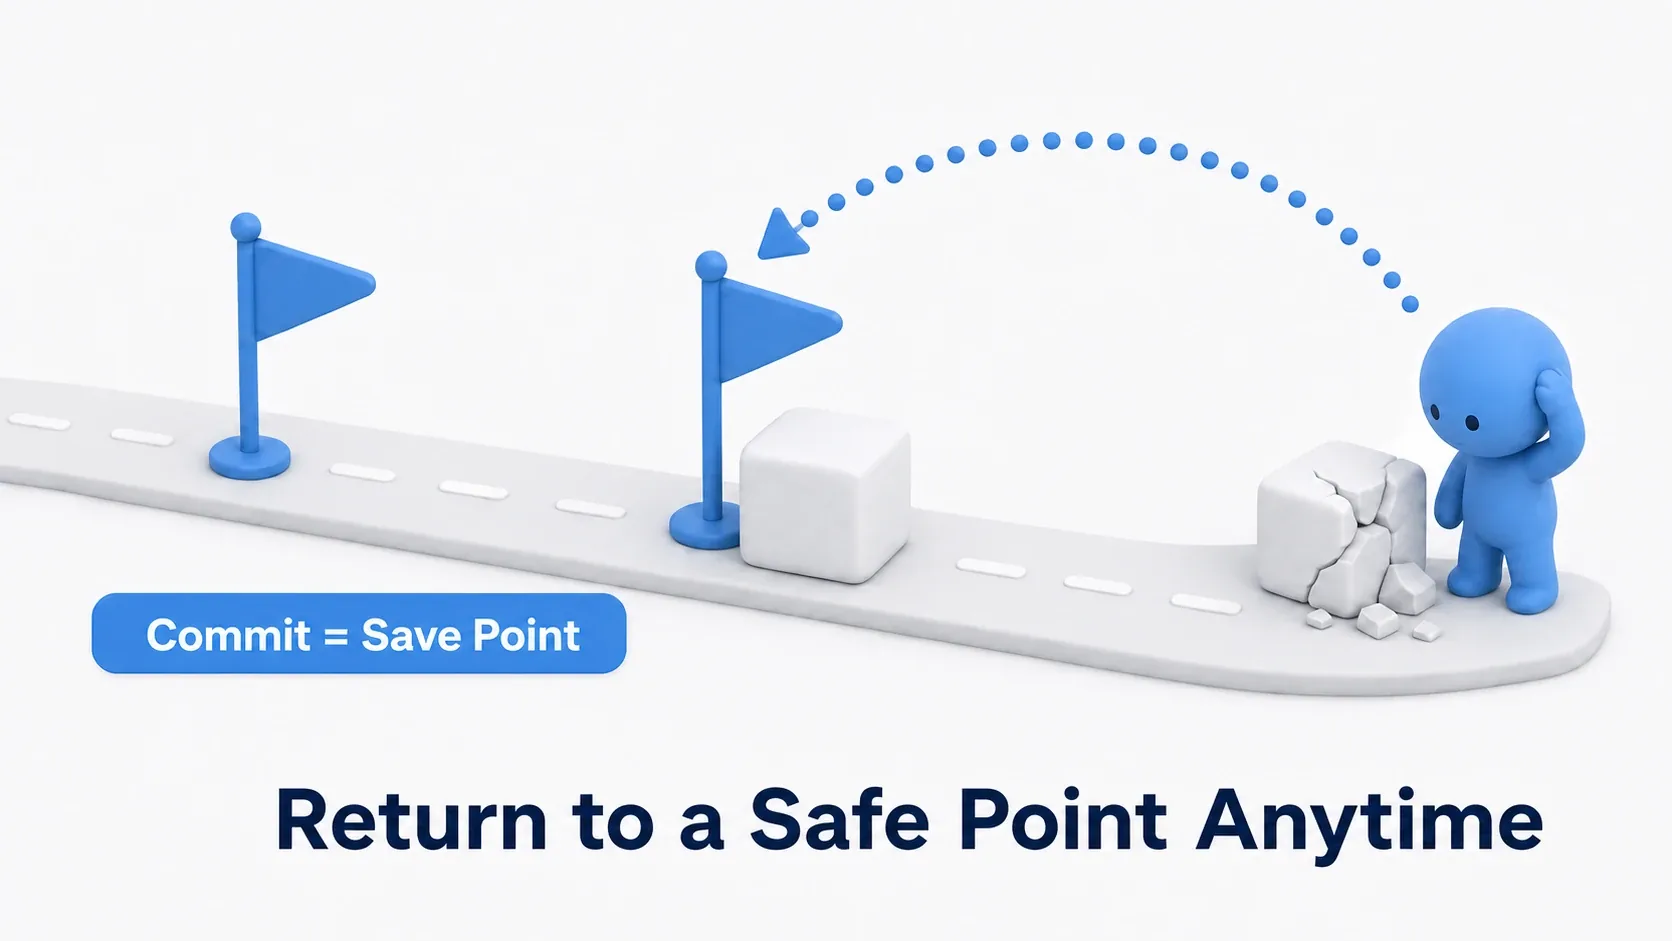
Source control (Git or Perforce) is your project's insurance policy and its time machine. Introduce a bug, or accidentally delete an important file, and without source control a whole day of work is gone. In the worst case you lose the entire project. It's essential even for solo development.
- Install Git: install it from the official Git site and create a repository in your project folder (we'll actually do this in the hands-on section)
- Connect it to the UE editor (optional): go to Tools → Source Control → Connect to Source Control to review changes and commit from inside the editor
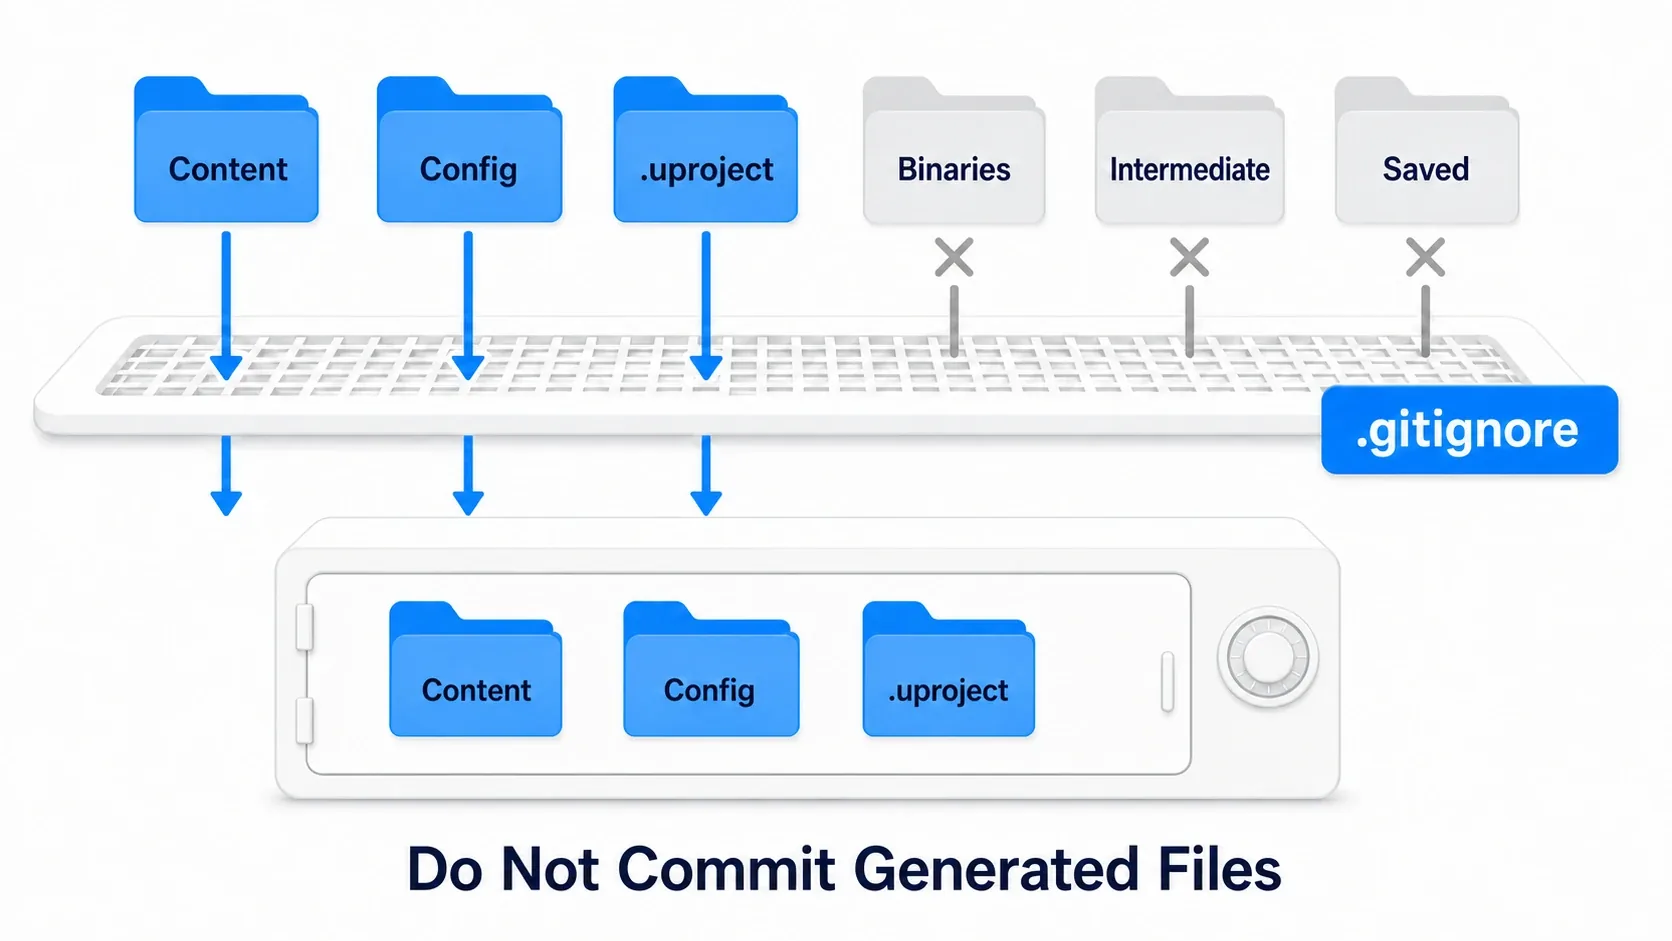
.gitignore: Don't Commit Generated Files
A UE project folder contains a mountain of temporary files the engine can regenerate at any time (Binaries, Intermediate, DerivedDataCache, Saved). Put those in your repository and its size balloons without limit, and on a team they become a breeding ground for conflicts. Commit only what you made yourself: Content, Config, the .uproject file, and so on. .gitignore is what does that sorting automatically.
# Build output (the engine can regenerate these)
Binaries/
Intermediate/

# Cache
DerivedDataCache/

# Temporary files, logs, autosaves
Saved/

# Visual Studio generated files
*.sln
.vs/

# Plugin build artifacts (created the moment you add a single plugin)
Plugins/**/Binaries/
Plugins/**/Intermediate/

# macOS
.DS_Store
Once large binary assets such as models and textures start piling up, consider adding Git LFS (see Git for UE Projects). And note that "zip the whole thing as a backup" is not a substitute for source control: you can't follow the history, so you lose track of which snapshot was the good one.
Default Maps and Game Mode
Deciding up front "which level opens on startup, and under which rules it runs" improves both your development speed and the accuracy of your testing. Configure it in Project Settings → Maps & Modes.
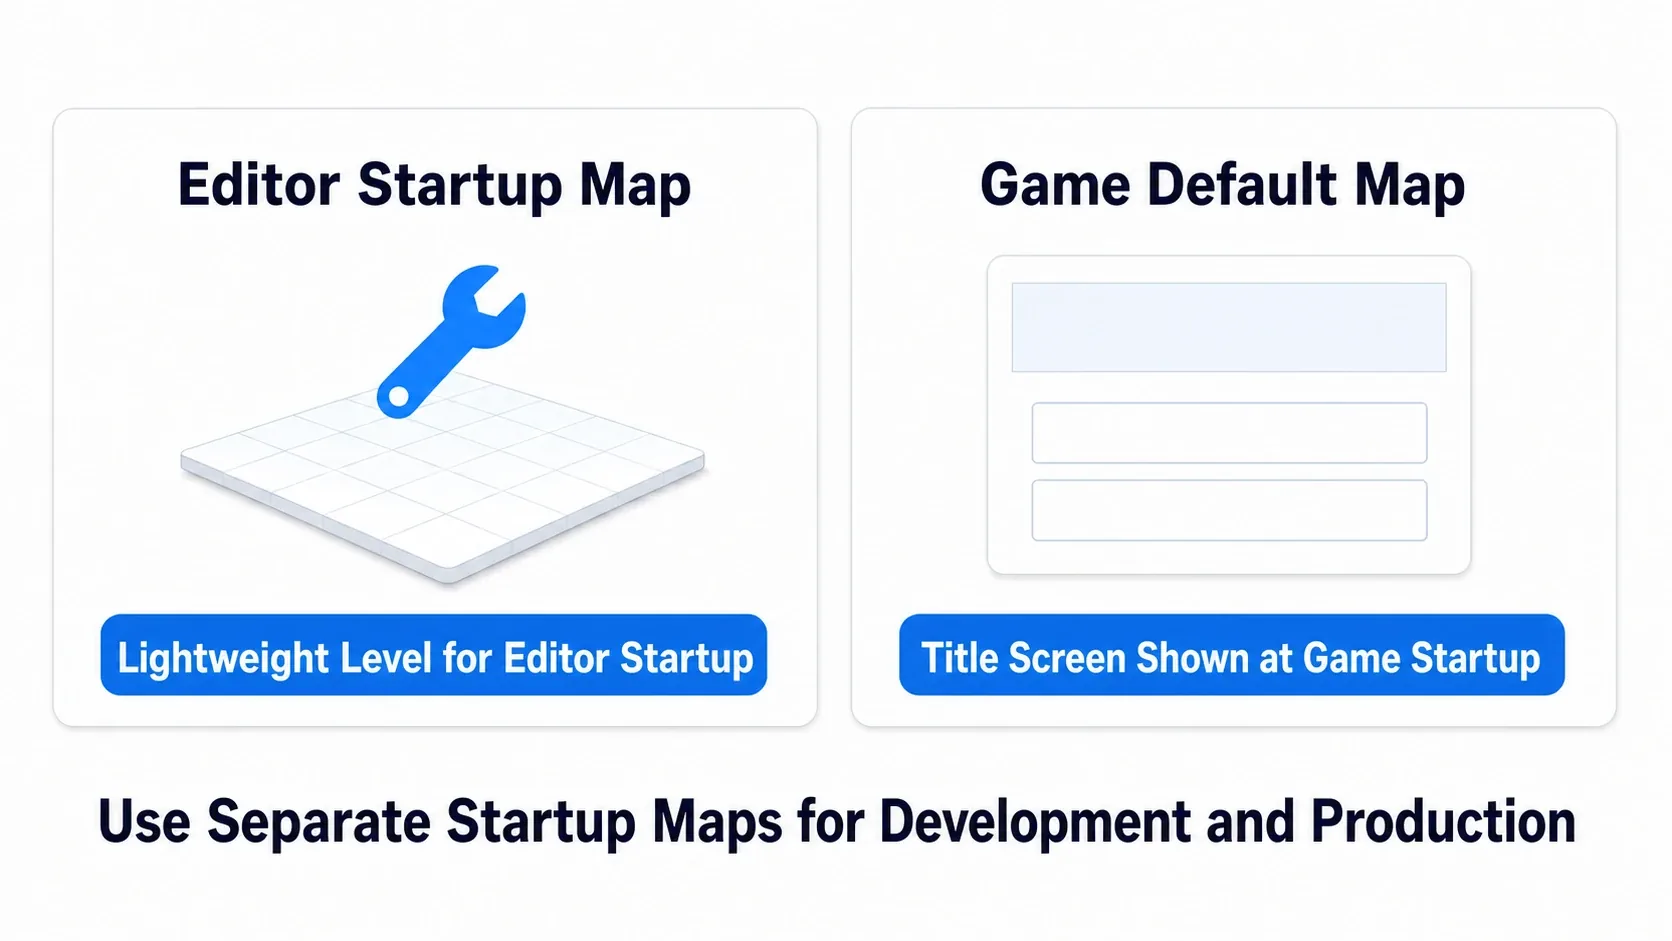
- Editor Startup Map: the level that opens when you launch the editor. Pointing it at a heavy production level makes editor startup slow, so the standard practice is to specify a lightweight test level for development
- Game Default Map: the level loaded first when the packaged game starts. It usually points at the title screen or main menu
- Default GameMode Class: the GameMode used as the project-wide default (for example
BP_MyGameMode). GameMode is the class that bundles "which character to use, where to spawn, and the game rules" (→ UE5 core concepts, and in more depth Understanding the Game Framework)
"I pressed Play and an unfamiliar map opened." "I packaged the game and it started from my test level." Confusion like this almost always traces back to overlooking these settings.
Input Settings (Enhanced Input System)
The Enhanced Input System is the standard input mechanism from UE5.1 onward. The legacy input system (Input Mappings) is already deprecated, so any project you start now should be built on Enhanced Input.
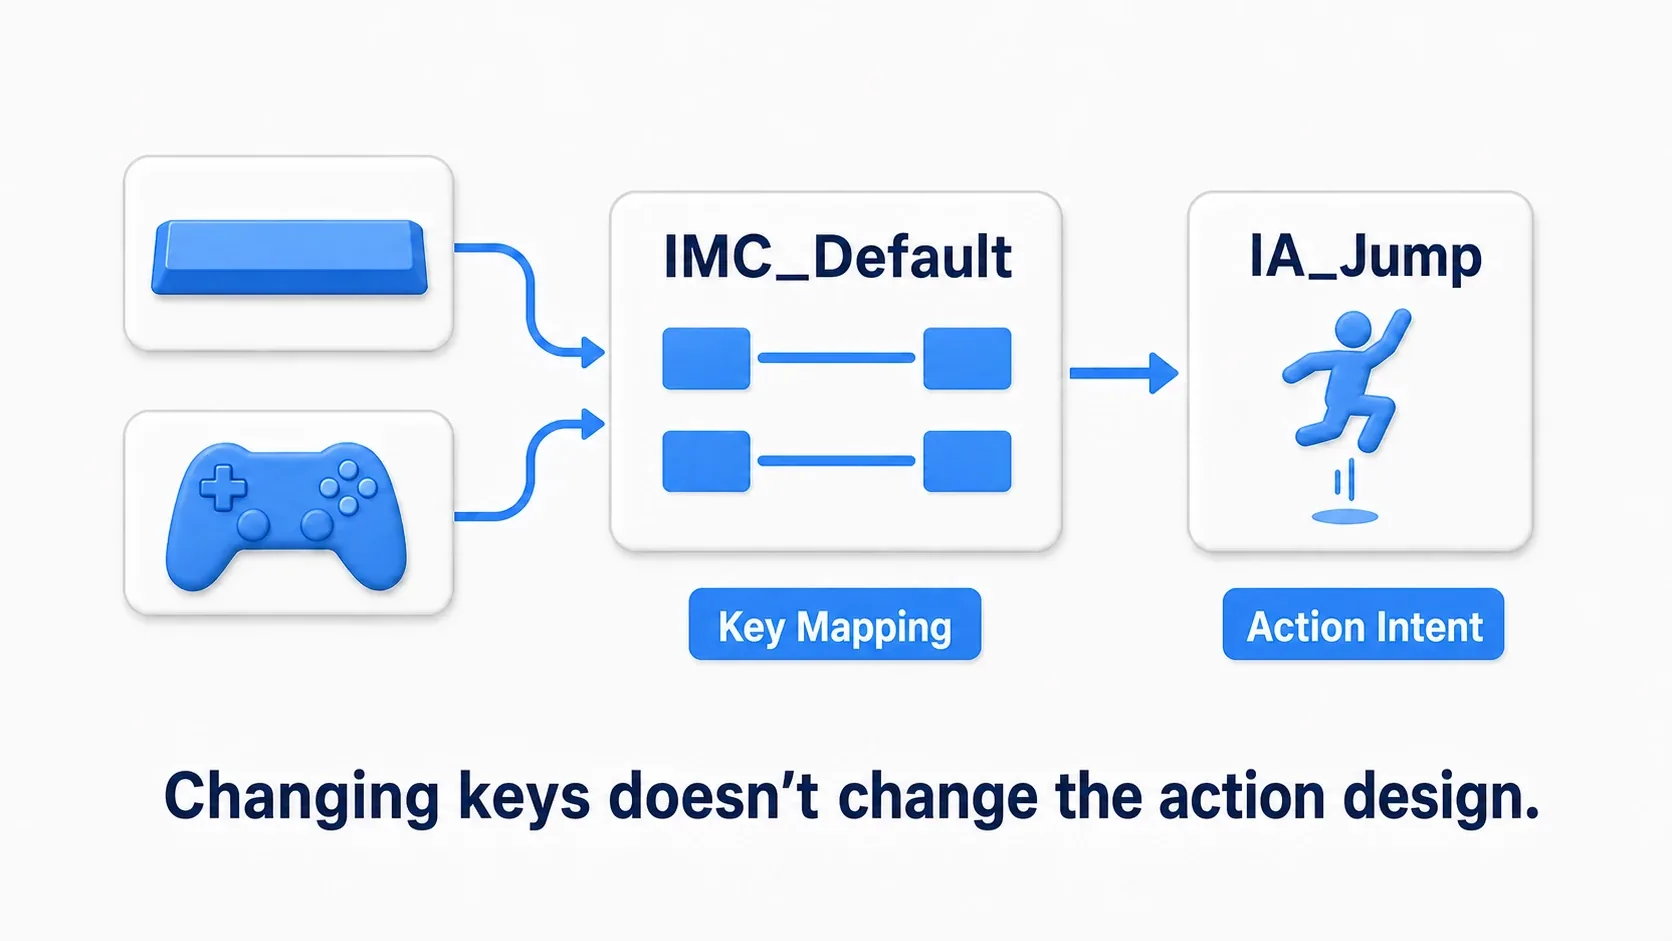
The core of the system is separating the intent of an action from its key assignment.
- Input Action (IA): defines the intent of an action, such as "jump" or "move"
- Input Mapping Context (IMC): defines which keys or buttons are assigned to that intent
Thanks to that separation, changes like "swap the space bar for the gamepad's A button" or "add a key-config screen later" happen without touching your game logic at all.
What to check: in new projects from UE5.1 onward, the Default Classes under Project Settings → Engine → Input are already set to EnhancedPlayerInput / EnhancedInputComponent. Normally you only need to confirm that. Change those two only if you migrated from UE5.0 or earlier, or if the values still point at the legacy classes. To learn how to actually use it, from creating IAs and IMCs to receiving input in Blueprint, work through Intro to the Enhanced Input System.
Editor Language Settings
You can pick the display language under Edit → Editor Preferences → General → Region & Language.
If English isn't your first language, it's still worth stretching a little and setting the editor to English. The reason is purely practical: error messages, the official documentation, tutorials, and troubleshooting threads all circulate using the English UI terminology. It removes the extra step of translating a localized menu name back into English before you can search for it. Of course, getting the big picture in your own language first and switching to English once you're comfortable is a perfectly fine path too.
Editor Performance Settings
UE5 is powerful, and out of the box the editor puts a heavy load on your PC. On laptops and mid-range machines especially, just these two settings make a noticeable difference.
- Turn off realtime rendering: turning off Realtime (
Ctrl + R) from the menu in the top-left of the viewport stops the view from redrawing while you aren't interacting with it, which cuts CPU/GPU load and fan noise dramatically - Cap the frame rate: under Editor Preferences → General → Performance, set an upper limit such as 60 with "Use Less CPU when in Background" and the editor frame rate cap to stop wasting resources
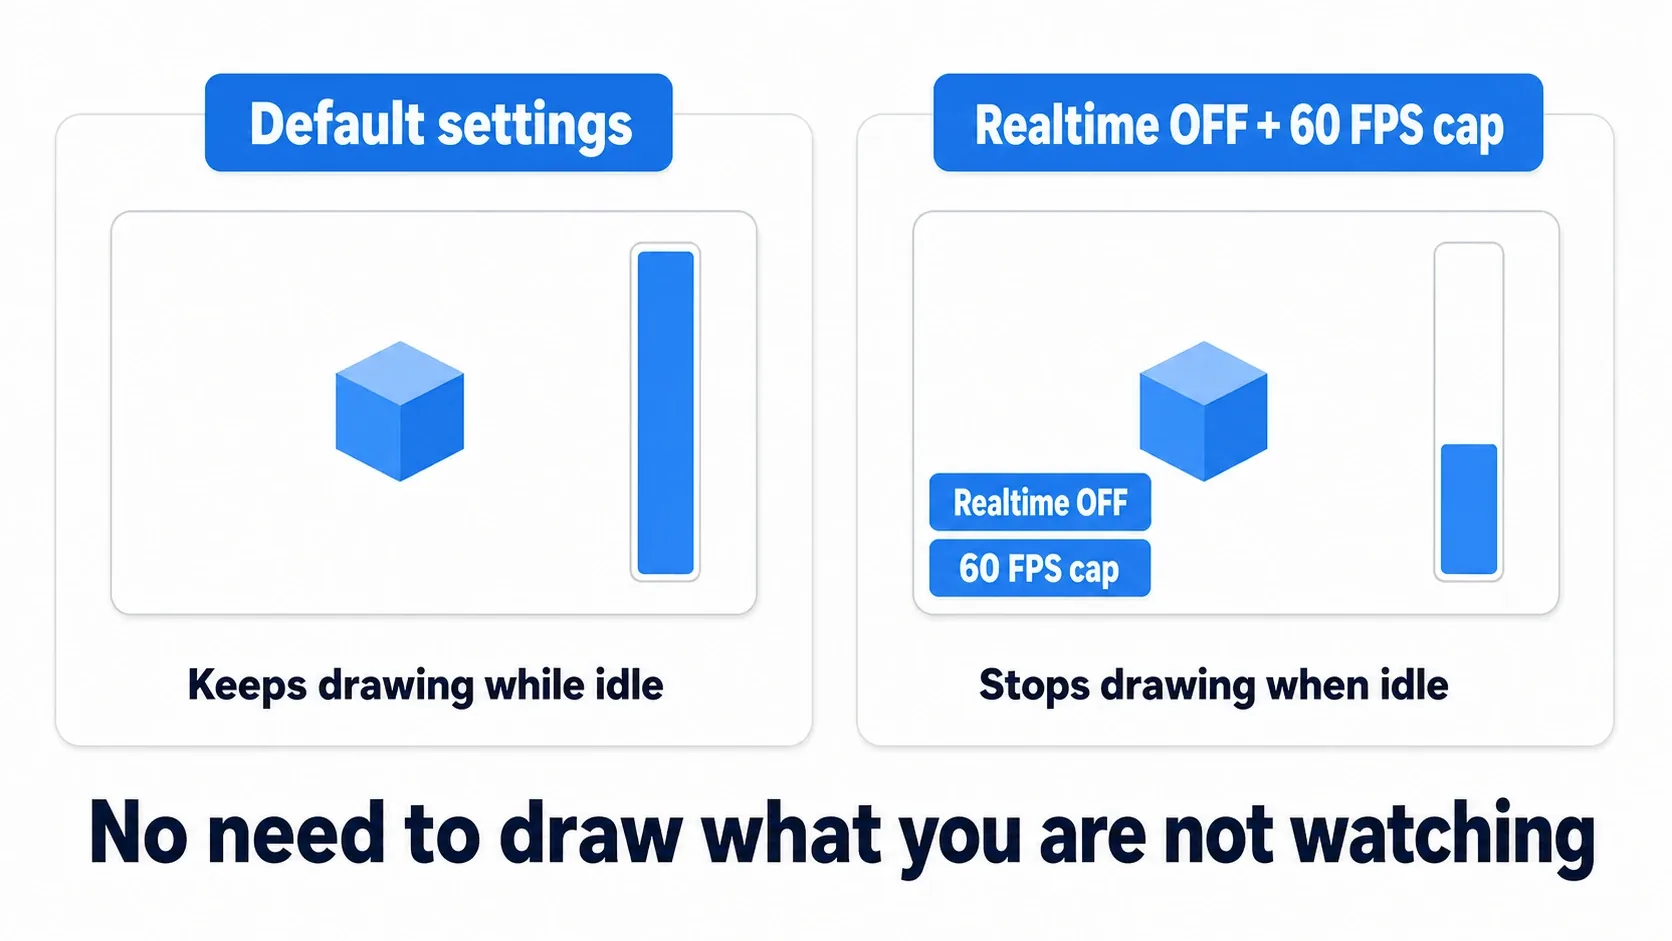
A common misconception: lowering the Scalability settings (rendering quality) in the top-right of the viewport has no effect on the final packaged quality. It only affects what you see in the editor, so feel free to turn it down to match your PC during development.
Hands-On: Start the "Time Machine" with Your First Commit
Rather than leaving this at settings talk, let's confirm that the most important safety net actually works. Here we'll make a first commit, then deliberately break a file and bring it back. Do this once and you'll never again be afraid to run a bold experiment.
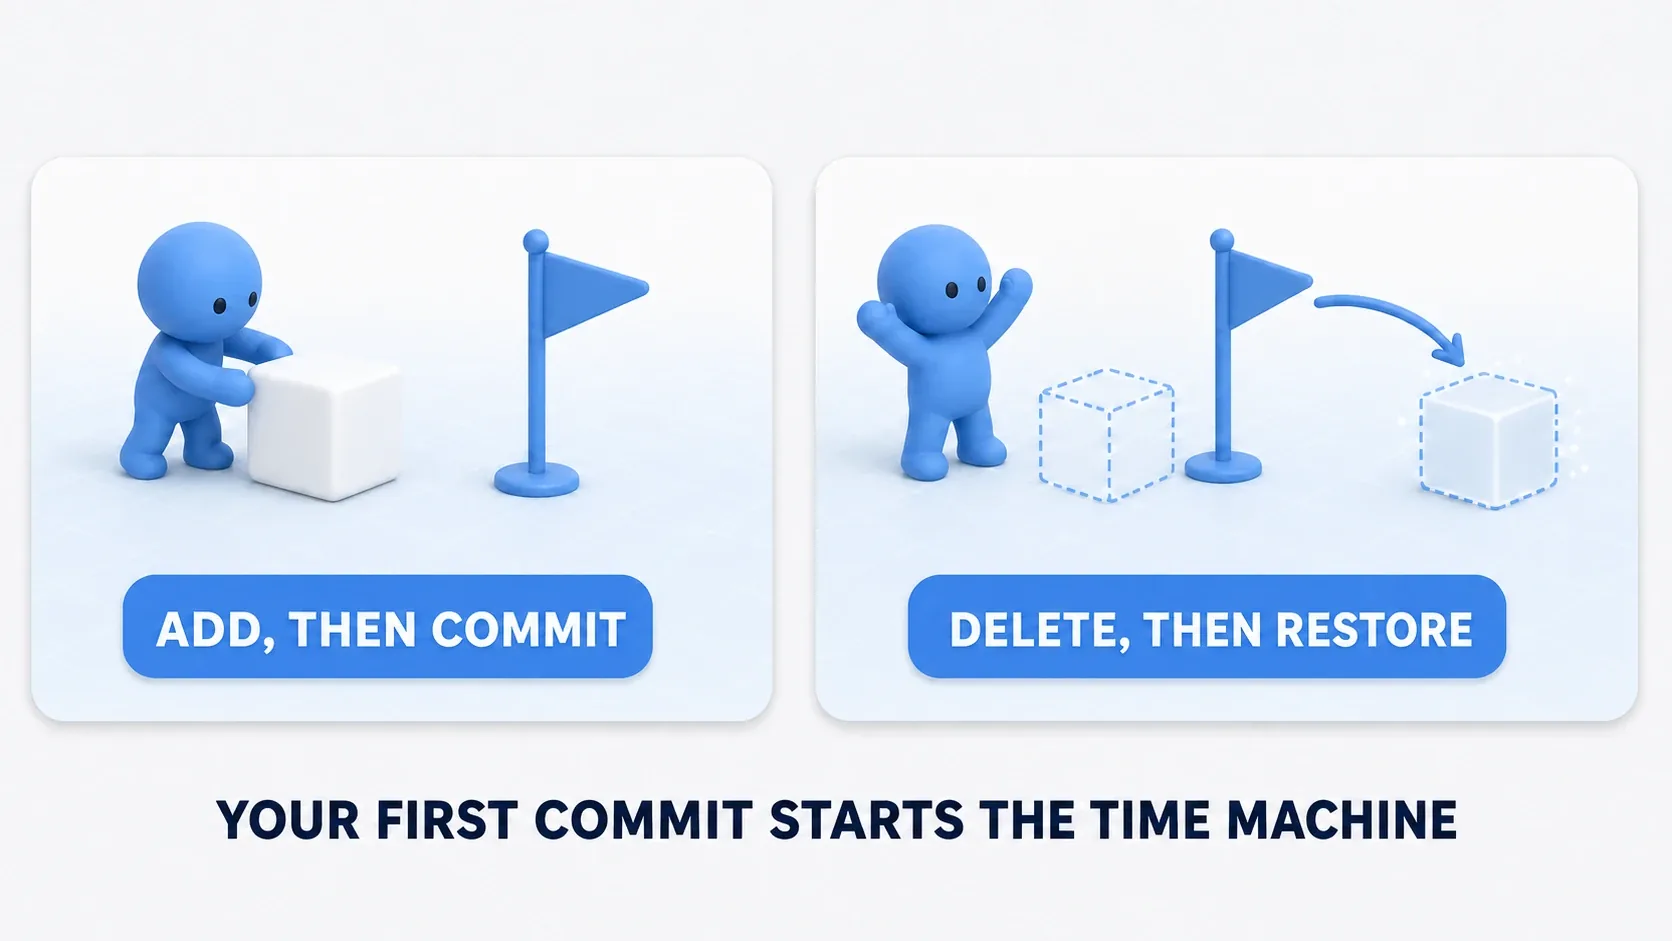
Open a terminal in your project folder (the one containing the .uproject) and run the following.
git init
# After placing the UE5 .gitignore shown above at the project root:
git add .
git commit -m "Initial commit"
That plants your first flag (save point). Now for a test drive of the time machine.
- Place any Cube in your level in the editor and save
- Run
git statusand confirm that the only changes listed are underContent/(nothing fromSaved/and friends). That's proof your.gitignoreis working - Plant a second flag with
git add .→git commit -m "Add test cube" - Here's the real test. Delete that Cube in the editor and save, then close the editor
- Run
git checkout -- .and reopen the project. The Cube you deleted is back exactly where it was
Once you've confirmed "I can delete it and still get it back" with your own hands, this exercise is complete. If step 2 spits out piles of Saved/ or Intermediate/ entries, either your .gitignore isn't at the project root or its filename is wrong (ending up as gitignore.txt is the classic accident).
There are two points worth taking away.
- Commit at every natural stopping point: "one gimmick works," "assets are organized." Build the habit of planting a flag every time things reach a working state and you can always return to "the last time it worked"
- Leave the deep details to the dedicated article: adding Git LFS and UE-specific practices for avoiding binary conflicts (One File Per Actor) are covered in Git for UE Projects. To start with, "a commit is a save point" is all you need
Bonus: Good to Know for Later
| Setting | Purpose | Where to Find It | Best Practice |
|---|---|---|---|
| 1. Source control | Managing history and staying safe | Project root + [Tools] > [Source Control] | Exclude generated files with a UE5 .gitignore |
| 2. Maps & Modes | Defining the startup level and rules | [Project Settings] > [Maps & Modes] | A light level for the editor, the title screen for the game |
| 3. Input settings | Confirming Enhanced Input | [Project Settings] > [Engine] > [Input] | From UE5.1 on, just confirm it |
| 4. Editor language | Faster searching and troubleshooting | [Editor Preferences] > [Region & Language] | Switch to English once you're comfortable |
| 5. Performance | Reducing PC load | Viewport [Realtime] and Editor Preferences | Realtime off plus a frame rate cap |
Summary
- Initial setup is prepaid insurance against problems that have nothing to do with making games. Get it done in the first thirty minutes
- Source control is essential even solo. A commit is a save point, and
.gitignoreis the filter that says "no generated files" - Enhanced Input is enabled by default from UE5.1 on. Just keep the mechanism (separating IA from IMC) in your head
With your footing in place, get the controls into your hands with Editor UI basics, then learn how to grow a folder structure with Intro to asset management. For the big picture of what to learn, head to A learning roadmap for UE5.
That feeling when the Cube you deleted came back, the confidence that you can always undo it, is what will carry your experiments from here on.