Start learning UE5 and the jargon comes at you fast: Actor? Component? Blueprint? These are the vocabulary of the UE5 world, and pushing forward without knowing what they mean leaves you able to follow tutorial steps but never able to answer "why do it this way," which means you can't apply anything.
Learn just these five words up front and the official documentation and tutorial videos suddenly become readable. This article organizes Actor, Component, Blueprint, Level, and GameMode with diagrams, then finishes with a hands-on session where you read the Third Person template using all five terms.
What You'll Learn
- Actor: the base class for anything you can place in a level
- Component: the parts that add capabilities to an Actor
- Blueprint: how logic is built by connecting nodes, and when to use C++ instead
- Level / GameMode: the game's world and its rulebook
- A hands-on breakdown of the Third Person template using all five terms
Actor
An Actor is the base class for every object you can place in a UE5 level (the game world). Player characters, enemies, lights, cameras, treasure chests. No matter how different they look or what they do, everything that physically exists in your game world is an Actor.
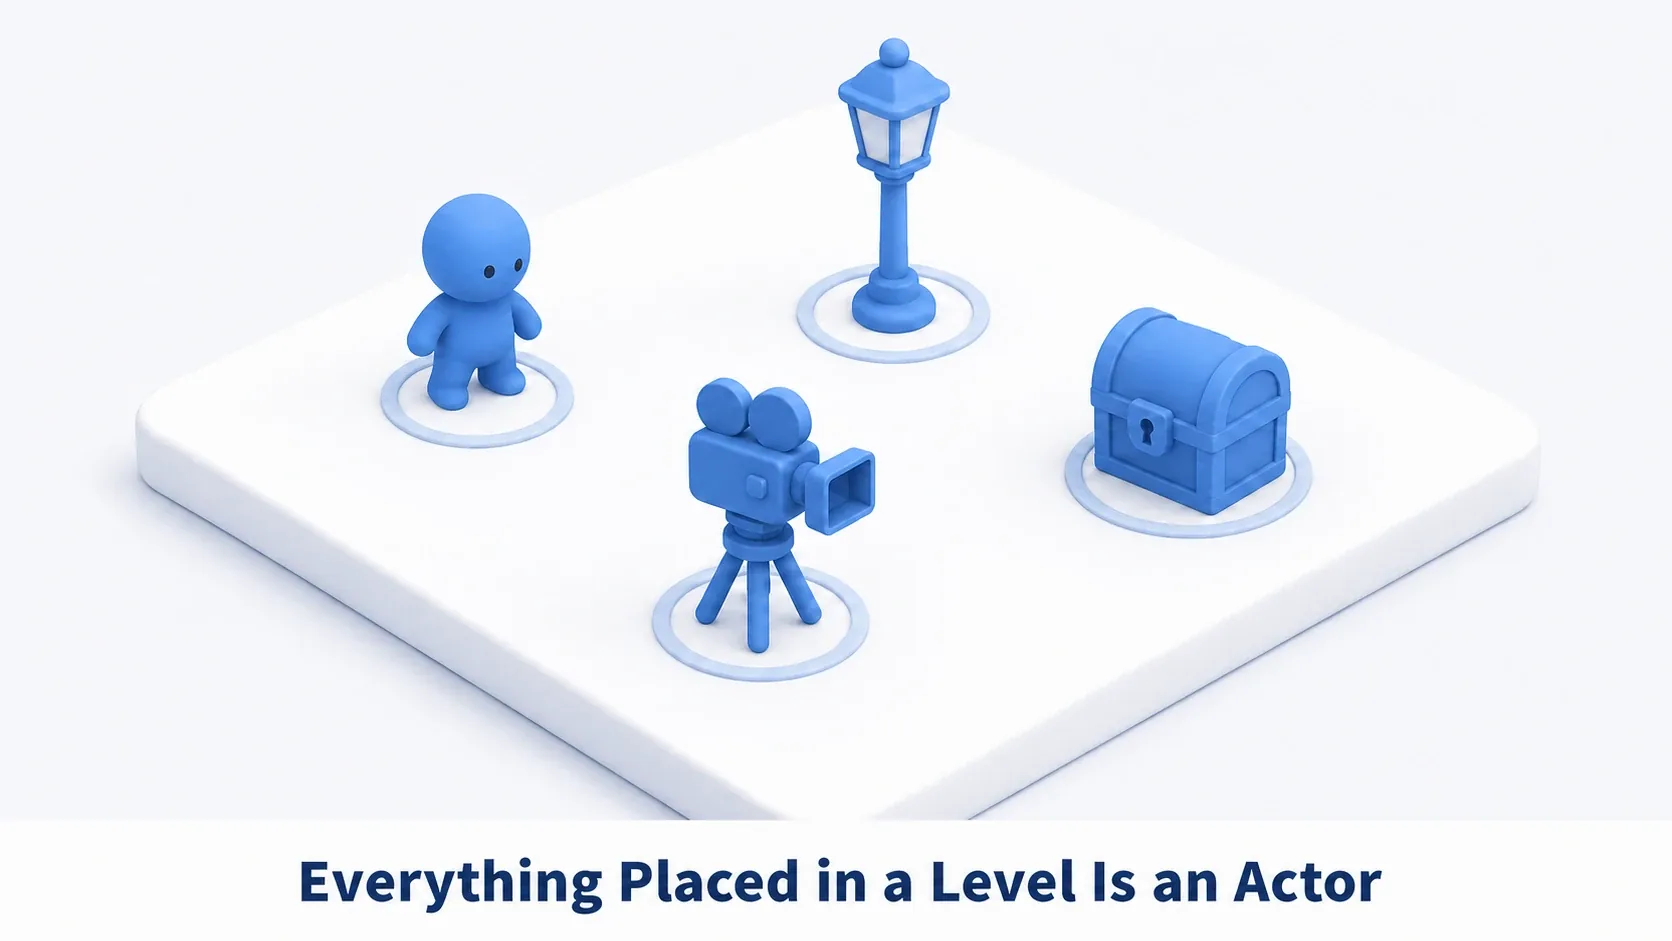
An Actor carries transform information (position, rotation, and scale, meaning where it is, which way it faces, and how big it is), and it can be spawned and destroyed during gameplay. Bullets in a shooter and confetti falling on a results screen are Actors that are born and removed at runtime.
| Common Mistake | Best Practice |
|---|---|
| Stuffing every capability into the Actor itself | Treat the Actor as a container and put capabilities in Components |
| Making Actors out of data objects that have no position | Use UObject or Data Table / Data Asset for data instead of Actors (→ Data Table basics) |
Spawning Actors at runtime looks like this as a Blueprint node flow.
IA_Spawn (Input Action / Triggered)
  → Spawn Actor from Class (Class: BP_ExplosionEffect,
                            Spawn Transform: slightly in front of the player)
Component
A Component is a part that adds a capability or a look to an Actor. If an Actor is a body, components are the eyes and limbs. An Actor on its own is just a container, and the components you combine are what decide its role.
- Static Mesh Component: gives it a non-moving appearance (walls, floors, props)
- Skeletal Mesh Component: gives it an animated appearance (characters)
- Camera Component: adds a viewpoint (a camera)
- Movement Component: adds movement logic (walking, flying, and so on)
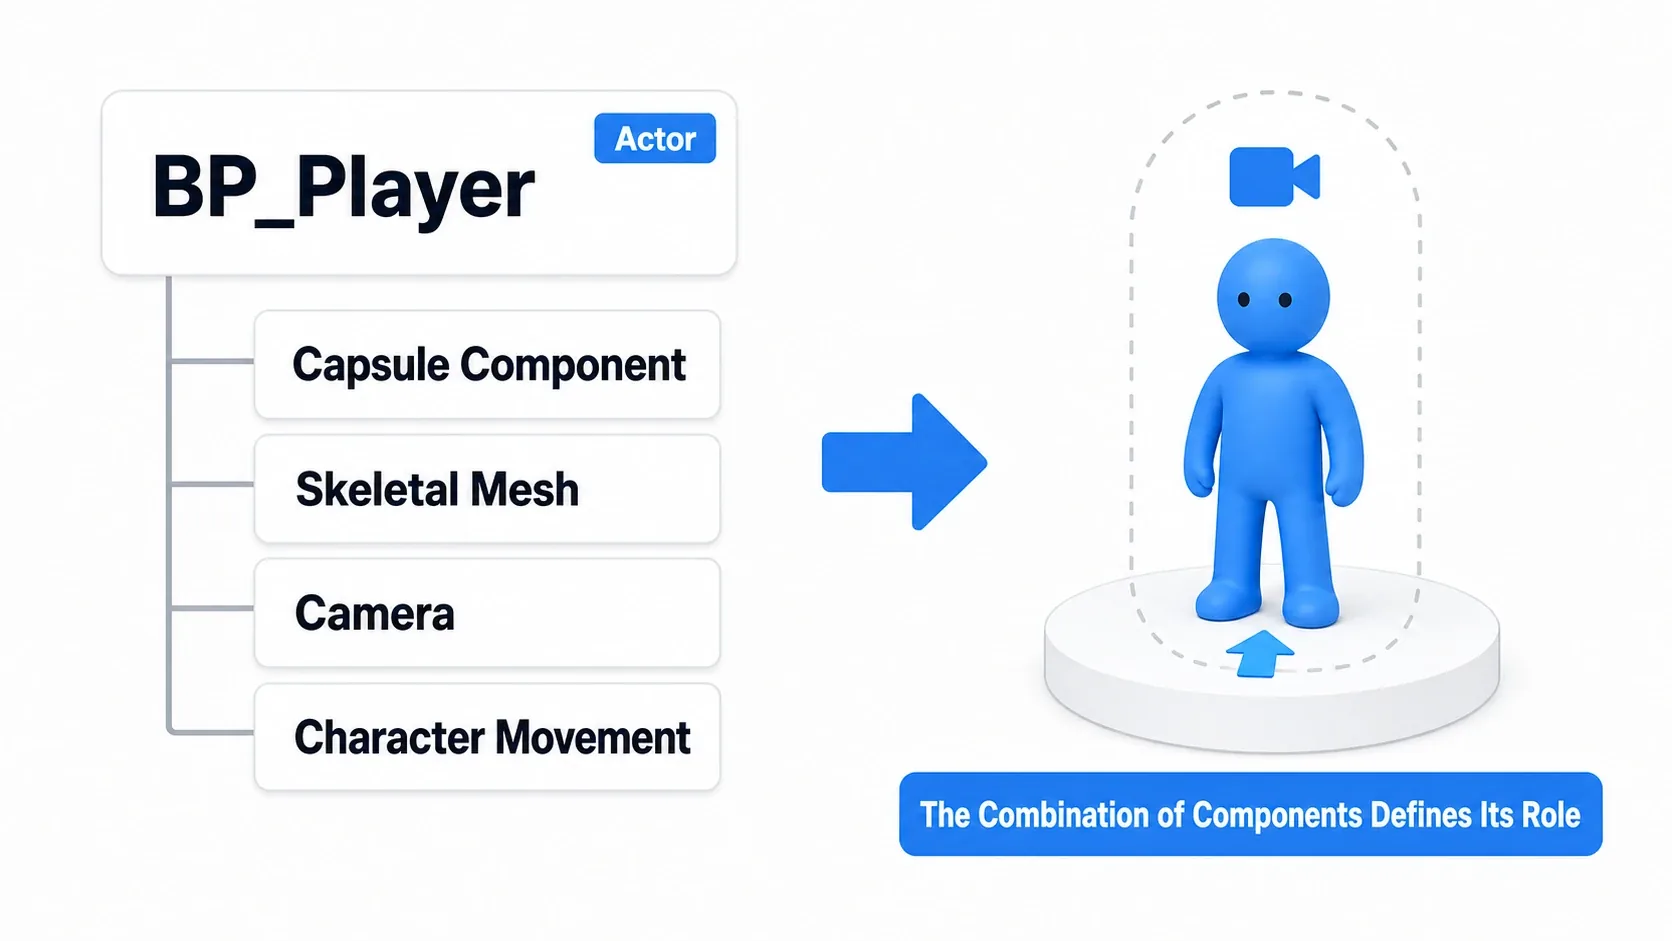
A "player" Actor, for example, is a collection of parts: a collision capsule, an animated body, a camera, and movement logic. The same mechanism lets you swap parts to build a stationary signboard or a drone that flies around. Components attached to an Actor can be fetched and controlled from Blueprint.
Event BeginPlay
  → Get Static Mesh Component
  → Set Visibility (New Visibility: False)
Blueprint
Blueprint is UE5's built-in visual scripting system. By connecting blocks called nodes with wires, you can build game logic without writing C++. Most gameplay features can be built entirely in Blueprint, which lets artists and designers with little programming experience create game behavior.
For example, "show a message three seconds after the game starts" is three nodes.
Event BeginPlay
  → Delay (Duration: 3.0)
  → Print String (String: "Three seconds have passed!")
Print String is your first companion when learning Blueprint (→ Debugging with Print String and the Output Log). Blueprint's building blocks, including variables, events, and functions, are covered in detail in Intro to Blueprint variables.
Blueprint vs. C++
| Aspect | Blueprint | C++ |
|---|---|---|
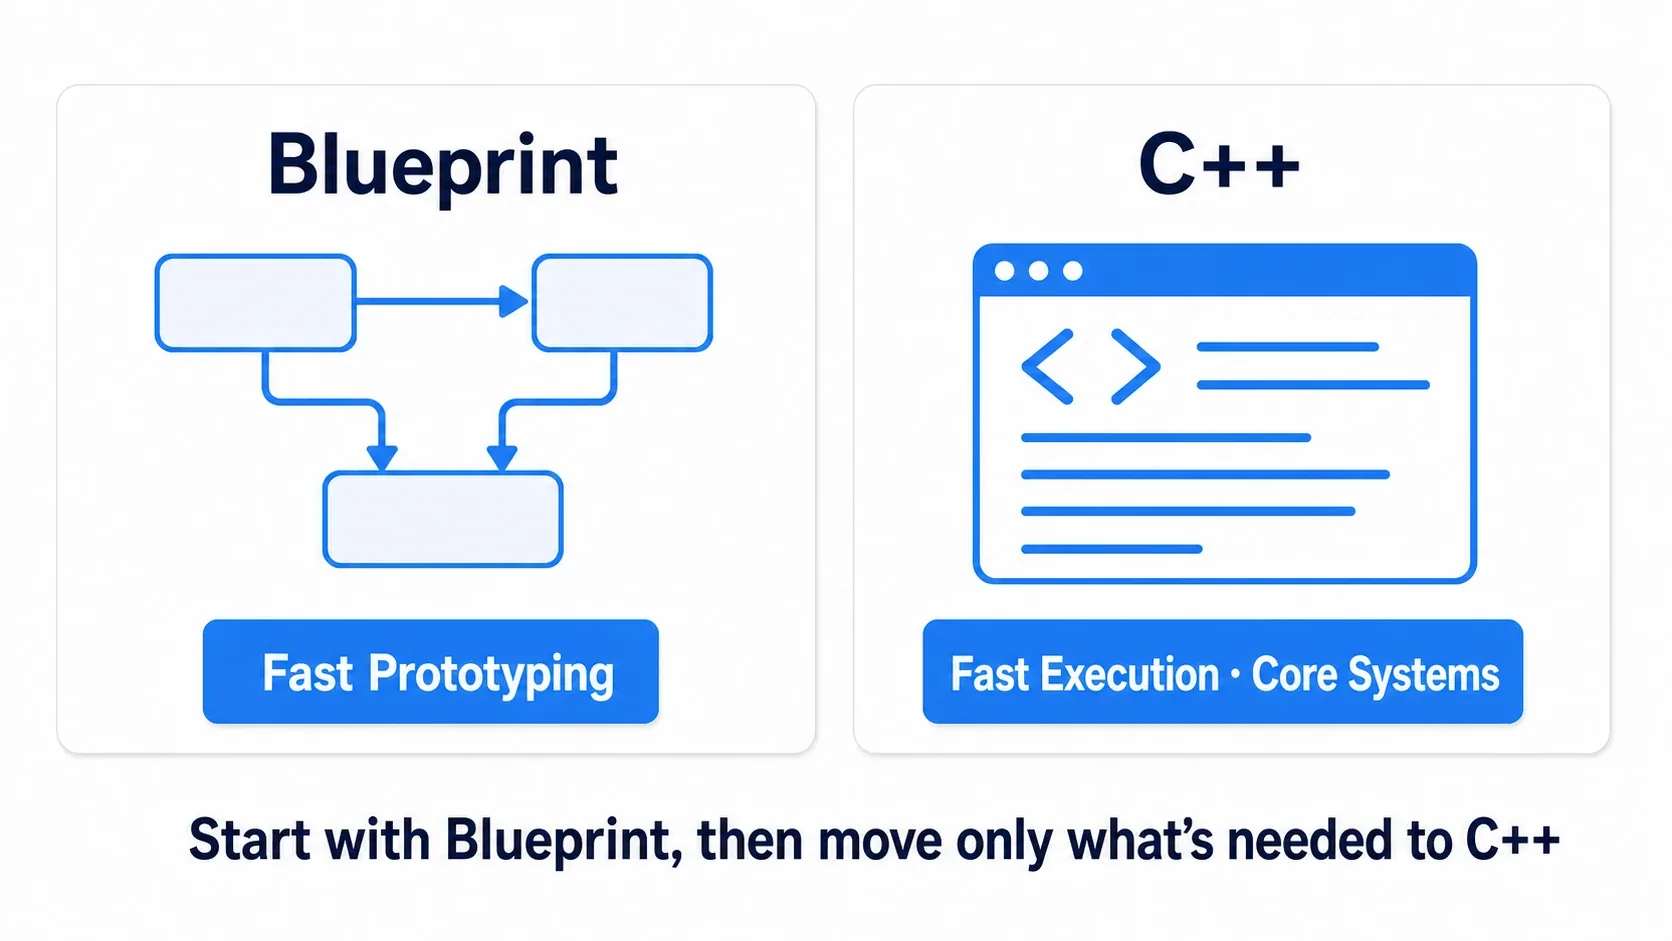
| Development speed | Fast (visual, testable on the spot) | Slow (requires compilation) |
| Runtime performance | Relatively low (there is overhead) | High (native code) |
| Best suited for | Game logic, event handling, prototyping | Complex calculations, foundational systems, performance-critical code |
Prototype in Blueprint first, then implement only the performance-critical or highly reusable foundations in C++. That is the standard approach in UE development. The full decision criteria are collected in Splitting responsibilities between Blueprint and C++.
Level
A Level is the map or scene the player experiences. It holds Actors such as terrain, buildings, lights, and characters, and saves their initial state. The "world" you work in inside the UE5 editor is a level. Switching between separate levels, from a title screen to the main game or from a town to a dungeon, is covered in the Open Level transition article.
Split Levels Up to Manage Them
In larger games, you don't cram the entire world into a single level. You load only the parts you need.
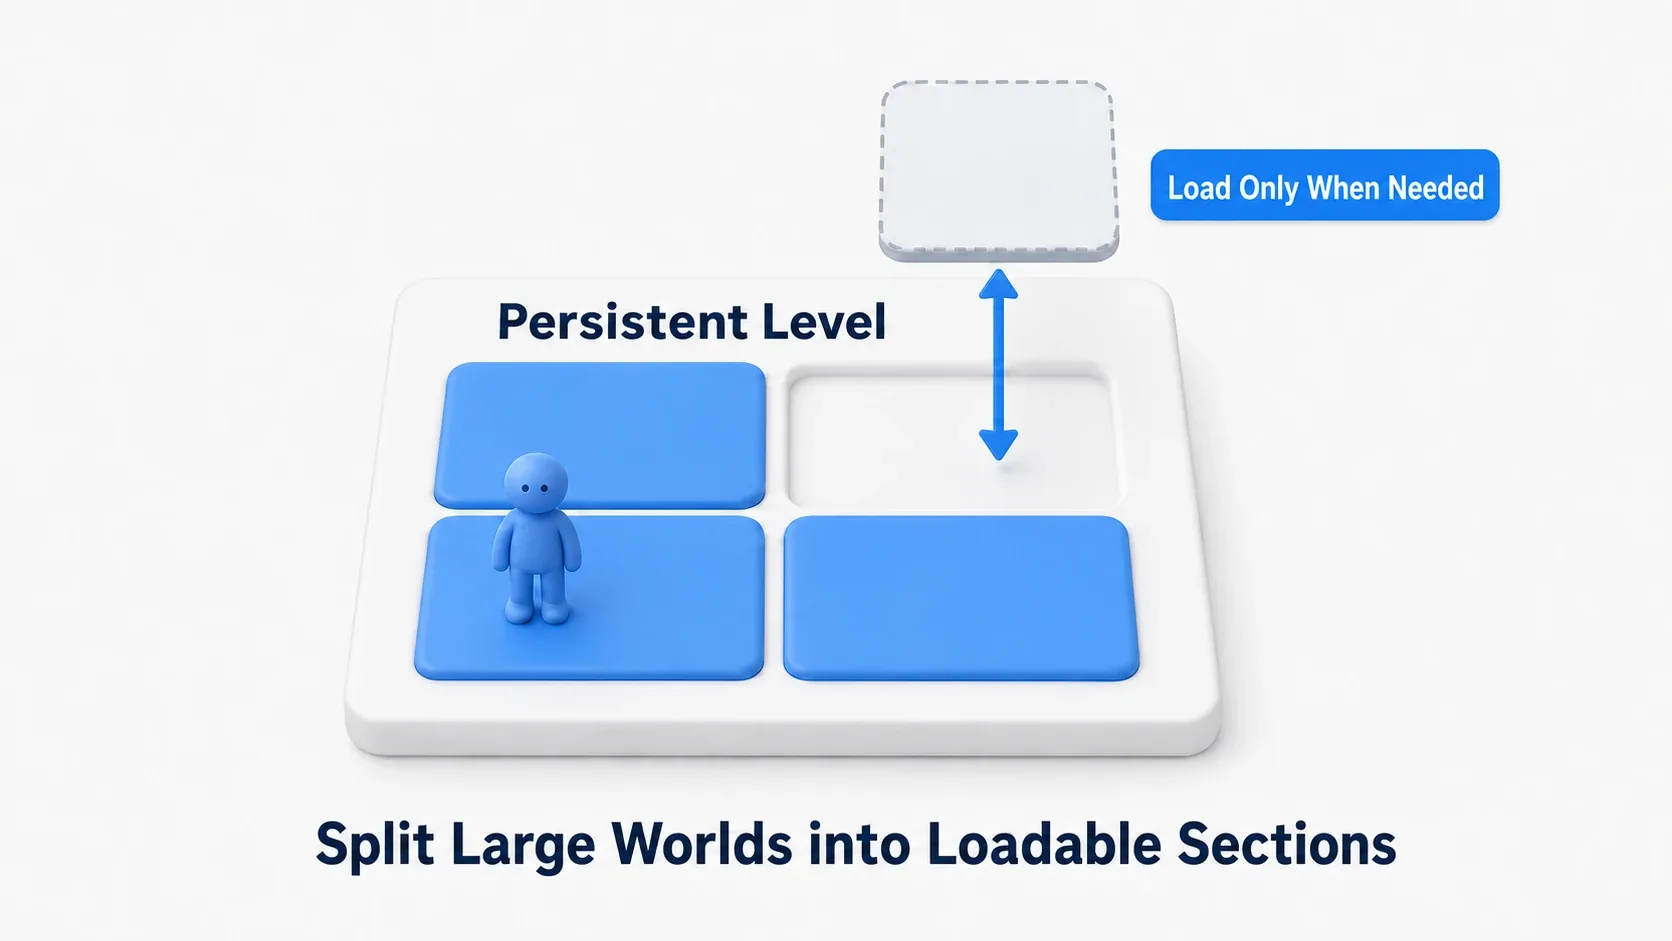
The standard answer in UE5 is World Partition. It automatically carves the world into a grid and loads only what's near the player. You don't have to decide the split points yourself, so it's the first thing to reach for when building a large outdoor space.
There's also the older approach of splitting into two kinds of level by hand, which you'll still run into on existing projects.
- Persistent Level: the main level that is always loaded. It holds global settings and Actors that must always exist
- Sub-Level: a partial level that is loaded and unloaded as needed
Cramming every Actor into one level makes the editor sluggish, and on a team it becomes a source of file conflicts. Both approaches are forms of the same "split it up and load it in pieces" mechanism — level streaming (→ World Partition and level streaming).
Note: There's a similar term, "World." A World is the container that bundles multiple levels together; a Level is an individual map file inside it.
GameMode
GameMode is the class that defines your game's rules and its starting cast. It covers more than multiplayer rules such as team deathmatch. Single-player basics like "which character does the player control, and where do they spawn" are also owned by GameMode.
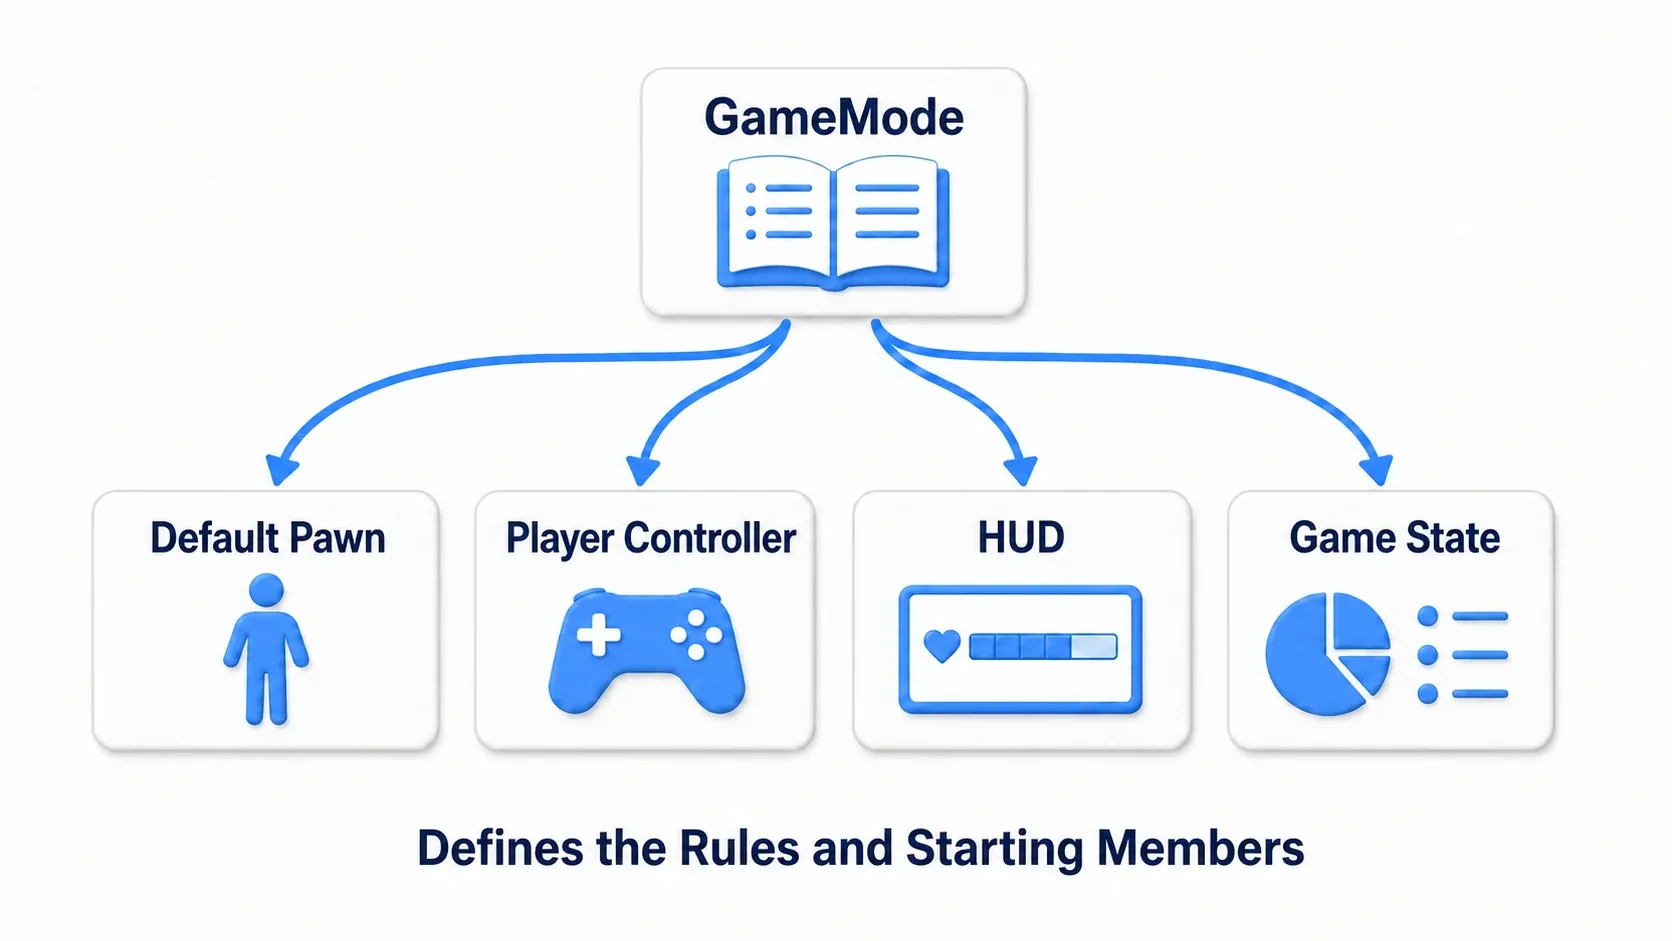
| Element | Description |
|---|---|
| Default Pawn Class | The default character (Pawn) the player controls |
| Player Controller Class | The controller that mediates between player input and game rules |
| HUD Class | The on-screen UI (health bar, score, and so on) |
| Game State Class | The state of the game as a whole (score, time remaining, and so on) |
Important: GameMode exists only on the server. In single-player your own PC also acts as the server, so you never notice, but in multiplayer there is no GameMode on the client, which means any design that "reads a value from GameMode on the client" simply doesn't work.
Also, don't write per-character logic such as player movement or attacks in GameMode. Keep GameMode focused on game-wide rules and put character-specific behavior in the Pawn or Player Controller. The division of labor between GameMode, GameState, and PlayerState is explored one level deeper in Understanding the Game Framework.
Hands-On: Dissect the Third Person Template with Five Terms
Once you know the five terms, don't stop at memorizing them. Practice reading with them. The material is the Third Person template that ships with UE5. Whether you're building a TPS, an action RPG, or a side-scroller, being able to read a running screen in terms of concepts is the foundation of applying what you learn.
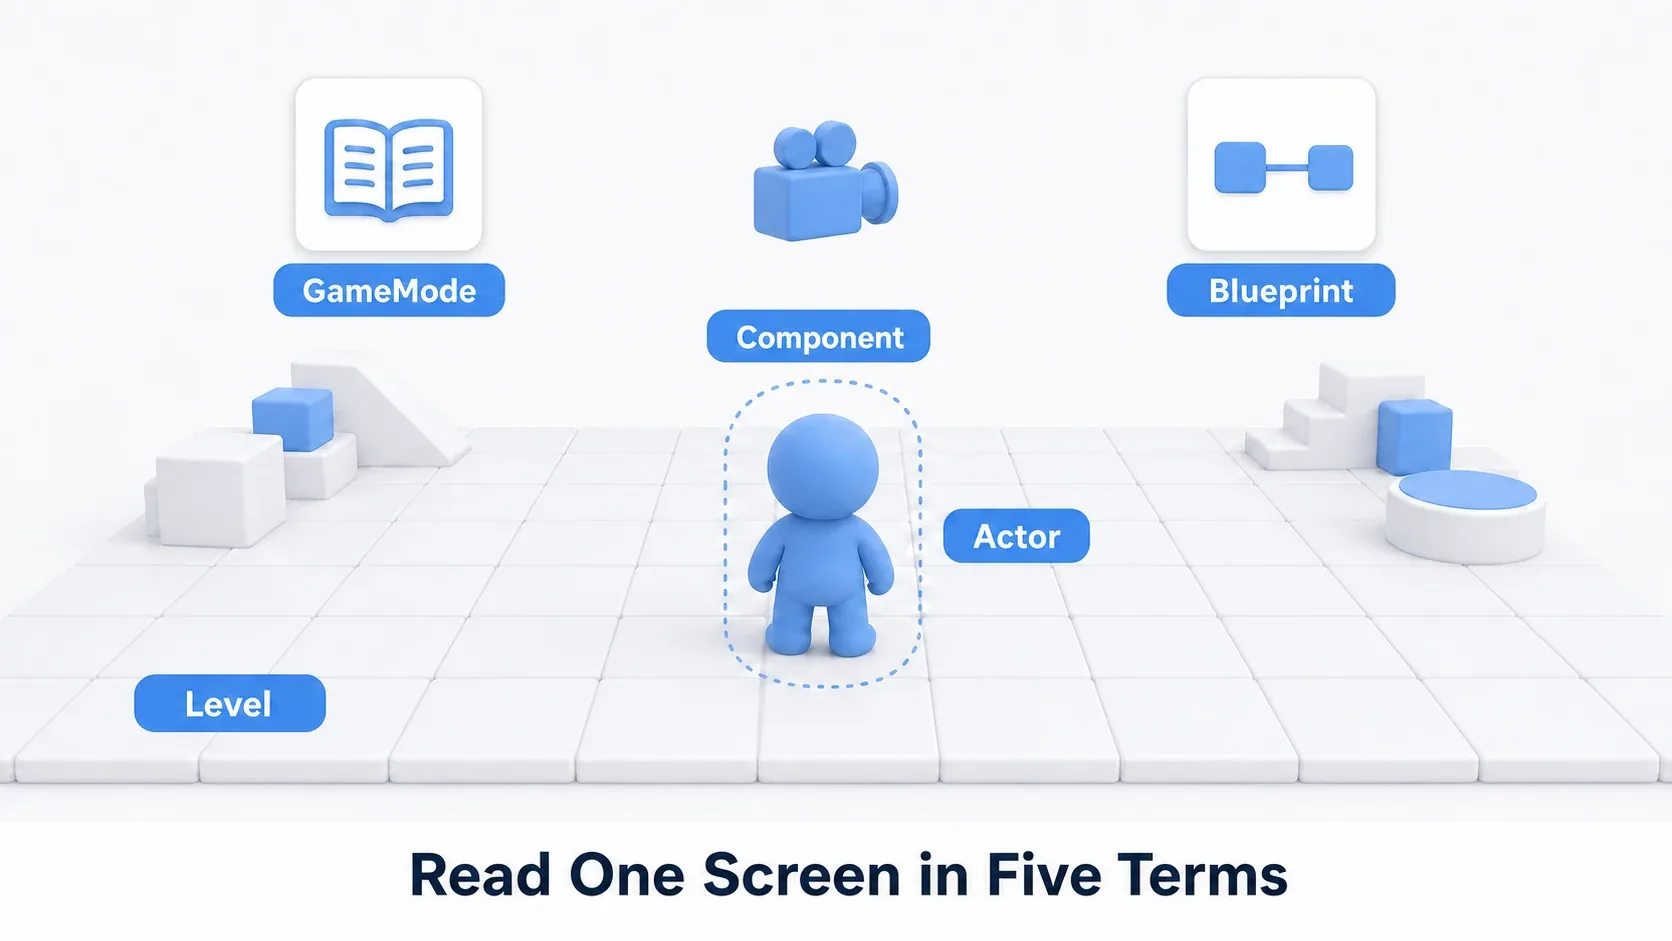
Create a new project from the Third Person template, press Play, then point at each of the following in order.
- Level: the space with the floors, walls, and stairs you're walking through. The list in the outliner is "the Actors placed in this level"
- Actor: the character you're controlling, the floor, the lights, everything lined up in the outliner is an Actor. Try clicking the character (
BP_ThirdPersonCharacter) to select it - Component: double-click
BP_ThirdPersonCharacterto open it, and the Components panel shows a hierarchy of Capsule Component (collision), Mesh (appearance), Camera Boom (the camera arm), and Follow Camera (the camera). Here you can see "a character is a collection of parts" for real. Now go one step past passive checking. Select Camera Boom, change Target Arm Length in the Details panel from 400 to 800, and press Play: the camera pulls back noticeably. You can feel that a single component value directly decides how the game looks (set it back to 400 when you're done). For deeper control of the camera arm (Spring Arm), see the Camera and Spring Arm article - Blueprint: open the Event Graph tab in that same window and you'll find movement and jump nodes wired together. You don't need to read them yet. Knowing "this is where the logic lives" is enough
- GameMode: open World Settings from the main toolbar and you'll see GameMode Override and Default Pawn Class. That is the answer to "why does this particular character appear when I press Play"
There are two points worth taking away.
- Everything on screen maps to one of the five terms: when you're unsure whether something is an Actor or a Component, check the outliner. If it stands on its own there it's an Actor, and if it hangs under some Actor it's a Component
- The template is the best teaching material: read a correct setup before you build your own. Sorting out how to read the screen in Editor UI basics makes this dissection go even smoother
Bonus: Good to Know for Later
- You'll also run into the words Pawn and Character: a Pawn is "an Actor that a player or AI can control," and a Character is "a specialized Pawn with walking, jumping, and other movement features (the Character Movement Component)." In other words the nesting is Actor ⊃ Pawn ⊃ Character, which is just an extension of the five core concepts
- The transform actually lives on the Root Component: an Actor's position and rotation are, strictly speaking, held by the component at its root (the Root Component). Knowing "moving an Actor means moving its Root Component and everything under it" saves confusion later when you build component hierarchies
- Connecting Actors to each other is the next topic: when you want to wire Actors together, as in "stepping on a switch opens a door," head to Three ways to communicate between Actors
Summary: How the Five Concepts Fit Together
| Concept | Role |
|---|---|
| Actor | An entity you can place in the world (a container) |
| Component | A part that adds a capability to an Actor |
| Blueprint | The system for building logic out of nodes |
| Level | The game world, the map itself |
| GameMode | The rulebook for the whole game (server side) |
Strung together in one sentence: Actors (entities) are placed in a Level (the world), each Actor is built from Components (parts), Blueprint (logic) decides how they behave, and GameMode (the rulebook) governs the whole thing. That is the skeleton of a UE5 game.
Next, get a map of the screen from Editor UI basics, then set up solid footing with Five settings to check right after creating a project. The overall learning path is laid out in A learning roadmap for UE5.
Open the Third Person template today. Can you go down the outliner from the top and say out loud, "this is an Actor, and what's inside it is a Component"?