You installed UE5 and told yourself you were going to make a game. Then you watched a stack of tutorial videos and still didn't feel any closer to building something of your own. The editor sits there, packed with panels, and your hands stop moving.
Almost every case of giving up on UE5 comes down to two things: no clear goal and no fixed order to learn things in. Fix those two upfront and UE5 becomes a hill you can steadily climb. This article covers the three goal-setting principles that prevent burnout, a three-phase learning roadmap from beginner to intermediate, and how to structure a first-week project.

What You'll Learn
- The three goal-setting principles that prevent burnout (finish first, set a deadline, decide what you're building)
- A three-phase learning roadmap from beginner to intermediate, with the articles to read at each phase
- How to build the first-week project: "a room where the F key turns on the light"
- The answer to whether you should start with Blueprint or C++
Three Principles for Setting Goals
Before you go hunting for study methods, get your goals in order. There are only three principles.
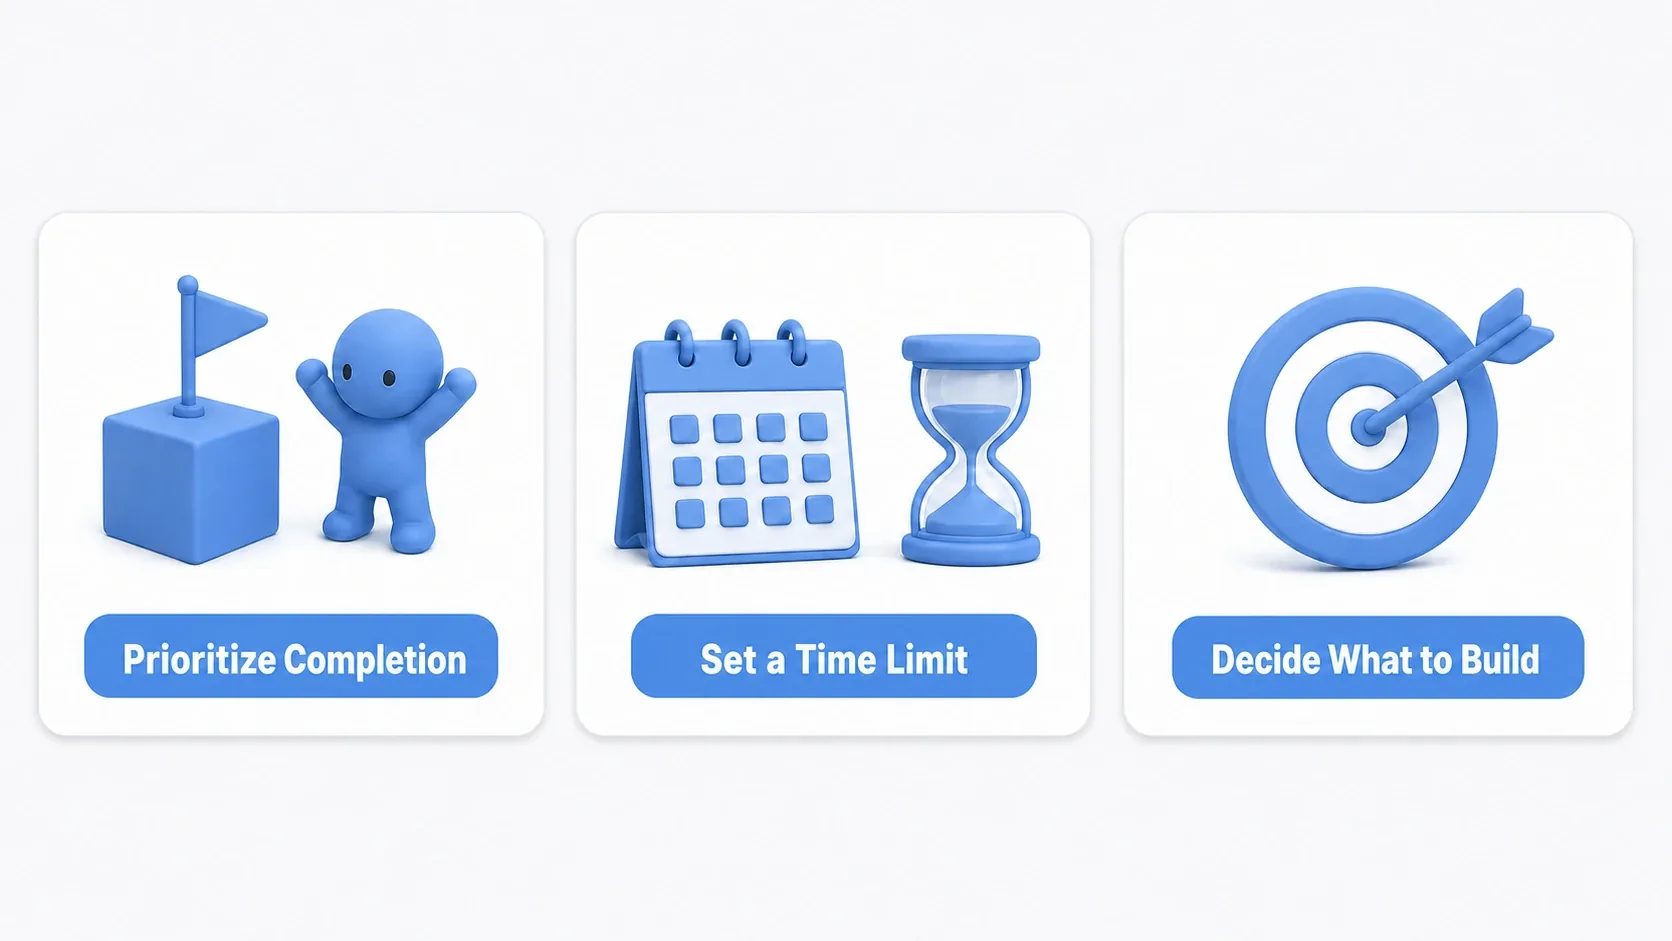
Principle 1: Make "Finishing" the Top Priority
The classic beginner landmine is aiming straight for an open-world RPG or a photorealistic horror game. A project that never gets finished teaches you nothing about the shape of game development, no matter how many hours you pour into it.
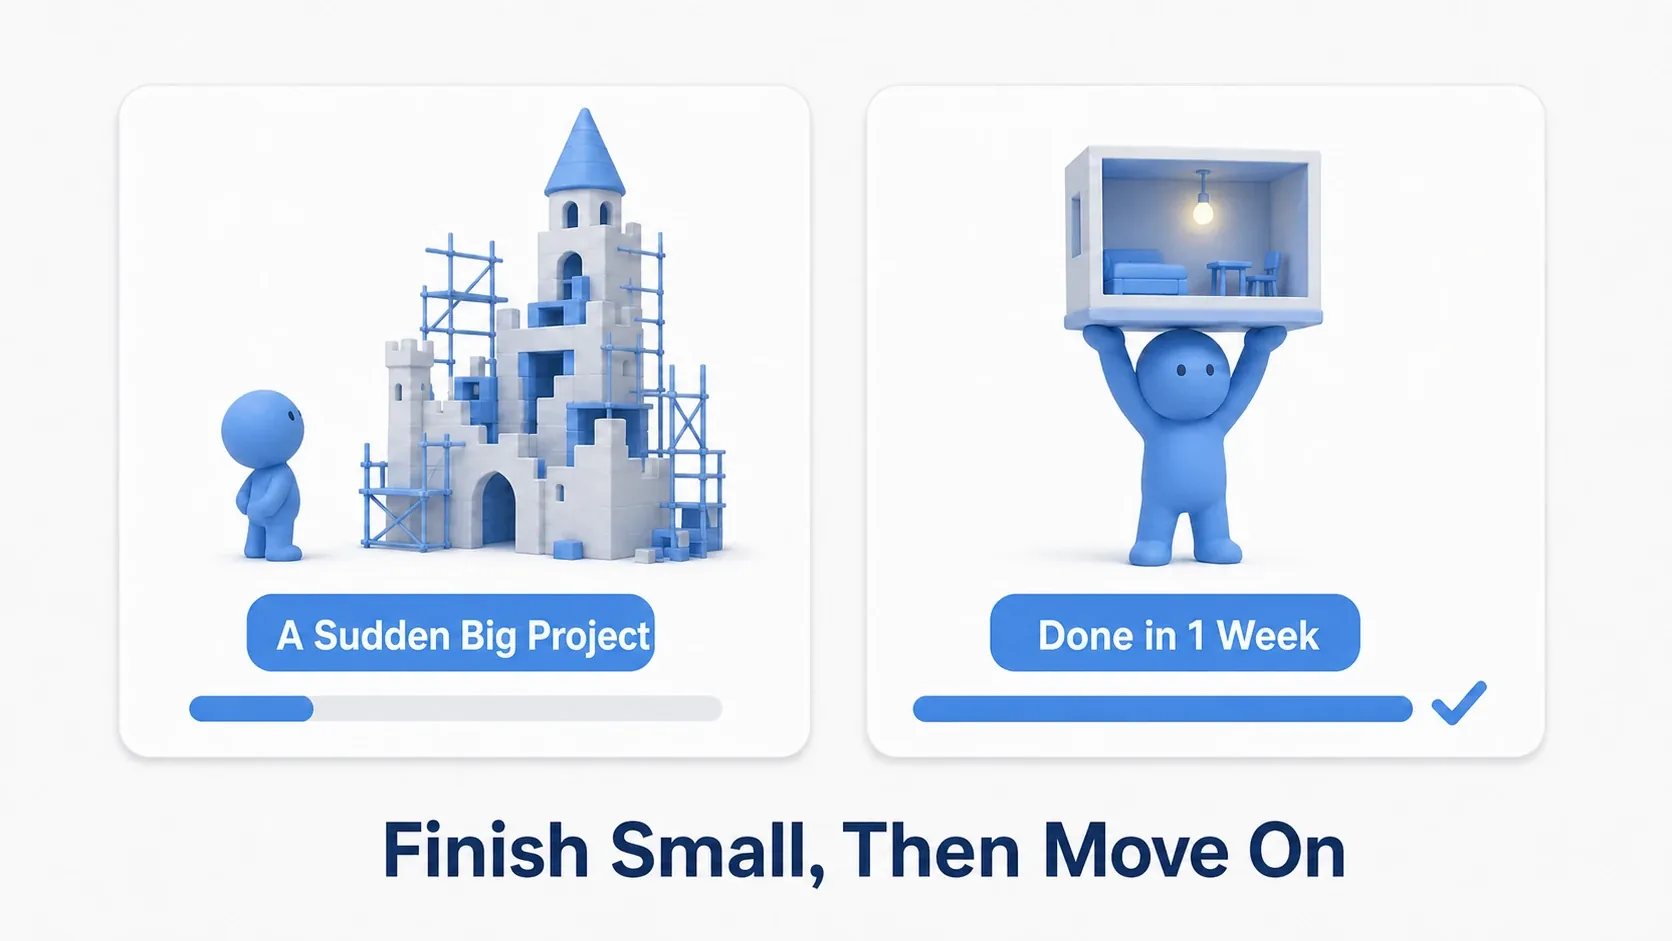
Aim for the smallest project you can finish in one week.
| Goal | Bad Example (easy to quit) | Good Example (easy to achieve) |
|---|---|---|
| Scope | A 3D action game prototype | A room where you can turn a light on and off |
| Timeline | Release in a year | Implement one gimmick in a week |
| Content | Build every system from scratch | Combine a template and existing assets (see Fab) and finish it |
Repeat the cycle of "implement exactly one gimmick and call it done." The number of small wins you rack up is what turns into actual skill.
Principle 2: Set a Deadline
Deadlines pace your learning. They stop you from drifting through tutorial videos forever.
- Short term (1 week): Basic editor operations, and understanding Blueprint variables and events
- Medium term (1 month): Player movement and a simple interaction
- Long term (3 months): Finish your first original mini game (a simple puzzle game, for example)
Principle 3: Decide What You're Building
Don't set out to "learn UE5." Decide what you're going to make with it. Game development, film production, and architectural visualization require completely different skill sets. The roadmap in this article is built for game development.
A Learning Roadmap from Beginner to Intermediate
Once the three principles have shaped your goal, the next question is order. The roadmap splits into three phases.
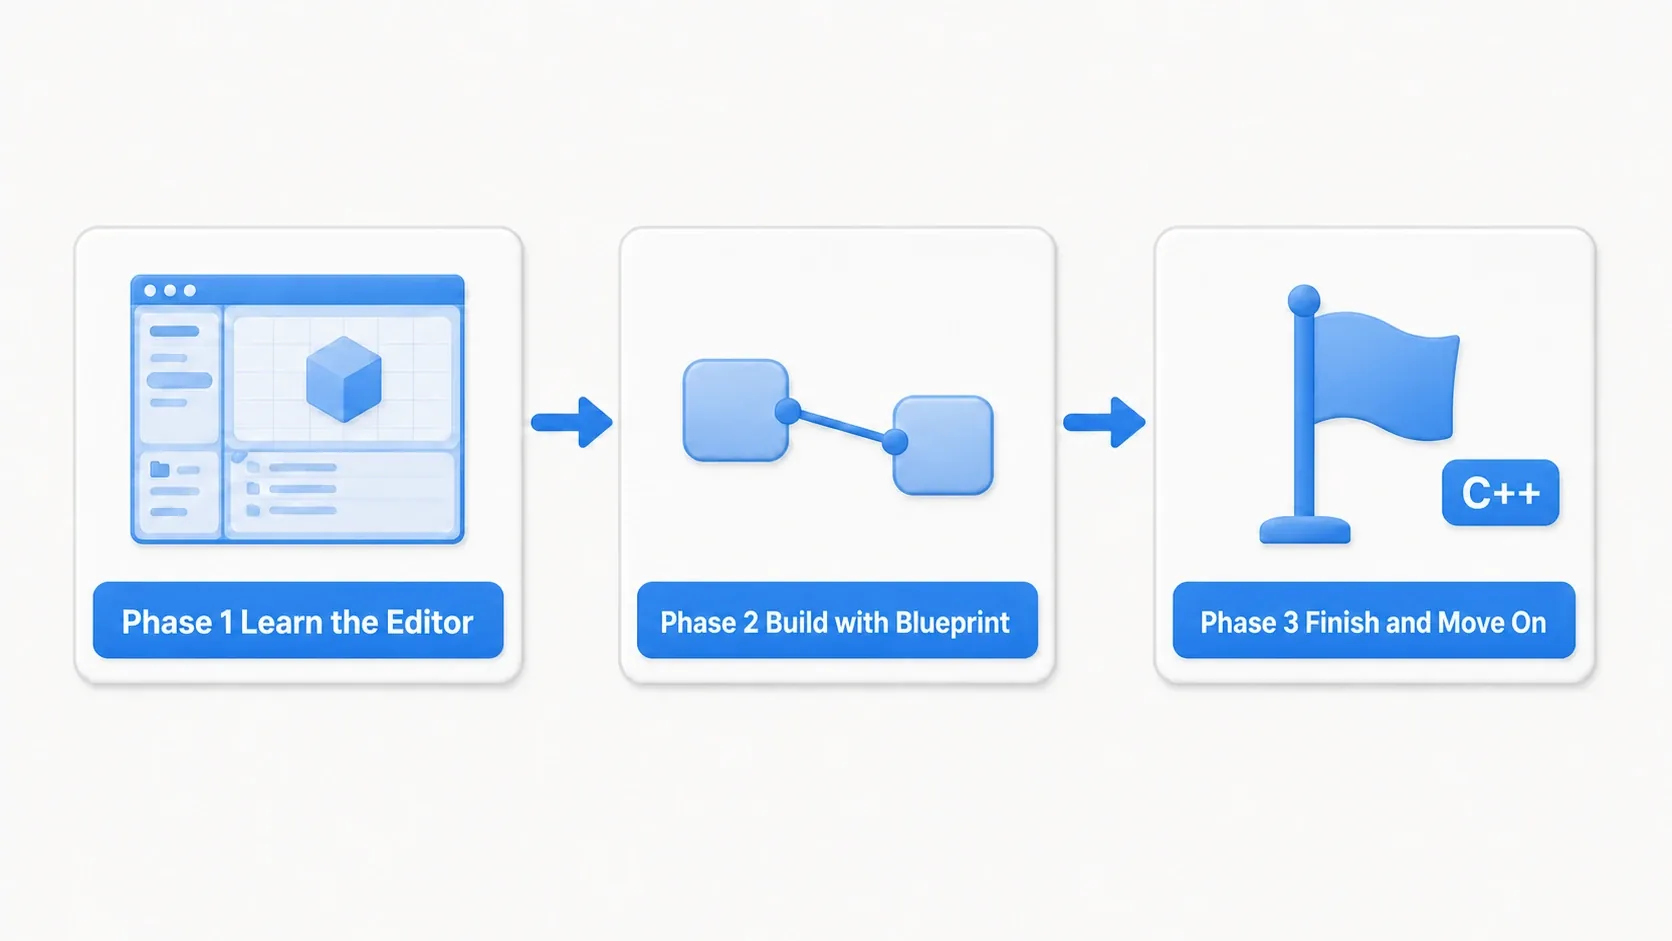
Phase 1 (Weeks 1-2): Get Comfortable with the Editor and Core Concepts
The goal of this phase is to pick up UE5's vocabulary and its map.
- Install and create a project: Install UE5 from the Epic Games Launcher and start with the Third Person template (using a template isn't cheating, see the bonus section)
- Learn the layout of the editor: Get a feel for the viewport, outliner, details panel, and content browser → Editor UI basics
- Set up the project: Walk through the settings worth checking on day one → Five settings to check right after creating a project
- Nail down the core concepts: Understand how Actor (anything you can place in a level), Component (the parts that give an Actor its abilities), Level (the game world), and GameMode (the rules) fit together → UE5 core concepts
When you can lay down floors and walls in a new level and walk around them by pressing Play, phase 1 is done.
Phase 2 (Week 3 to Month 2): Build Game Systems with Blueprint
The heart of learning UE5 is Blueprint, the visual scripting system. It exposes the engine's C++ features as nodes you wire together, so you can build logic without any programming background.
- The three building blocks: Understand events (triggers such as game start or a key press), variables (containers for data), and functions (packaged behavior) → Intro to Blueprint variables
- Flow control: Control execution with
Branch(the equivalent of an if statement),Sequence, andFor Loop - Pick up debugging tools early: Your learning speed depends on whether you can find the cause when something doesn't work → Debugging with Print String and the Output Log
- Learn the standard input system: Real controls are built with the Enhanced Input System → Intro to the Enhanced Input System
To get ahead of the usual stumbles, 10 common Blueprint mistakes and how to fix them helps a lot. When you can build one gimmick of your own design where "input makes something happen," phase 2 is done.
Phase 3 (Month 3 and Beyond): Finish a Project and Build a Bridge to C++
- Finish your first original game: Whatever long-term goal you set (a simple puzzle game, say), finish it no matter what. Running all the way to completion takes you through the full development cycle: debugging, asset management, and packaging → Intro to asset management. If you want to follow building one game end to end as a worked example, Beginner Capstone: Finish a Coin-Collecting Game is a good subject
- Learn C++ after you feel the need for it: There will come a moment when Blueprint alone hits a wall with heavy processing or complex systems. Starting C++ after you've actually felt that wall is not too late → Splitting responsibilities between Blueprint and C++
- Keep your first C++ narrow: Start with just the UE-specific macros such as
UCLASS,UFUNCTION, andUPROPERTY, plus how to connect C++ back to Blueprint → Moving from Blueprint to C++
Hands-On: Build "a Room Where the F Key Turns On the Light" in One Week
A light switch in a horror game, an activation device in a puzzle game, a room lamp in an adventure game. Different genres, same smallest unit of a game: something reacts to player input. There is more than enough to learn here for a first-week project. Let's build a room where pressing F turns a light on and off.
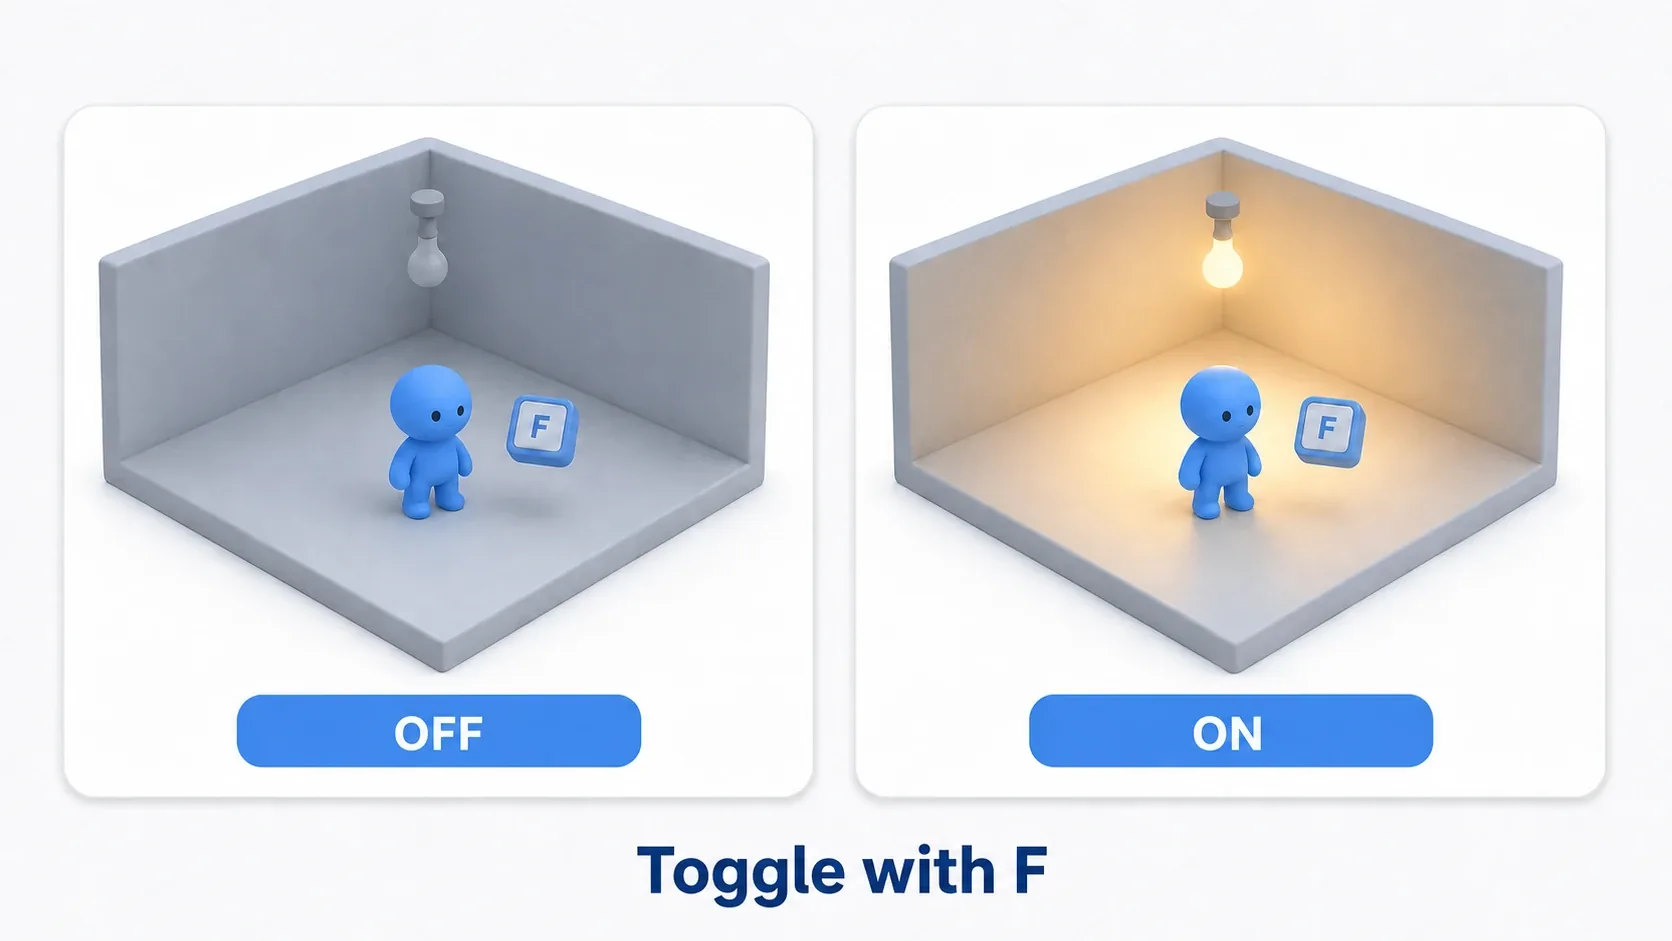
- Build the room: In a new level, lay out floors and walls (just stretching Cubes is fine) to make one small room. When you want to shape a space out of boxes more seriously, there's a dedicated tool for it: Greyboxing with Modeling Mode
- Make an Actor with a light: In the content browser, right-click → Blueprint Class → Actor, and name it
BP_ToggleLight. Open it and use "+Add" to add a Point Light component - Let it receive input: In the event graph, call Enable Input from Event BeginPlay and connect Get Player Controller to the Player Controller pin. Without this one wire, an Actor Blueprint can't receive keyboard input at all. Forgetting it is the classic reason "nothing happens when I press the key"
- Toggle on and off with F: Right-click in the graph, search for "F," and place F under Keyboard Events. From the Pressed pin, call Toggle Visibility and connect the Point Light to Target
- Place it and press Play: Drag
BP_ToggleLightinto the room and hit Play
Written out as text, the node flow is just this.
Event BeginPlay → Enable Input (Player Controller = Get Player Controller)
F key (Keyboard Event / Pressed) → Toggle Visibility (Target: Point Light)
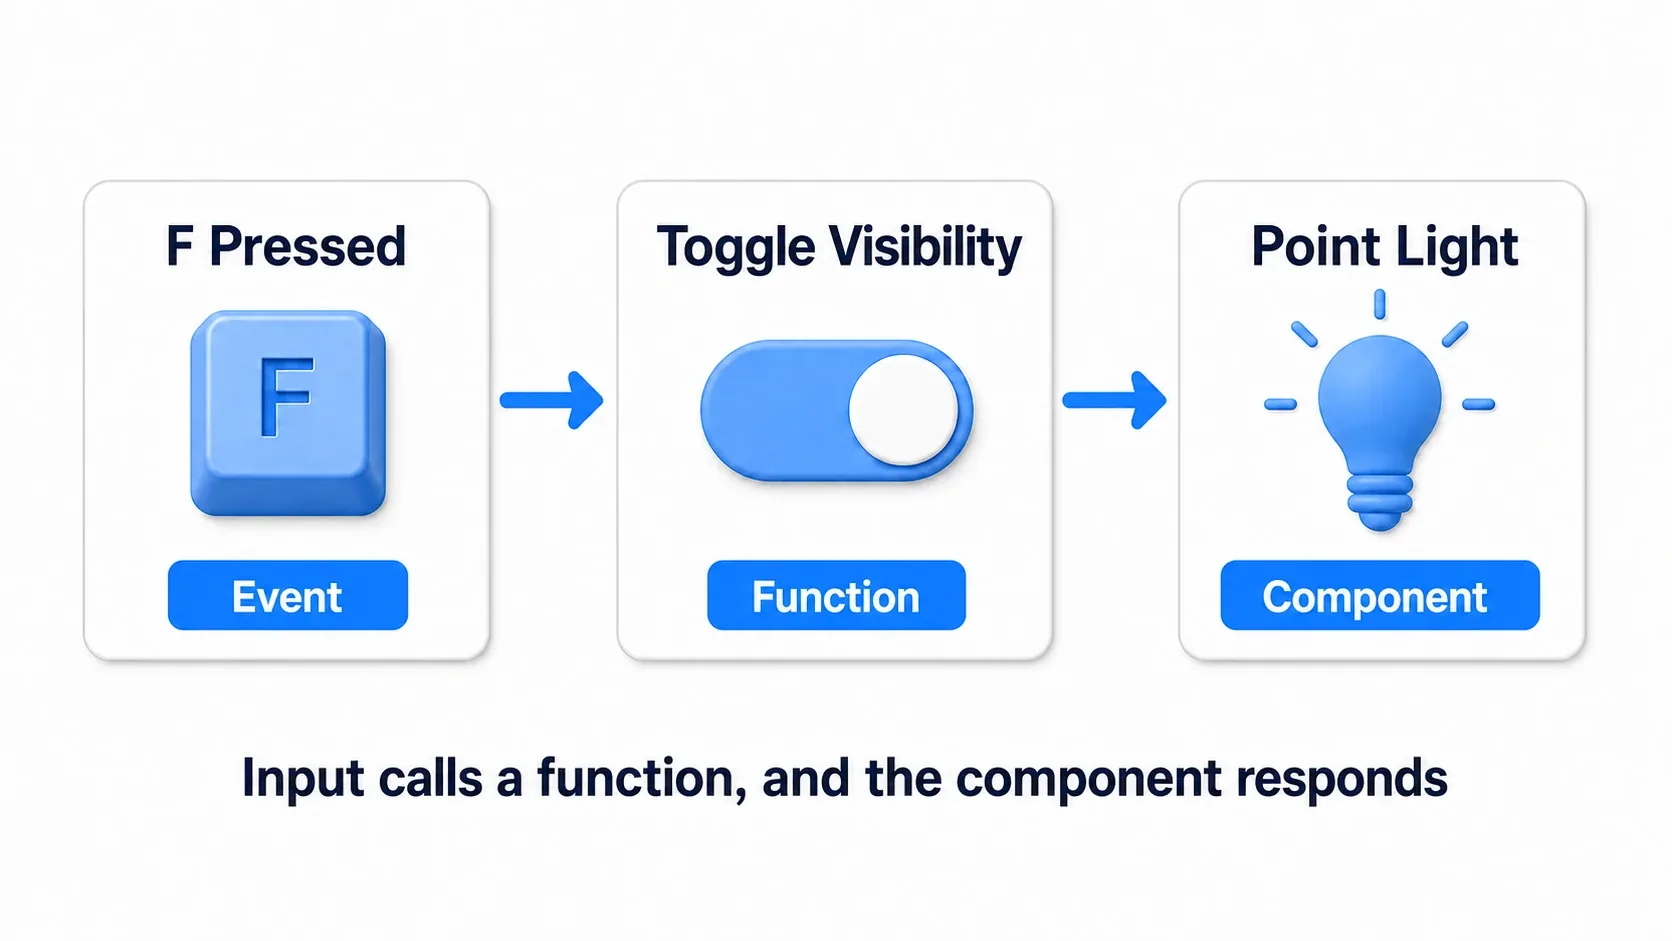
Once you're playing, press F a few times. The light turns on and off with each press. At this point the smallest complete form of UE5 logic is running in your hands: an event (input) calls a function, and a component reacts. If nothing happens, there are only two things to suspect. First, check whether you forgot to wire up Enable Input in step 3. If it still doesn't work, drop a Print String right after the F Pressed pin to find out whether the input is even reaching your Blueprint (→ Debugging with Print String).
There are two points worth taking away.
- Define "done" before you start: "F turns it on, pressing again turns it off. That's it." Drawing that line is what lets you finish in a week. If you start wanting doors and sound effects, save those for next week's project
- Real input work belongs in Enhanced Input: The Keyboard Event node used here is a minimal practice tool. As soon as remappable keys or gamepad support enter the picture, move on to Intro to the Enhanced Input System
Common Mistakes and Best Practices
| Area | Common Mistake | Best Practice |
|---|---|---|
| Mindset | Chasing perfection and getting stuck on one feature | Prioritize getting something working, then clean it up later |
| Sources | Relying only on old personal blogs and videos (often written for UE4) | Build on the official documentation and Epic's official learning content |
| Asking for help | Saying "it doesn't work" without reading the error | Bring three things: the error message, what you already tried, and the smallest steps to reproduce it |
| C++ | Trying to build everything in C++ from day one | Prototype in Blueprint, convert only what needs it to C++ (article on splitting responsibilities) |
Bonus: Good to Know for Later
- Templates aren't cheating: The Third Person template ships with a working character, camera, and Enhanced Input setup. Start by modifying something that already runs, and look inside the machinery later
- Install the latest version, but read tutorials assuming they're older: UE changes a lot between versions. Most tutorials online target a few generations back, so menu names and node names will have moved. When a video doesn't match what you see, suspect the version gap before you suspect yourself. Landing on a UE4-era article in search results is a common accident too. Get into the habit of confirming current behavior in the official documentation. Going the other way — moving your own project onto a newer version — is covered in Upgrading Your Project
- You can now ask questions inside the editor: recent UE versions ship an AI assistant in the editor. It cuts down the round trips needed to answer "what does this node do," which speeds up the map-building of Phase 1. It can still get details wrong, so run it and confirm exactly as before
- The last wall before finishing is packaging: Plenty of people stall at "it works in the editor but I can't share it." In phase 3, include exporting an actual executable, however small, in your definition of "finished". The steps to turn it into an .exe you can hand to someone are collected in Intro to Packaging
Summary
- The two big reasons people quit are no goal and no order. Set goals with three principles: finish first, set a deadline, decide what you're building
- The roadmap has three phases: get used to the editor → build with Blueprint → finish a project and move to C++. Starting C++ after you feel Blueprint's limits is not too late
- Your first-week project can be as small as "a room where the F key turns on the light." The number of things you finish is what becomes skill
Your next step is to lock in the vocabulary of Actor, Component, and Blueprint in UE5 core concepts, then get a map of the screen from Editor UI basics.
So what small project are you going to finish in your first week?