You follow a tutorial, write your logic in the Level Blueprint, and before long most of your game lives there. Then you create a new level and nothing works anymore. Every UE beginner goes through this once.
UE gives you two main places to write logic. A Level Blueprint is "a script for that one level," and a Blueprint Class is "a reusable blueprint for a part." Write things in the wrong place without knowing this difference and copy-paste hell is waiting for you. This article illustrates the two, gives you the golden rule "things go in parts, staging goes in the level," and finishes by building a "step on a trigger and the door opens" mechanic with the work split correctly.
What You'll Learn
- Level Blueprint = a script for that one level , Blueprint Class = a reusable part
- The golden rule: things go in parts, staging goes in the level
- Why you must not put core logic in the Level Blueprint
- Hands-on: build a trigger-opens-a-door mechanic with the right split, using an Interface too
What a Level Blueprint Is: A Script for That One Level
A Level Blueprint is a Blueprint tied to a single specific level (map) , one per level. Open it from the Blueprints menu on the main toolbar → "Open Level Blueprint."
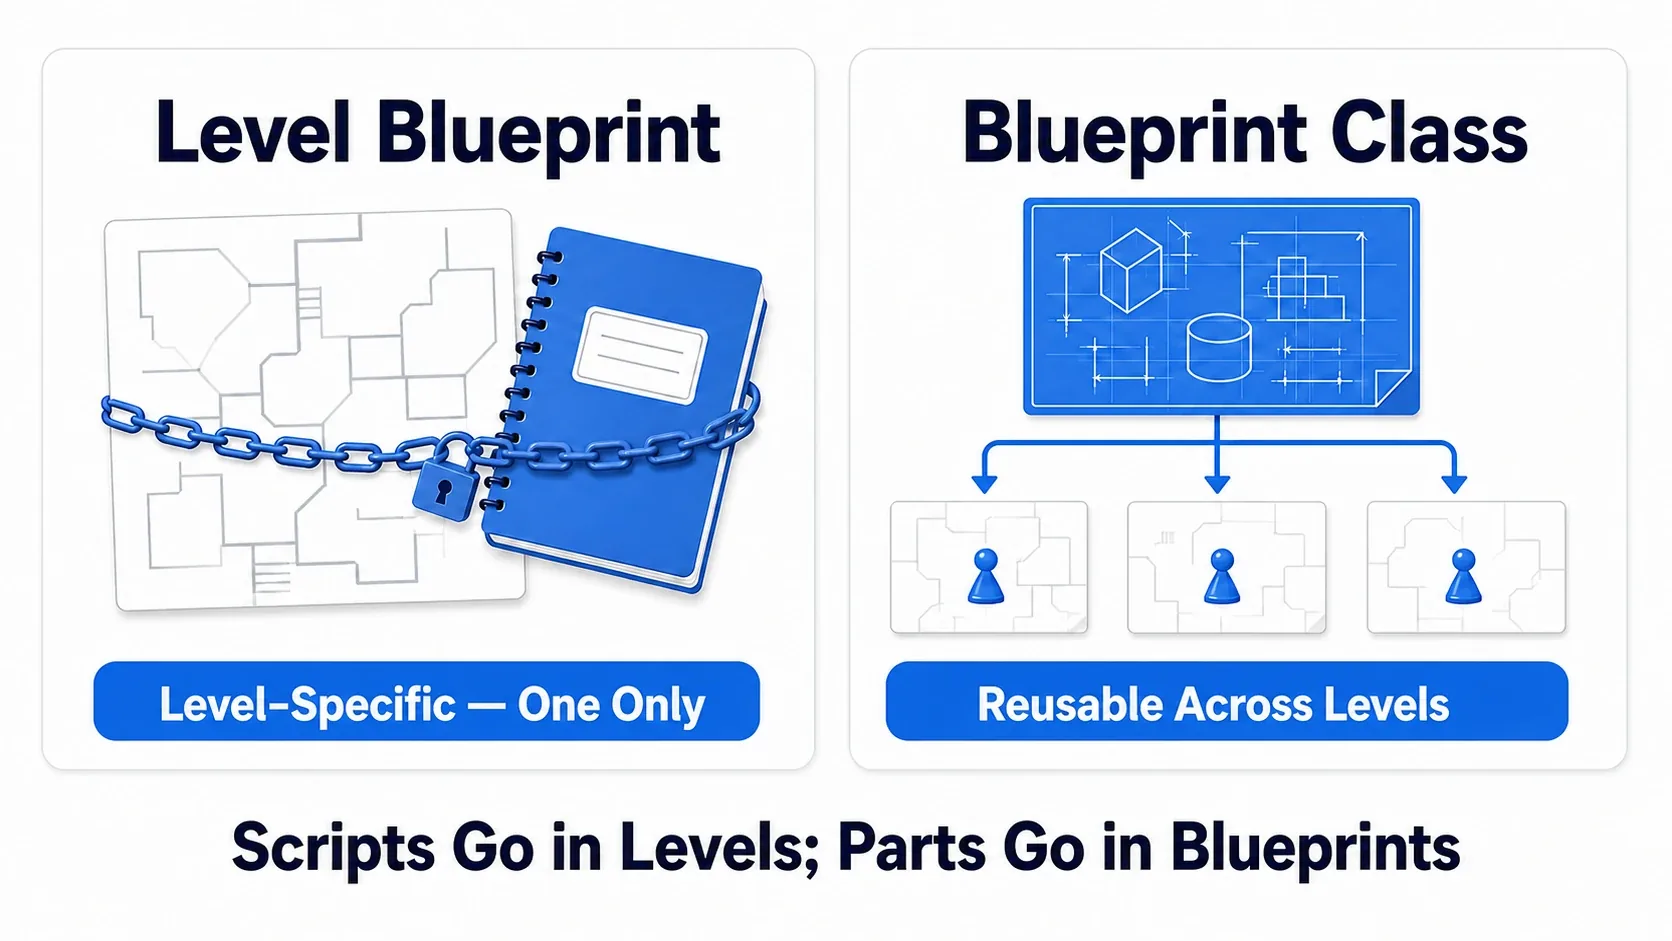
- It's tied to the level: you can't take it to another level. Delete the level and the script goes with it
- It can reference actors in the level directly: select a placed actor, right-click in the graph, and you can drop a reference node to that exact actor. This is a privilege no other Blueprint has
- One per level: as "the progression script for this level," there is always exactly one
Its strength is one-off staging and flow specific to that level . Camera work when the level starts, the pairing between this door and this switch in this room, the level-clear check. Use it as the script for "things that only happen on this map."
What a Blueprint Class Is: A Reusable Blueprint for a Part
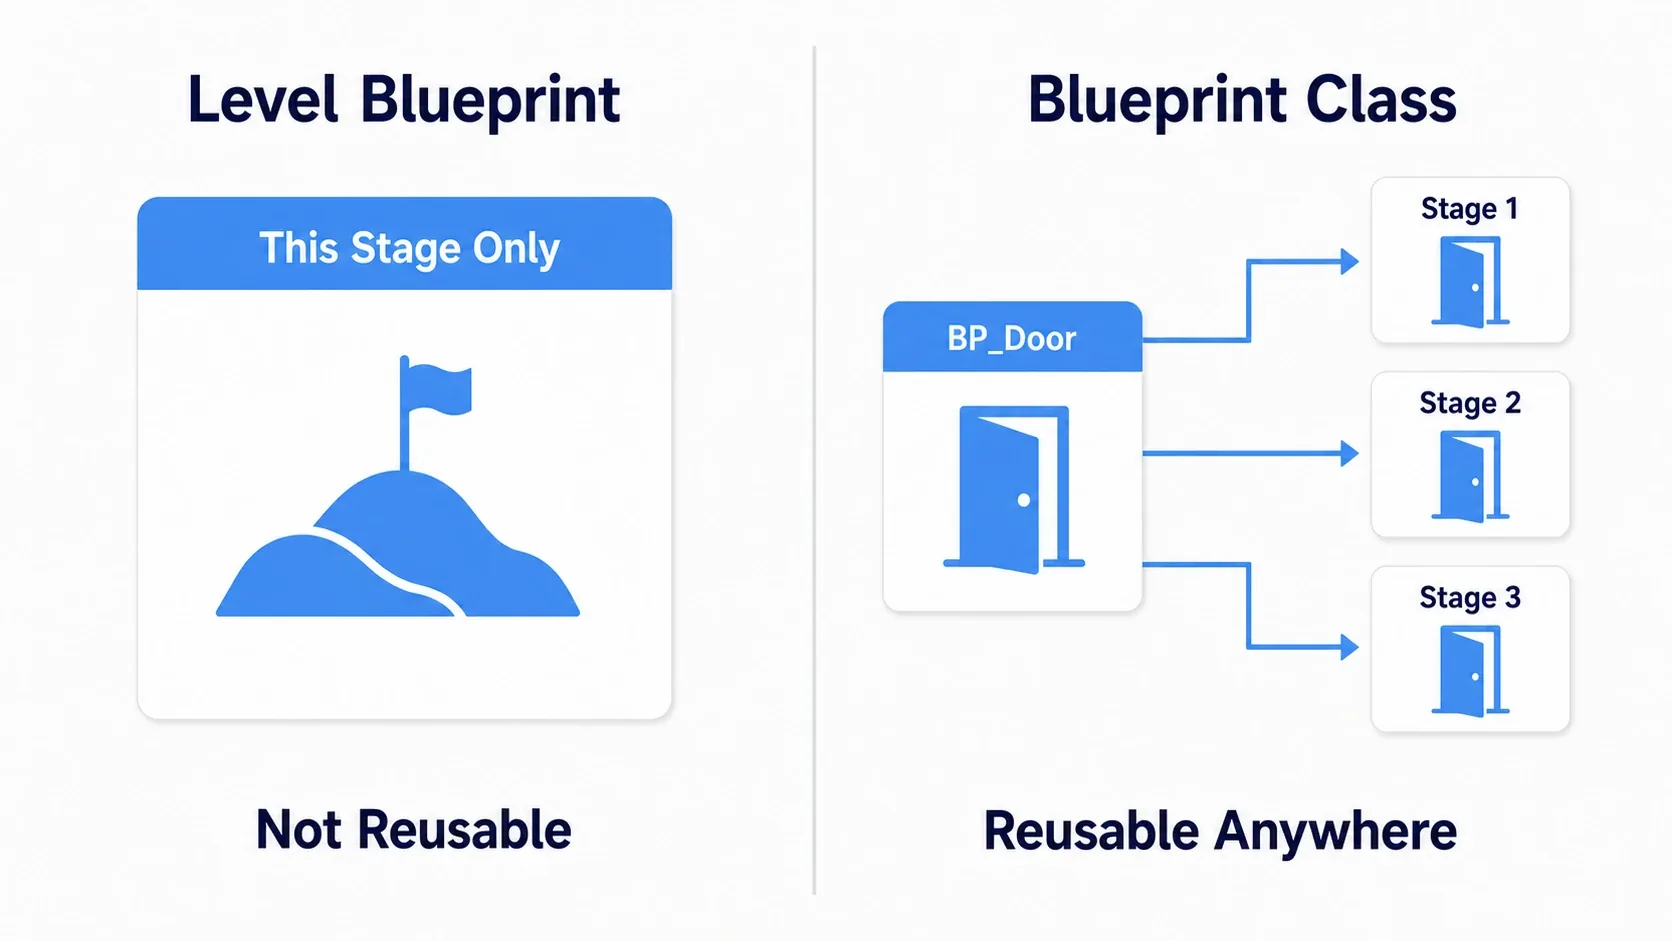
A Blueprint Class is the design for a "thing" that appears repeatedly in your game , like an exploding barrel, a pickup item, or a moving platform (see Core UE5 Concepts).
- It's reusable: you can place any number of instances in any level
- It's encapsulated: data (variables) and behavior (events and functions) are self-contained in the blueprint
- It supports inheritance: you can extend it, for example creating a "poison gas barrel" child class from
BP_Barrel
For instance, "a barrel that explodes when attacked" is written inside the barrel's own Blueprint Class.
BP_ExplosiveBarrel (Blueprint Class)
Event AnyDamage
  → Subtract Damage from Health and Set
  → If Health <= 0 → call the custom event Explode
This barrel explodes the same way in any level, at any position. Build it once and use it in every level. That's the essence of a Blueprint Class.
Comparison and the Golden Rule: Things in Parts, Staging in the Level
| Item | Level Blueprint | Blueprint Class |
|---|---|---|
| Role | The staging and progression script for that level | The design for a reusable "thing" |
| Reuse | Not possible (level-specific) | Possible (anywhere, any number of times) |
| Encapsulation | Low (depends on actors in the level) | High (self-contained in the blueprint) |
| Inheritance | Not possible | Possible |
| Actor references | Can reference placed actors directly | Needs indirect means (Overlap, Get All Actors Of Class, etc.) |
When you can't decide, sort with this golden rule.
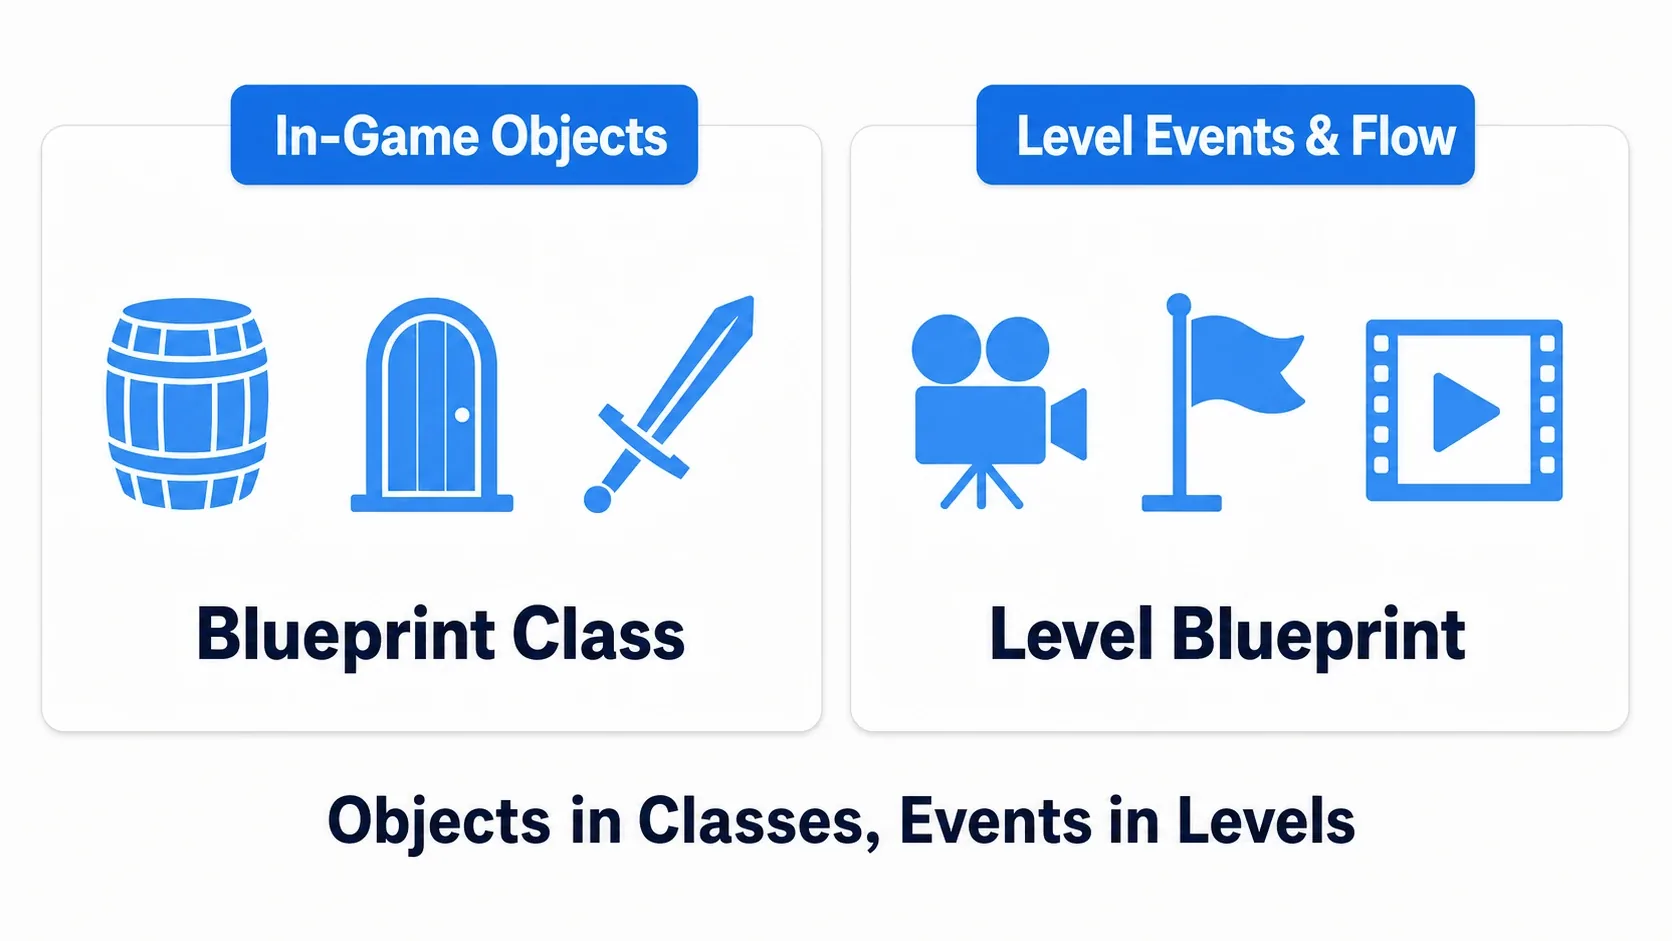
- The "things" in your game (barrels, doors, enemies, items) → Blueprint Class
- The "staging and flow" of that level (opening camera, clear check, one-off events) → Level Blueprint
The Worst Mistake: Core Logic in the Level Blueprint
The mine beginners step on most often is putting core game logic, like player health management or the score system, in the Level Blueprint .
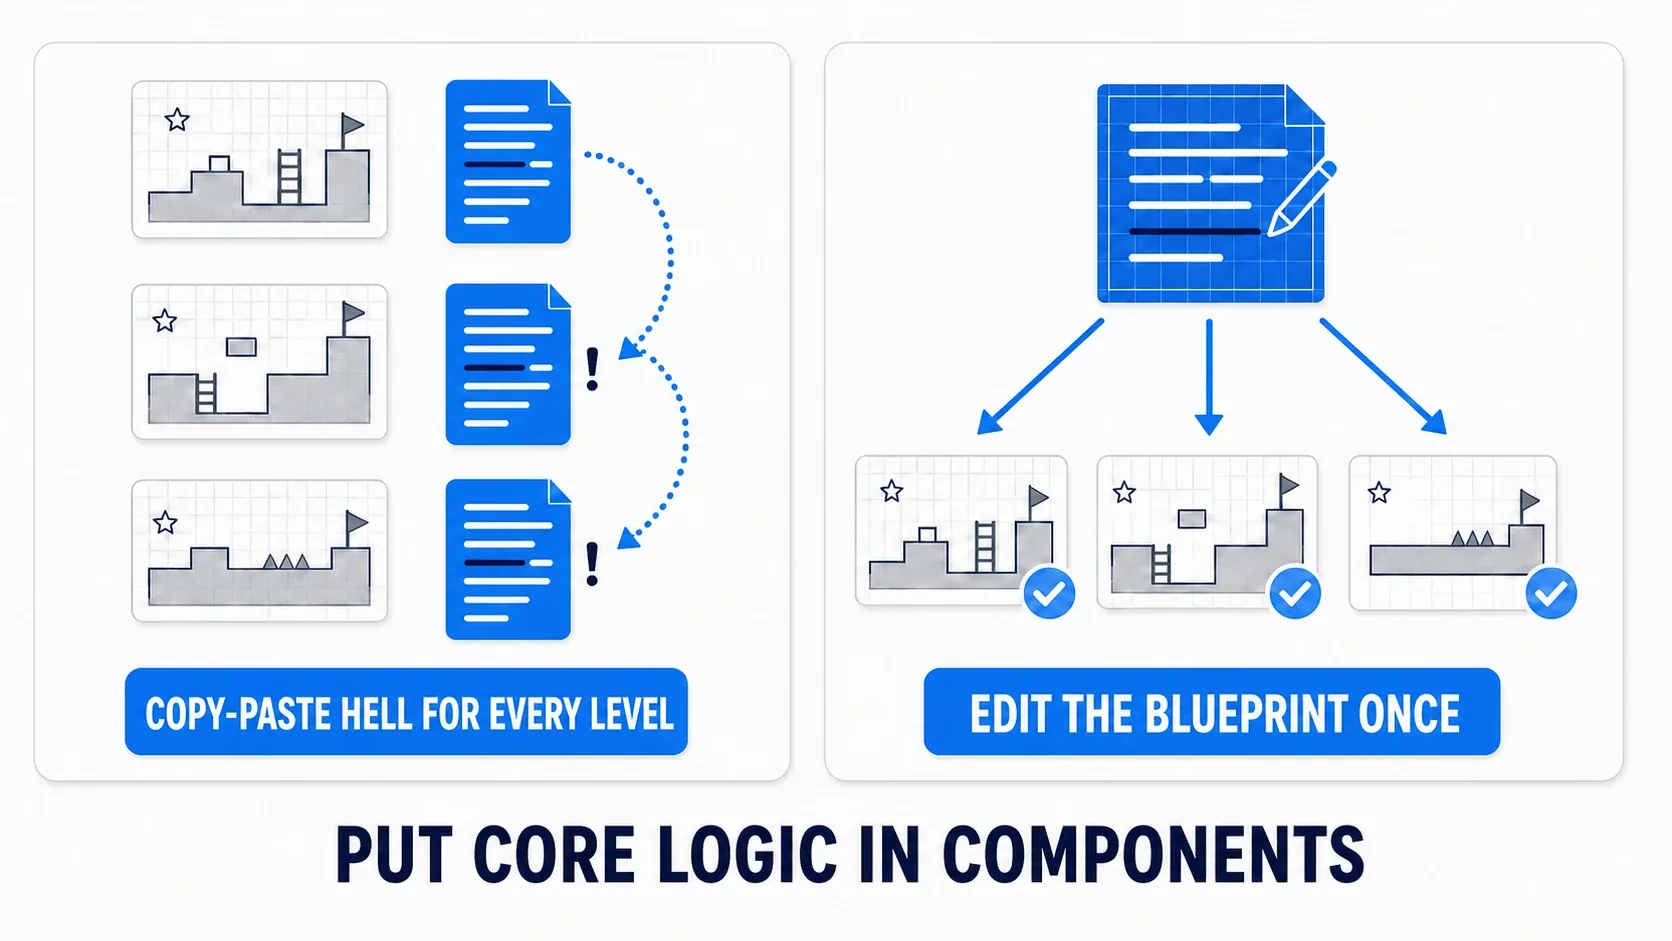
The moment you make level 2, you're copy-pasting all the logic out of level 1's script, and from then on every fix means going around and patching the script of every level. Damage handling belongs in the player's Blueprint Class, and game progression rules belong in the GameMode. Every piece of core logic has a proper home.
Hands-On: Building a Trigger-Opens-a-Door Mechanic With the Right Split
Let's experience the golden rule through a single mechanic. The subject is "step into a trigger zone and the door opens," a staple in every genre: a dungeon's hidden door, a horror game's automatic door, a puzzle's correct-answer gimmick. Here's the split: the door as a thing is a Blueprint Class, while the pairing between this trigger and this door in this room is the Level Blueprint .
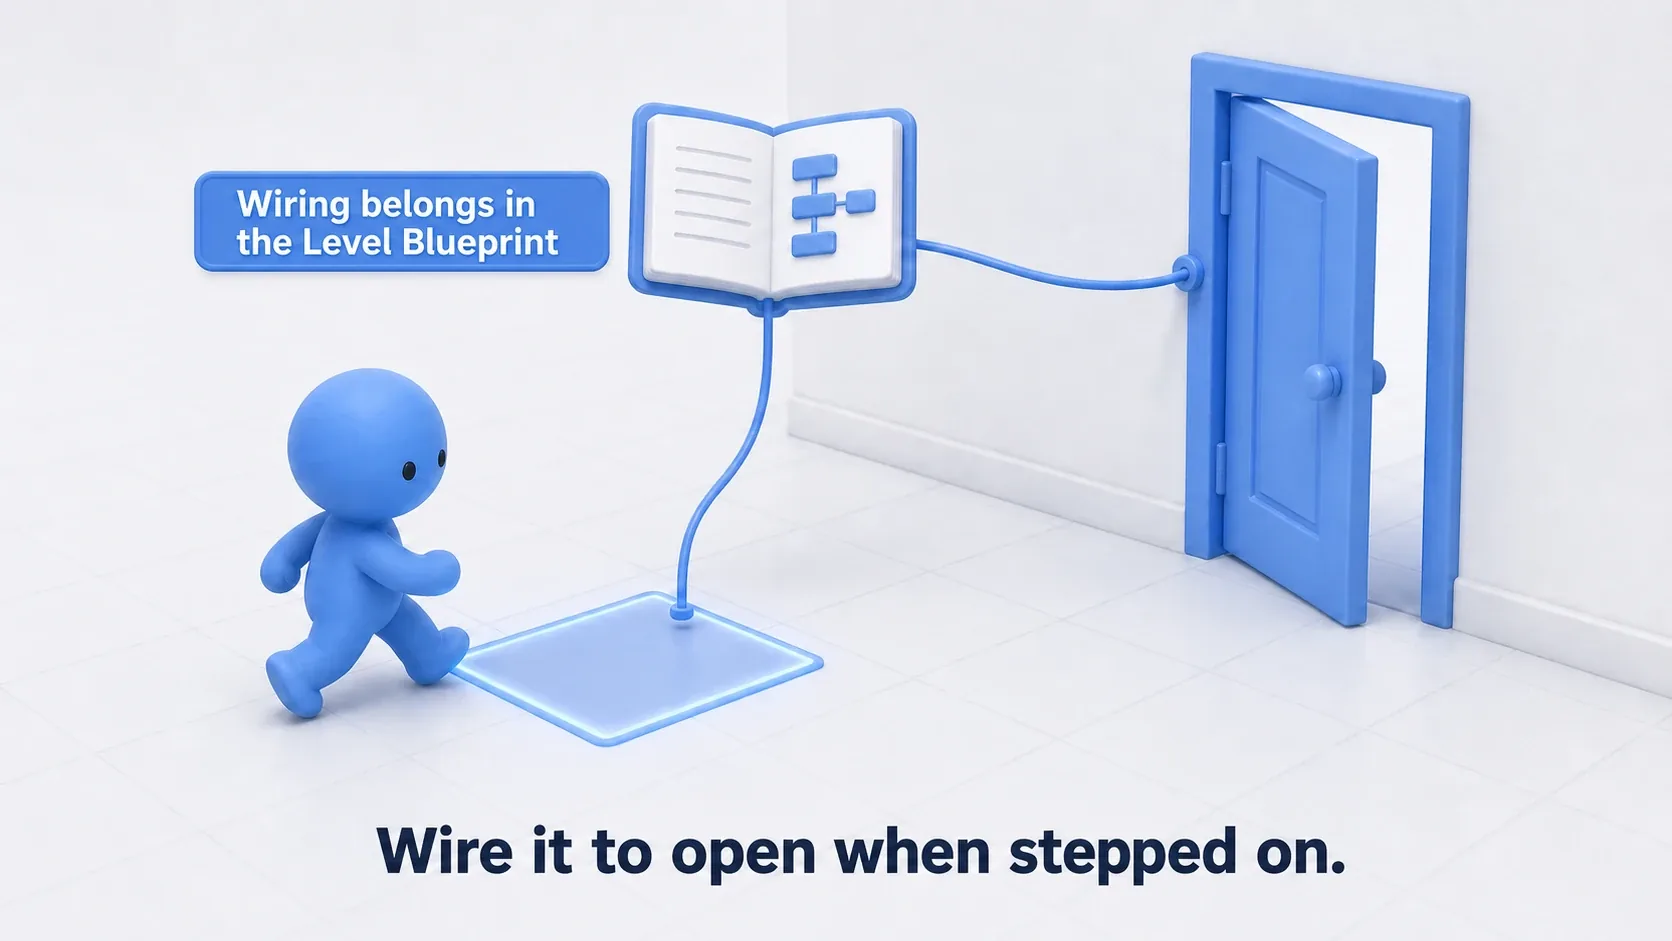
Here's what it looks like running. The moment the player steps into the trigger zone, the door rises over 1.5 seconds and opens. Step out and back in, and the door no longer reacts. The door owns "how it opens," and the level only decides "when."
Setup to reproduce this
Even starting from nothing, you can try this by following the table.
| Item | Setting |
|---|---|
Trigger Box (placed in the level) | Box Extent = (100, 100, 100), Collision Presets = OverlapAllDynamic |
BP_Door mesh | Assign Cube to the Static Mesh, Scale = (0.2, 1.5, 2.2) for a thin door shape |
BP_Door variable | OpenHeight (Float) = 300.0 |
BP_Door Timeline | TL_Open, one Float track, length 1.5 seconds, keys at 0s = 0.0 and 1.5s = 1.0 |
Step 1: Build the door as a part (the door owns how it opens)
Create BP_Door (a Blueprint Class, parent Actor) and add a Static Mesh component (DoorMesh) for the door's appearance. Then build the opening as an event on the door itself.
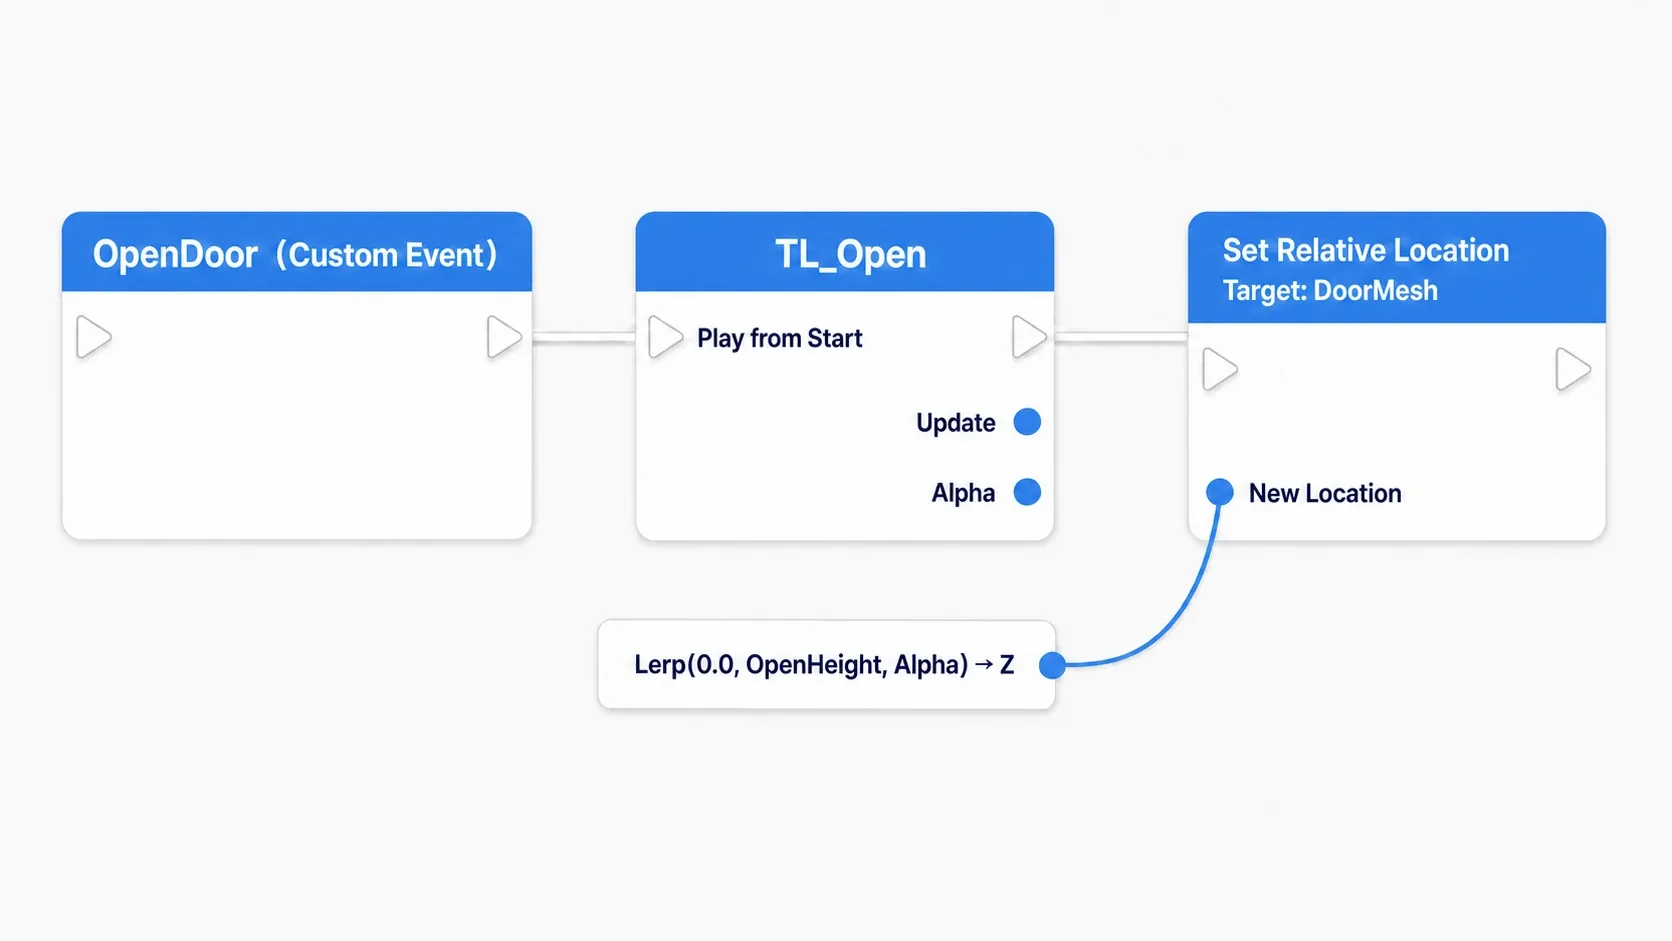
BP_Door (Blueprint Class)
Variable: OpenHeight (Float) = 300.0

OpenDoor (Custom Event)
  → TL_Open (Play from Start)

TL_Open (Update)           // Alpha moves from 0 to 1
  → Set Relative Location (Target: DoorMesh)
       New Location = (0, 0, Lerp(0.0, OpenHeight, Alpha))
When OpenDoor is called, the Timeline drives Alpha from 0 to 1 over 1.5 seconds, and that Alpha interpolates the door's height from 0cm to 300cm. Told to open, the door rises in its own way. Drop this part into any level and it opens the same. For how to build the Timeline node itself, see Smooth motion with the Timeline node.
Step 2: Place them in the level
Put BP_Door and a Trigger Box in the level, with the trigger slightly in front of the door, where the player will walk.
Step 3: Wire only "when it opens" in the Level Blueprint
With the Trigger Box selected, open the Level Blueprint (main toolbar Blueprint menu → Open Level Blueprint), right-click the graph and add an On Actor Begin Overlap event. Do the same to drop a reference to the placed BP_Door, then connect them.
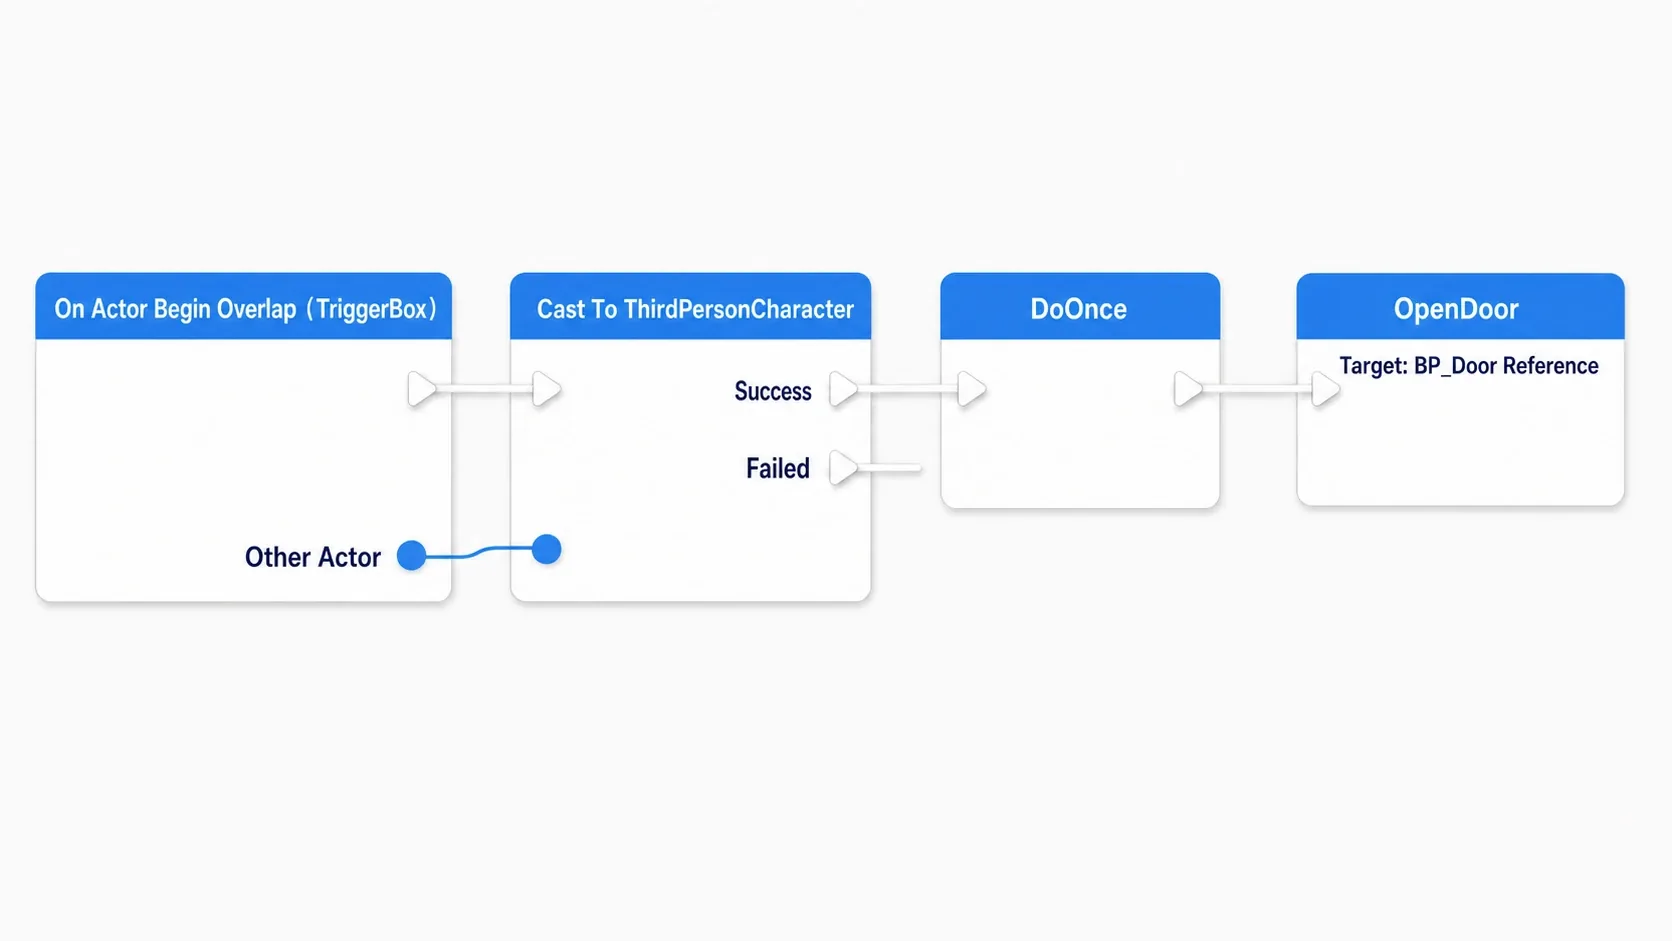
Level Blueprint (the script for this level)
On Actor Begin Overlap (TriggerBox)
  → Cast To ThirdPersonCharacter (Other Actor)   // only react to the player
  → (success) DoOnce
  → call OpenDoor (Target: reference to the placed BP_Door)
Cast To ThirdPersonCharacter is there so a stray prop flying through doesn't open it. DoOnce is the lid that stops the open/close from re-firing every time you step back into the zone (a relative of the Cooldown we built in Function vs Macro).
Verify
Hit Play and step into the trigger zone: the door rises 300cm (3m) over 1.5 seconds and opens. Step out and back in and it won't move this time, because DoOnce is doing its job. If nothing happens at all, check that the BP_Door reference is wired correctly; if anything at all opens it, check that Cast To ThirdPersonCharacter is in place.
What to notice here is where the line between roles is drawn. The door knows "how to open" (a Timeline raising it 300cm), and the level's script only knows "when and by which trigger it opens." That's why you can place the same BP_Door in another level and rewire it there to a different trigger with different timing.
Going Further: Even Looser Coupling With an Interface
Blueprint Interfaces make this wiring one step more elegant. Define an Interact function in an interface called BPI_Interactable and have BP_Door implement it, and the Level Blueprint side only has to send an "please Interact" message without knowing the receiver's type .
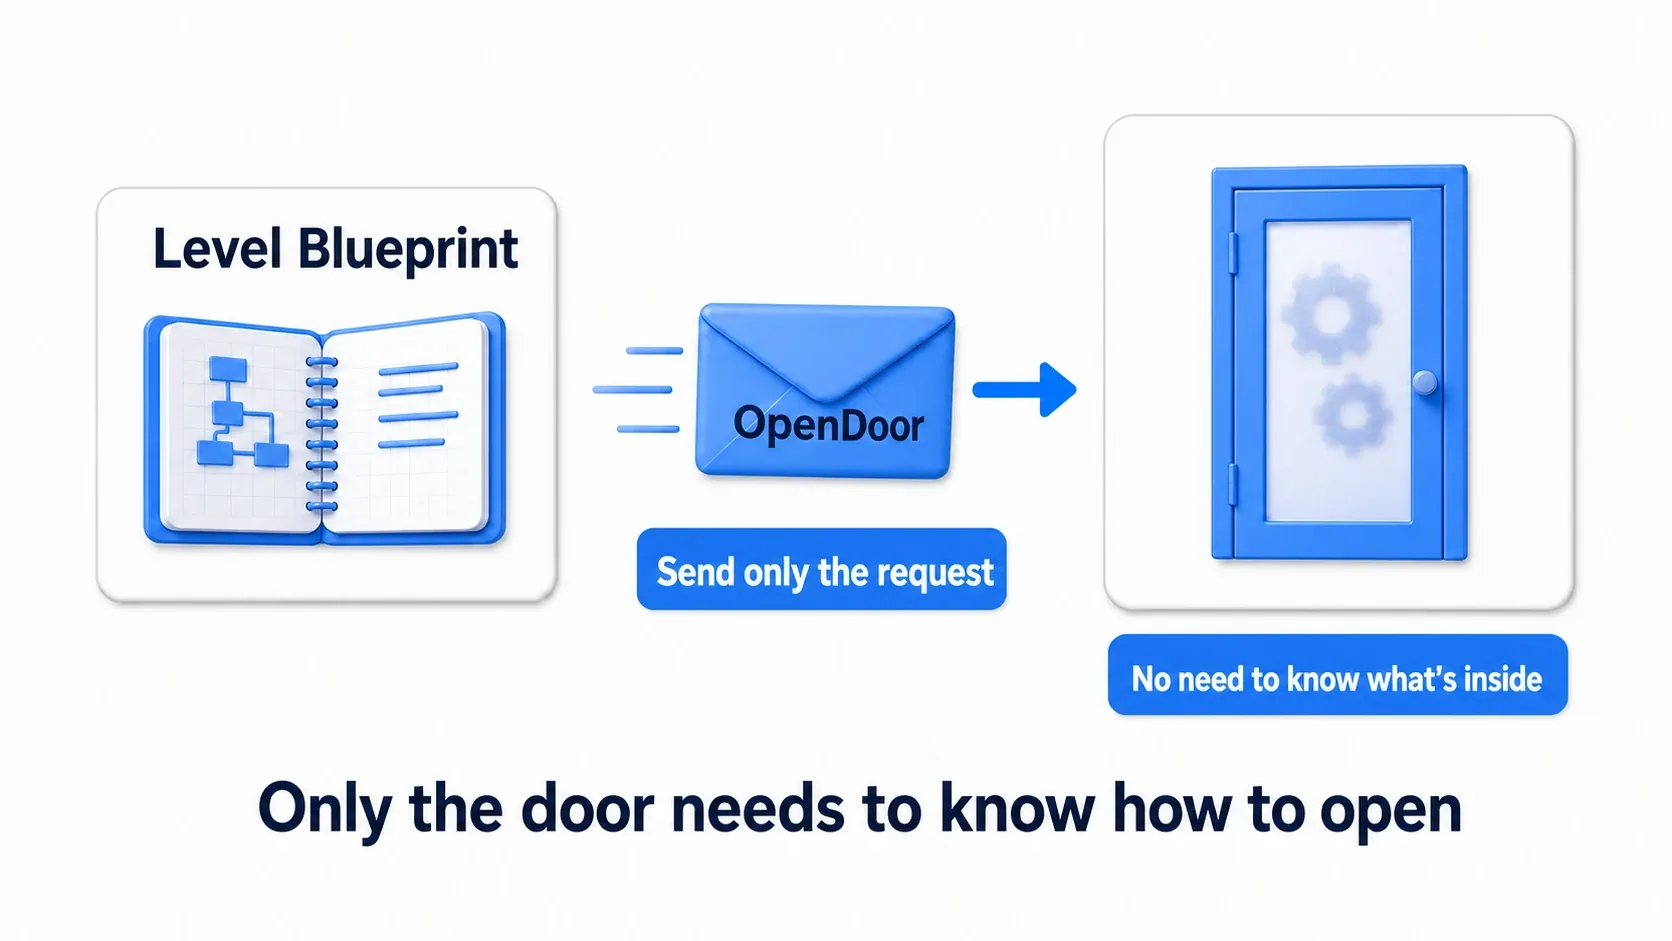
Doors, treasure chests, drawbridges. However many "openable things" you add, the script side just sends the same message. This idea is covered properly in Three Ways to Communicate Between Actors and the Blueprint Interface article.
Two things to take away.
- Separate "the thing's behavior" from "the level's wiring": if the door knows how to open itself, the level script only needs a few nodes of wiring
- Direct references in a Level Blueprint are convenient but binding: referencing placed actors directly is the Level Blueprint's privilege, but those references are confined to this level. Use them knowing that this convenience can't leave the level
Bonus: Good to Know for Later
- Do the opposite on purpose, and feel the pain: build the reverse of the practice. Write the door's open/close logic entirely in the Level Blueprint (put the Timeline on the level side too), then duplicate that level and imagine wanting to change just one door's rise to 400cm. The moment the fix scatters across two levels, the golden rule turns from theory into a gut feeling. A five-minute detour is the surest way to understand it
- Beware the lure of
Get All Actors Of Class: it's convenient for finding other actors from a Blueprint Class, but it scans every actor in the level, so calling it every frame gets expensive. The basic approach is to call it once in BeginPlay and cache the result - Where Level Blueprints still shine: one-off cutscene triggers that don't cross levels (→ Create cutscenes with Sequencer), load instructions for Level Streaming, and other "progression management for this map" work are still very much its job
- When in doubt, lean toward Blueprint Class: if the thought "I might use this in another level later" crosses your mind even for a second, building it as a part is the safe call. Using a part in only one level is easy, but turning a script into a part is a rewrite
Summary
| Blueprint | Role | Criterion for choosing it |
|---|---|---|
| Blueprint Class | The parts of your game (things) | Behavior you want to reuse or encapsulate |
| Level Blueprint | The script for a level (staging, wiring) | Flow and pairings that only happen in that level |
The golden rule is things go in parts, staging goes in the level . And core logic belongs in neither the Level Blueprint nor nowhere, but in your character's Blueprint Class or the GameMode. Get this sorting right and your project holds together even at ten levels.
Once your parts start talking to each other more, move on to Three Ways to Communicate Between Actors.
Open your own Level Blueprint right now. Is there any logic sleeping in there that you'd want to use in another level?