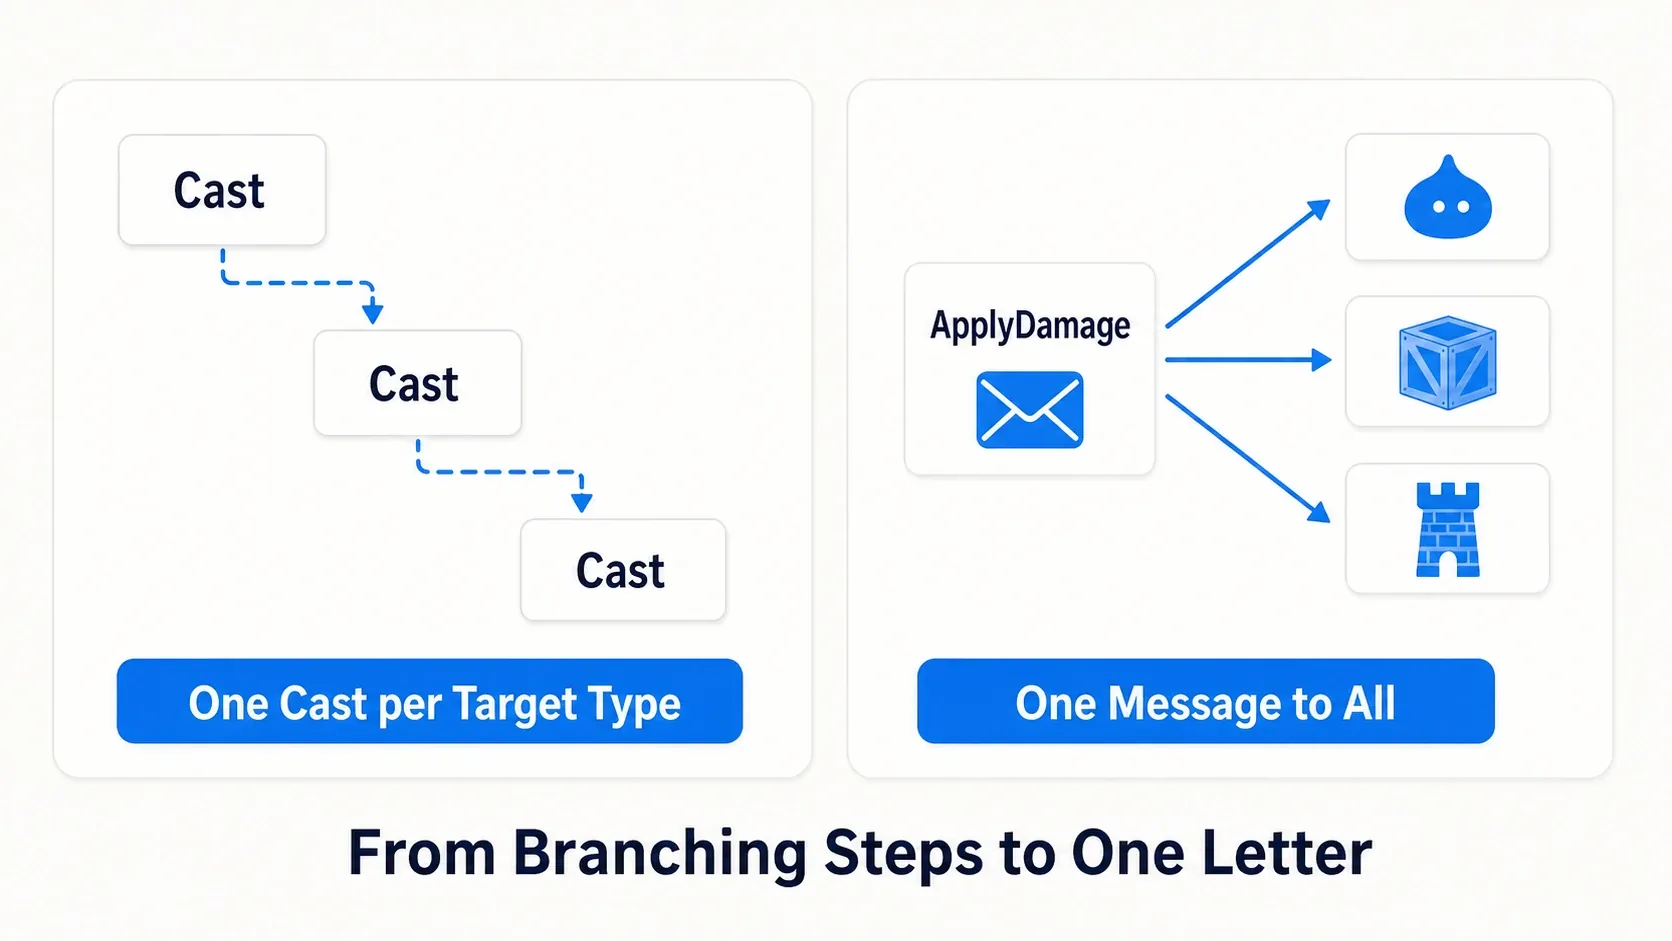
If what you hit is an enemy, reduce HP. If it is a crate, break it. Line up Casts asking "enemy? crate? tower?" for every new target and you keep adding target kinds to the attacking side.
With a Blueprint Interface you can ask a target "please take this much damage" through the same call. How it reacts is decided by the receiver. It is a mechanism where adding a new target does not add calls on the attacking side.
In this article we actually reduce an enemy's and a crate's HP, then move on to how it differs from Cast and how to inspect references. It is the hands-on for building and using the Interface introduced in choosing among three communication methods.
What You'll Learn
- The difference between what the Interface decides and what the receiver implements
- How to reduce an enemy's and a crate's HP through the same Message node
- Specifying Target, and what happens when you send to an unsupported target
- When to use Cast, and what the Reference Viewer can confirm
- An Interface is a shared request form
- Hands-On: sending 25 damage to an enemy and a crate
- Treat Cast and hard references as separate matters
- Confirm dependencies with the Reference Viewer
- Where to look when calling it does nothing
- Bonus: Good to Know Up Front
- Summary: choosing between Cast and Interface
An Interface is a shared request form
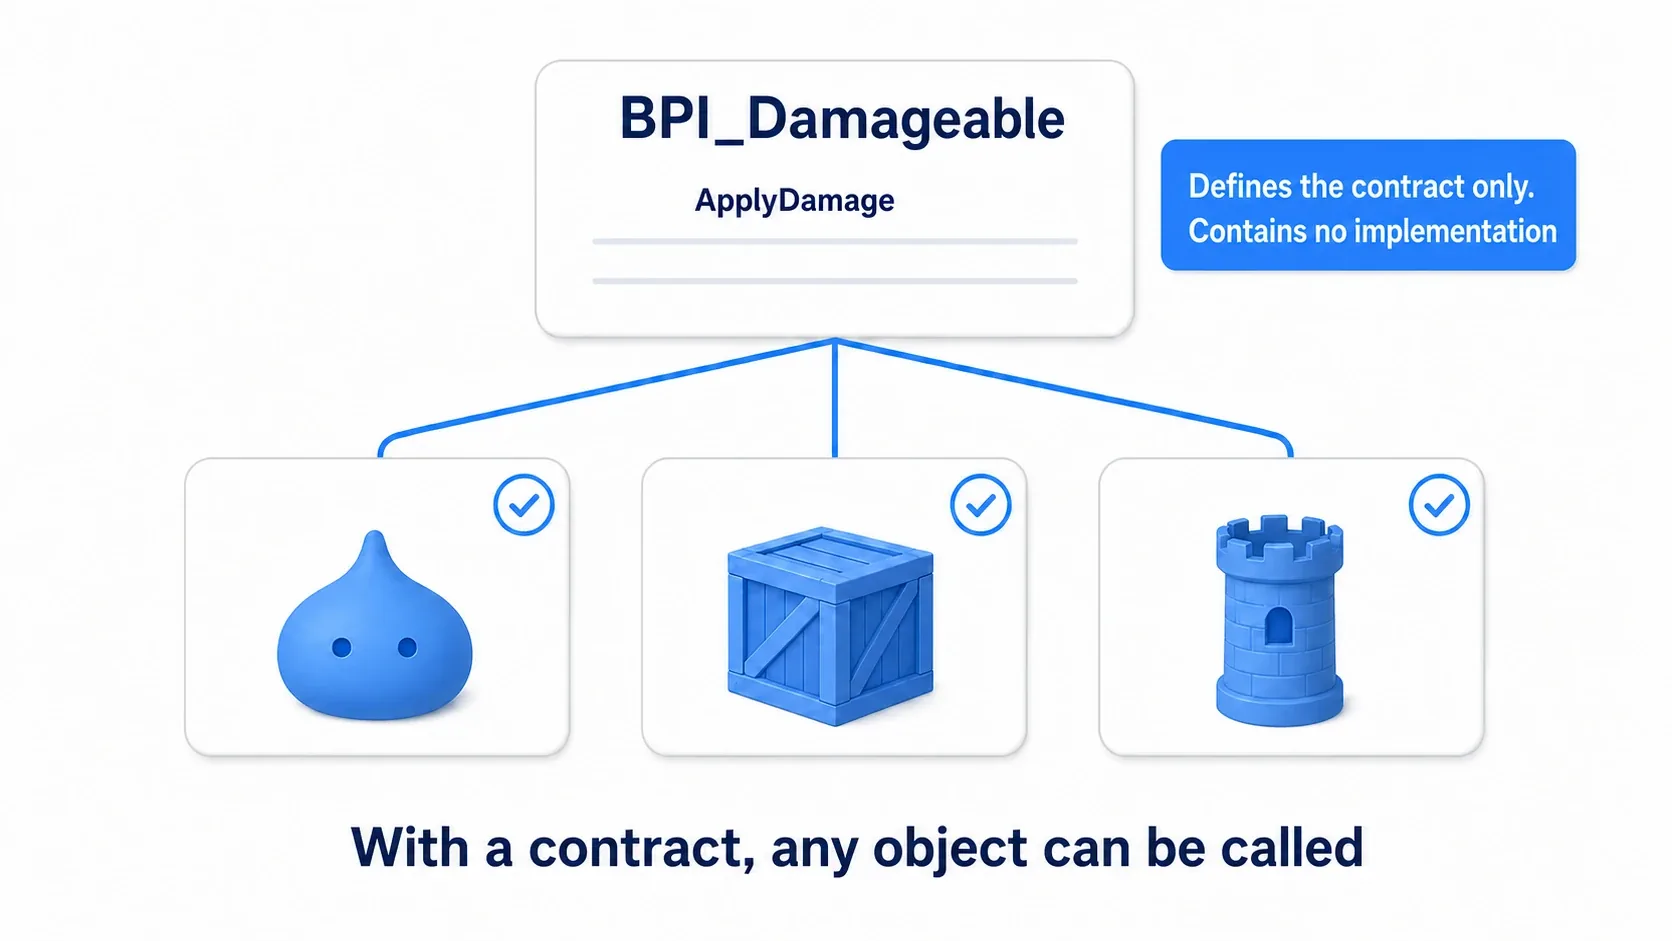
An enemy and a crate differ in appearance and role. Even so, standardize the entry point of "take damage" and the attacker can ask both the same way.
The Interface decides that entry point's name and the values it passes. Here we use the name ReceiveWeaponHit and pass a damage amount.
| Responsibility | What it decides here |
|---|---|
| BPI_Damageable | A feature called ReceiveWeaponHit taking a float called DamageAmount |
| Enemy / crate | On receiving ReceiveWeaponHit, reduce its own HP |
| The attacker | Specify the target and pass 25 through ReceiveWeaponHit |
Implementing means writing the actual logic behind that entry point. The Interface is a request form, so it holds neither the HP variable nor the HP-reducing logic. That content goes in the enemy's and crate's Blueprints.

When calling it, you need a destination called Target. Even though you use the same Message node, one call handles the target you specified. It does not reach every nearby enemy and crate at once.
Hands-On: sending 25 damage to an enemy and a crate
We build a small experiment where F sends 25 damage to a designated Actor. Designate the enemy and HP goes 100 → 75; designate the crate and it goes 30 → 5. We confirm that the sending side's graph is the same even when you change the target.

Create a UE5 Third Person template in Blueprint, choosing None if there is a Variant option. Building in a new practice folder keeps it from mixing with same-named Blueprints from other articles. Creating variables and using Get/Set assumes variable basics.
We confirm HP changes with Print String here. We add no attack animation or death effect, and the Actor stays even at 0 HP.
1. Create the request form
Right-click in the content browser → "Blueprints" → "Blueprint Interface" and create BPI_Damageable.
- Rename the function it opens with to
ReceiveWeaponHit. - Add
DamageAmountto that function's Details → Inputs with type Float. - Leave Outputs empty, then Compile and save.
Float is the type for decimals such as 25 or 12.5. DamageAmount is the argument passed when calling, representing "how much HP to reduce this time."
Not being able to place HP-reducing nodes here is correct. The request format now exists, so next we build the receiver's logic.
2. Prepare the enemy and crate Actors
From "Blueprint Class" → "Actor," create BP_Enemy and BP_Crate. Both have Actor as parent and are separate Classes.
| Setting | BP_Enemy | BP_Crate |
|---|---|---|
| Part to add | Static Mesh | Static Mesh |
| Mesh | The engine's Cylinder | The engine's Cube |
| Variable | Health, Float | Health, Float |
| Health's default | 100 | 30 |
If you cannot find the meshes, turn on "Show Engine Content" in the asset picker's Settings and use the ones in Engine/BasicShapes. Set the part's location and rotation to 0, Scale to 1, and Simulate Physics off.
Compile after adding the variables and enter Health's default. Save, place both in the level with Actor Scale 1 and centers about 50 cm above the floor. Lining them up somewhere visible from the character you control is enough.
Next, open both Blueprints and choose BPI_Damageable in the add field under "Class Settings" → "Interfaces," then Compile.
You have now declared "this Class supports ReceiveWeaponHit." There is no HP-reducing logic yet, so implement it next.
3. Reduce your own HP by the amount received
Right-click in BP_Enemy's Event Graph and add the Interface's Event ReceiveWeaponHit. Rather than creating a new Custom Event with the same name, choose the event from the Interface you added.
Event ReceiveWeaponHit has a white exec output and a DamageAmount value output. Connect it as follows.
- Connect the white exec output to Set Health.
- Create a Float subtraction with Get Health on A and the event's DamageAmount on B.
- Feed the subtraction result into a Float Max with the other input at 0.
- Connect Max's result to Set Health's value.

Max is a node returning the larger of two values. Subtracting 25 at 5 HP gives -20, but comparing against 0 and taking the larger stops HP at 0. In this exercise we send only positive damage amounts.
Connect a Print String after Set Health with Duration 10 seconds. Set Append's A to Enemy HP: and B to the updated Get Health converted to String, then pass the result to Print's In String.

"From Set Health's exec output" in the diagram is a note showing the seam with the previous diagram. To String (Float) turns the number into text and Append concatenates the strings.
Build the same logic in BP_Crate, changing only Append's A to Crate HP: . Compile and save. The enemy and crate each hold their own Health, so damaging the crate never reduces the enemy's HP.
4. Designate a target and send the Message
Create BP_DamageSender with Actor as parent. Since it only sends, no visual parts are needed.
Create a variable TargetActor of type Actor Object Reference with Instance Editable on. Object Reference is a value designating an instance in the level. Rather than a BP_Enemy-specific type, we use the Actor type so the crate is accepted too.
Create a Custom Event SendHit in the Event Graph and connect the following.
- From SendHit, connect to an Is Valid with white exec pins.
- Put Get TargetActor into Is Valid's Input Object.
- Drag from Get TargetActor's blue pin and search for
ReceiveWeaponHit (Message)to place it. - Connect Is Valid's success side to the Message's white input and set Damage Amount to 25. Target is Get TargetActor.
Choose the Message node with the envelope icon. There is no need to add the Interface to BP_DamageSender itself. It can be called as long as the receiving enemy and crate implement it.
Is Valid checks whether the target exists and is usable. On the Is Not Valid side, show Target is not set with Print String for 10 seconds so a forgotten destination is obvious.

Compile, save, and place one BP_DamageSender in the level. In that Actor's Details, set Target Actor to the placed BP_Enemy. Creating the variable alone does not fill in the target.
Finally, with the placed BP_DamageSender still selected, open the Level Blueprint. Right-click → "Create a reference to [name]" and call SendHit from its blue output. Connect the F key's Pressed to SendHit's white input.

The F key is this exercise's input, so we receive it in the Level Blueprint. There is no need to change BP_DamageSender's Auto Receive Input.
5. Confirm the same call works with a different target
Compile, save, Play, click the game view, and press F once. Enemy HP: 75 on screen means the 25 you sent reached the enemy.
Stop Play and change the level's BP_DamageSender Target Actor to the placed BP_Crate. Without editing the graph, Play again and press F.
| Action | Expected display |
|---|---|
| Target the enemy, new Play → F | Enemy HP: 75 |
| Target the crate, new Play → F | Crate HP: 5 |
| Press F again in the same Play | Crate HP: 0 |
| Press F again | Crate HP: 0. It never goes negative |
Just swapping the target let the same ReceiveWeaponHit invoke logic in different Classes. The sender rewrites neither the enemy's Health nor the crate's Health directly; it only passes a damage amount.
Next, place a plain Cube in the level and set Target Actor to that Cube. Since this Cube has no BPI_Damageable added, pressing F shows no HP. A Message does not invoke logic on a target that does not implement the Interface.
The Cube itself exists, so Is Valid succeeds. You can see that "exists" and "supports that request" are separate checks. Set Target Actor back to the enemy afterwards.
To change the damage amount too, change the Message's 25 to 40 and send to the enemy in a new Play. Going 100 → 60 means the receiver uses the argument rather than a fixed 25. Restore 25 afterwards.
Treat Cast and hard references as separate matters
Cast checks whether the reference you hold can be treated as the specified Class. On success you can use that Class's own variables and functions. It is not logic that spawns a different Actor or turns a crate into an enemy.
In other engines: it is close to C#'s
as/isand GDScript'sas— "confirm the type and treat it as that type." It is not the same as fetching a part the wayGetComponent<T>()does.
If you want to change an enemy-only attack pattern, you do need to treat it as BP_Enemy. But when you only need the shared feature of "take damage," as here, you can ask through an Interface rather than lining up a Cast per target.
There is another, separate matter here: asset dependencies. A dependency is the connection "another asset is required for me to work."
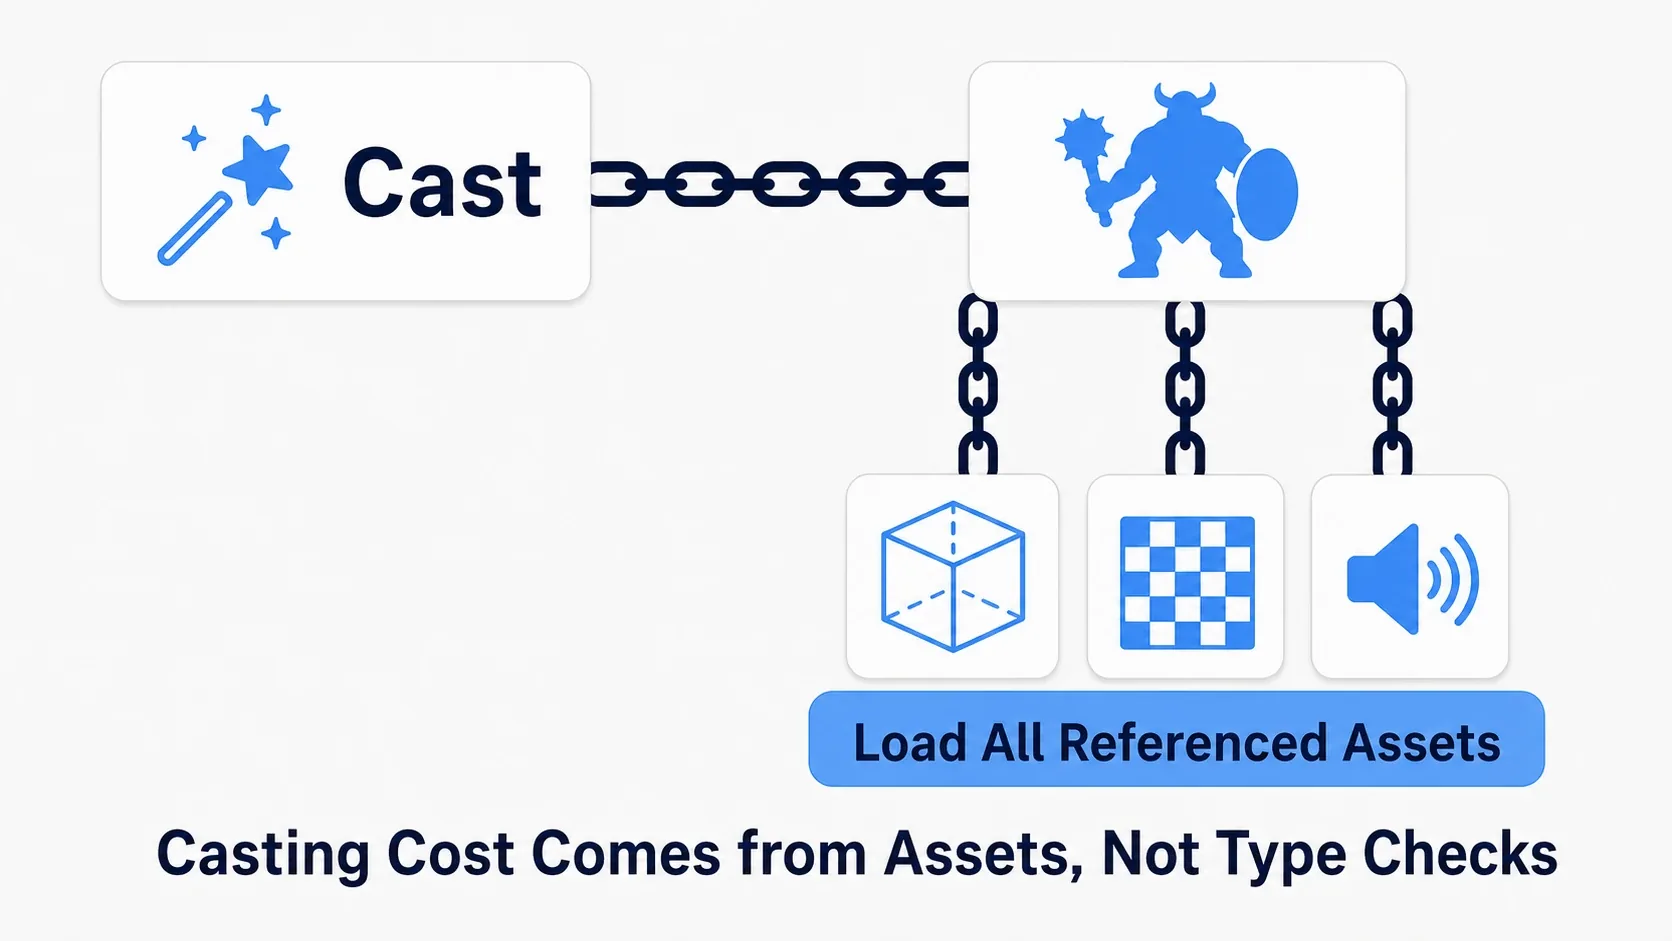
A Blueprint containing Cast To BP_Enemy holds a hard reference to the BP_Enemy Blueprint asset. That is the connection where loading the referencer requires the target too. If BP_Enemy hard-references meshes and sounds in turn, loading chains onward.
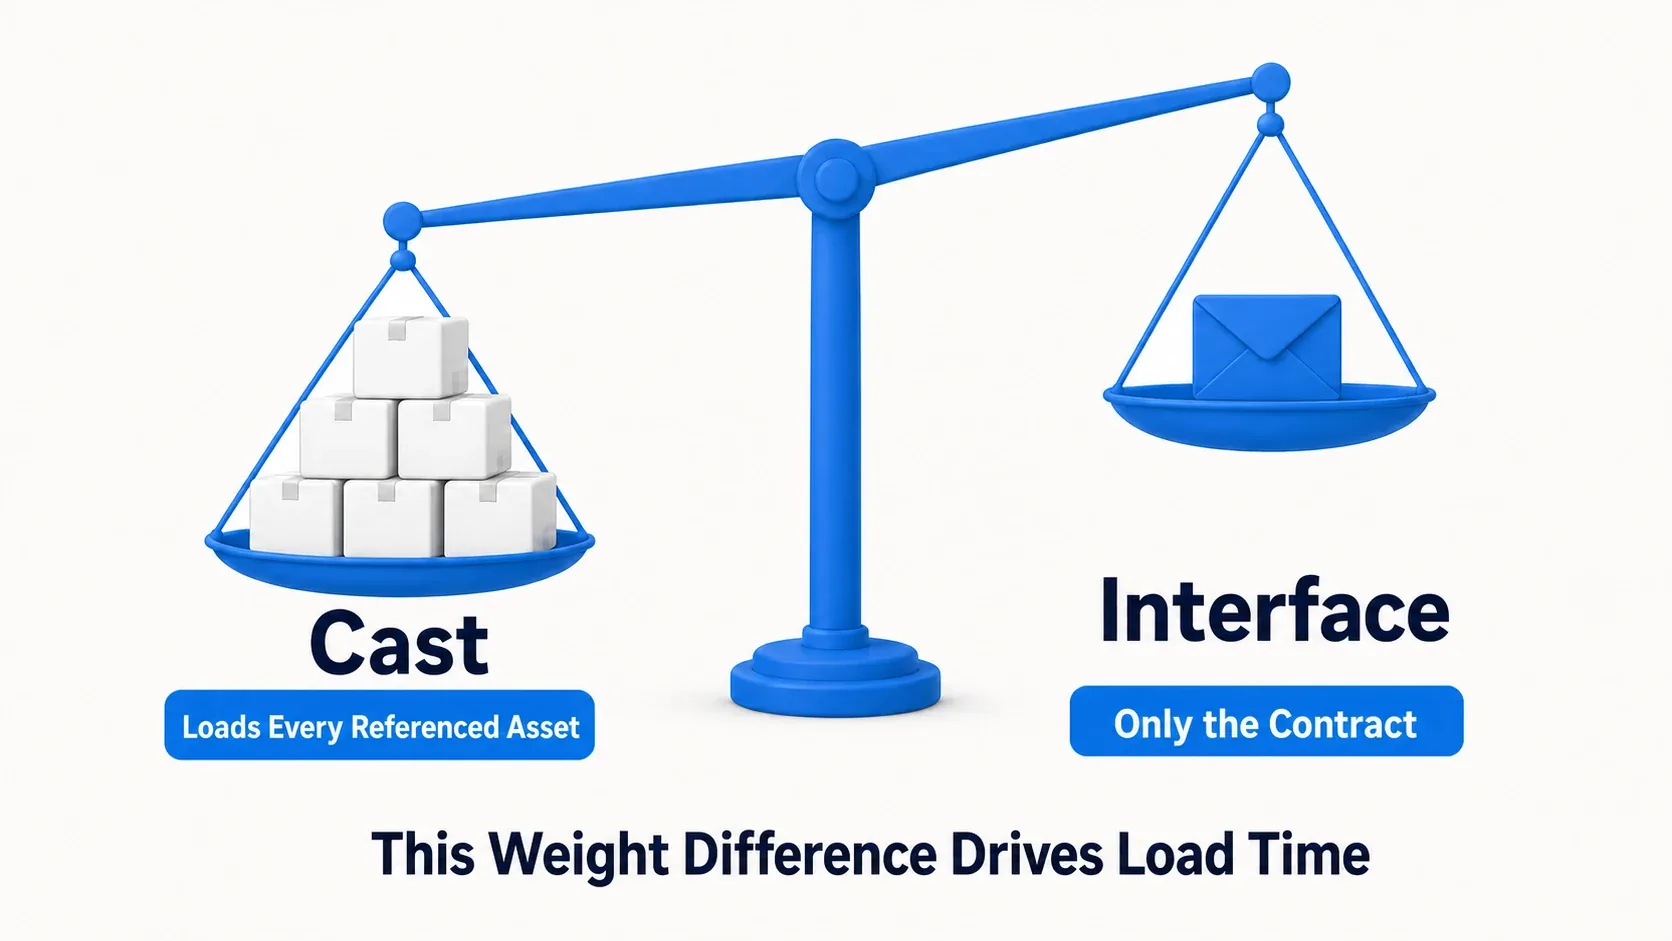
So referencing a wide range of enemy and equipment Blueprints you do not currently need can add to loading and memory cost. This is a matter of separating the time to execute one Cast from the cost of loading the referenced assets. You cannot conclude "it is slow because there is a Cast."
With an Interface, the sender can use the shared BPI_Damageable instead of the concrete BP_Enemy. But dependencies do not become zero. There is still the reference to the Interface itself, plus references remaining in other variables and nodes, so confirm with the following method.

The difference between hard references and soft references that load on demand is also introduced in asset management basics.
Confirm dependencies with the Reference Viewer
The Reference Viewer is a tool for seeing "which asset uses which." Beyond whether the graph got shorter, it lets you check whether the sender still needs to know the enemy's kind directly.
- Compile and save BP_DamageSender.
- Right-click that asset in the content browser and open "Reference Viewer."
- From BP_DamageSender in the center, check the dependencies on the right.
- Look for the reference to BPI_Damageable and see whether a path depends directly on BP_Enemy or BP_Crate.
What you inspect is the BP_DamageSender asset. Opening the whole level also shows references to the enemies and crates placed there, which is a different investigation. The Target Actor assignment here was made on the Sender instance placed in the level.
When converting your own existing graph from a Cast version, keep a screenshot of the before state to compare. Match the "View" reference types, search depth, and display counts, and refresh under the same conditions. Do not mistake lines hidden by a filter for dependencies that disappeared.
If a reference to BP_Enemy remains, look for BP_Enemy-typed variables, other Casts, and nodes that specify a Class. Replacing one spot with a Message does not erase references via other paths.

To see a size breakdown, right-click the same asset → "Size Map." It shows the asset's and its dependencies' sizes as a diagram. When comparing, align display conditions such as Disk Size / Memory Size and investigate references taking a large share.
The Reference Viewer's lines show dependencies, and the Size Map shows sizes. Three fewer lines does not tell you how many seconds faster it got. Actual load time is also affected by other reference paths and by assets already loaded. When you want to confirm a speed improvement, measure runs under the same conditions with Unreal Insights or similar.
Where to look when calling it does nothing
| Symptom | Where to check |
|---|---|
| "Target is not set" appears | Whether you assigned a placed Actor to the Sender in the level |
| The target exists but no HP appears | Whether you added BPI_Damageable to the target's Class Settings |
| The Interface is already added | Whether the white line from Event ReceiveWeaponHit continues to Set Health and Print |
| Sending 40 still subtracts only 25 | Whether the subtraction's B uses the event's DamageAmount |
| The Message cannot be found | Whether you compiled and saved the BPI, and searched from the Actor's blue reference pin |
| A different target reacts | Whether the Message's Target points at the instance you meant to act on |
Since nothing happens on an unsupported target, a missing implementation can be hard to notice from the sending side alone. When unsure, temporarily place a Print right after the receiver's Event ReceiveWeaponHit to first check whether it arrives.
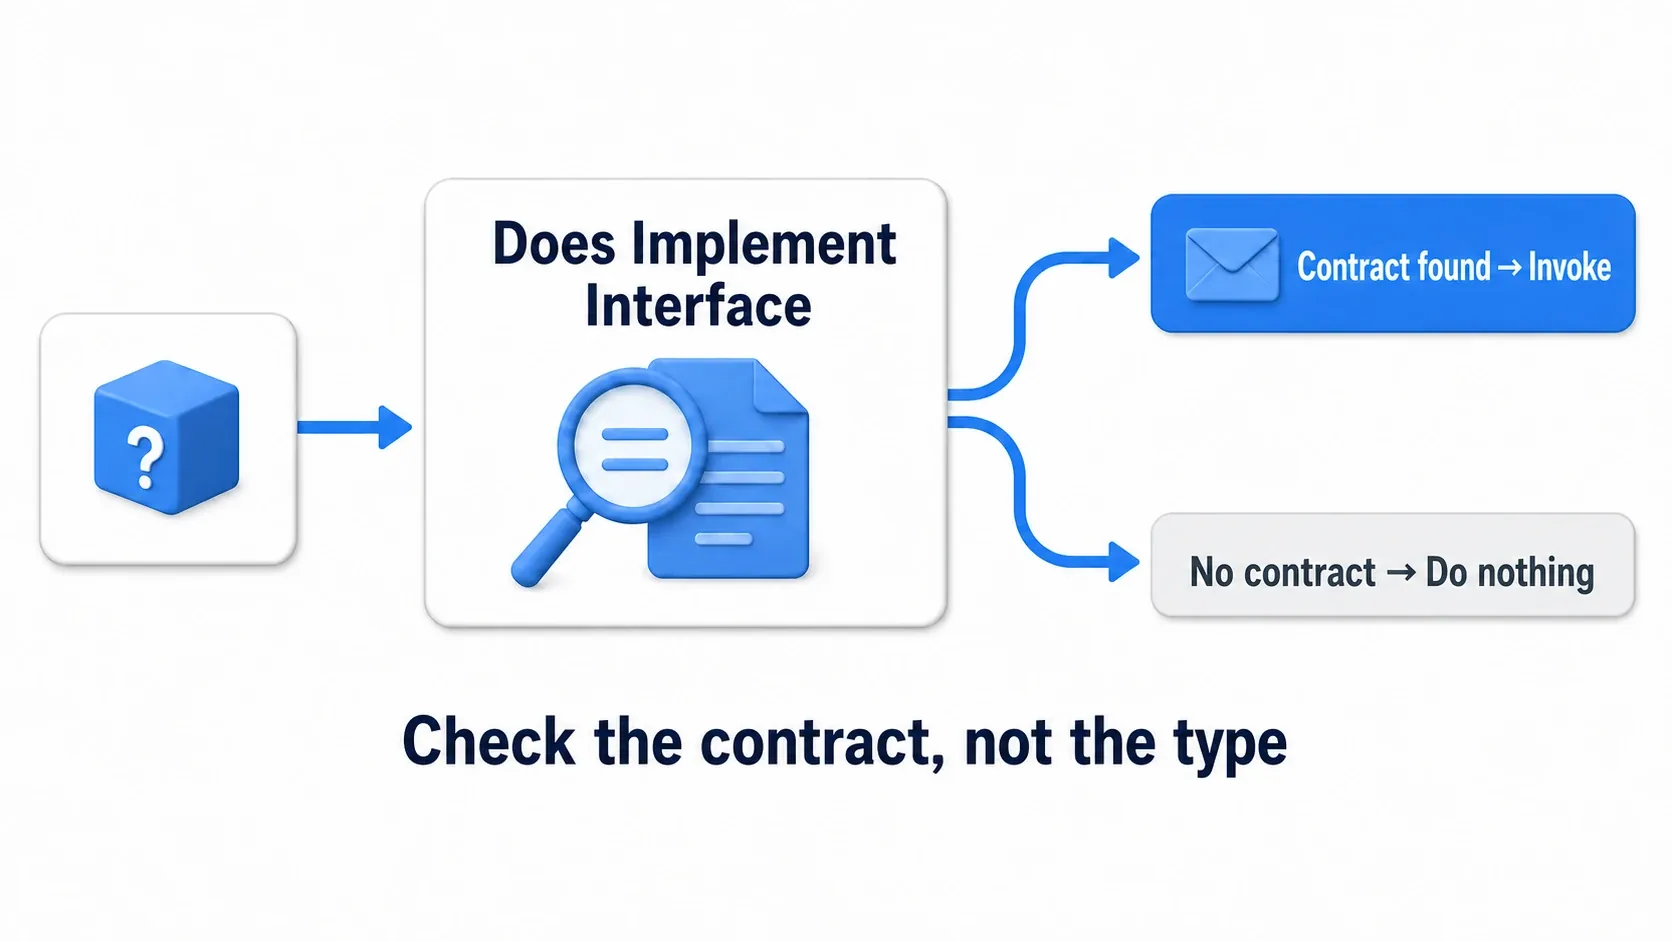
Does Implement Interface returns whether a target supports that Interface. Give it the target's reference in Test Object and BPI_Damageable in Interface and it returns a Boolean. A Boolean is one of two values, True or False.

This is not something you must always insert before a Message. Use it when you want to choose logic based on support, as in "only change aim to supported targets" or "show different guidance when unsupported." Simply sending a request to a supported target is covered by the Message alone.
Bonus: Good to Know Up Front
Connecting to attack collision
We assigned TargetActor by hand here, but in a real attack you pass a Line Trace's Hit Actor, or the Other Actor a bullet overlapped, into the Message's Target. Separating "logic that finds the target" from "logic that asks the found target" lets a sword and a bullet share the same entry point.
The standard Apply Damage and Event AnyDamage can also handle damage. The ReceiveWeaponHit built here is a custom feature for learning Interfaces; it does not automatically call the standard damage event. For hands-on work with the standard feature, go to the health and damage article.
Combining with a health Component
If you use BP_HealthComponent from the health Component article, call the part's ApplyHealthDamage from the Actor's Event ReceiveWeaponHit. Pass your own HealthComponent reference to Target and the received DamageAmount to Damage Amount.
In that case, the Actor-side Health variable and subtraction from this article are replaced by the part's logic. The Interface is the "damage entry point" and the Component handles "storing and computing health." Adding the part does not auto-forward Messages addressed to the Actor.
Interfaces can define return values too
We left Outputs empty here because we only send a request. Give GetInteractionText a Text return value, for example, and each target can return display text such as "Open" or "Inspect." With a return value, the receiver implements the body as a function.
But if the Message's target does not support it, the logic does not run. Do not judge support from the returned value alone; use Does Implement Interface where it matters.
Choose the types the request form actually needs
Make the Interface's input a BP_Enemy-specific reference type and the request form itself has to know that Blueprint. Here a Float damage amount is enough. When you need a reference to a target of any kind, consider the Actor type, and think about whether there is a reason to use a concrete Class.
C++ can also separate entry point from implementation
In C++ you can define a shared entry point with UInterface. There is no need to move to C++ from the start; going to first steps from Blueprint into C++ once the roles are clear in Blueprint is plenty.
Summary: choosing between Cast and Interface
| What you want to do | How to choose |
|---|---|
| Use variables or functions specific to that Class | Cast and confirm it can be treated as the specified Class |
| Ask targets of different kinds for a shared feature | Standardize the entry point and passed values with an Interface |
| Tell several listeners something happened | Use Event Dispatcher registration and notification |
As you saw with the enemy and crate, an Interface lets the sender pass a shared request without deciding "whose internals to change and how." When adding a receiver, add the Interface and prepare a reaction appropriate to that Actor.
When inspecting references, do not make reducing the Cast count the goal — confirm whether you are connected to the targets you need. The mechanism for telling several handlers about an occurrence can be tried in the Event Dispatcher article.