"When the player steps on a switch, open the door." The goal is simple, but how does the switch actually tell the door to open? The moment two Actors are involved, UE development becomes a communication problem.
Blueprint gives you three main options: Direct Reference (a direct phone line), Interface (a letter with no addressee), and Event Dispatcher (a radio broadcast). All three work. But pick the wrong one and the cost of changes explodes once your project grows.
This article explains the differences and how to choose, with metaphors and diagrams. At the end, we build a "step on a button, a bridge extends" mechanic using all three.

What You'll Learn
- The three methods boil down to a direct line, a letter, and a broadcast
- How to choose based on coupling (fixed target → direct line, varied targets → letter, unknown targets → broadcast)
- How to avoid the classic mistakes (everything as Direct Reference, forgetting to Unbind)
- Hands-on: use all three where each fits best in a single mechanic
- The Big Picture: Direct Line, Letter, Broadcast
- Direct Reference: A Direct Line to a Known Target
- Blueprint Interface: A Letter with No Addressee
- Event Dispatcher: A Broadcast for Whoever Wants to Listen
- A Flowchart for Choosing
- Hands-On: Building a Button-Activated Bridge with All Three
- Bonus: Good to Know for Later
- Summary
The Big Picture: Direct Line, Letter, Broadcast
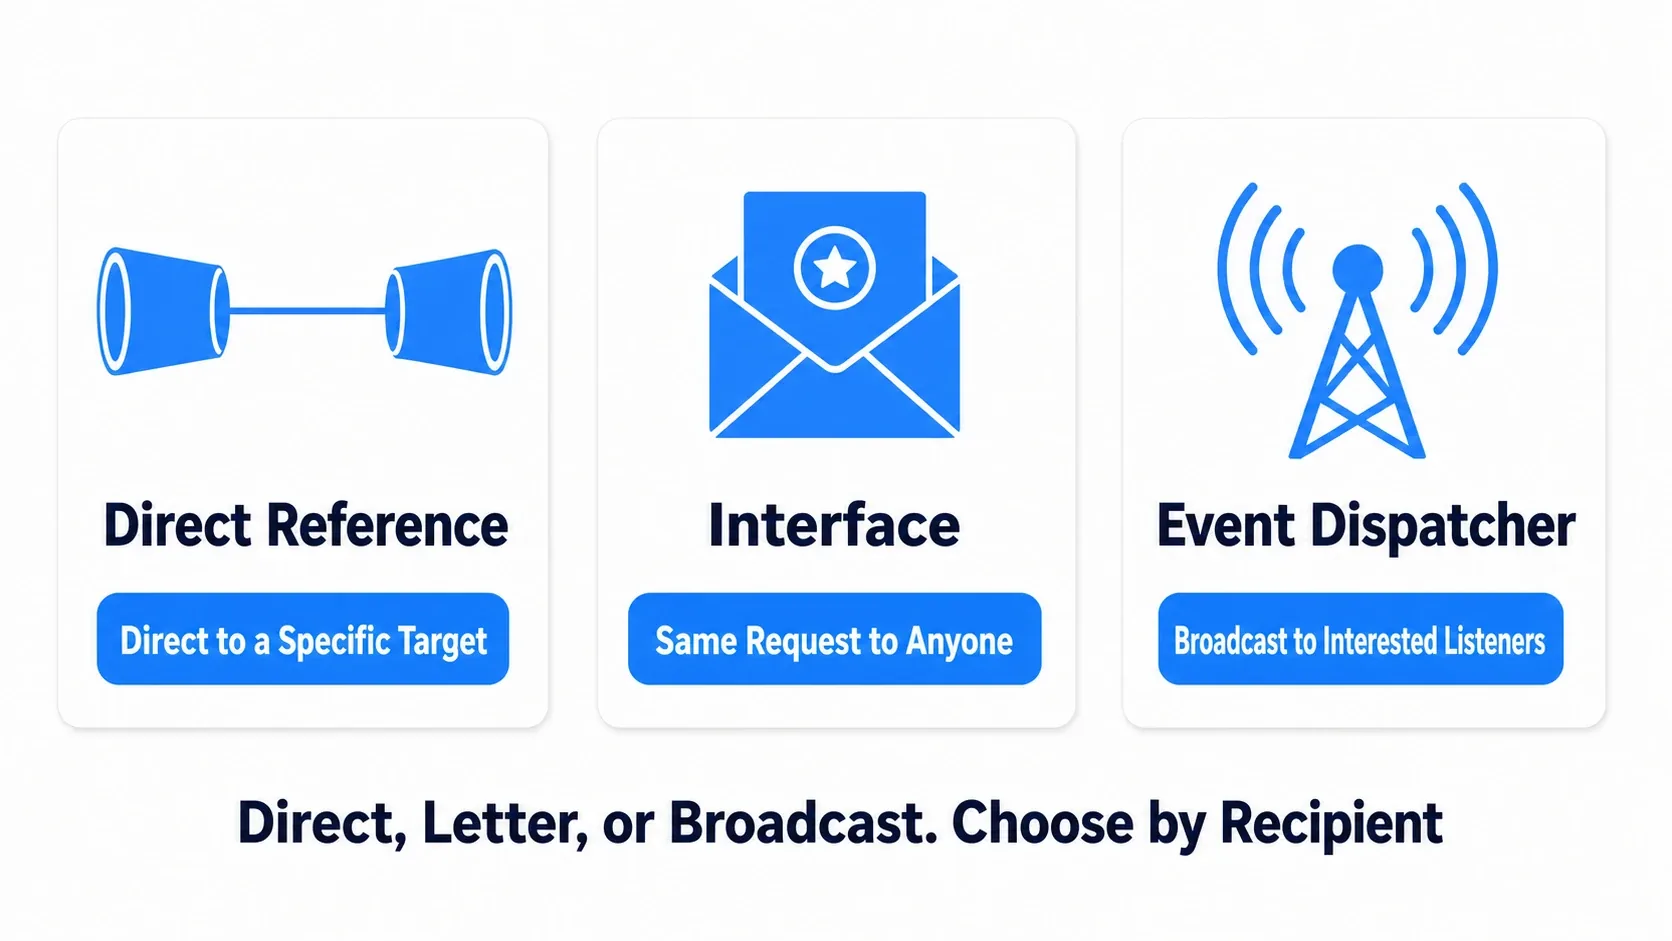
| Method | Metaphor | Coupling | Main Use |
|---|---|---|---|
| Direct Reference | Direct phone line | High (tight coupling) | Fixed interaction with one specific Actor |
| Interface | Letter with no addressee | Low (loose coupling) | Sending "the same request" to varied recipients |
| Event Dispatcher | Radio broadcast | Lowest | Notifying an unknown number of listeners at once |
The rule of thumb is simple: fixed target → direct line, varied targets → letter, unknown targets → broadcast. Let's look at each in turn.
Direct Reference: A Direct Line to a Known Target
This is the simplest approach. You hold a reference to the other Actor in a variable and call its functions directly. It's the equivalent of a phone call to a named contact: "this door, run your OpenDoor."
BP_Player Event Graph (variable TargetDoor: BP_Door type)
Is Valid (TargetDoor) → True → call OpenDoor on TargetDoor
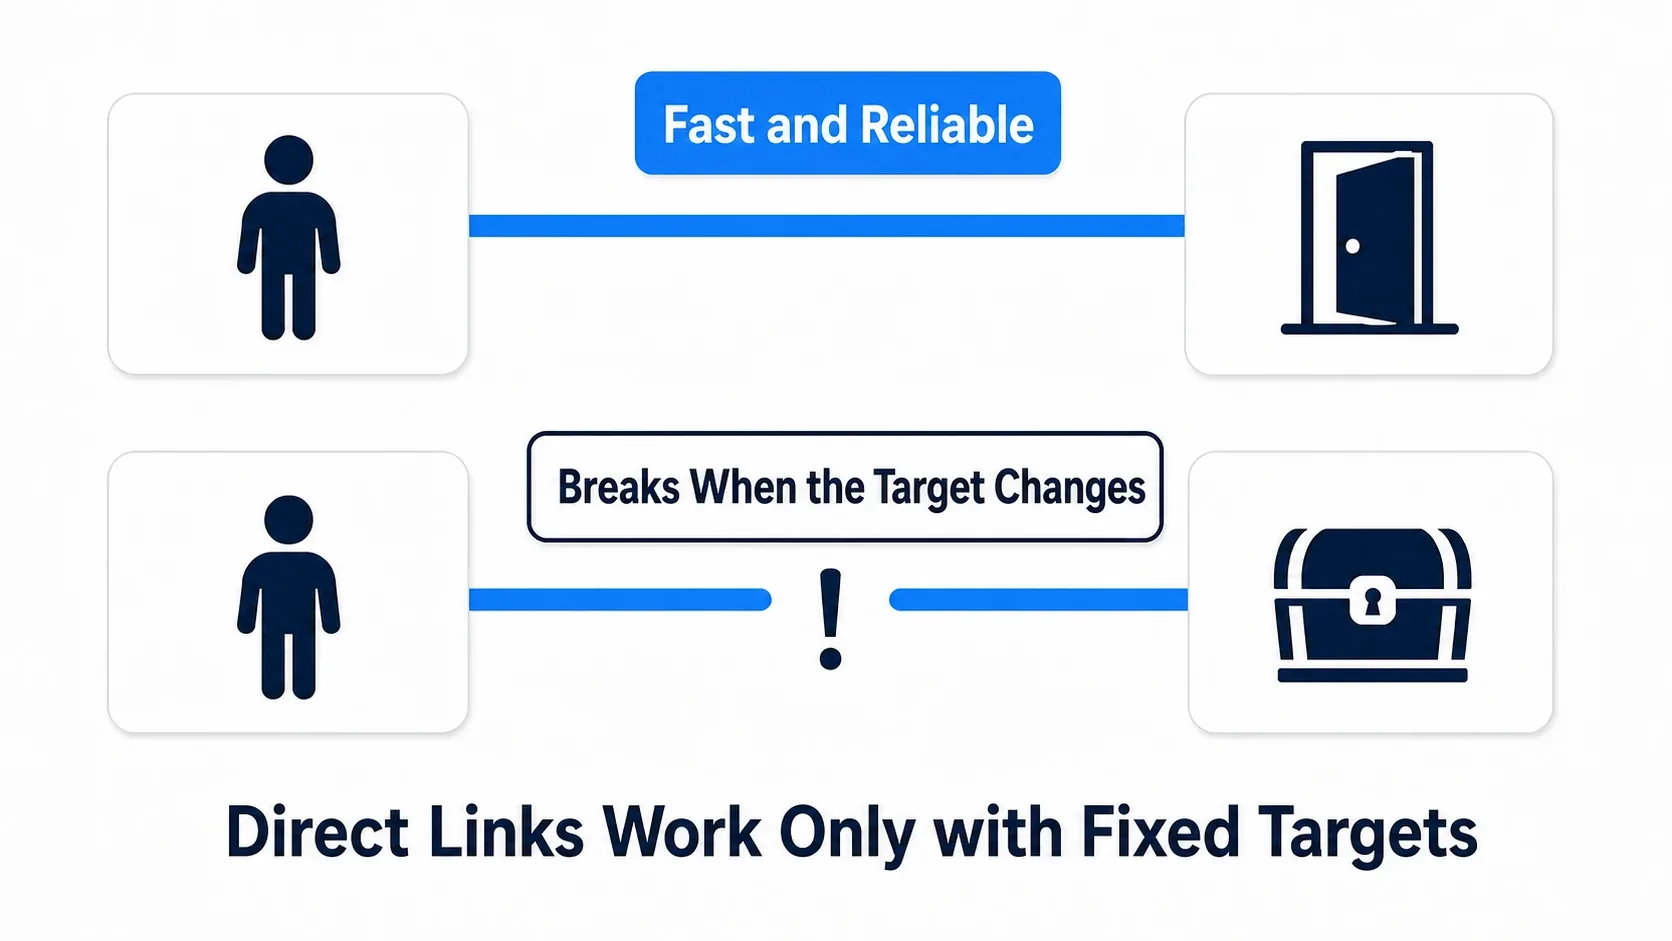
| Pros | Cons |
|---|---|
| Easy to implement, easy to follow the flow | Tight coupling: you're locked to the referenced class |
| Reliable and fast | If the target changes or multiplies, every referencing Blueprint needs fixing |
Use it when the target is one specific Actor and the structure is fixed (parent-child relationships, one-to-one pairings placed in a level). Also, make the Is Valid check before calling a habit. It prevents errors when the target has already been destroyed.
Blueprint Interface: A Letter with No Addressee
A Blueprint Interface is a contract that says "if you receive this message, it's up to you how to handle it." The sender never needs to know the receiver's concrete class (loose coupling).
The classic example is interaction. The player doesn't know the difference between a door, a chest, and a lever. It just sends an Interact letter to whatever is in front of it. Whether that means swinging open, flipping a lid, or toppling over is entirely the receiver's call.
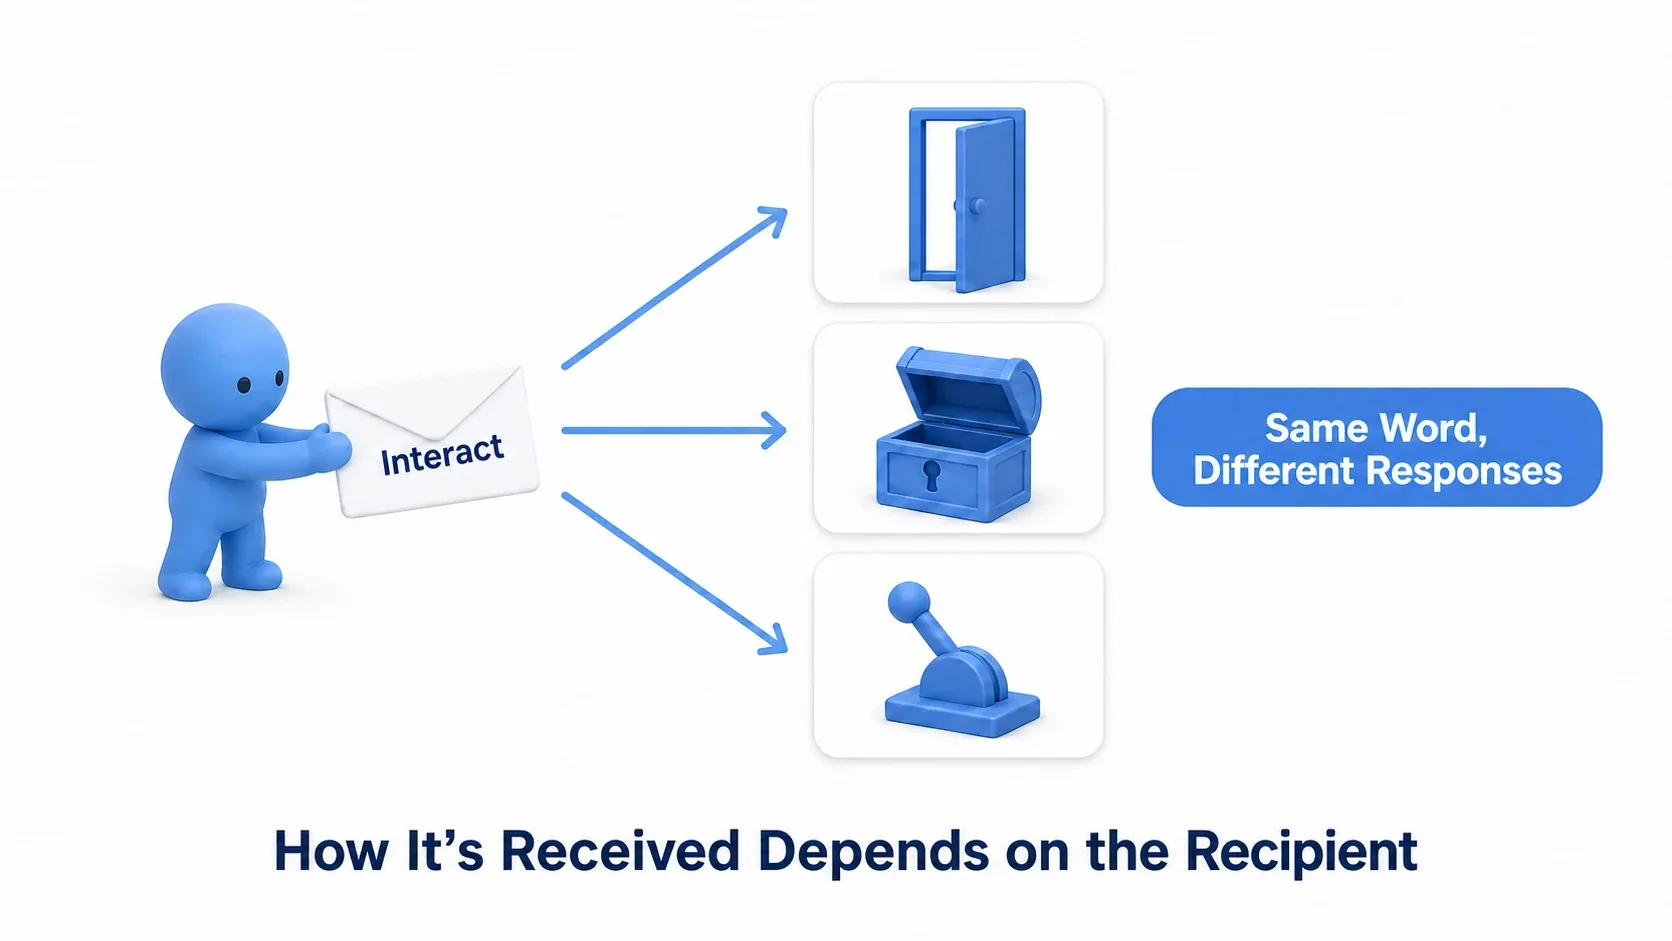
There are four steps.
- Create it: in the Content Browser, create a Blueprint Interface named
BPI_Interactableand define anInteractfunction - Declare implementation: add the Interface in Class Settings on
BP_Door,BP_Chest, and so on - Write the body: each Actor gets an
Event Interactnode where you implement its own reaction - Send it: the player simply sends
Interactwith a Message node to the target (which can stay typed as Actor)
| Pros | Cons |
|---|---|
| Loose coupling: you can make requests without knowing the class | More setup steps than Direct Reference |
| Adding more supported Actors requires no change on the sender | Logic is spread across implementations, making it a bit harder to trace |
Note: Interface functions can also define return values (for example,
GetInteractionTextreturning display strings like "Open" or "Examine"). For a deeper dive, see the Blueprint Interface article.
Event Dispatcher: A Broadcast for Whoever Wants to Listen
An Event Dispatcher is one-to-many notification. The source just broadcasts (Calls) an event and never knows who is listening. Anyone who wants to hear it binds (subscribes) ahead of time. This is the observer pattern.
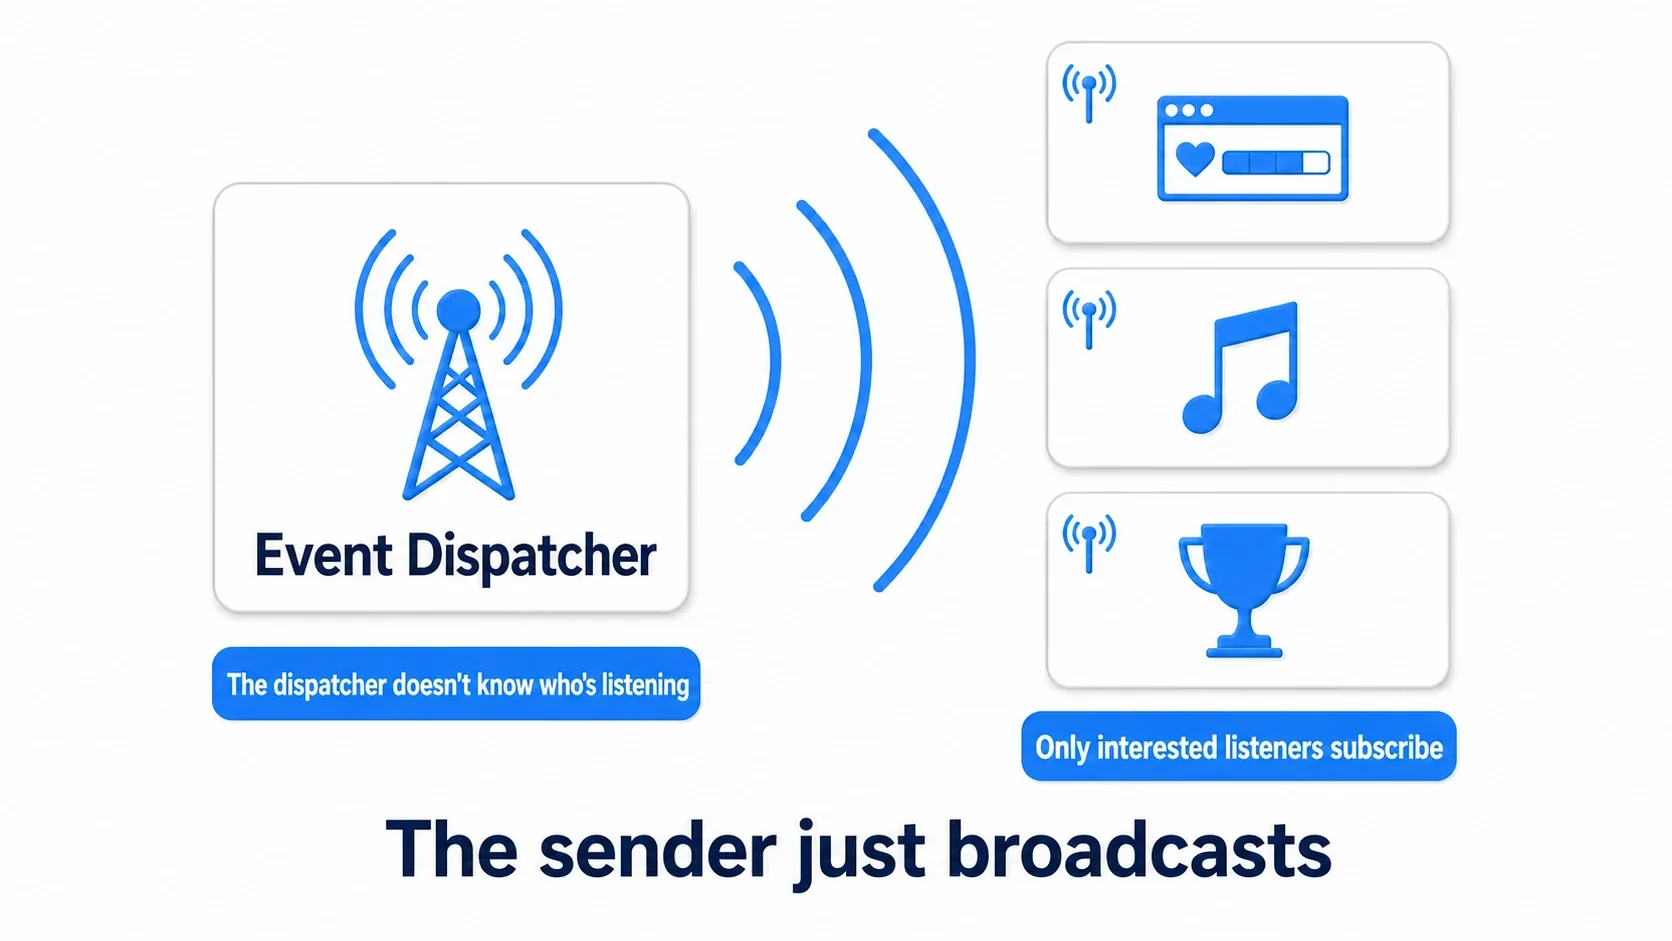
Listener side (BP_ScoreUI BeginPlay)
Bind Event to OnGameOver (needs a reference to the source) → connect a Custom Event

Broadcaster side (BP_GameMode)
On game over → Call OnGameOver
| Pros | Cons |
|---|---|
| Any number of listeners can receive a single broadcast | You have to manage binding and unbinding |
| The broadcaster knows nothing about the listeners (loosest coupling) | You can't see who is listening, which can make the flow hard to trace |
"An enemy was defeated," heard simultaneously by the score UI, the loot spawner, and the achievement system: that kind of project-wide event is where Dispatchers shine. Just don't forget Unbind Event when a listener is destroyed. For a deeper dive, see the Event Dispatcher article.
A Flowchart for Choosing
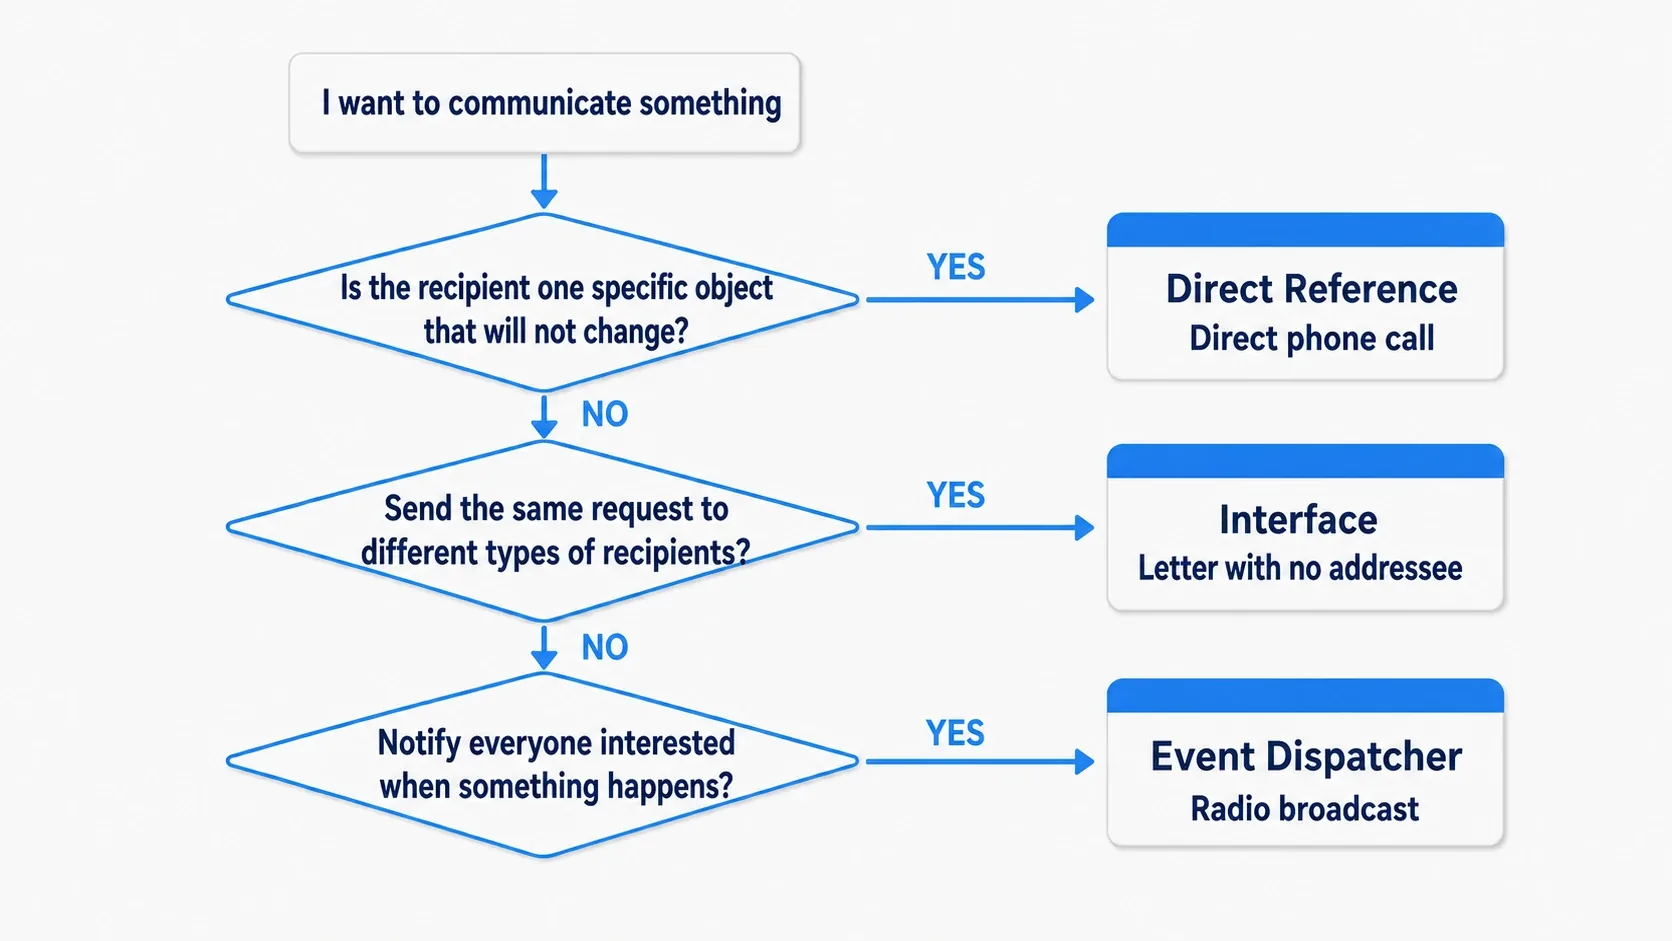
- Is the target one specific Actor that won't change? → Yes: Direct Reference (if it might multiply later, go with Interface)
- Do you want to send "the same request" to several different kinds of recipients? → Yes: Interface
- Do you want to tell everyone who cares that something happened? → Yes: Event Dispatcher
There are three classic mistakes. First, using Direct Reference for everything and paying an enormous refactoring bill later. Second, declaring an Interface implementation but forgetting to place the Event XXX node, so the letter gets ignored. Third, forgetting to unbind a Dispatcher, so broadcasts keep reaching destroyed Actors.
Hands-On: Building a Button-Activated Bridge with All Three
The three methods aren't an either-or choice. They coexist inside a single mechanic. Our subject: "step on a button and a bridge extends." That's an action-game gimmick, a puzzle solve animation, and an RPG shortcut unlock all at once. Let's place all three methods where they fit best in that one flow.
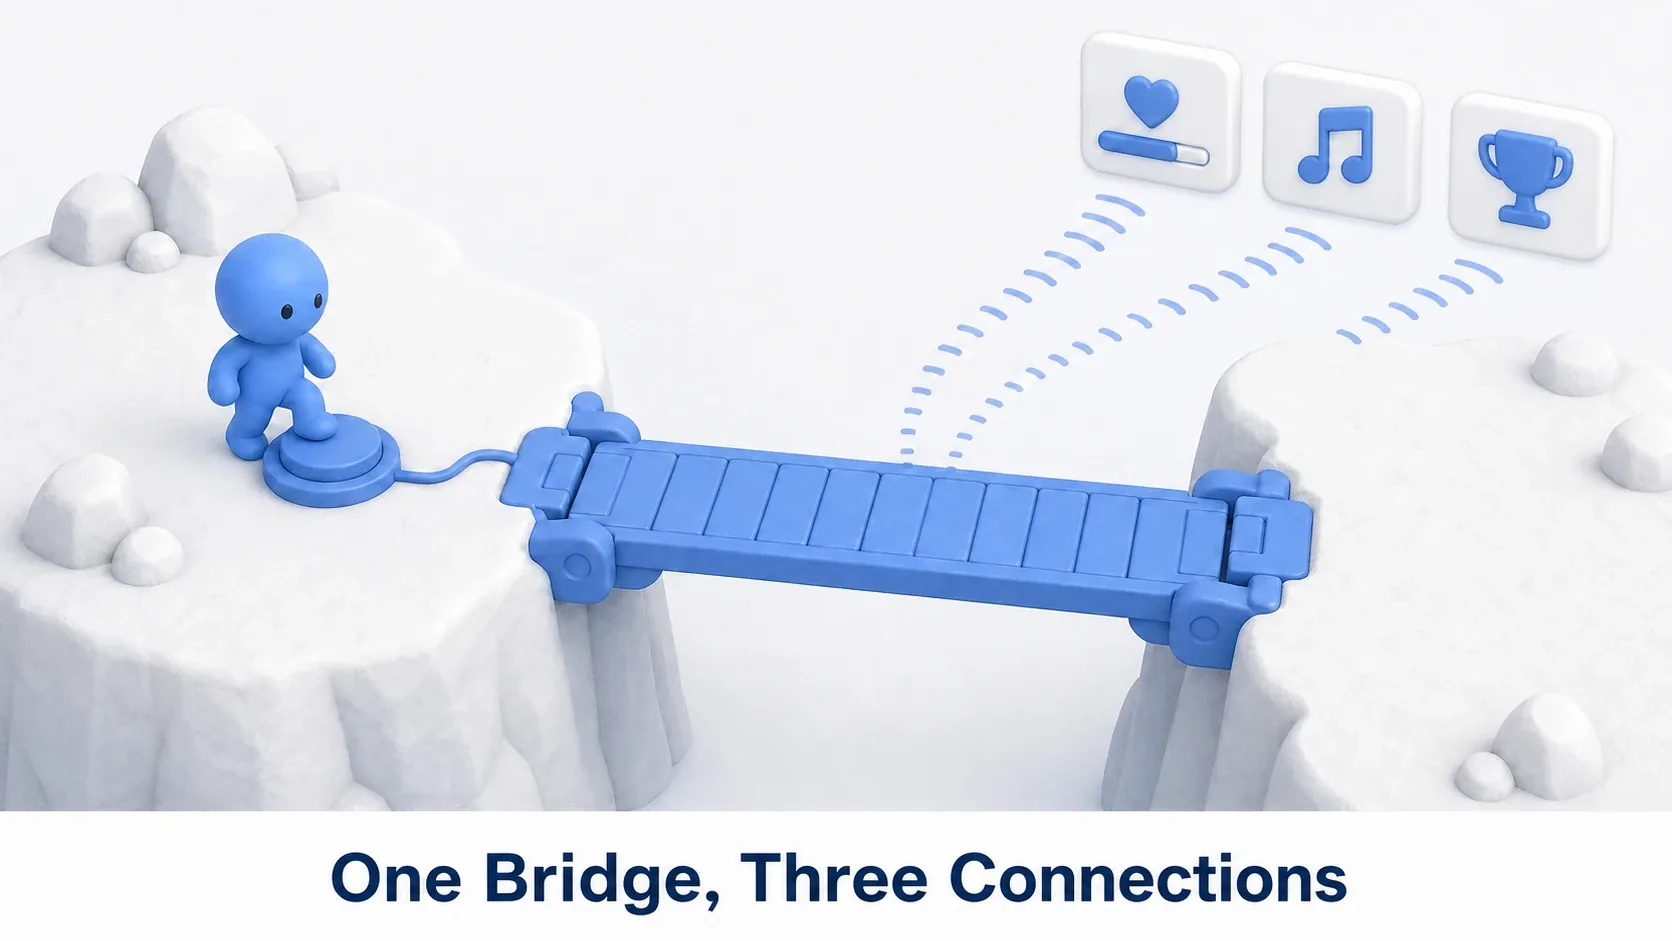
Setup to reproduce this: create BP_FloorButton (the floor button), BP_Bridge (the bridge), and WBP_HUD (the UI), with the following variables and events.
| Location | Name | Type | Setting |
|---|---|---|---|
BP_FloorButton | TargetBridge | Variable of type BP_Bridge | Check Instance Editable (so you can pick the target in the level) |
BP_Bridge | Extend | Custom Event | The bridge-extending animation (a Timeline move, for instance) |
BP_Bridge | OnBridgeExtended | Event Dispatcher | The broadcast port announcing that the bridge is up |
-
Button → bridge: Direct Reference: select the button placed in the level and pick its matching bridge in the
Target Bridgefield of the Details panel. This button and this bridge are a fixed one-to-one pair, so a direct line is exactly rightBP_FloorButton On Component Begin Overlap (the step-detection Box) → Is Valid (TargetBridge) Valid → DoOnce → call Extend on TargetBridge ← a named direct callBecause there's a
DoOncein the way, stepping on it a second time does nothing (a bridge extends once and it's done, by design). If you want a gimmick that re-extends, hit theDoOnceReset pin to re-arm it. -
Player → button: Interface: if you also want the player to activate it by examining rather than only stepping on it, implement
BPI_Interactable(with theInteractfunction) onBP_FloorButton. The player just sends a letter without knowing the target's typeBP_Player (when E is pressed) → Line Trace to get the Actor in front → Interact (Message) (Target: the hit Actor) ← works for a button or a lever BP_FloorButton Event Interact (BPI_Interactable implementation) → call Extend on TargetBridge ← reuses the same logic as stepping on it -
Bridge → everyone: Event Dispatcher: broadcast the moment the bridge is up. The bridge has no idea who is listening
BP_Bridge
Event Extend
  → move the bridge into place with a Timeline
  → Finished → Call OnBridgeExtended      ← broadcast in all directions

WBP_HUD (the listener)
Event Construct
  → Bind Event to OnBridgeExtended (Target: reference to the bridge)
      Event pin ← Custom Event: ShowAreaUnlocked
ShowAreaUnlocked → display "New Area Unlocked" text
Where does "reference to the bridge" come from? This is a beginner's biggest stumbling block. Binding to a specific bridge from the UI needs a reference, but scraping one up with
Get All Actors Of Classis best avoided. If there's only one bridge, pass it to the UI when it spawns; if the game has many bridges, the standard move is to hang a single bell on the GameState and have every bridge ring it there (→ the "central Dispatcher" bonus in the Event Dispatcher article).
Line the three up and you can see that the difference in shape is exactly the difference in how tightly things are connected.
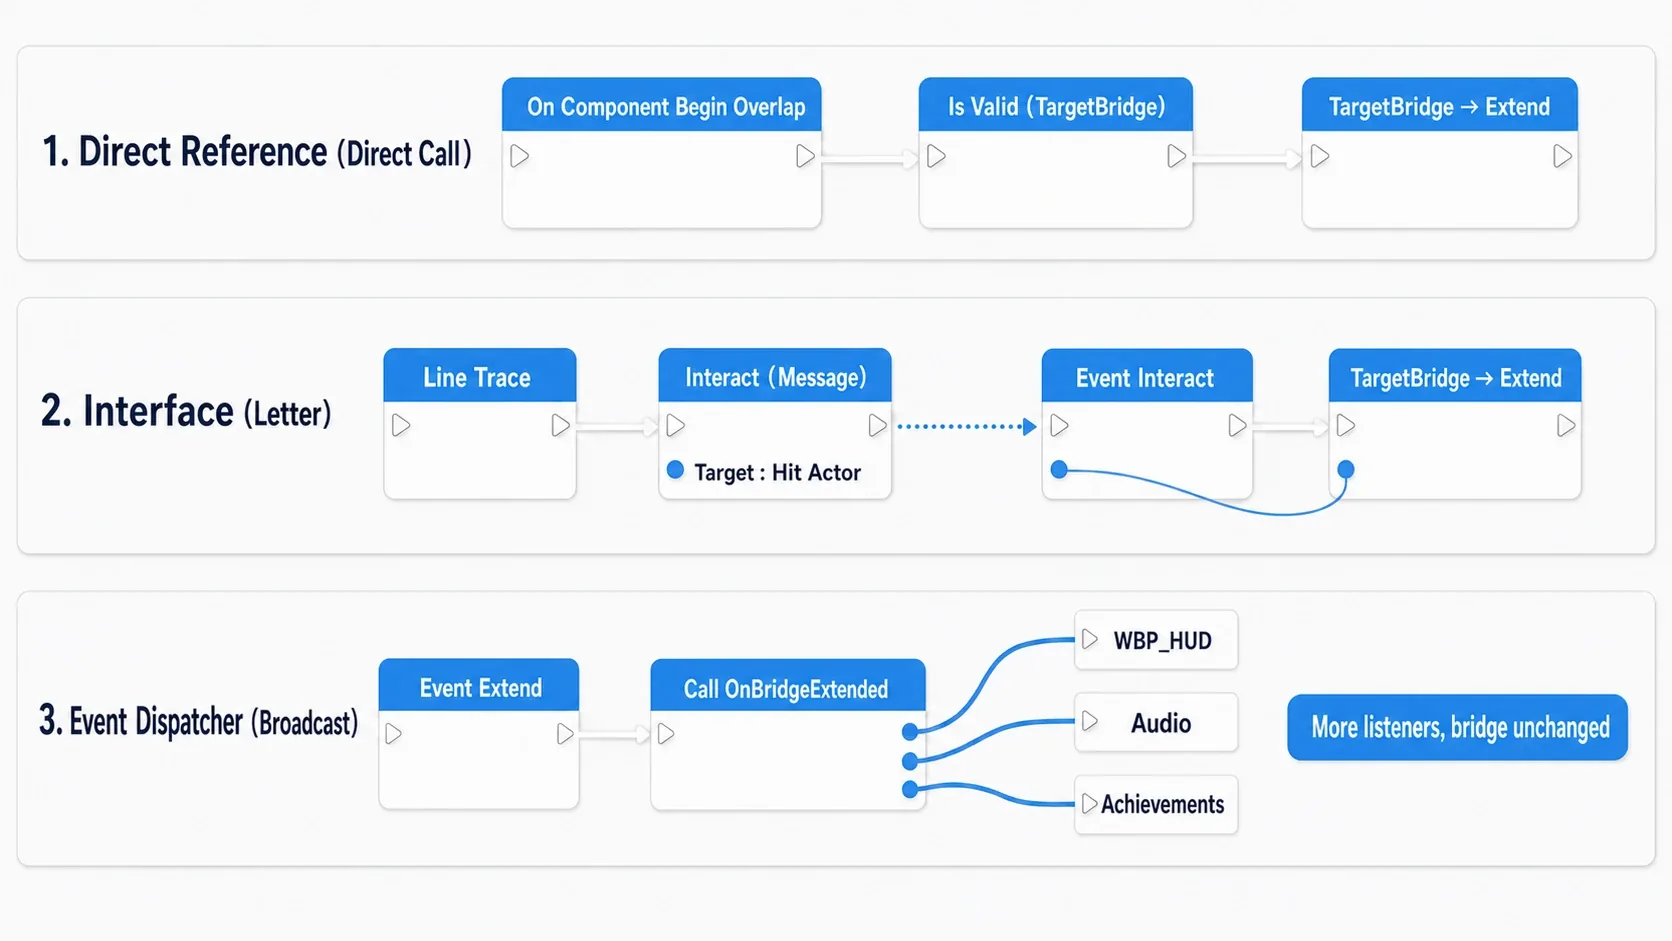
Hit Play and step on the button: first the bridge starts moving with the Timeline, and the instant it finishes moving (after Finished) the UI shows "New Area Unlocked." If the notification appears while the bridge is still moving, that's a sign you wired the OnBridgeExtended Call to right after Event Extend instead of to Finished. What to pay attention to is how differently each method extends. If someone wants a fanfare added, the audio person just binds to OnBridgeExtended and never touches the bridge Blueprint. Had you built the whole thing with Direct References, the bridge would need to know the UI, the audio, and the achievements by name, and its Blueprint would get more fragile every time you opened it.
Two things to take away.
- Choose based on "does it need to know?": the button should know the bridge (a one-to-one mechanic). The bridge doesn't need to know the UI (it's just reporting a result). That line is exactly the choice of method
- When in doubt, go looser: if you started with a Direct Reference and the target grew to two kinds, that's the signal to switch to an Interface or a Dispatcher
Bonus: Good to Know for Later
- Component communication follows the same principles: notifying the outside world from a custom Component is a job for an Event Dispatcher too (see the Blueprint Component article)
- "Somewhere everyone knows about" needs no communication: project-wide score and state already have an official home in GameState / PlayerState. Before you pass data around by messaging, ask whether the framework can hold it
- Overusing Cast is a fourth (risky) method: you can convert a target to a specific class with
Cast To BP_XXXand call it directly, but that brings tight coupling and memory downsides. We cover it in the Blueprint Interface and Casting article
Summary
- Direct Reference = a direct phone line: fast and reliable, but only when the target is fixed
- Interface = a letter with no addressee: the same request to different kinds of recipients, and the recipient decides how to respond
- Event Dispatcher = a radio broadcast: the sender just broadcasts, and whoever cares subscribes
- The deciding question is "do I need to know who I'm talking to?" When in doubt, go looser
Next come the specifics. Read event-driven design with Event Dispatchers for practical broadcast patterns, and loose coupling with Blueprint Interface for a deeper look at letters versus Casts.
The most recent Actor-to-Actor message you wrote in your project: was it a direct line, a letter, or a broadcast?