Modeling and texturing everything yourself is, honestly, exhausting. Build every desk, shelf, and prop by hand and you'll run out of steam before you even reach the actual game. For solo development, leaning on ready-made store assets for most of your materials is the realistic path.
But the moment you go to use an asset, the first step stalls on "where do I look", "is free okay", and "how do I get it into my project". UE5's official store, Fab , is the gateway that handles all of it: finding, checking, and importing. This article covers finding free assets on Fab, getting them into a project, and safely moving them from a test project to production, all while dressing up a bare room.
What You'll Learn
- What Fab is (the merged store of the old Marketplace, Quixel, and Sketchfab)
- How to find free assets (the free filter, Quixel Megascans)
- How to read a license and cautions around commercial use
- The flow of adding from the "Library" in Epic Games Launcher
- Moving assets from a test project to production with Migrate
- Hands-on: dressing up a bare room with free props
What Fab Is
Fab is Epic Games' official store that replaced the UE Marketplace in fall 2024. Three previously separate supply sources merged into one store.
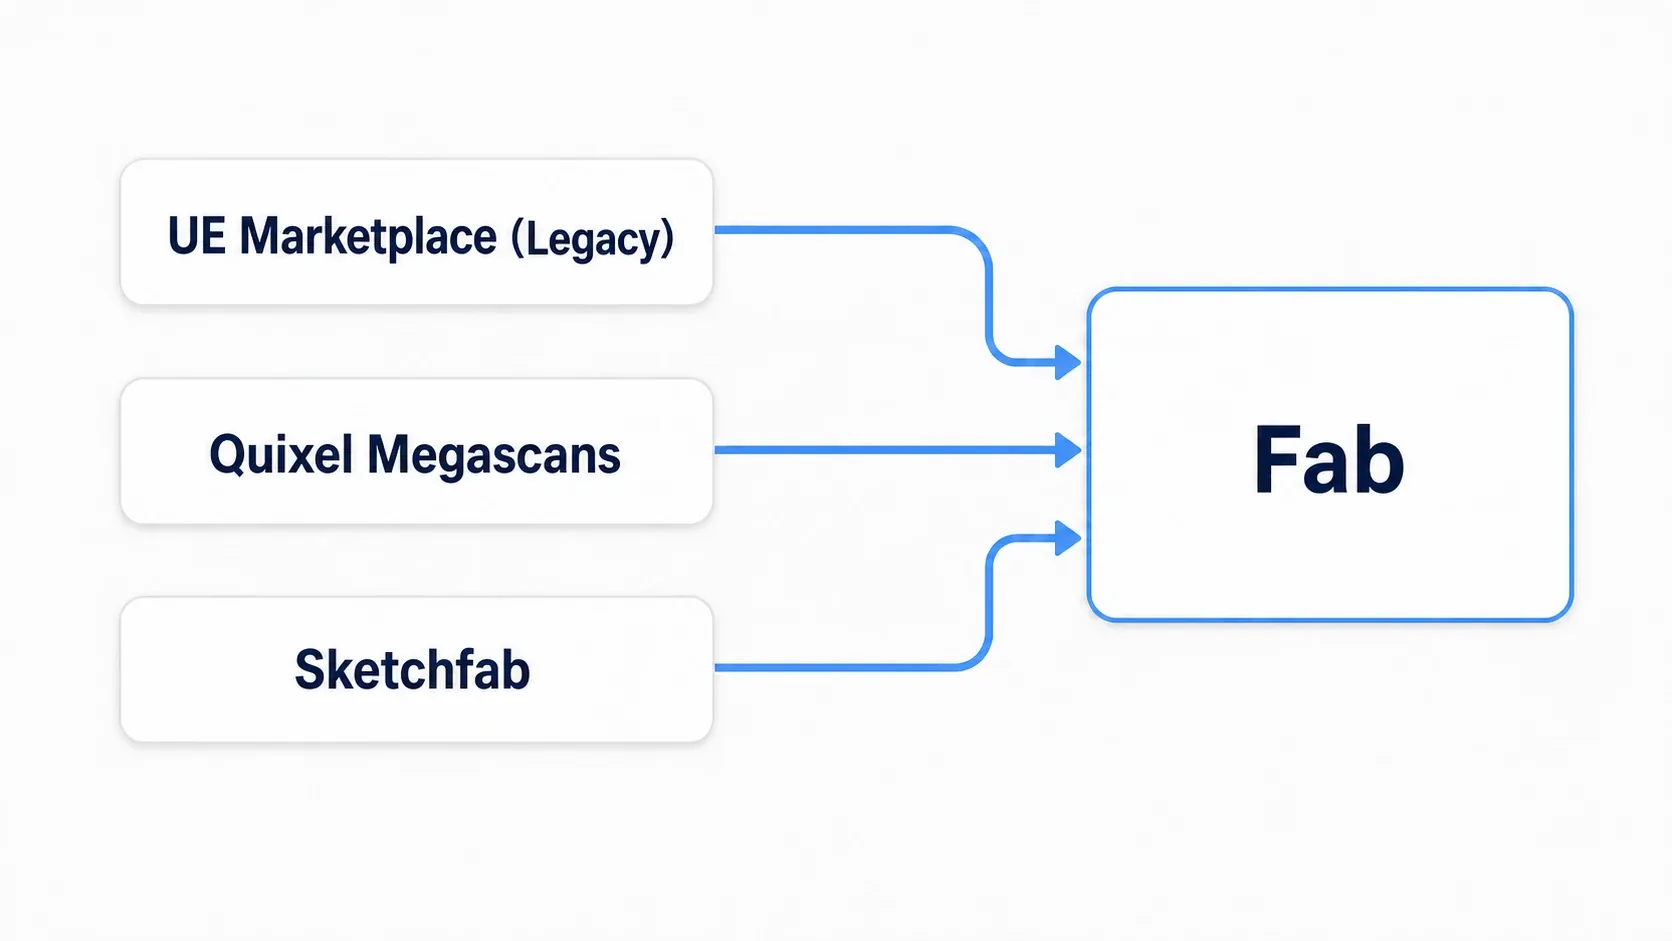
- Old UE Marketplace: the assets that used to be sold for UE. Anything you purchased carried straight over into your Fab library
- Quixel Megascans: a library of photoreal 3D-scan materials. Photorealistic rocks, ground, plants, and the like
- Sketchfab: a huge aggregation of 3D models published by creators worldwide
So Fab is a place to search a wide range of materials in one spot, from "finished assets for UE" to "general-purpose 3D models". Assets you bought on the old Marketplace and things you got for free all stay in your Fab library.
Finding Free Assets
Starting with free assets is the recommendation. On the Fab site, enabling the price Free filter shows only the free ones.
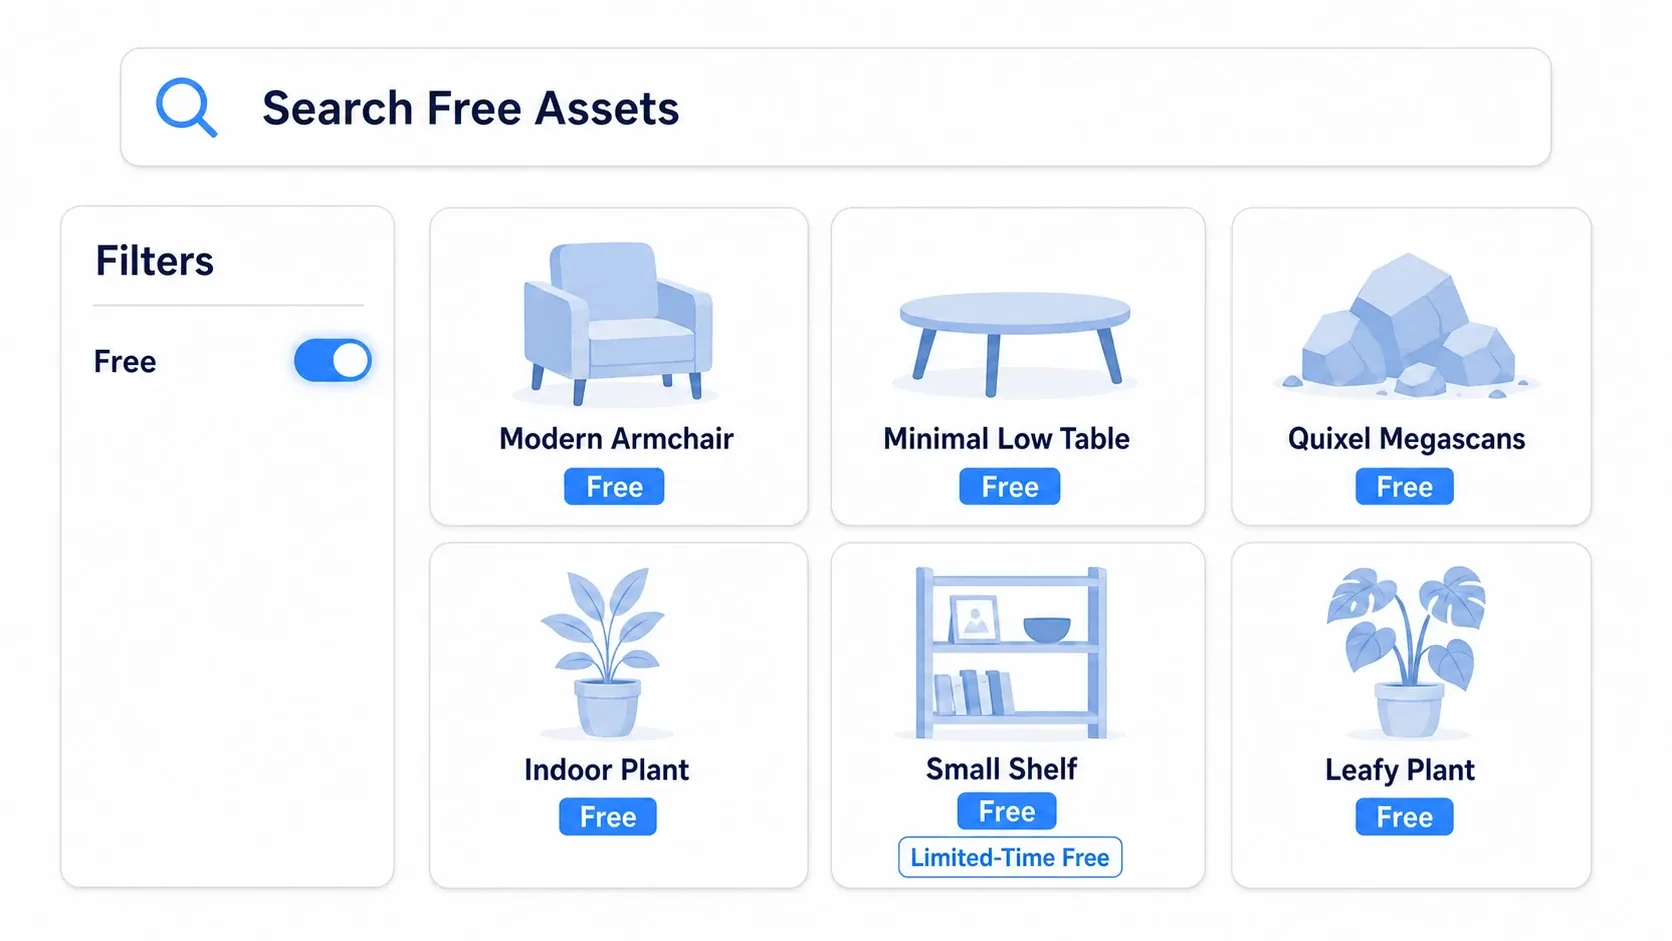
Free assets broadly come in these kinds.
- Quixel Megascans: high-quality 3D-scan materials, available for free under the Fab Standard License (terms can change, so check the wording on the asset page)
- Always-free assets: models and materials creators publish for free
- Limited-time free slots: a slot you can get free for a set period is sometimes offered (the contents and terms change easily, so check the wording at the time)
Search for "props" or "materials" first and apply the free filter, and you'll find materials that are easy to practice with.
Reading the License
Even when it's free, always check the terms of use (license) . "Free" does not mean "usable for anything".
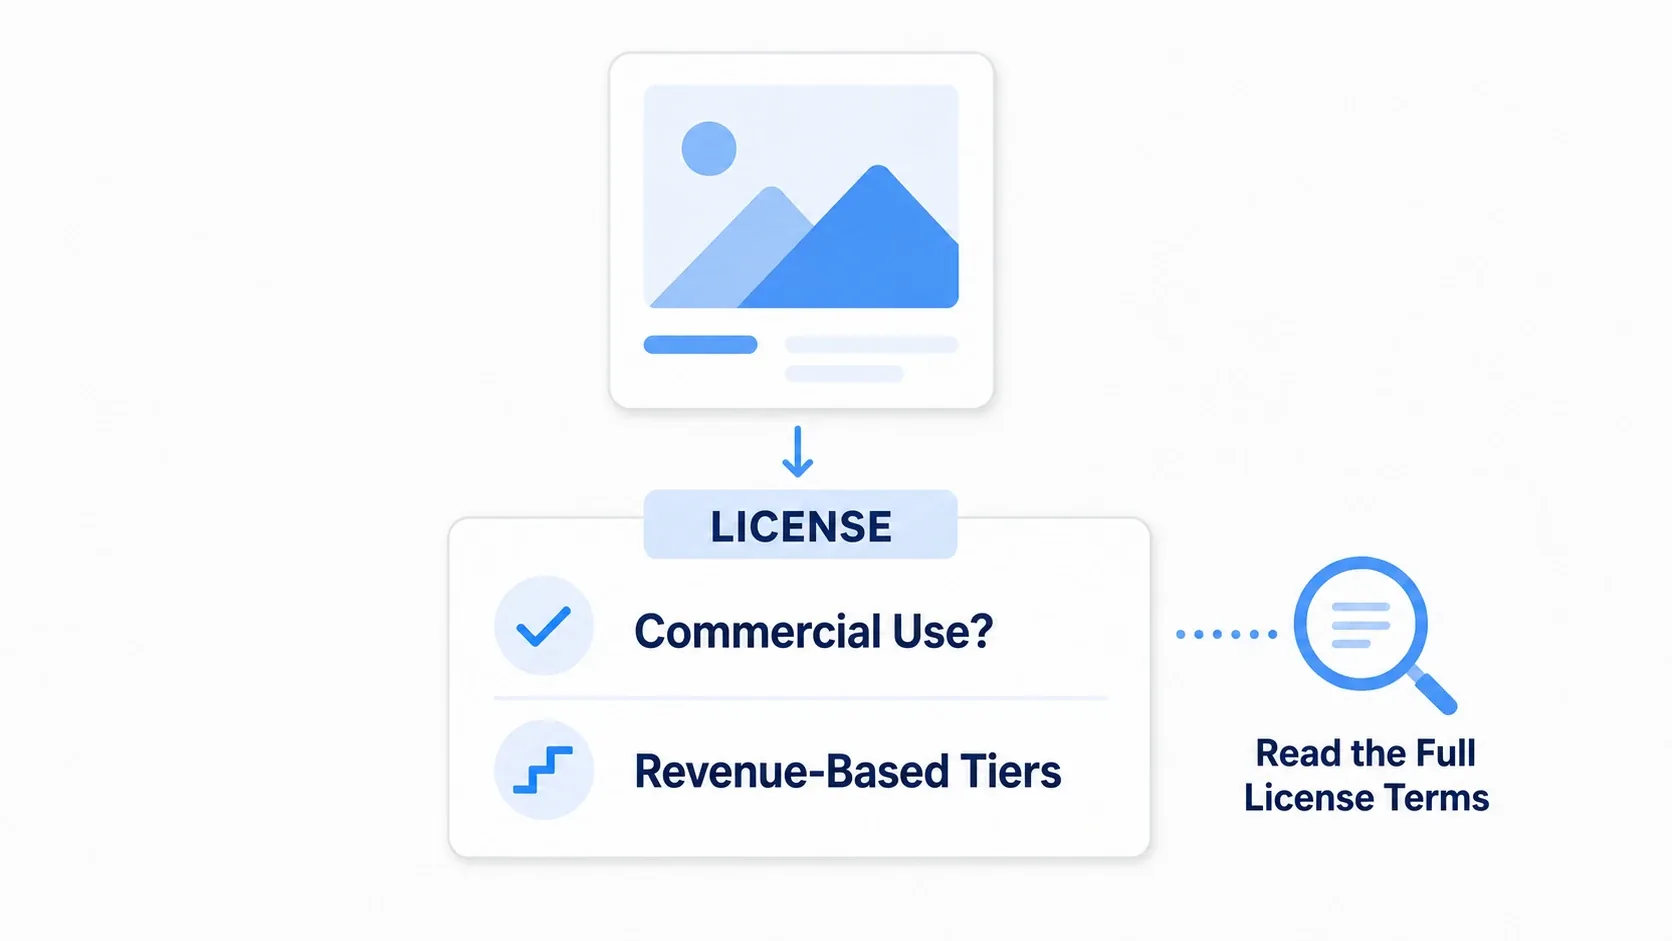
There are mainly two things to look at.
- Whether commercial use is allowed: if you plan to sell or distribute your game, check that commercial use is permitted
- The tier by revenue scale: licenses are sometimes split into tiers for individuals/small scale and for larger revenue scale. Pick the tier that matches your scale
The tier names and specific terms may be updated on Fab's side. Reading the license text written on the asset's page, right there, is the reliable way . When in doubt, as long as you confirm commercial use is allowed and you meet the tier's terms, you're generally fine.
Adding to a Project
There are broadly two roads to getting an acquired asset into your project.
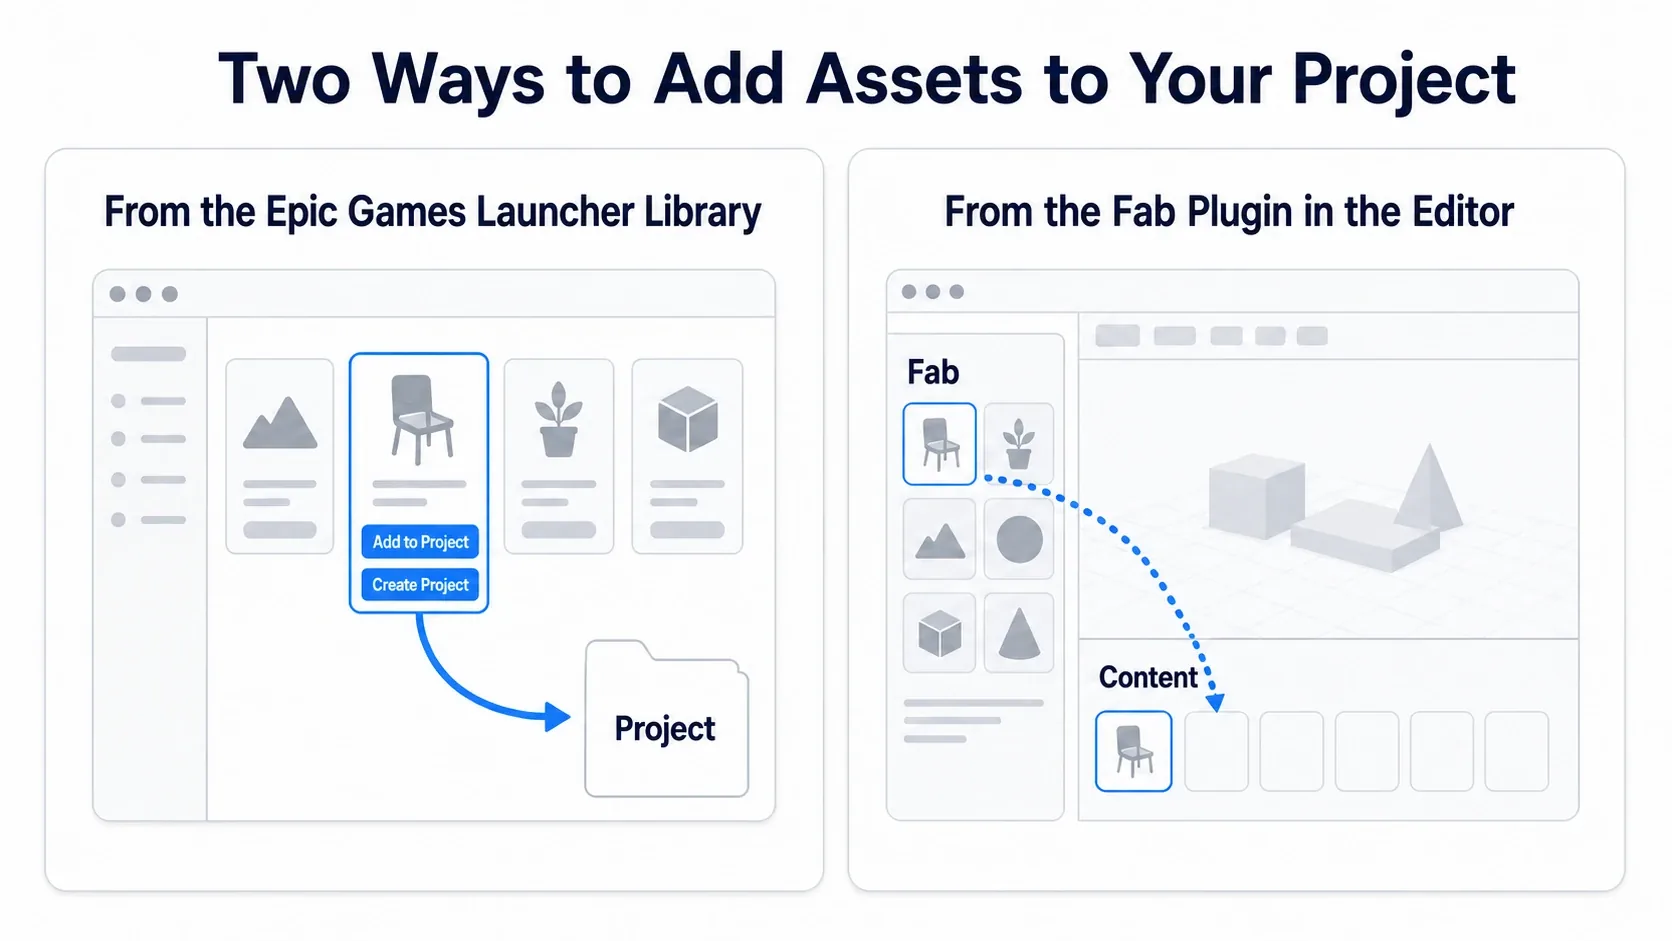
- From Epic Games Launcher's Library: open the Launcher's "Library" and your acquired assets are lined up. You can choose Add to Project (add to an existing project) or Create Project (make a new project with that asset in it). Free assets are treated the same as purchased ones
- From the in-editor Fab plugin: the Fab plugin built into the UE editor lets you drop an asset directly into your project. You can add materials with the editor open, which suits working while you try things
Either way, the result is the same: the asset is brought into the Content Browser. Adding from the Launcher's "Library" is the clearer starting point.
Moving to Another Project with Migrate
There's one more thing worth learning that you'll use forever: Migrate . It's a tool that moves an asset from one project to another together with its dependencies .
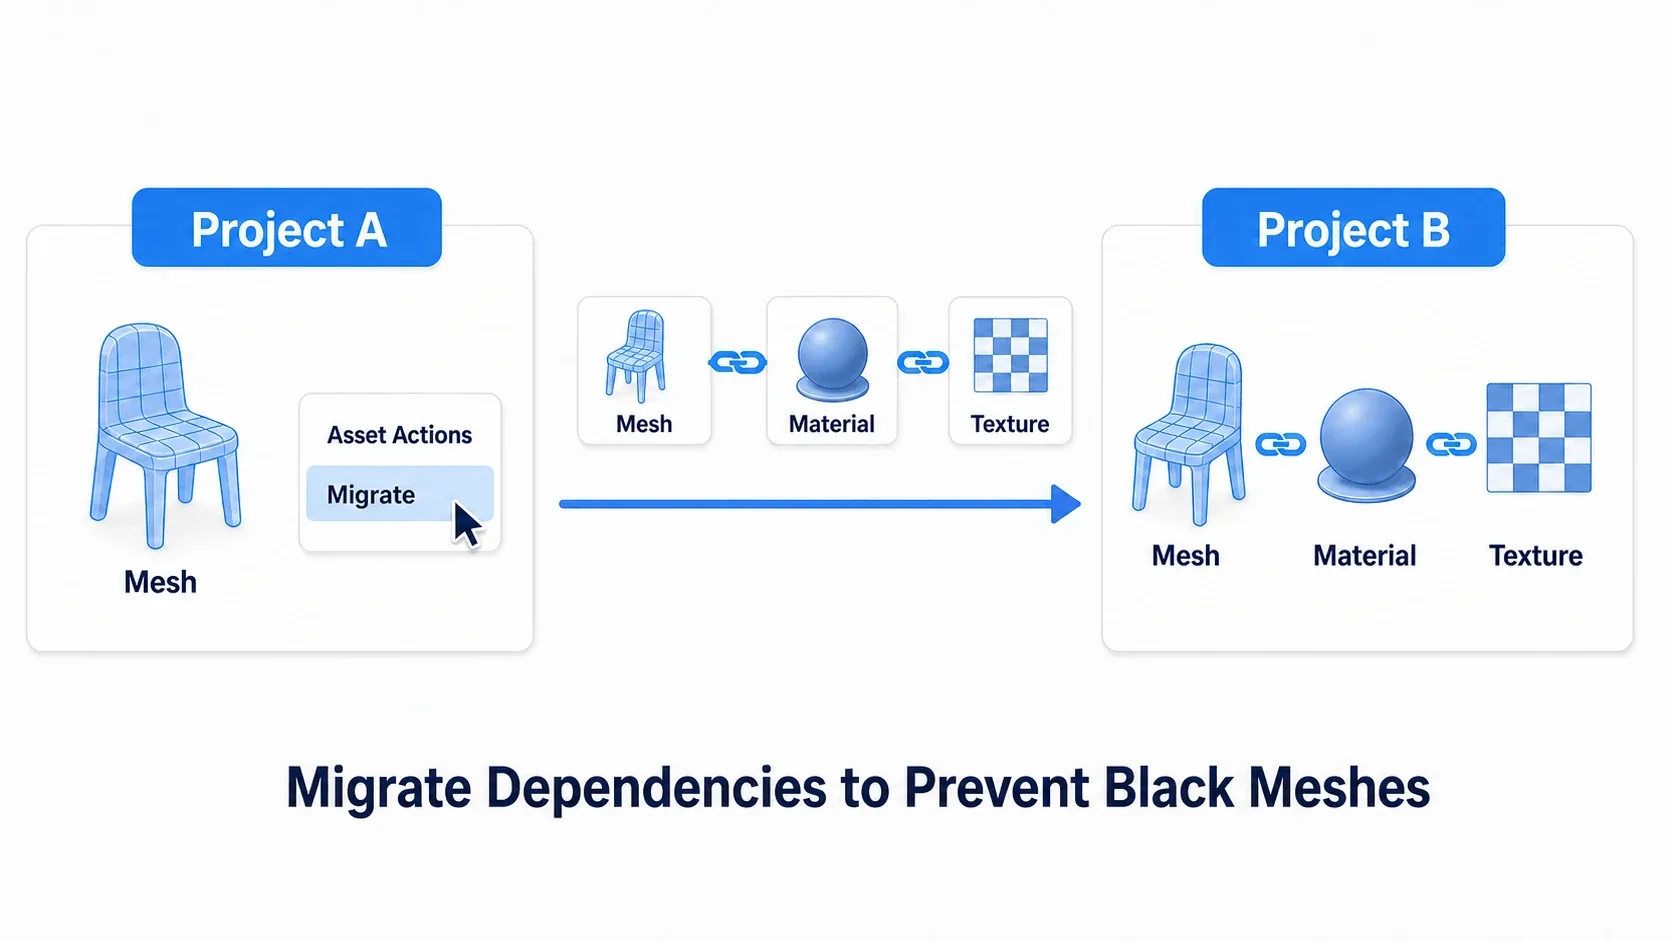
Right-click an asset in the Content Browser and choose Asset Actions → Migrate , and it automatically bundles the materials, textures, and other dependent assets that asset uses and copies them into the Content folder of the other project you specify. It prevents the failure of copying only the mesh and getting a "pitch-black material".
Where this shines is when you want to use an asset with an old supported version in your current UE . Add the asset in an old-version project, and Migrate from that project into your current UE project, and it often works even across some version difference.
Hands-On: Dressing Up a Bare Room
A gray-box-only handmade stage, the Third Person template's white floor, a prototype's placeholder mesh. "Making a bare space look good all at once with free assets" is a path every game goes down. Here we run one lap of the recommended workflow and dress up an empty room.
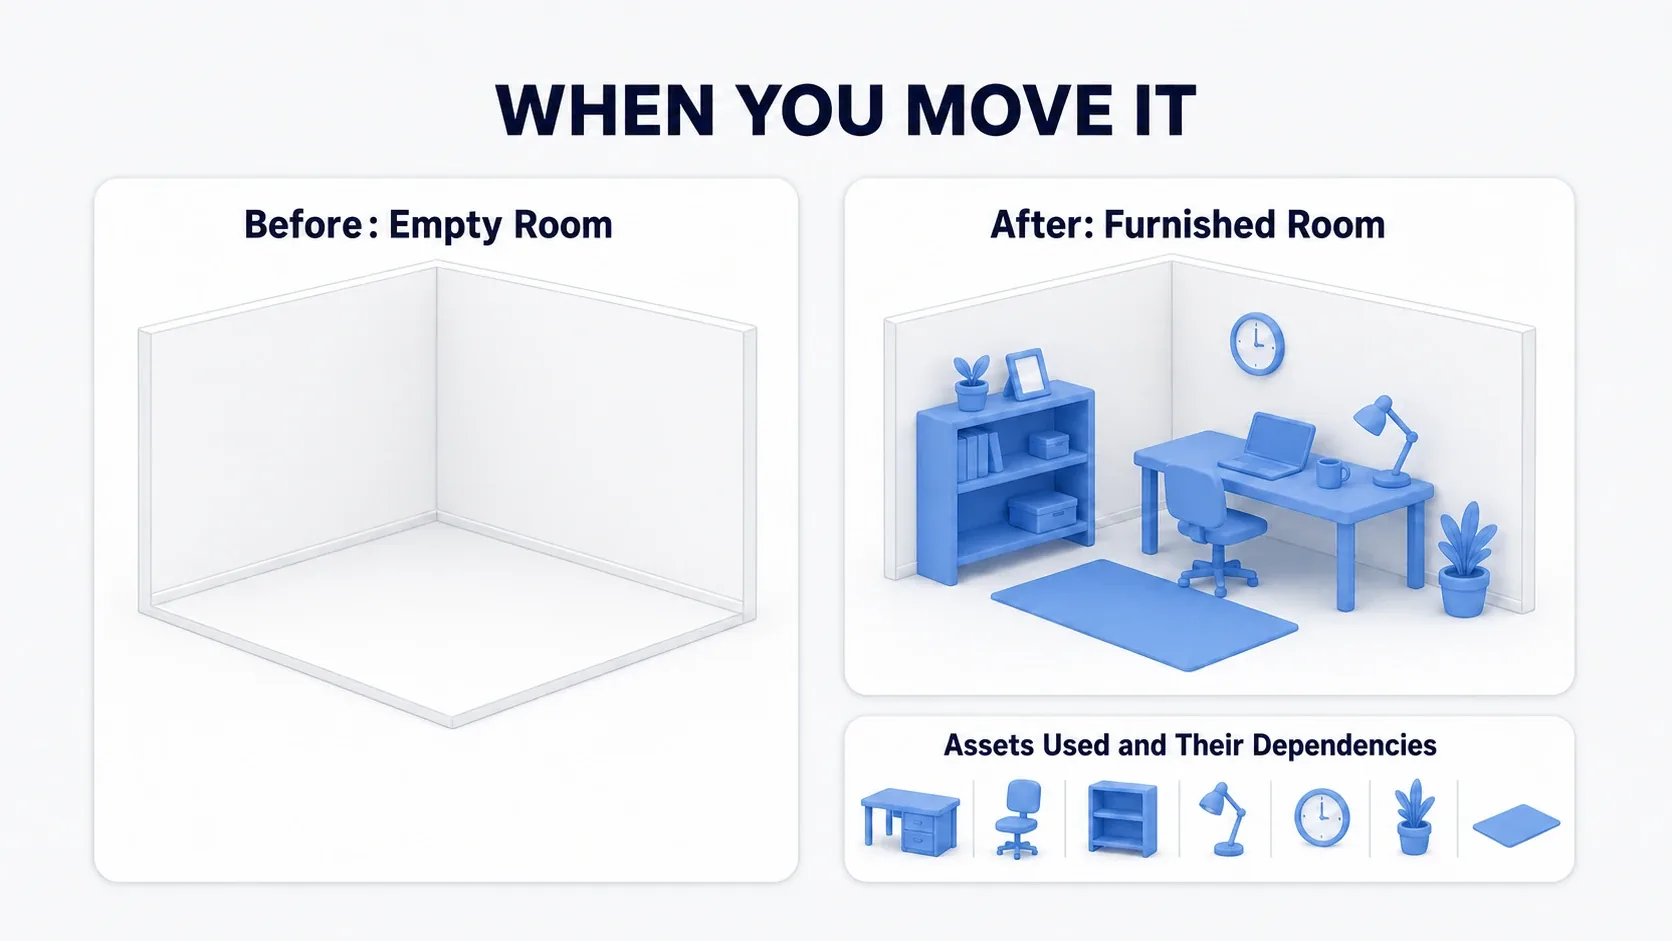
We're building the flow of checking a free prop pack in a test project, Migrating only what we use into production, and lining up furniture in the room .
Here's what it looks like running. Desks, shelves, and props line up in the once-empty white room. And the production project's Content Browser holds only the assets you used and their dependencies , with none of the extra assets you merely tried mixed in.
Steps
| Step | What to do |
|---|---|
| 1. Prepare a test project | Separate from production, make one project for trying assets |
| 2. Add a free prop pack | From the Launcher's "Library", Add to Project into the test project |
| 3. Check the contents | Look at meshes one by one in the Content Browser and pick the usable ones |
| 4. Migrate only what you use | Right-click the meshes you'll use → Migrate → into production's Content |
| 5. Place them in the room | In the production project, arrange the desk, shelf, and props in the level |
Verifying It
Look at your production project's Content Browser. If it worked, it holds only the furniture you placed and its dependent materials and textures . The whole pack (the dozens of meshes you didn't use) isn't mixed in. In the level, the furniture displays textured properly, not pitch-black .
Here's how to narrow it down when it doesn't work.
- Furniture is pitch-black / pink → materials leaked during Migrate. Not just the mesh alone; check that the dependent assets are ticked on the Migrate confirmation screen
- Production suddenly got heavy / huge → you may have put the whole pack directly into production instead of the test project. Re-Migrate only what you use
- The asset is too old to open → add it in a project of the supported version, then Migrate (previous section)
Two things to take away.
- Put only "what you use" into production: try things in a test project and move only what you need with Migrate. That bit of effort keeps your production project light
- Migrate carries dependencies along: copy only the mesh and materials leak. With Migrate, dependent assets come along automatically, so you avoid "pitch-black meshes". For organizing after import, see Asset Management Best Practices
Bonus: Good to Know for Later
Swapping in from gray boxes. Blocking out a space roughly with boxes first (gray-boxing in Modeling Mode) and then swapping the look with Fab assets makes level building go faster. "Shape first, look later" is the standard order.
Humanoid assets work on your own character. Characters and animations you get from Fab can be moved onto your own character with animation retargeting. Building only the body yourself and borrowing ready-made motion is one approach.
Consider LFS for large assets. Fab assets have big textures and push up project size fast. If you use Git for a team or backups, managing large files with Git LFS keeps the repository light.
Summary
From acquiring assets to putting them into production, proceed with this flow.
| Stage | What to do | Tool |
|---|---|---|
| Find | Find materials with the free filter | Fab (free filter, Megascans) |
| Check | Read commercial-use and tier | The license text on the asset page |
| Import | Add to a test project | Launcher's "Library" / Fab plugin |
| Move | Only what you use into production | Migrate (moves with dependencies) |
And the principle running through it is to put only "what you use" into production . Try in the test project, pick with Migrate, and move. That bit of effort decides how light your project stays down the line.
With this, you won't be stuck for materials anymore. Where's the most bare room in your game? Try placing one free prop there first.
Further Learning
- Asset Management Best Practices — organizing and naming imported assets
- Gray-Boxing in Modeling Mode — build the shape first, swap to assets later
- Animation Retargeting — using humanoid assets on your own character
- Project Management with Git LFS — handling large assets