Party games and local co-op. One screen split in two, two people playing at once. Split-screen looks like a lot of work to implement. But in UE5 it's surprisingly easy compared with online multiplayer (Replication).
The key is the Create Player node. Call one node to add a second player and the screen automatically splits, with each player getting an independent camera. This article covers how split-screen works and builds a working two-player setup. It also covers the beginner trap of showing UI on only your own half of the screen.
What You'll Learn
- Adding a second player with Create Player splits the screen automatically
- Setting the split orientation (side by side or stacked)
- How input is divided between players (Enhanced Input and Controller Id)
- Owning Player and Add to Player Screen for UI on your own side only
- Hands-on: two players sharing one split screen
- Common snags (player two won't move / UI on both screens / a black screen)
Create Player Splits the Screen
The core of local multiplayer is a single node. Calling Create Player adds a second local player to the game.
Once there are two players, UE splits the viewport automatically. Without configuring a single camera, the screen divides left/right (or top/bottom), and each player views their own pawn through a separate camera.
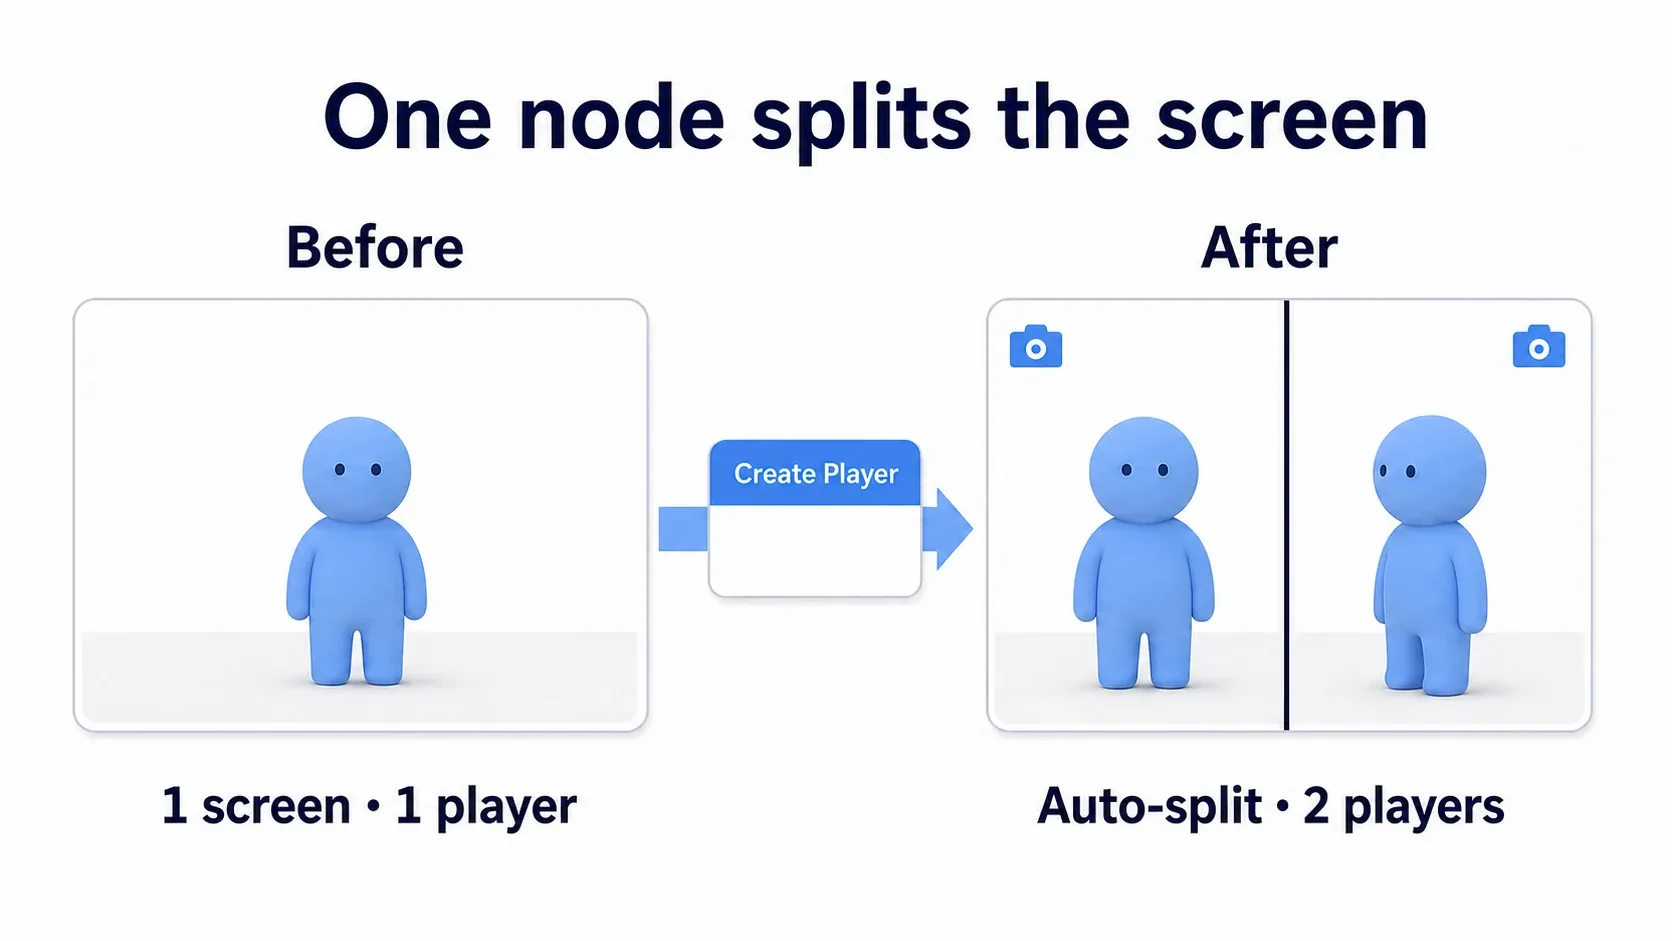
Create Player has two important inputs.
- Controller Id: which player this is. Player one is 0 (already present). Pass 1 to add a second.
- Spawn Player Controller: whether to immediately assign a controller and pawn to the added player. Keep this enabled (true) . Forget it and the player exists with no body to control, which gives you a black screen.
To remove a player, use Remove Player . The split is undone automatically and you're back to one screen.
Split Orientation and Input
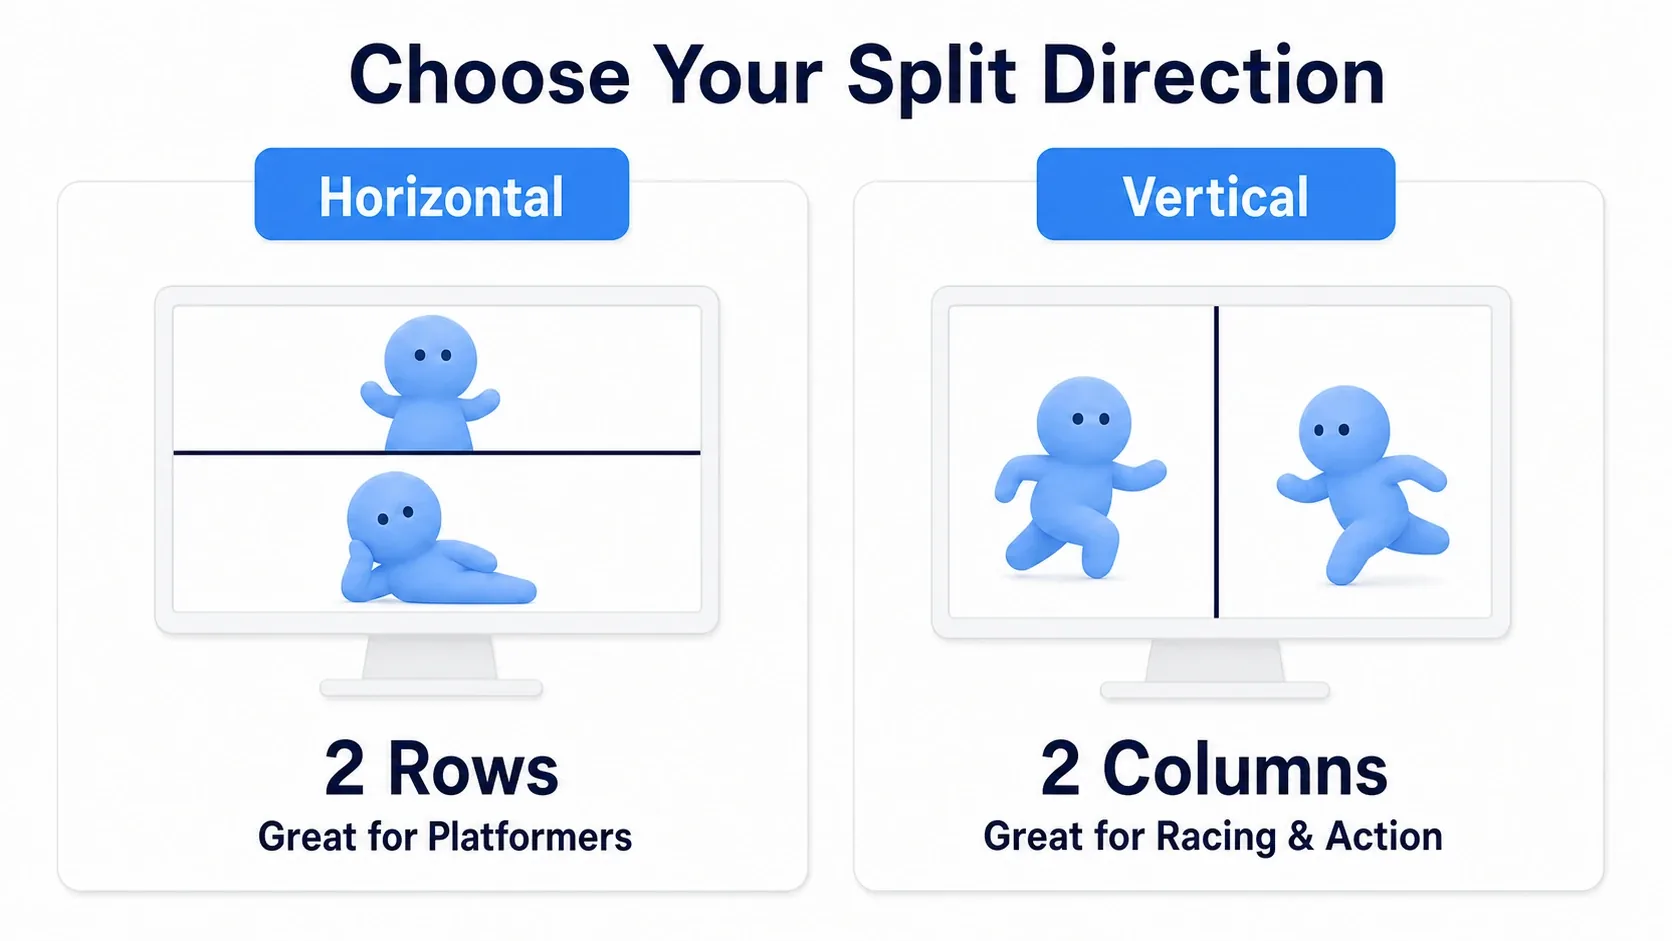
The split appears when Use Splitscreen is enabled under the Local Multiplayer section of Project Settings > Project > Maps & Modes (it's usually on by default, but worth confirming). The orientation is chosen on the same page under Two Player Splitscreen Layout , picking Horizontal (two rows stacked) or Vertical (two columns side by side). Racing and action games suit side by side, top-down games suit stacked. Pick what fits your game.
Input is divided per player automatically. If you're using Enhanced Input , each player receives input from the device matching their Controller Id . In Play In Editor, the keyboard is player one and a connected gamepad is player two by default. If you want a single pad to partner with the keyboard as player two, enable Skip Assigning Gamepad to Player 1 so the pad goes to player two instead of one. Plug in two pads and player one can use a pad as well.
This is the big difference from online multiplayer. In a local split, everyone is inside the same game instance on the same PC. There's no data to synchronize (Replication), which makes implementation dramatically easier.
Which Screen Does the UI Appear On?
The thing beginners always trip on with split-screen is how to display UI .
Display an HP bar with a plain Add to Viewport and it lands on the game's overall screen rather than fitting inside a player's split region. Create two and you get two HP bars overlapping on top of the full screen.
Showing it only on your own screen takes two things.
- Owning Player: at
Create Widgettime, specify the Player Controller that owns this UI. - Add to Player Screen: use this instead of Add to Viewport. It displays only on the specified Owning Player's screen.
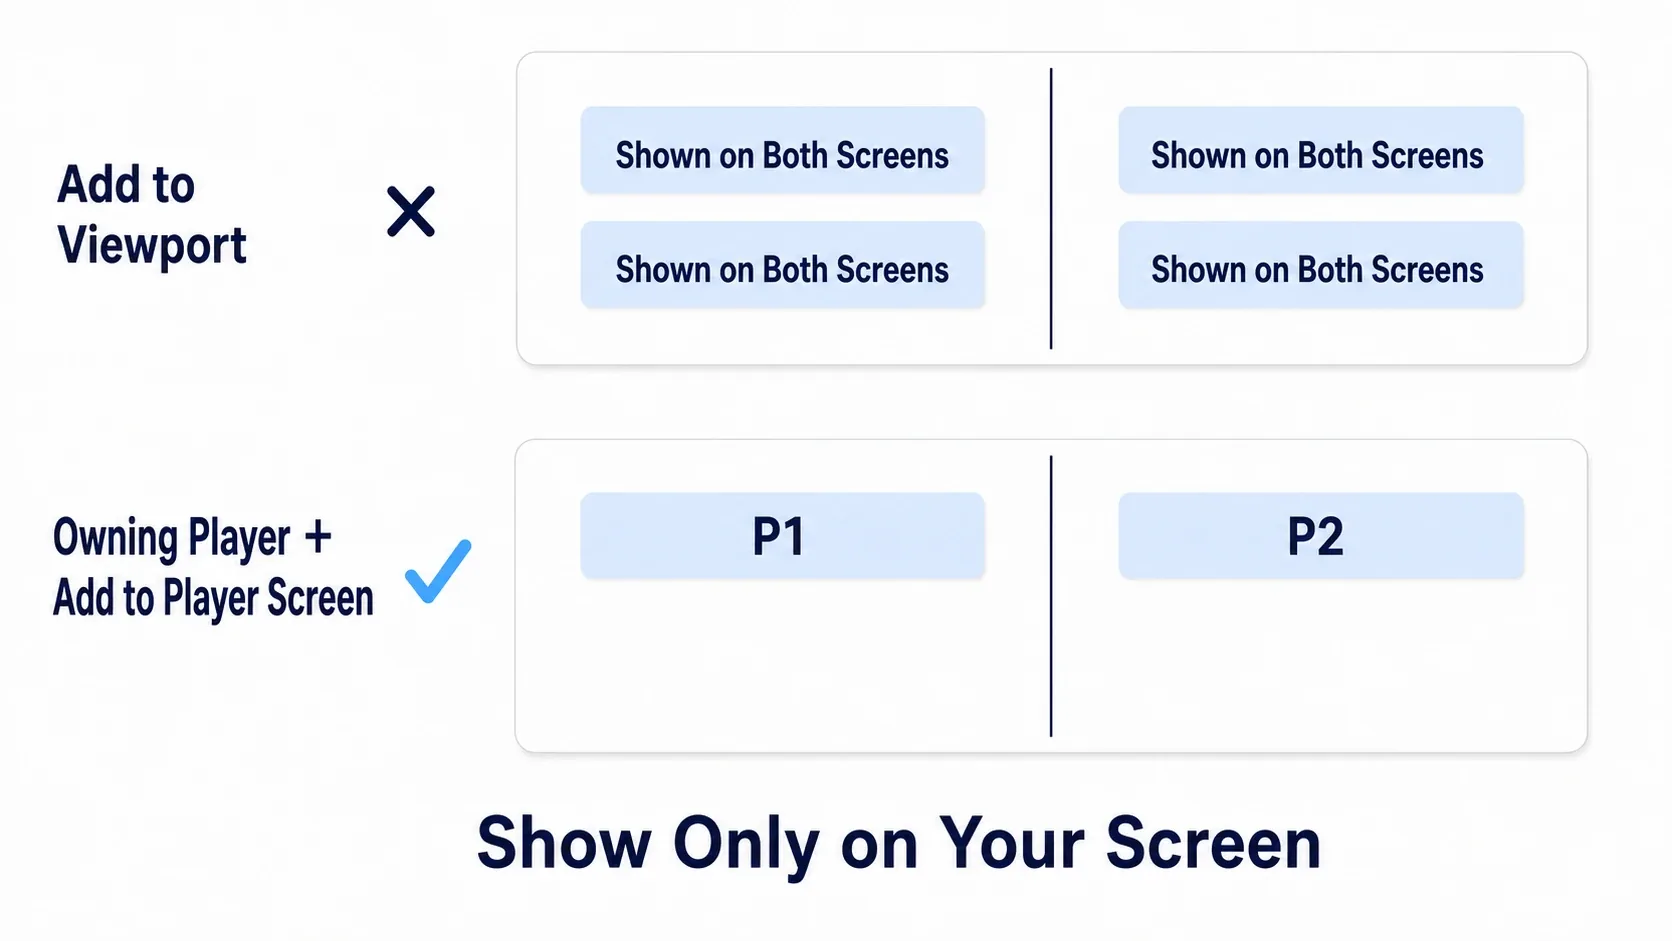
In short, decide "whose UI is this" with Owning Player, and display it with Add to Player Screen . That puts player one's HP bar on the left screen and player two's on the right.
Hands-On: Building Two-Player Mode
Let's build a two-player setup end to end.
Party game versus modes, co-op action, racing games. The structure of "one screen shared by two people" is the same across genres. Here we build one that adds a second player at game start for a left/right split, and shows each player's HP bar only on their own screen .
Here's what it looks like running. Hit Play and the screen splits left and right, with the player on the connected pad moving on the right screen. The left HP bar appears only on the left screen, the right one only on the right.
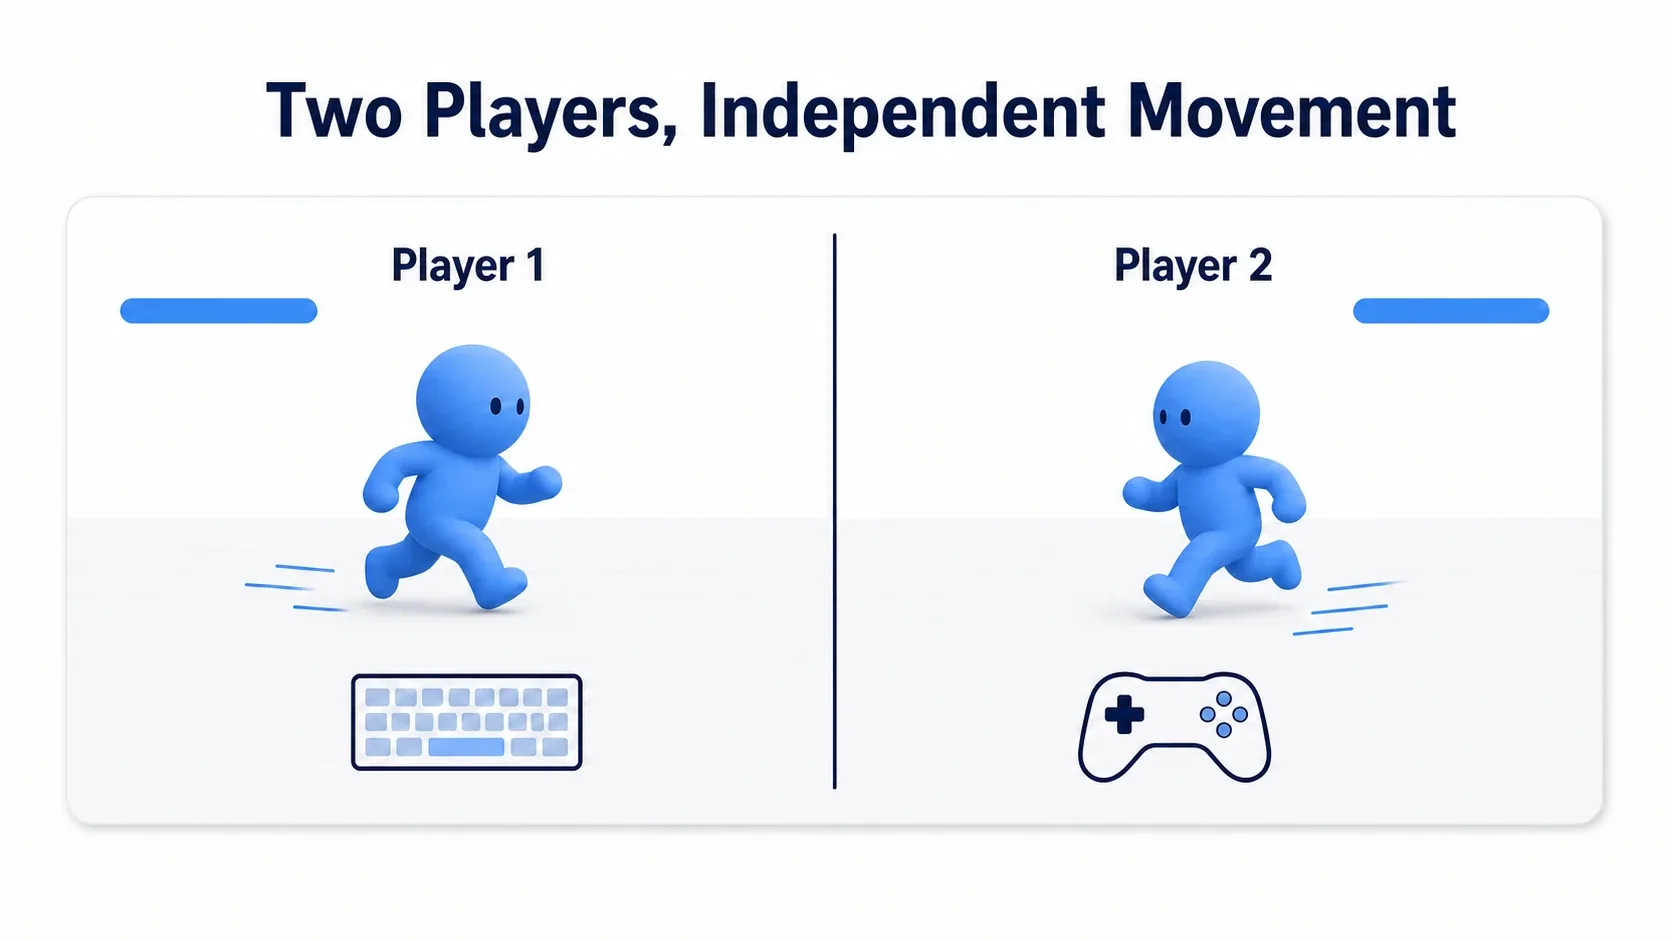
Setup
- In Project Settings > Project > Maps & Modes > Local Multiplayer , enable Use Splitscreen , set Two Player Splitscreen Layout to
Vertical(side by side), and enable Skip Assigning Gamepad to Player 1 if you're testing with a keyboard plus one pad. - Create a Widget for the HP bar (for example,
WBP_HealthBar). - Set the GameMode's Default Pawn Class , and apply that GameMode via World Settings' GameMode Override .
- Place two Player Starts in the level, not overlapping (player two needs somewhere to spawn).
Building the Graph
In the GameMode's BeginPlay , add the second player and hand out both HP bars.
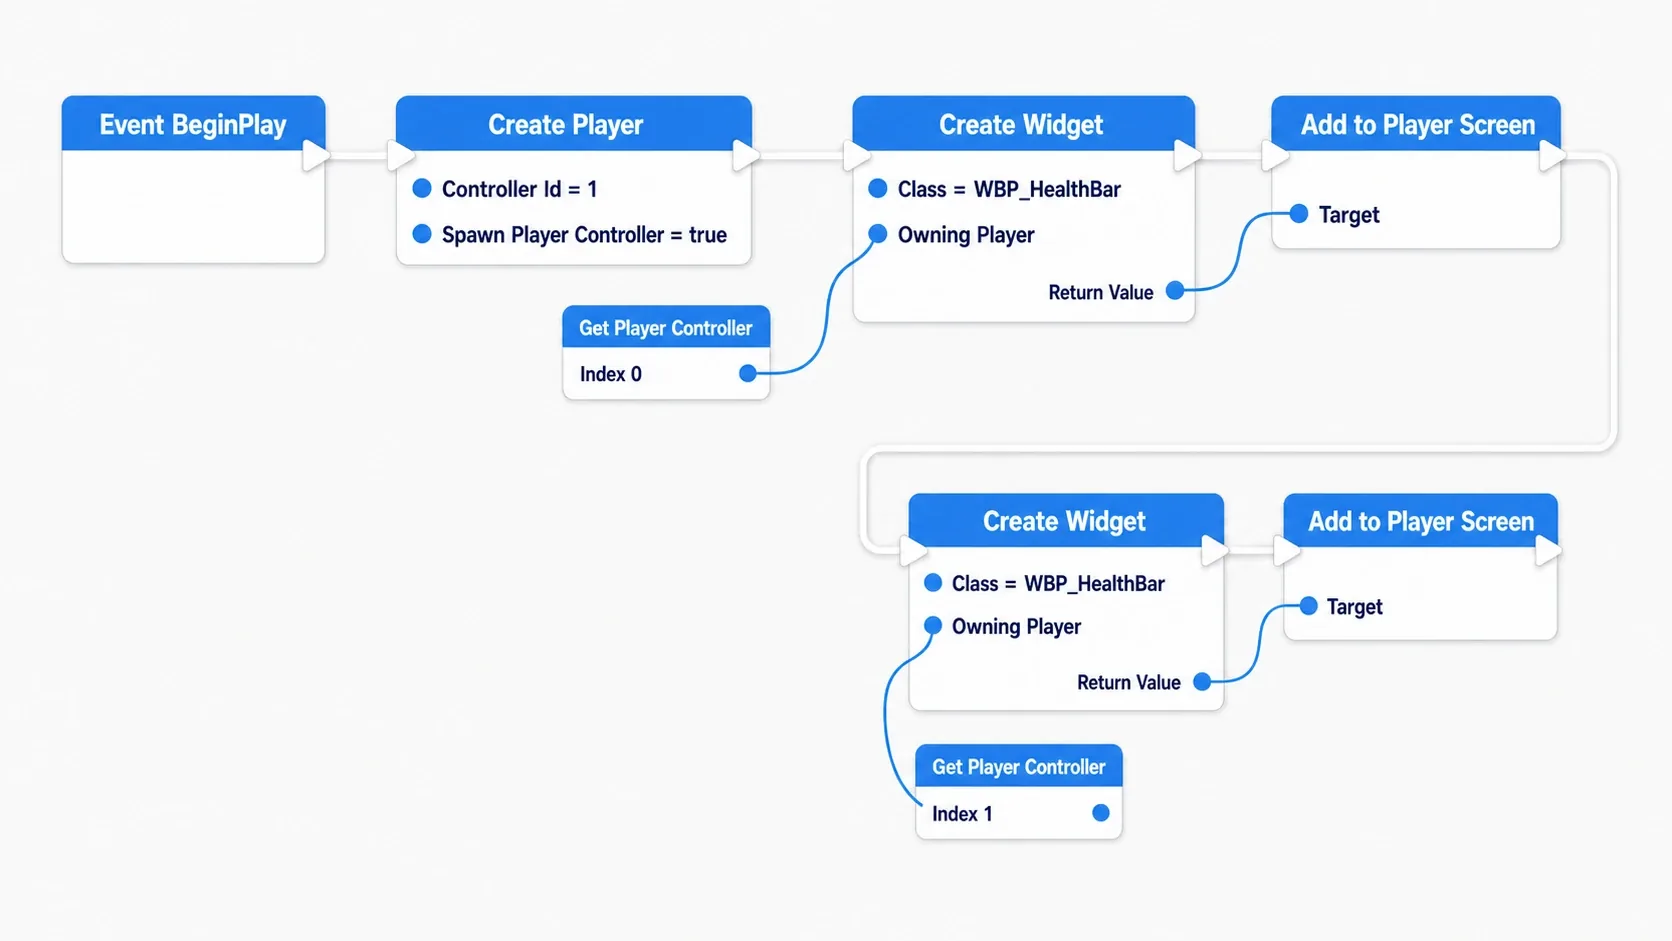
The wiring goes like this.
- From Event BeginPlay , call Create Player with
Controller Id = 1andSpawn Player Controller = true(this example assumes one map with exactly two players; don't call it in setups that already have a second player) - Player one's HP bar: Create Widget (Class =
WBP_HealthBar, Owning Player =Get Player Controller (Index 0)) → Add to Player Screen - Player two's HP bar: Create Widget (Owning Player =
Get Player Controller (Index 1)) → Add to Player Screen
As read-along pseudocode:
Event BeginPlay (GameMode)
  CreatePlayer(ControllerId=1, SpawnPlayerController=true)

  hp0 = CreateWidget(WBP_HealthBar, OwningPlayer=GetPlayerController(0))
  hp0.AddToPlayerScreen()

  hp1 = CreateWidget(WBP_HealthBar, OwningPlayer=GetPlayerController(1))
  hp1.AddToPlayerScreen()
Verifying
Plug in one gamepad and hit Play. If the screen splits left and right, the keyboard drives the left player, and the pad drives the right player, it worked. The HP bars show only the left one on the left screen and only the right one on the right.
If both HP bars appear twice on both screens , you're still on Add to Viewport or you forgot to specify Owning Player. If player two is black , Create Player's Spawn Player Controller is disabled. If player two won't move , check that the pad is assigned to player two (Controller Id 1).
Two points to take away.
- Always specify "whose screen" for UI: pass an Owning Player and display with Add to Player Screen. Leave it on Add to Viewport and it lands on the full screen, with two copies stacking
- Give player two a body via Spawn Player Controller: adding a player alone leaves nothing to render. Enable Spawn Player Controller, and provide a Default Pawn Class and Player Starts so a controllable pawn gets assigned
Note that Owning Player only decides which screen the UI goes on. For the numbers displayed in the HP bar, pull that player's values on the widget side via something like Get Owning Player Pawn . Specifying Owning Player does not automatically switch what's displayed.
The finer points of dividing input connect directly to how Enhanced Input works. Since each player receives the input for their own Controller Id, remapping can be per-person as well.
Bonus: Good to Know for Later
This is not online multiplayer. Both are "two people playing," but split-screen is self-contained on one PC. Without Replication to synchronize data, implementation is far simpler. Building the fun of co-op locally first and considering online later is the practical order.
Mixing keyboard and gamepad. In Play In Editor, the keyboard is player one and a pad is player two. If you want player one on a pad too, plug in two pads or adjust the input assignment. For party games, everyone on a pad plays best.
Three and four players use the same system. Increase Create Player's Controller Id to 2 and 3 and you can build up to a four-way split the same way. UE also provides split layout settings for three and four players.
Summary
Split-screen local multiplayer comes together in three points.
| What to do | What to use |
|---|---|
| Add a second player | Create Player (Controller Id = 1, Spawn Player Controller = true) splits the screen automatically |
| Choose the split direction | Project Settings > Maps & Modes > Local Multiplayer (Two Player Splitscreen Layout: Horizontal = top/bottom, Vertical = left/right) |
| Show UI on your side only | Specify Owning Player on Create Widget and display with Add to Player Screen |
Get these three right and you can build the fun of two-player games far more easily than going online.
Would your game be more fun with someone sitting next to you? If so, start with Create Player.