"There are no errors, but it still doesn't work." That quiet kind of bug eats more time than anything else in UE development.
Trying to guess the cause leads nowhere. What you need isn't deduction, it's evidence. The first tools for gathering it are Blueprint's Print String and the editor's Output Log. This article covers how to use each, when to reach for which, and how to isolate a classic bug: "the attack clearly connects, but no damage goes through."

What You'll Learn
- How to use Print String, including the overwrite trick with Key
- How to open, filter, and read the Output Log, plus log categories
- The C++ UE_LOG macro and how to choose a Verbosity level
- Hands-on: isolating "it hits but deals no damage" with three questions
Print String: Basics and Beyond
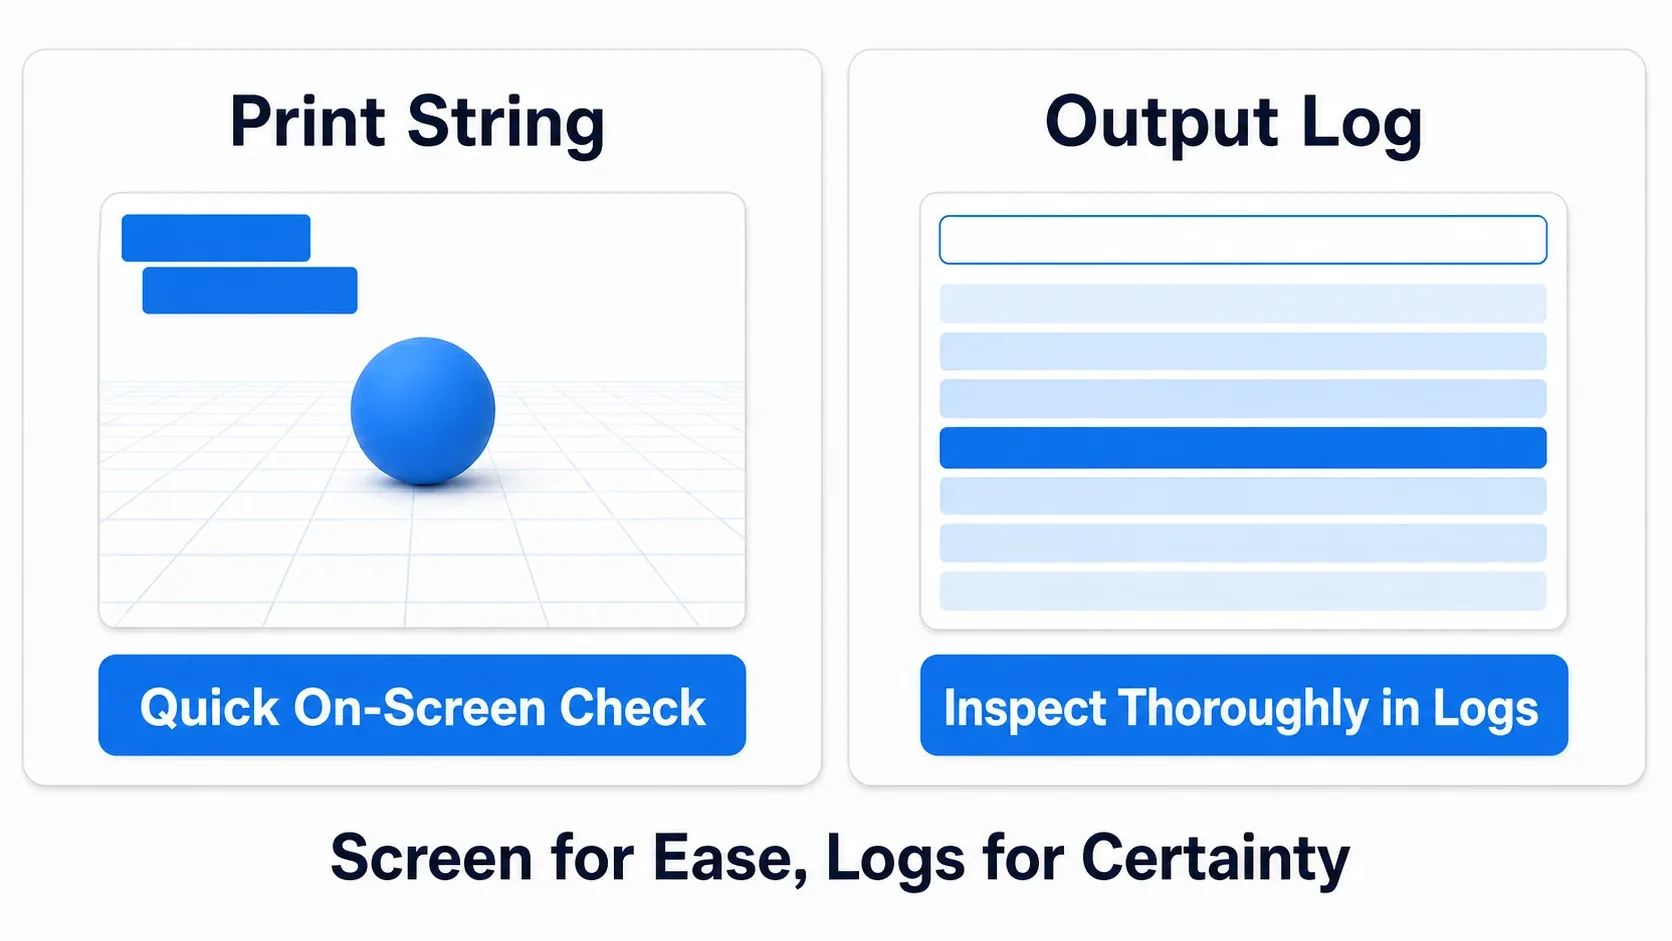
Print String is the quickest debug node there is: it prints a string to the top-left of the game screen (and to the Output Log). Drop it into the middle of your logic and you can see with your own eyes whether a piece of code actually ran and what a variable currently holds.
Event Jump → Print String (In String: "Jump! Velocity: " appended with Get Velocity)
| Parameter | Purpose | How to use it well |
|---|---|---|
| In String | The string to display | Tag it so you can tell which piece of logic printed it (e.g. [Jump]) |
| Print to Screen / Log | Toggles output to the screen and the Output Log | Keep both on by default. If the screen gets busy, switch to log only |
| Text Color | On-screen text color | Give important messages a color that stands out |
| Duration | Seconds it stays on screen (default 2.0) | Raise it to 5.0 or so when following fast-moving logic |
| Key | Identifier for the message | Messages with the same Key overwrite each other (see below) |
Tracking Values with Key
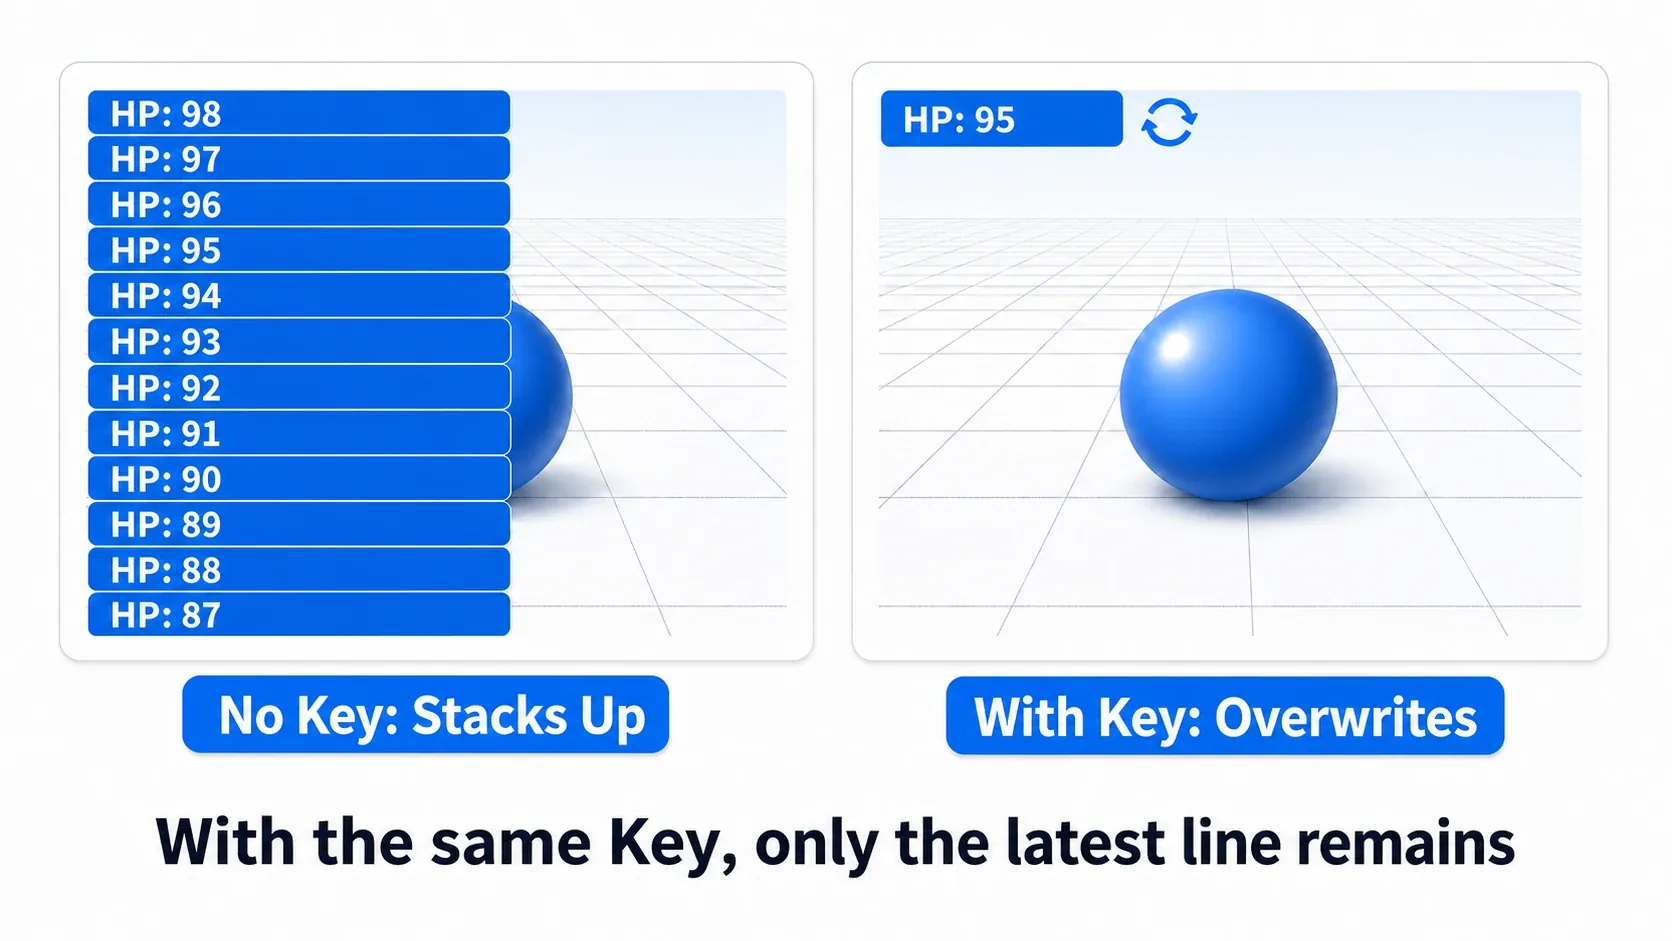
Key is the trick that turns Print String into a proper debugging tool. Logs that fire every frame, like printing HP from Tick, will bury the screen otherwise. Set the same Key and only the latest line stays on screen, letting you track a variable's changes like a counter.
Making Use of the Output Log
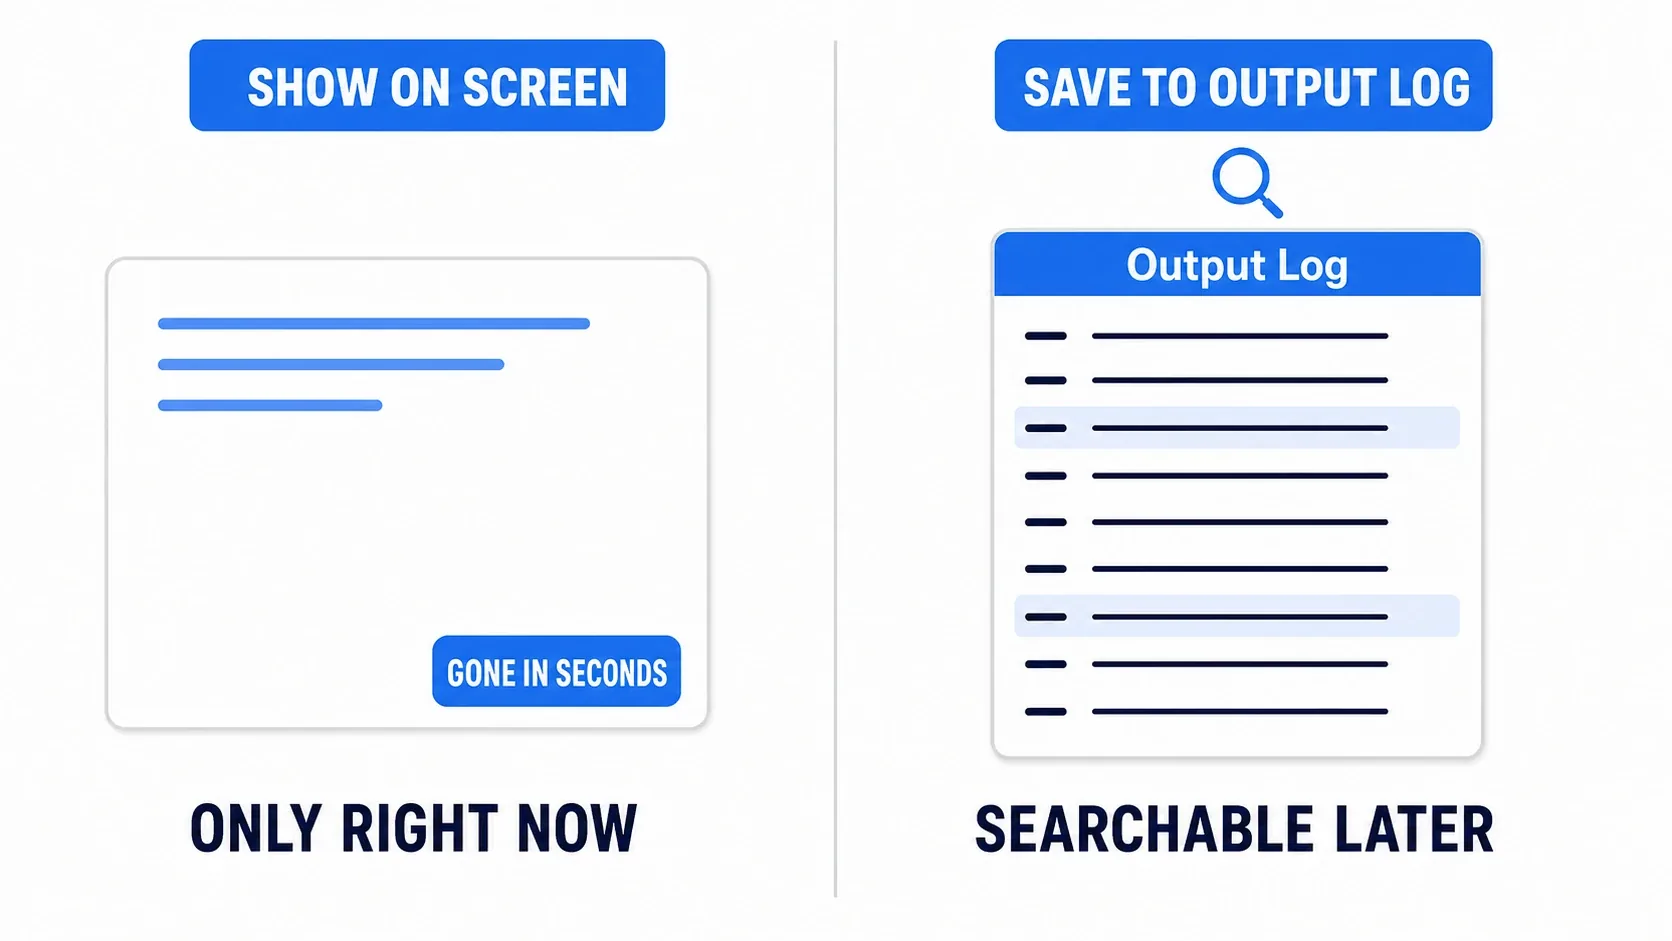
If Print String is a quick visual check on the spot, the Output Log is the heart of debugging, where all of UE's information gathers. Not just your own logs, but engine warnings, errors, and asset load information, all recorded here in chronological order.
- How to open it: menu Window → Output Log
- Filtering: narrow by keyword in the search bar at the top. The Verbosity filter lets you show only
ErrorsorWarnings - Log categories: logs are recorded with categories such as
LogTemp,LogBlueprint, andLogAI, so you can filter by which system is talking
Even while you're working purely in Blueprint, make "when something doesn't work, check Errors and Warnings in the Output Log first" a habit. On-screen Print String output scrolls away, but the log keeps everything.
Logging in C++: the UE_LOG Macro
The C++ equivalent of Print String is the UE_LOG macro. printf and std::cout don't go through UE's logging system, so they aren't used here.
// Define a log category (making one for your project makes filtering easier)
DEFINE_LOG_CATEGORY_STATIC(LogMyGame, Log, All);

// Output at warning level, with variables embedded
UE_LOG(LogMyGame, Warning, TEXT("Player %s damaged. HP: %f"), *PlayerName, CurrentHealth);

// Error level plus an early return (the standard null-check pattern)
if (TargetActor == nullptr)
{
    UE_LOG(LogMyGame, Error, TEXT("TargetActor is null!"));
    return;
}
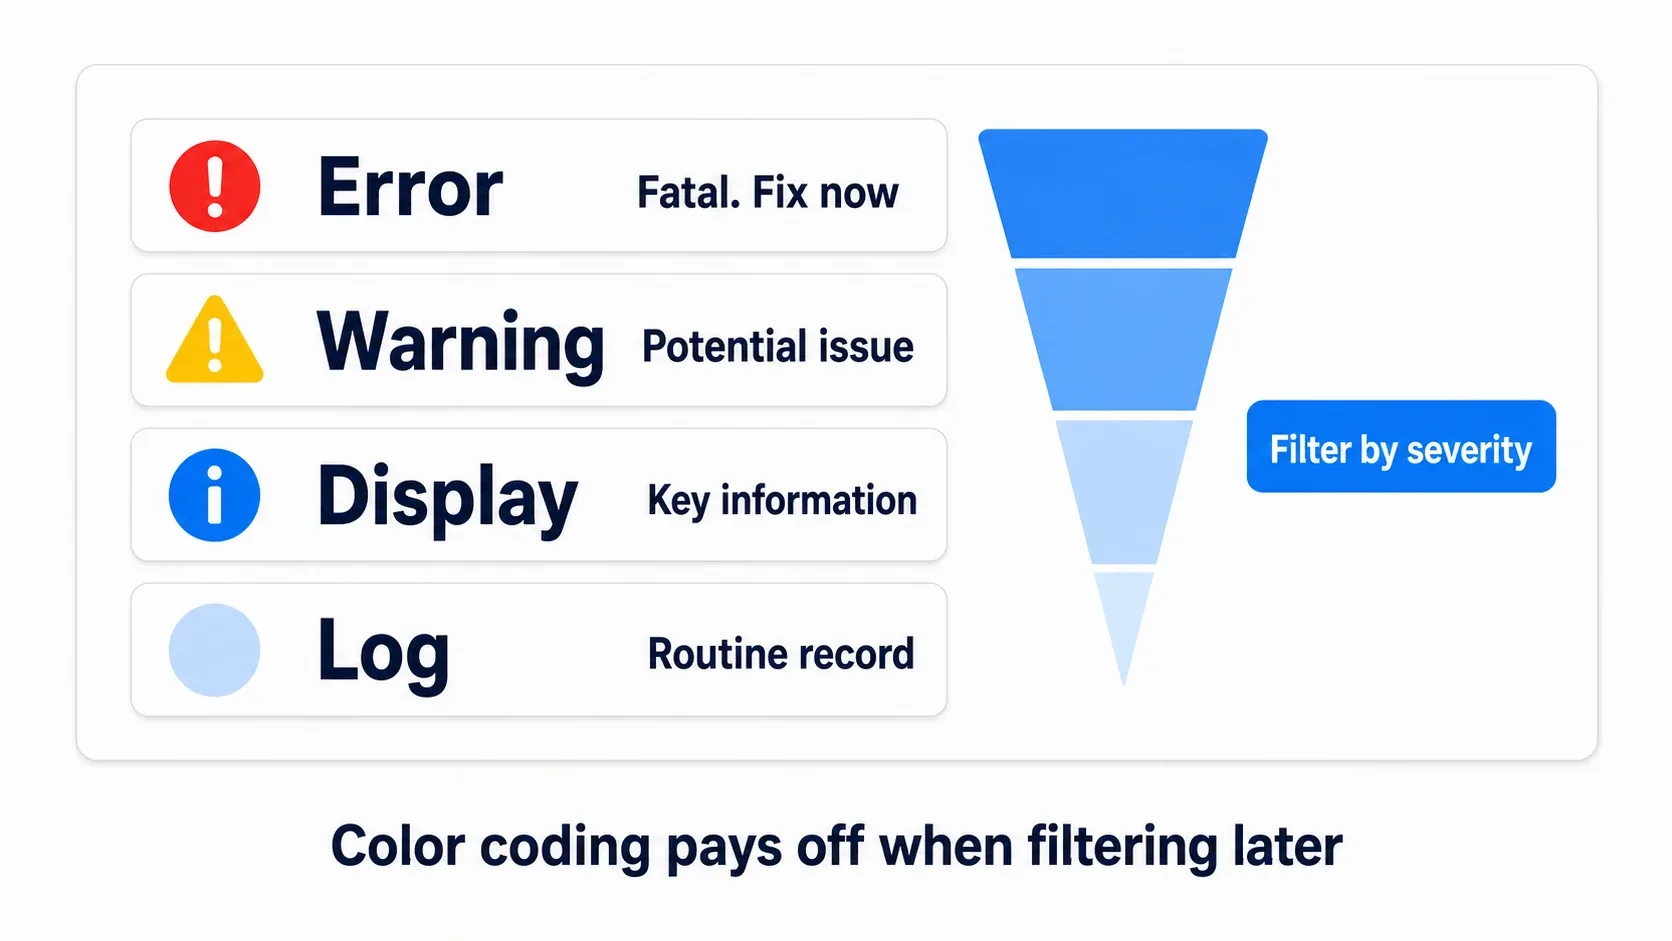
The second argument is the Verbosity level. Color-coding by importance is what makes "show only Errors and Warnings" work later in the Output Log filter.
| Verbosity | Purpose | Example use |
|---|---|---|
| Error | Fatal problems (displayed in red) | Failure to load a required resource, null references |
| Warning | Signs of a problem (displayed in yellow) | Unexpected input values, use of deprecated features |
| Display | Information you also want in the console | Recording configuration values at startup |
| Log | Standard records | Start and end of processing, value checks |
Note: There are others, including
Fatal, which crashes the moment it fires, andVerbose/VeryVerbose, which are hidden by default and meant for detailed output. The four in the table are plenty to start with.
Hands-On: Isolating "It Hits But Deals No Damage"
Now that we have the tools, let's investigate a classic bug. A bullet in a shooter, a sword in an action game, a spell in an RPG: it doesn't matter. The attack looks like it's connecting, but the enemy's HP won't drop.
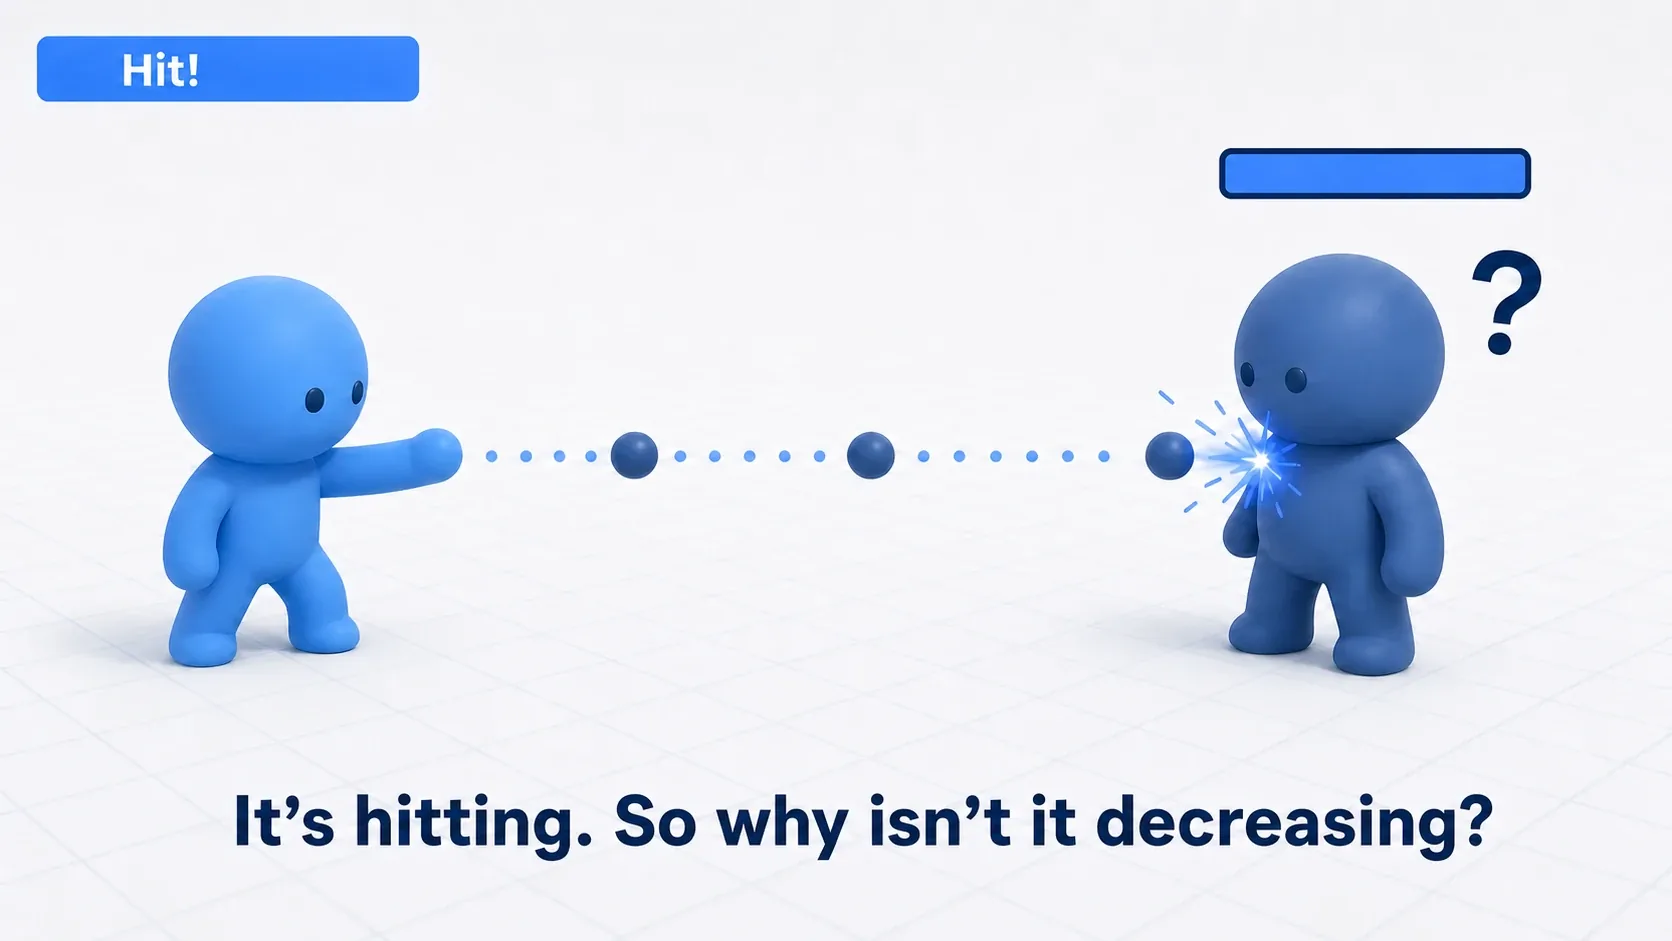
Before you start guessing and blindly poking at collision settings, use Print String to make the game answer three questions in order.
Setup to reproduce this (if you don't have a matching graph on hand, this is all you need). Add the following variables to an enemy Blueprint called BP_Enemy.
| Variable | Type | Default | Purpose |
|---|---|---|---|
Health | Float | 100.0 | The enemy's health |
IncomingDamage | Float | 25.0 | The amount of damage received. Treat it as the value your weapon would pass in, and just type it here |
bIsInvincible | Boolean | true | Invincibility flag. This true is the bug we planted on purpose |
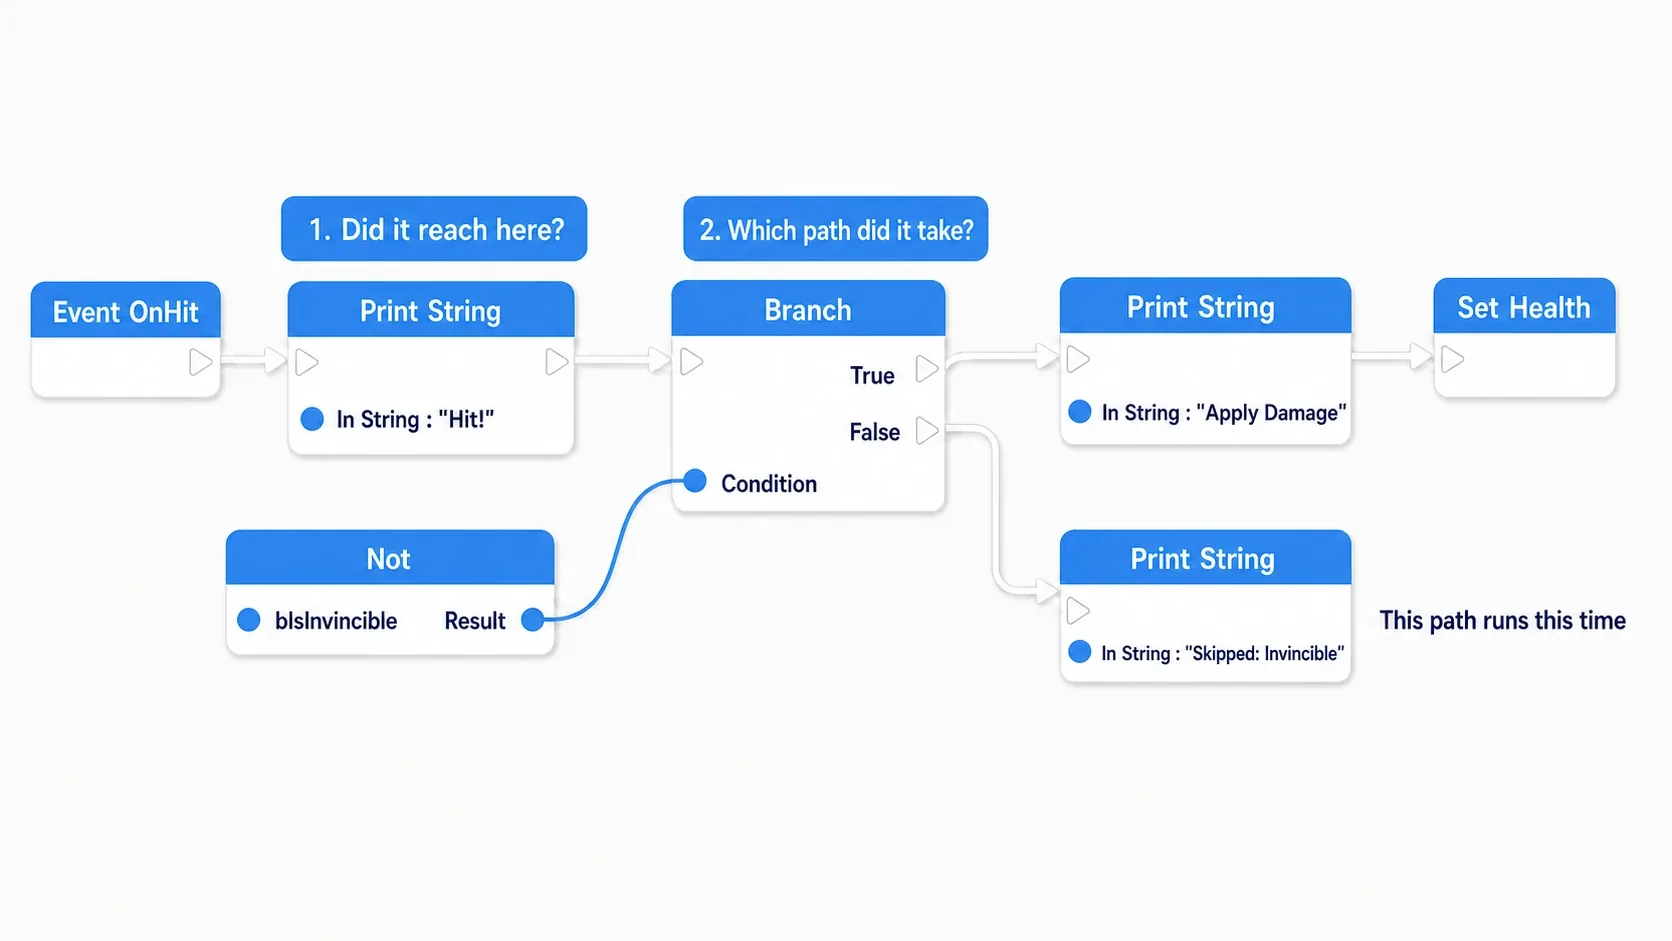
Here's what the graph looks like once the logs are in place. Keep the positions of (1) and (2) in mind as you read on.
-
Question 1: "Is that event even firing?" Start by dropping a single log at the top of the hit logic
Event OnHit (Overlap, Any Damage, etc.)
  → Print String (In String: "Hit!")      ← ★ Question 1
  → Branch (Condition: Not (bIsInvincible))
Hit Play and attack. If
Hit!never appears on screen, the culprit is upstream of damage calculation: the hit detection itself (→ custom collision channels) -
Question 2: "What's the value?" If
Hit!shows up, look at the damage amount as a number next. Join strings and numbers with AppendPrint String (In String: Append (A: "Damage: ", B: ToString (IncomingDamage)))Here it should print
Damage: 25.0. The number is arriving correctly, so the culprit is further downstream. If it did printDamage: 0.0, the logic itself would be running and the number being passed in would simply be zero, which points strongly at a misconfigured weapon data value -
Question 3: "Which way did it go?" If the value is right and HP still doesn't drop, put one log on each side of the branch and make the graph confess which path it took
Branch (Condition: Not (bIsInvincible))
  → True  → Print String ("Took path: applying damage") → Subtract IncomingDamage from Health and Set
  → False → Print String ("Took path: skipped, invincible")  ← ★ This is the one that fires here
If
Took path: skipped, invincibleappears on screen, the culprit isbIsInvincible. Change its default to false and attack again. IfHealthdrops from 100 to 75, you've solved it
All three questions take 30 seconds to set up, and their strength is that they come back as a yes or no. Once you've narrowed the culprit down to hit detection, data, or the conditional, the investigation is 90% done. To finish, open the Output Log and check for red errors, especially Accessed None (touching an empty reference). If one is there, that message is telling you the bug's address.
Two things to take away.
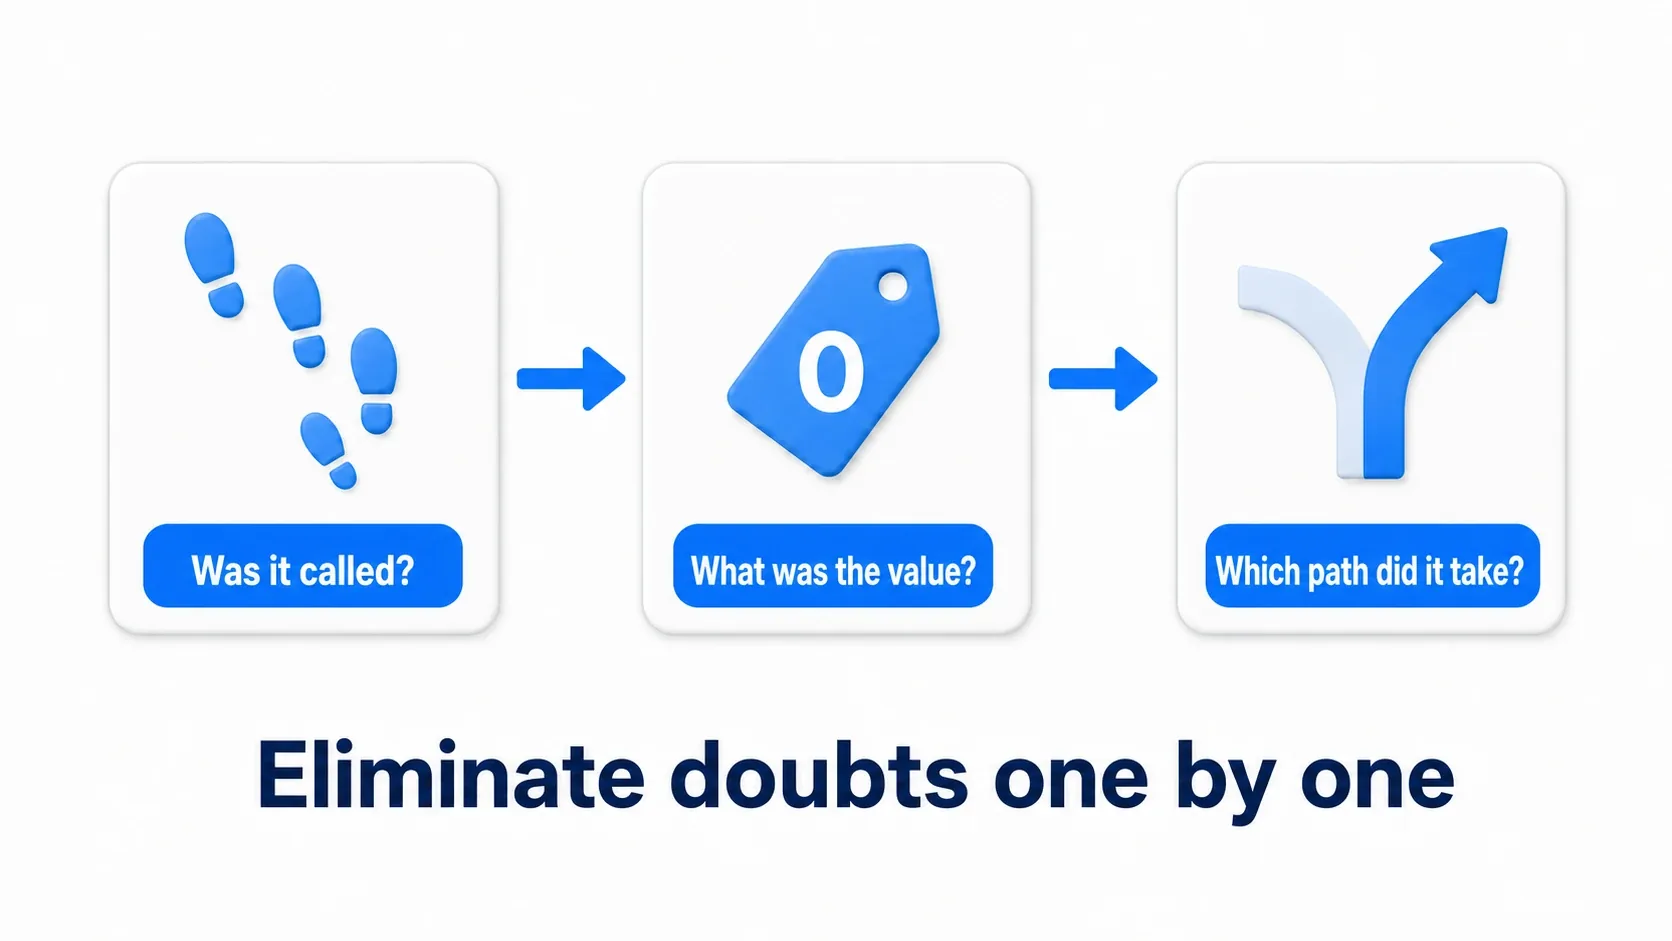
- Suspect one thing at a time: work through "was it called → what's the value → which branch" in order, ruling out one suspect per step. Suspecting several at once means that when it starts working, you won't know what fixed it
- Clean up your Print Strings when the investigation ends: delete or disconnect debug nodes that have done their job. Old logs are nothing but noise during the next bug hunt
Best Practices and Common Mistakes
| Practice | Benefit |
|---|---|
Include a source tag in logs ([MyActor] HP: 100) | Even in a flood of logs, you can see the sender at a glance |
| Use Verbosity deliberately (info = Log / signs = Warning / fatal = Error) | Filtering works, and you can triage by urgency |
| Always set a Key when tracking from Tick | The screen stays clear and you see only the value changing |
Add a debug flag such as bDebugMode and check it before logging | One flag turns every log off |
There are three common mistakes: (1) leaving Duration at the default 2 seconds and missing a message that "vanished instantly" (raise it, or make it persist with a Key), (2) watching only the on-screen Print String and never checking Errors and Warnings in the Output Log, and (3) using printf in C++ (always use UE_LOG).
Bonus: Good to Know for Later
Draw what text can't express. Spatial information doesn't survive being turned into text — how far a detection range reaches, which way an enemy is facing. For those, painting the range or direction into the game world is far faster (→ Draw Debug and Visual Logger).
- Print String is development-build only: it produces no output in packaged (Shipping) builds. That means you don't have to worry about leaving one in and shipping it, but it also means you can't use it to investigate problems that only occur in a Shipping build
- Logs are also written to a file: log files for each run are saved in your project's
Saved/Logs/folder. That error you closed a minute ago is still readable - The next weapon is breakpoints: once Print String has narrowed down the location, the Blueprint Debugger lets you pause execution on that line and inspect variable contents → How to Use the Blueprint Debugger
Summary
- Print String for a quick look on screen, Output Log for a careful look at the record. The two work as a set
- Track values from Tick by overwriting with Key. In C++, write logs you can filter later using UE_LOG plus color-coded Verbosity
- Don't deduce bugs. Gather evidence and isolate them with the three questions: "was it called → what's the value → which branch?"
Now that you have a debugging partner, 10 Common Blueprint Mistakes is a good next read for learning which landmines are easy to step on in the first place.
Think of that one piece of logic in your project that "just doesn't work" right now. Which of the three questions will you ask it first?