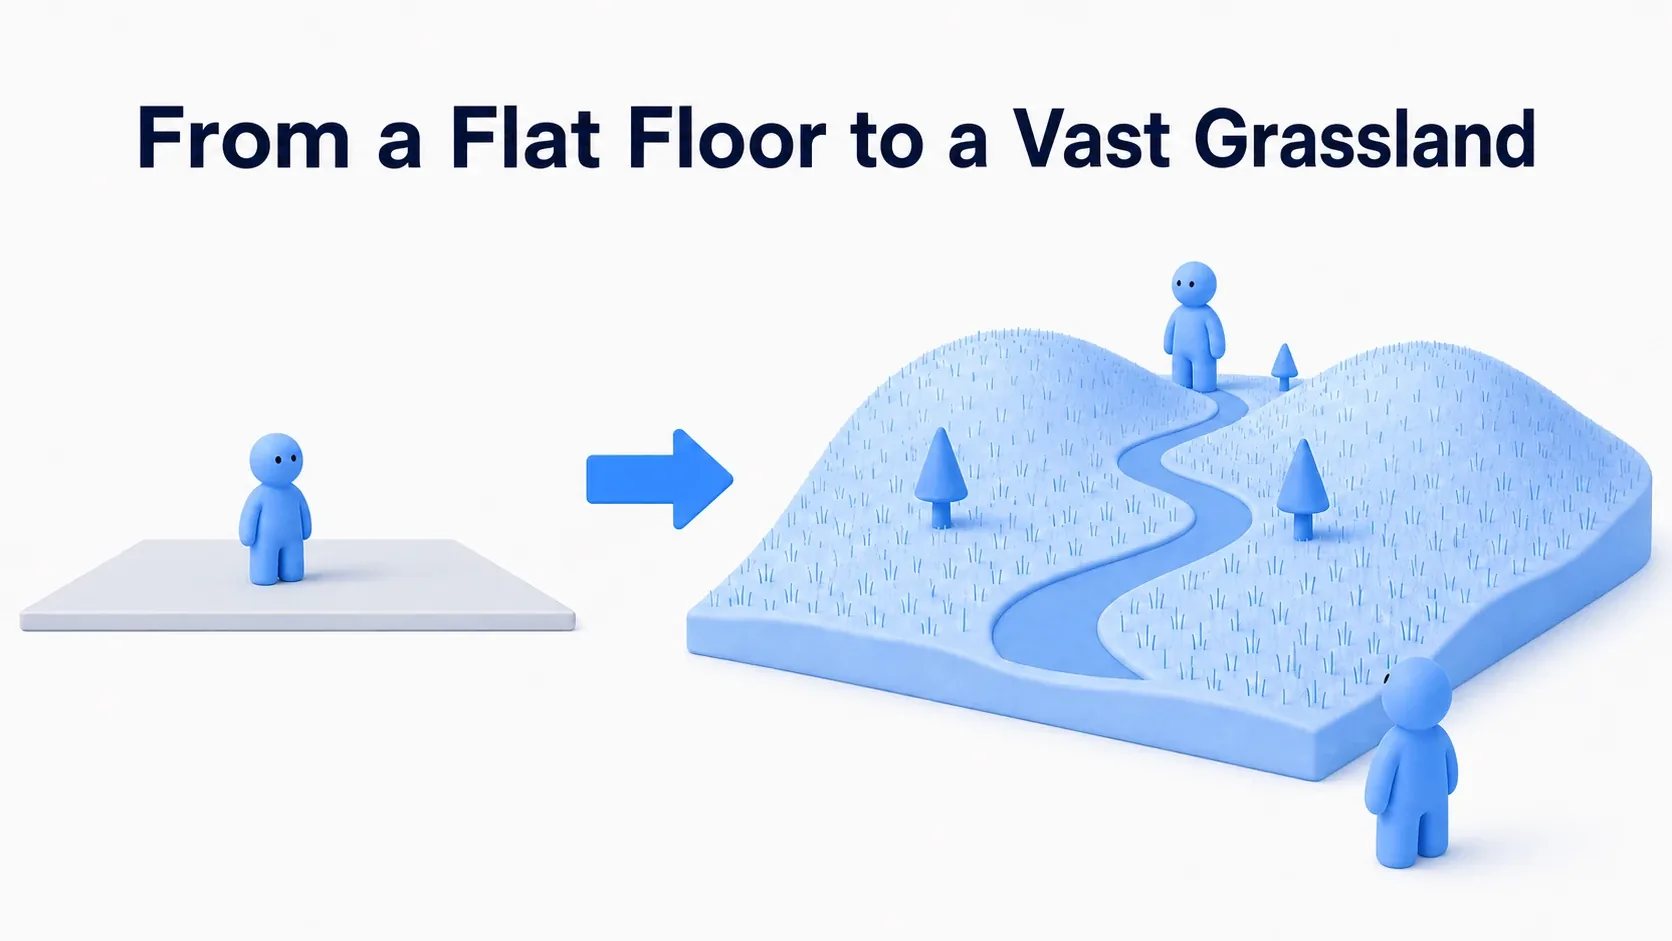
Open the Third Person template and your character stands on a flat floor. From here you want a wide grassland or rolling hills, but it isn't obvious how to build the terrain for that.
UE has a dedicated system for large outdoor terrain called Landscape. You raise the ground like sculpting clay, paint grass and dirt across it, and scatter trees and grass on top. Even with just the free starter assets, you can build something that reads as a real outdoor space. This article covers Landscape fundamentals through cutting a path across a grassy hillside, including the "my layers won't paint" problem every beginner hits.
What You'll Learn
- How to create a Landscape and decide its size
- When to use each sculpt tool (Sculpt / Smooth / Flatten / Ramp)
- How Layer Blend paints grass and dirt separately
- The classic reason layers won't paint (Layer Info not created)
- Scattering grass and trees with Foliage (density and culling)
- Hands-on: cut a path across a grassy hillside
Creating a Landscape
You create a Landscape in Landscape mode (the mode switcher at the top-left of the editor, or Selection Mode → Landscape). At creation time you decide the terrain's size.
Size comes from multiplying three numbers.
- Section Size: the resolution of one section.
- Sections Per Component: how many sections make up one component.
- Number of Components: the total component count (rows × columns).
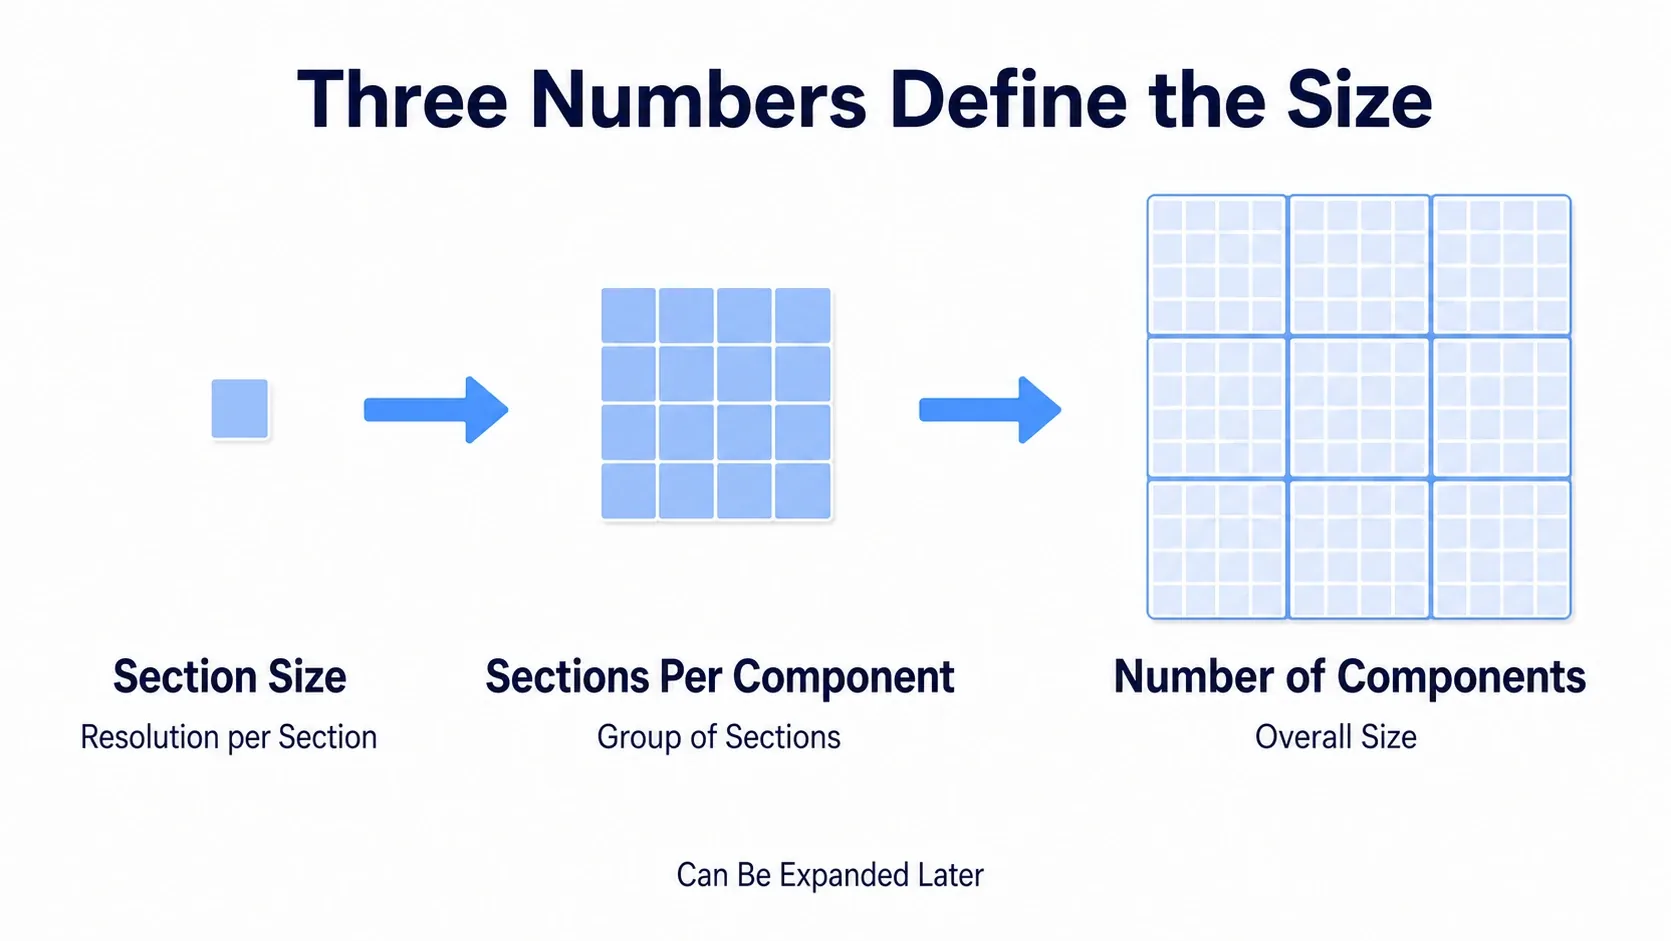
Don't overthink it at first. Keep the recommended values, or bump Number of Components a little, aiming for roughly 500m per side. You can expand the size later, so it's faster to just make one. Going too large gets heavy, so start with only what you need.
Once created, a flat plane appears in the scene. That's what you'll sculpt.
Sculpting the Terrain
Terrain shape comes from the sculpt tools. You brush across the ground to raise or lower it.
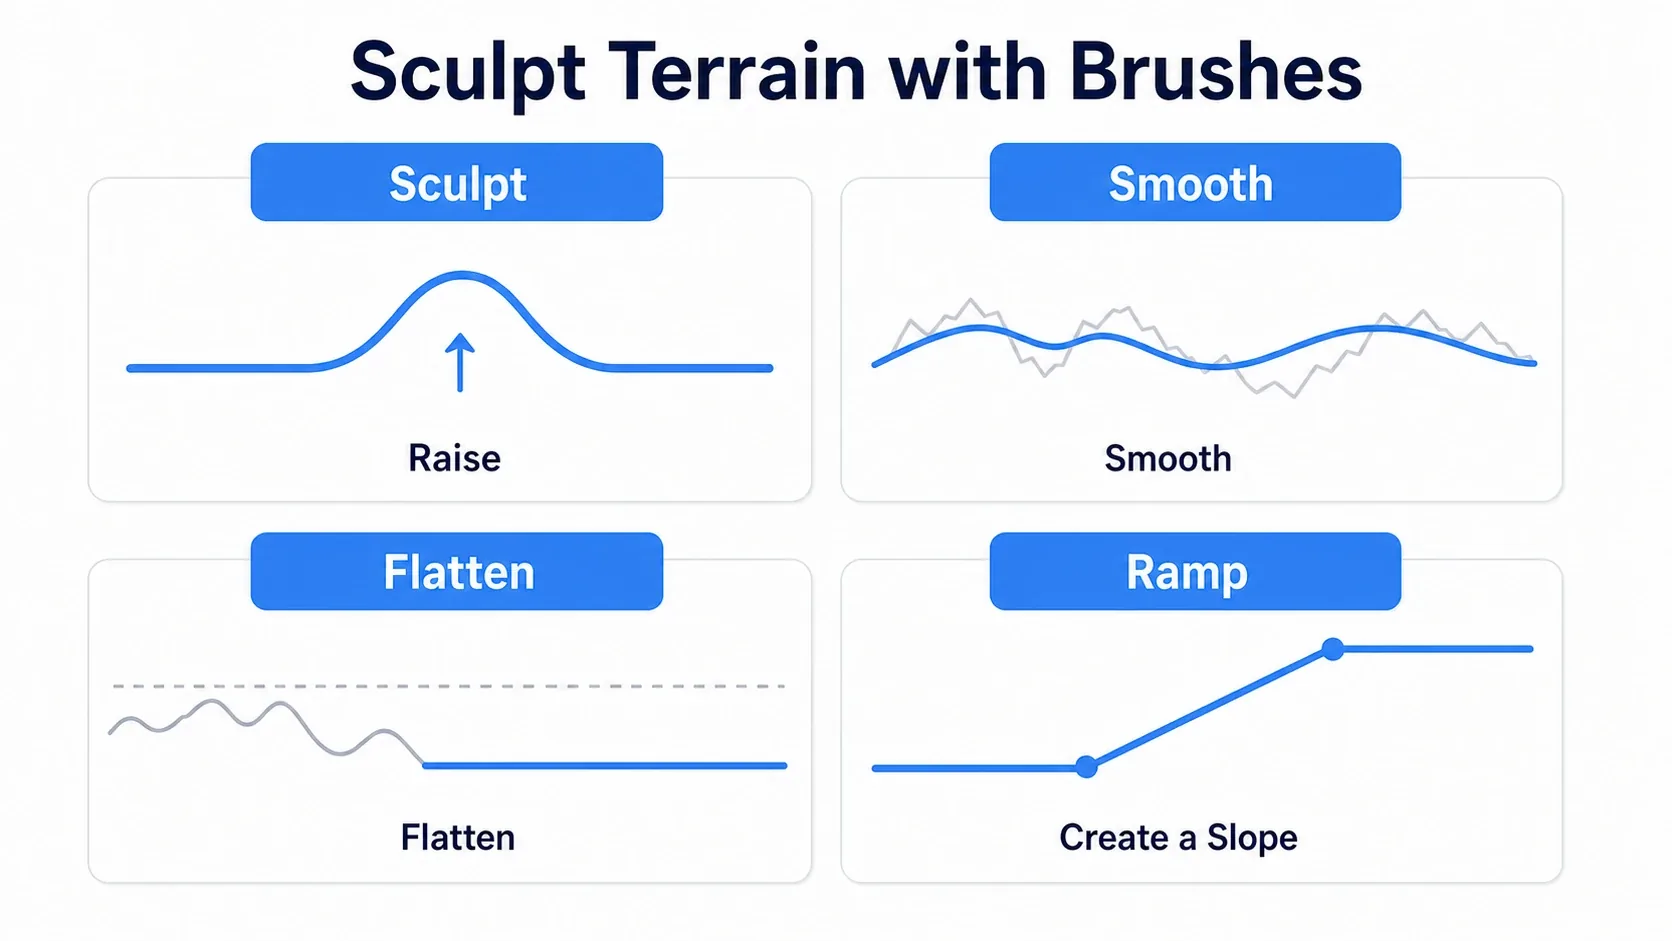
There are four tools you'll use often.
- Sculpt: raises the ground (hold Shift to lower it). The basic tool for hills and mountains.
- Smooth: softens bumps. Evens out jagged terrain into something natural.
- Flatten: levels to a consistent height. Builds foundations for roads and buildings.
- Ramp: pick two points and get a smooth slope between them. Handy for paths up a hill.
There are others, like Erosion for natural weathering and Noise for random bumpiness. To start, it's enough to learn the flow of blocking out shapes with Sculpt, tidying with Smooth, and creating flat ground with Flatten.
Painting Materials
The terrain's look, and the separation between grass, dirt, and rock, is decided by the Landscape Material. This works a little differently from a normal Static Mesh material.
You use a Landscape-specific Layer Blend (Landscape Layer Blend) node and line up layers in it, like "grass" and "dirt." Wire grass and dirt textures into each layer, and then painting in the viewport makes that layer appear where you painted.
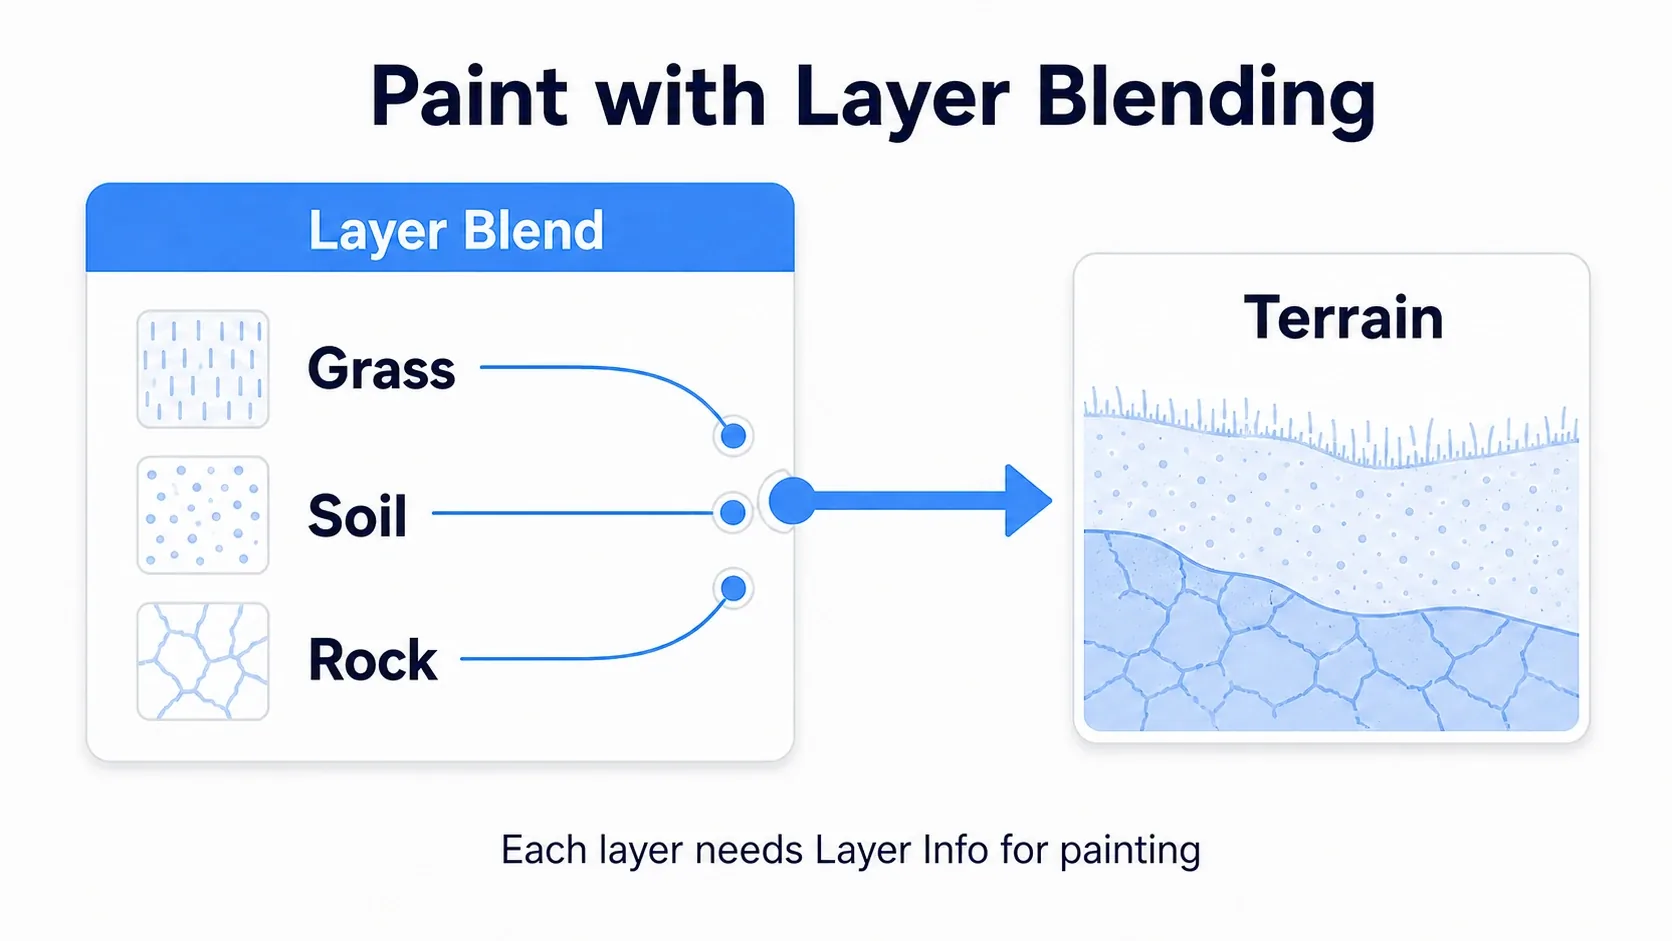
The concrete steps are four.
| # | What to do | Where |
|---|---|---|
| 1 | Create the material | Right-click in the Content Browser → Material, name it something like M_Landscape |
| 2 | Place a Layer Blend | In the material editor, right-click → add Landscape Layer Blend and wire its output into Base Color |
| 3 | Register the layers | Select the Layer Blend node and add rows to Layers in the Details panel with +. Give each row a Layer Name like Grass, Dirt, Rock (these names are what show up in the paint list) |
| 4 | Assign it to the terrain | Select the Landscape actor and set your material in Landscape Material in the Details panel |
Layer Blend grows an input pin every time you add a row. Add a Grass row and a Layer Grass pin appears, so wire your grass texture (Texture Sample) into it. The pin name is exactly the string you typed into Layer Name, so pick names you'll recognize.
Here's where every beginner gets stuck. You assign the material, go to paint, and no color goes down.
The cause is Layer Info. Each paint layer needs a Layer Info object to store "where you painted." Without one there's nowhere for the paint to go, and nothing lands on the terrain. In paint mode, click the + icon next to the layer name and create a Weight-Blended Layer Layer Info, and painting starts working. When you can't paint, check this first.
Scattering Vegetation with Foliage
Once the ground exists, you grow grass and trees on it, using Foliage mode.
Foliage scatters Static Meshes (grass and tree meshes) across the terrain in bulk with a brush. Instead of placing them one at a time, you paint them, so a wide grassland turns green in moments.
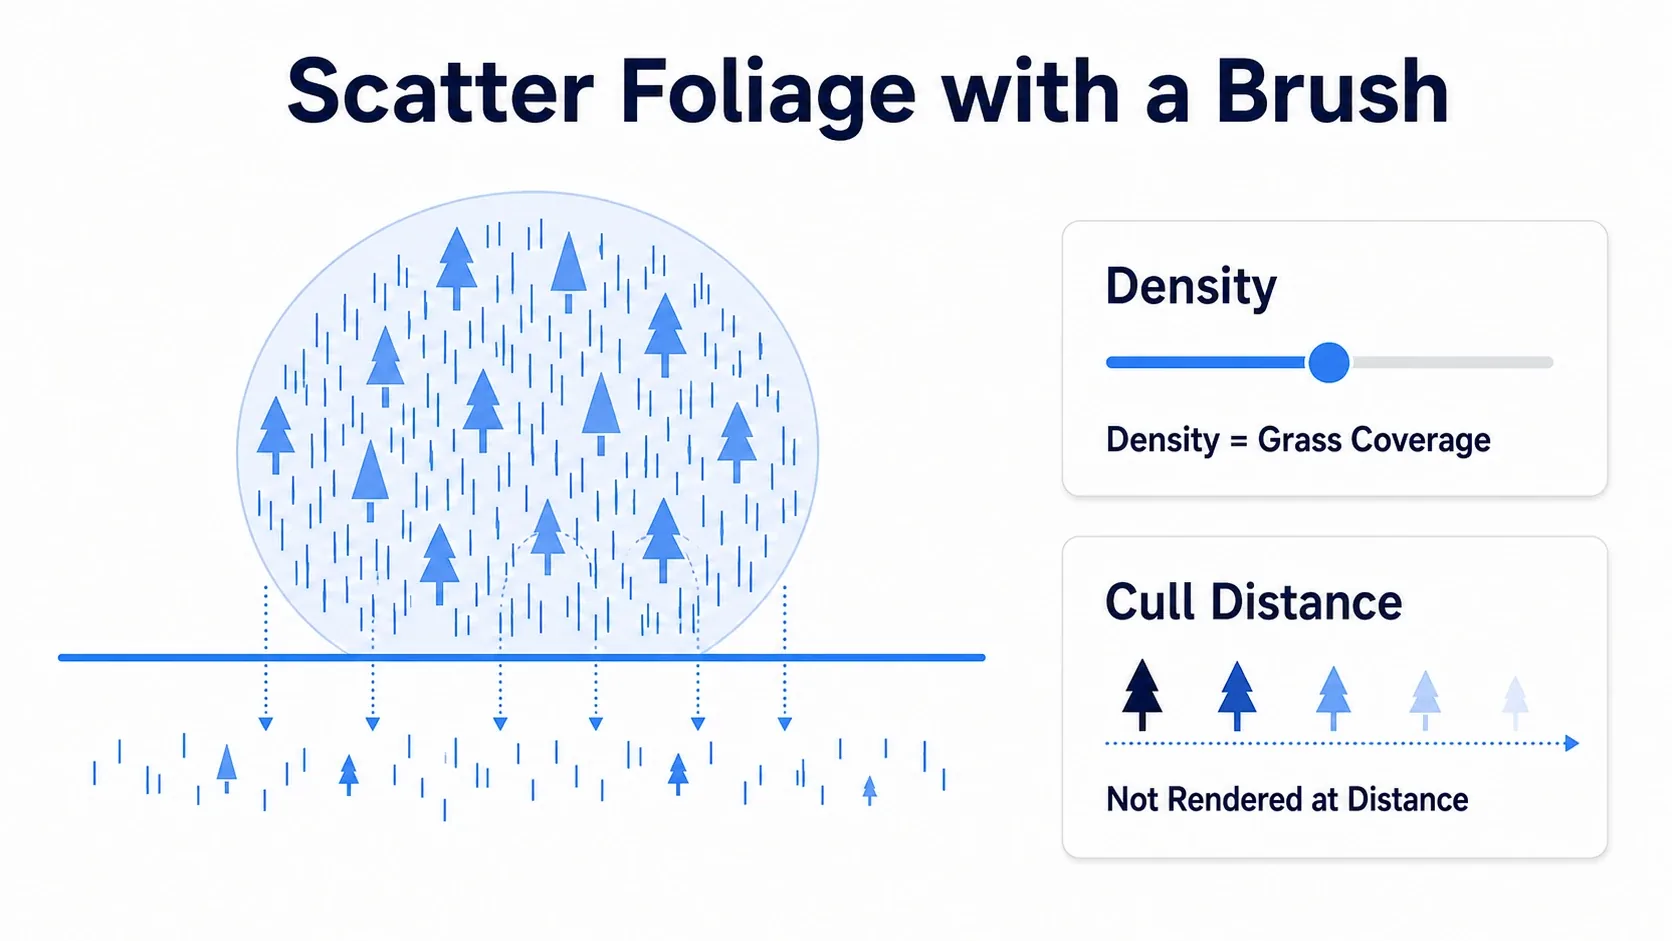
Two settings matter.
- Density: how densely you scatter. Higher gives thicker grass, but the count grows and so does the cost.
- Cull Distance: how far away rendering stops. Distant fine grass isn't visible anyway, so cutting it saves performance.
Things scattered with Foliage are managed and drawn in batches, so you can place tens of thousands of the same mesh and stay relatively cheap. Push density too far and it does get heavy, so tune it together with Cull Distance.
Scatter by hand, or by rule: Foliage is a tool for scattering at aimed spots with a brush. When you want thousands of trees of forest over a hill auto-placed by slope and path conditions, PCG (auto-placement by rules) suits it. Foliage for a small, intended placement, PCG for a large, condition-driven placement.
Hands-On: A Path Across a Grassy Hillside
Let's build one concrete piece of terrain, start to finish.
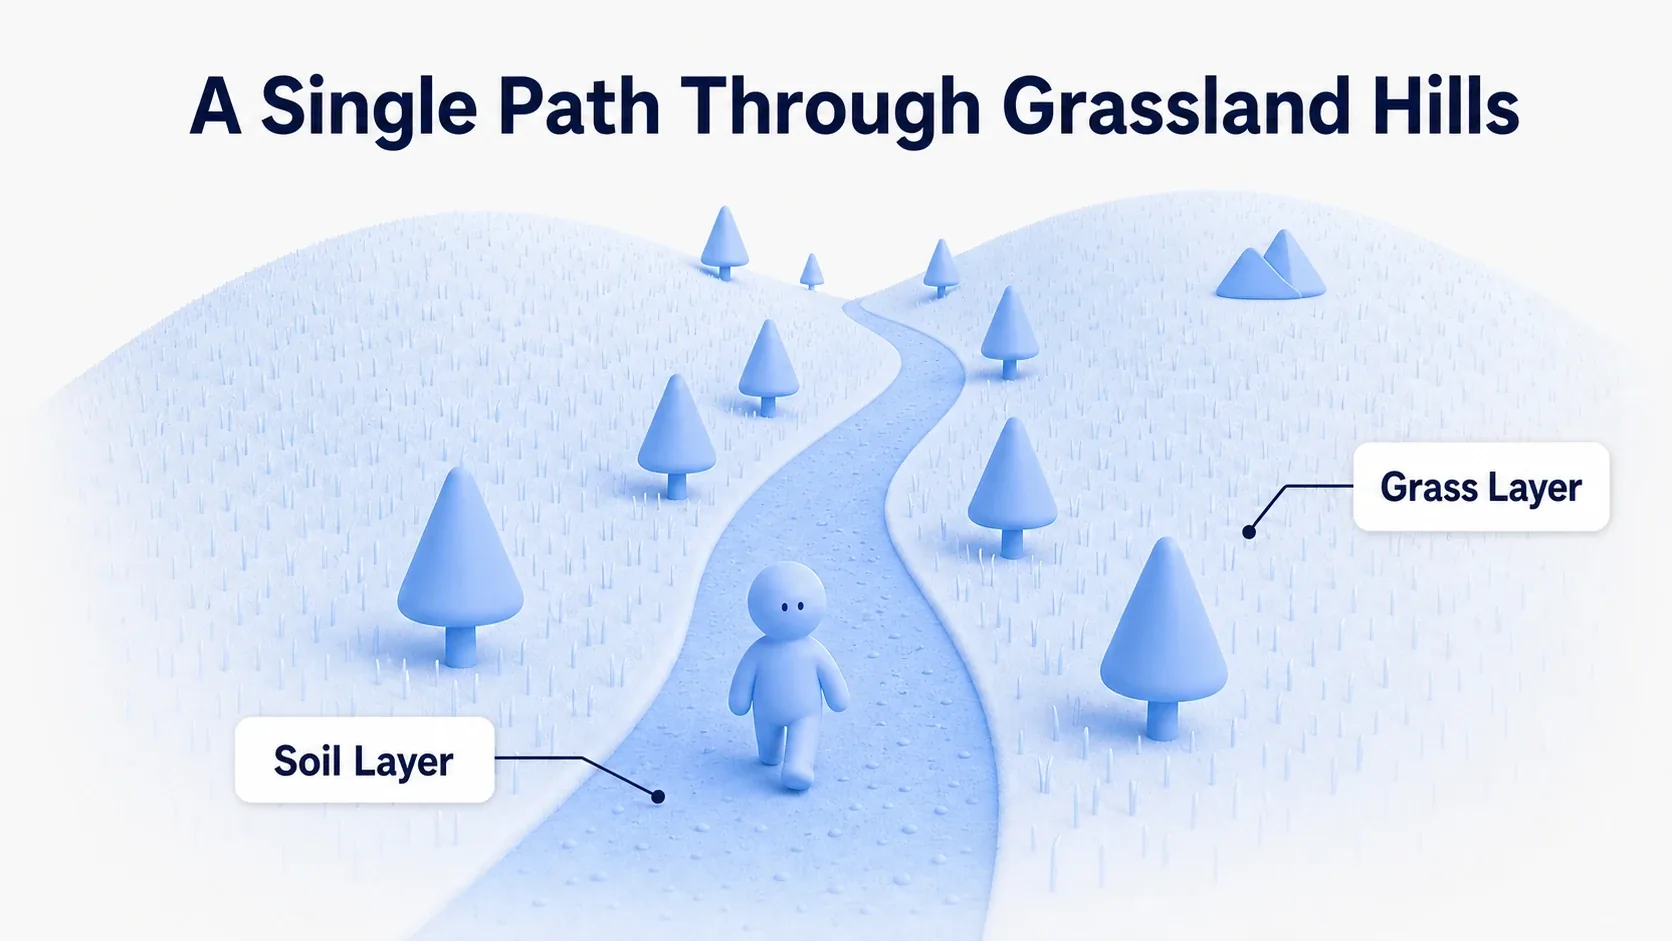
Outdoor areas in an open-field RPG, the area around a survival base, off-road stretches in a racing game. The structure is the same across all of them: cut a path through uneven terrain and grow grass on it. Here we'll build two hills in a grassland with a flat path between them, grass painted everywhere except the path, dirt on the path, and trees scattered along it.
Here's what it looks like running. A dirt path runs through a grassland with hills, with trees lining it. Your character can follow the path between the hills.
Steps
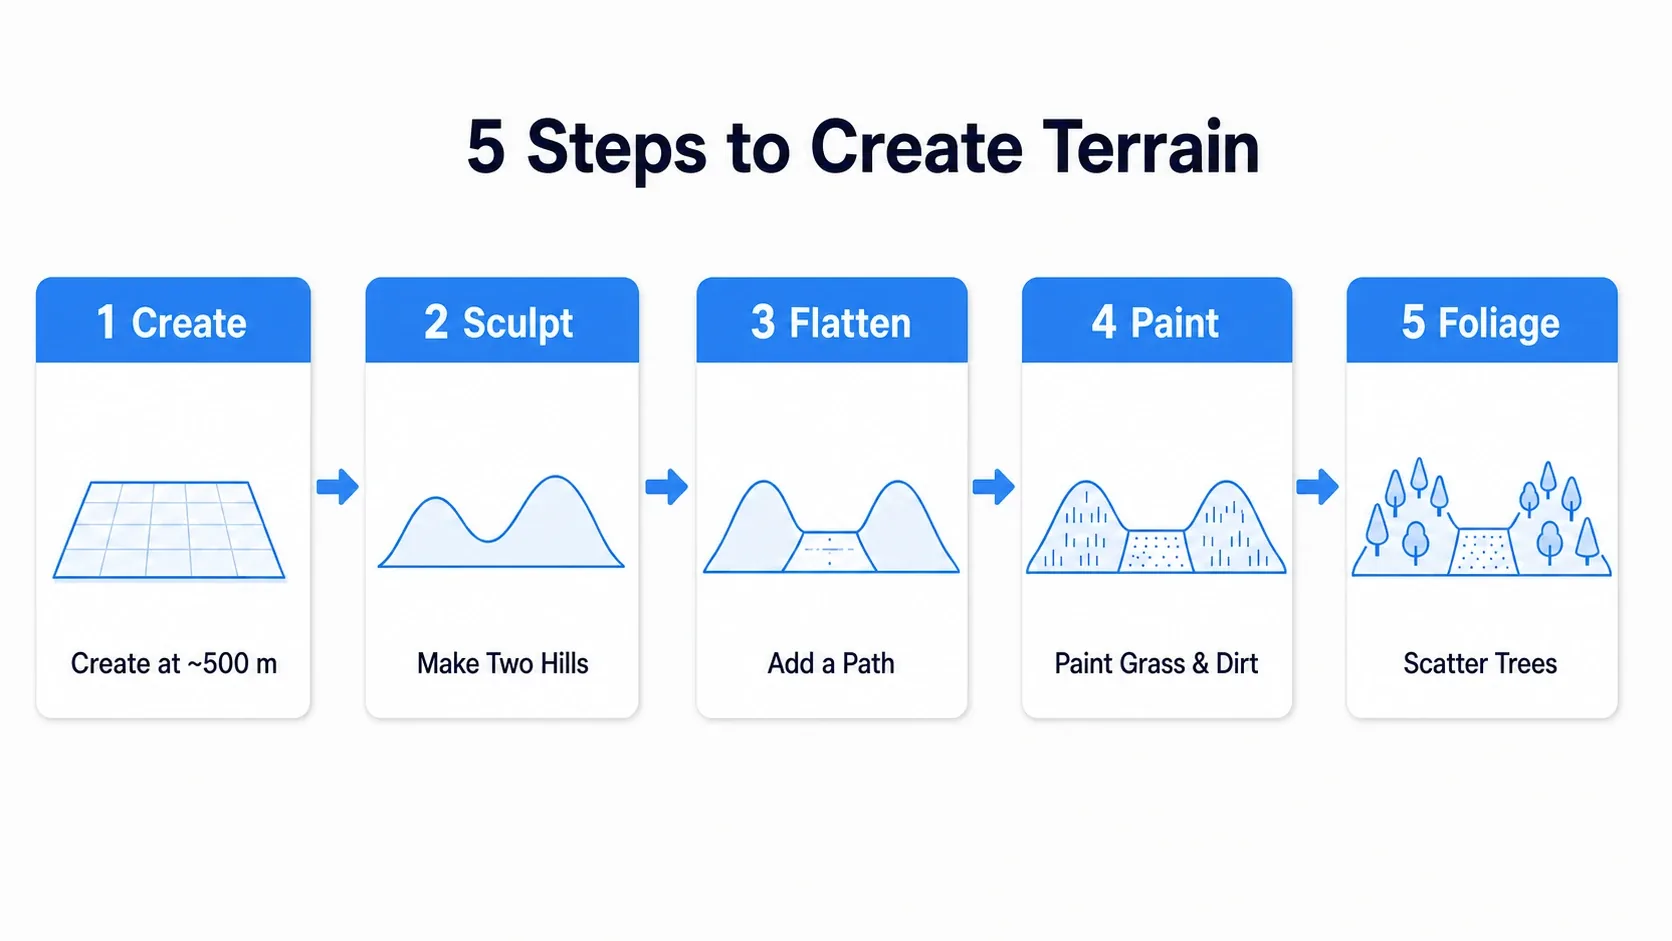
- Prep and create the Landscape: In a project with Starter Content, delete the existing floor or move it clear of the Landscape, and put the Player Start above the Landscape. Create a new Landscape around 500m per side (actual scale comes from Scale, default 100).
- Build the hills: Raise two spots with Sculpt and soften them with Smooth.
- Cut the path: Level the area between the two hills with Flatten to form the path's base. Ease any steep climbs with Ramp (place two points and Add Ramp).
- Paint the layers: Set up two layers, grass and dirt (Layer Name = Grass / Dirt), in the Landscape Material with Layer Blend, assign it to the terrain, and create a Layer Info (Weight-Blended Layer) for each. Lay grass across everything with Fill Layer first, then paint dirt only on the path.
- Scatter trees: Register a tree mesh in Foliage mode's Mesh List (with the Landscape filter enabled) and scatter along the path. Keep the density modest and set a Cull Distance.
- If you want AI walking on it: Place a Nav Mesh Bounds Volume covering the terrain and generate a NavMesh (press P to see the green). Actually moving an enemy also requires an AI Controller and a movement command like AI Move To.
Verify It
Hit Play and walk your character along the path. If it worked, you can follow the path between the hills, and only the path shows the dirt texture. Gentle hillsides are climbable; steep ones stop you.
If the path doesn't turn to dirt, you forgot to create the dirt layer's Layer Info. If you can't climb a hill, the slope is steeper than Walkable Floor Angle (45 degrees by default), so ease it with Smooth or Ramp. If enemies won't walk on the terrain, place a Nav Mesh Bounds Volume, generate the NavMesh, and press P to check that the green region covers the terrain.
Two things to take away.
- Always create Layer Info for a layer: Without it, you can't paint. Most "won't paint" trouble is exactly this. Create it as a Weight-Blended Layer
- Keep Walkable Floor Angle in mind for slopes: Hills you want climbable shouldn't exceed 45 degrees. Steep cliffs being unclimbable is correct
To make enemies navigate that terrain intelligently, combine this with NavMesh setup. Remember "edit the terrain, regenerate the NavMesh" and you'll stay out of trouble.
Bonus: Good to Know for Later
You don't need Landscape for small flat areas. For a flat arena or an interior, a Static Mesh floor is usually plenty, and it's lighter and easier to work with. That said, even a wide flat area calls for Landscape if you want to paint the surface or blanket it with Foliage. The dividing line is "is it a small, fully flat area?"
Once it gets big, reach for World Partition. Keep expanding terrain and loading it all at once gets expensive. UE5's World Partition automatically splits a large world and loads only what's nearby. To get proximity loading, though, you need Enable Streaming on an Open World level (World Partition enabled). Simply making the terrain larger doesn't switch it on automatically. For a genuinely large open world, this combination is the baseline.
Performance comes from LOD and culling. For both terrain and Foliage, the fundamentals are "coarser at a distance, don't draw what isn't visible." Tune Foliage's Cull Distance and the terrain's LOD settings and you get a scene that stays playable even when it's large.
Summary
Terrain comes together in three stages: carve, set up, paint.
| Stage | What you do | What you use |
|---|---|---|
| Carve | Shape hills, valleys, and paths | Landscape Mode's Sculpt (Sculpt / Smooth / Flatten / Ramp) |
| Set up | Bundle multiple grounds into one material | Layer Blend node (Layer Name: Grass / Dirt) |
| Paint | Make a ground appear where you paint | Paint tab + Layer Info assets (LI_Grass / LI_Dirt) |
Cover those three and a flat floor turns into a varied outdoor space. The biggest gatekeeper is a forgotten Layer Info (you try to paint and nothing lands), so don't skip that one.
What kind of terrain does your world need? Next, scatter some trees and cast some light on it (→ Lighting basics).