A new UE is out. There's a feature you want. But the thought of upgrading a project in progress and breaking it stops you cold.
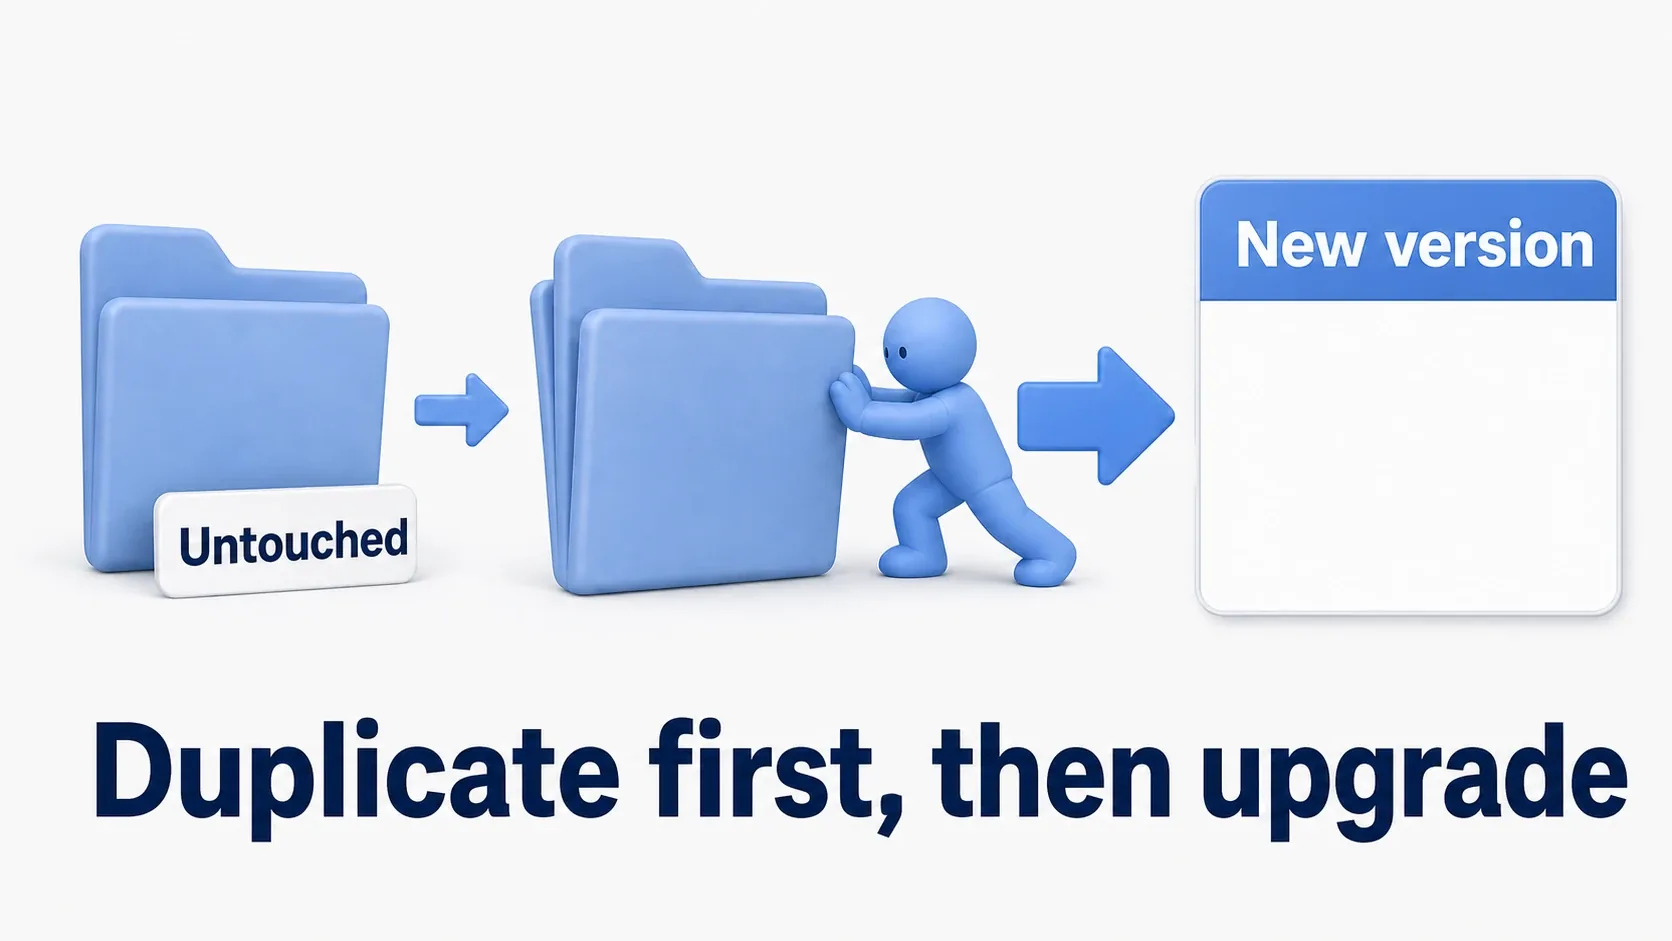
UE ships a new major version roughly twice a year. Over the length of a typical solo project, spanning two or three generations isn't unusual. The upgrade itself isn't hard — but whether you set up a way back before you start changes everything. This article covers how to decide, the duplicate-first procedure, what to check right after opening, and the common ways things break.
What You'll Learn
- How to decide whether to upgrade or wait
- The duplicate-first rule
- Upgrading with
Switch Unreal Engine Version- What to check in the Output Log right afterward
- Common breakages (deprecated nodes, disabled plugins, materials)
- Hands-on: upgrading one version and fixing what breaks
Upgrade, or Wait?
Start from this: not upgrading is a legitimate choice. A project that works doesn't need to move without a reason.
There are really only two reasons to upgrade.
- There's a new feature you want (a rendering feature, an animation feature)
- You're hitting a bug in your current version that you know is fixed in the newer one
The cases where you shouldn't upgrade are just as clear.
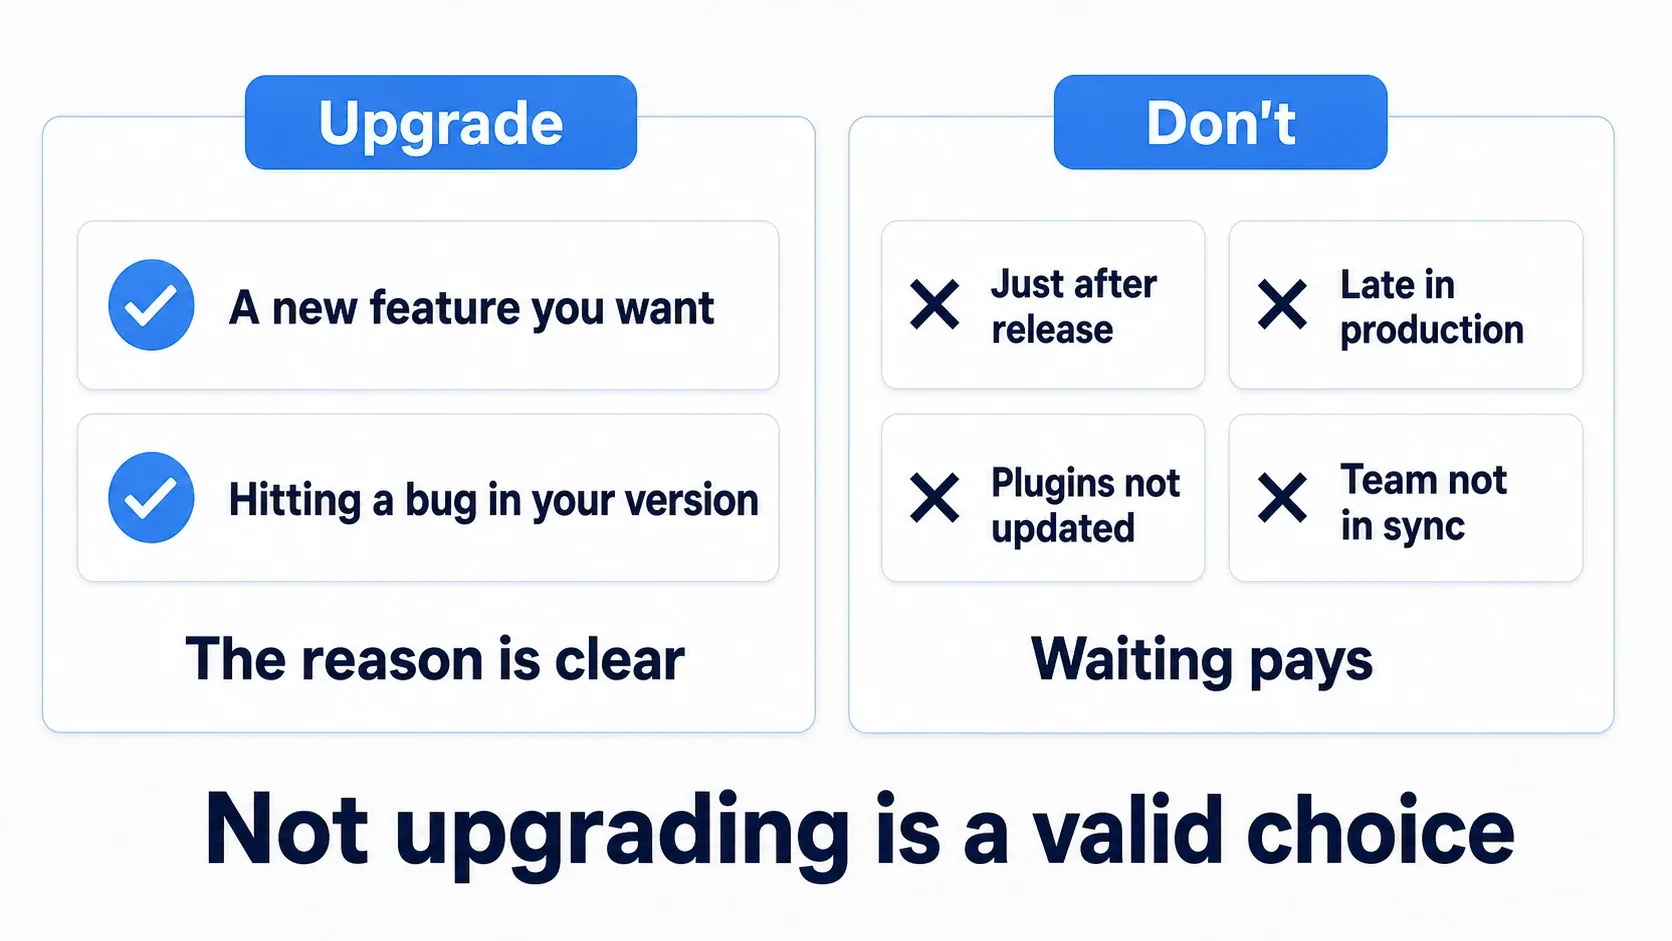
| Situation | Call | Why |
|---|---|---|
| Just after a new release | Wait | Early releases can still have issues. A patched version follows shortly |
| Late in production / near release | Don't | The cost of breaking and re-verifying outweighs what you gain |
| You use paid plugins | Check each plugin first | An unsupported plugin takes its whole feature down with it |
| You're on a team | Move together | If one person upgrades, others can't open the project |
The plugin check is the one people skip. Assets and plugins from Fab list their supported versions. Write down what you're using and confirm every one supports the new version before you commit to it.
Before You Upgrade
This is the backbone of the whole article. Do these two things and nothing that happens can hurt you.
- Commit — if you have source control, make one commit before you start. Plant a flag labeled "right before the upgrade"
- Duplicate the project folder — copy the whole folder and upgrade the copy. Don't touch the original
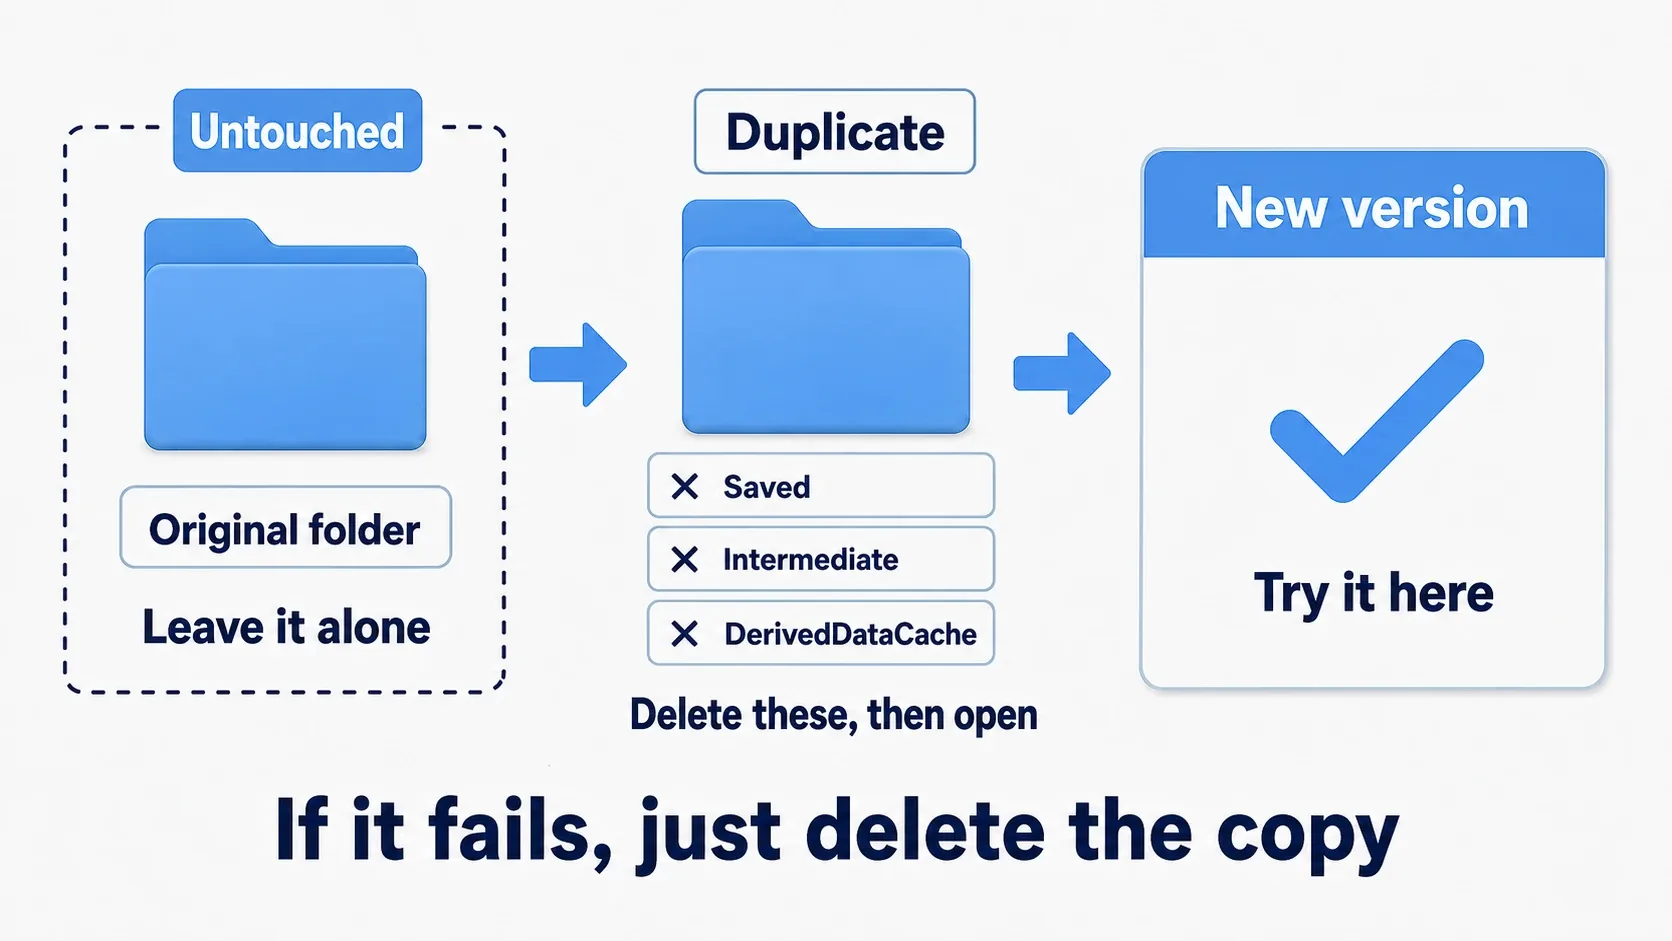
With a duplicate in hand, recovery is "delete the copy." Having that safety net changes how much you're willing to try.
Once duplicated, delete three folders before opening it.
| Folder | Contents | Safe to delete because |
|---|---|---|
Saved | Temp files, logs, autosaves | The engine rebuilds them |
Intermediate | Build intermediates | Same |
DerivedDataCache | Shader and other caches | Same |
These are caches built by the old version. Leaving them in place while opening in a new one is a reliable source of hard-to-diagnose problems. Delete them and the new version regenerates everything (the first launch takes a while).
Never delete
Content,Config, or the.uproject. That's the part you actually made. The same sorting logic appears in the.gitignoresection of the initial setup article.
Doing the Upgrade
Install the new engine from Epic Games Launcher → Unreal Engine → Library. You don't need to remove the old one. Multiple versions can coexist.
Once it's installed, right-click the duplicate's .uproject file.
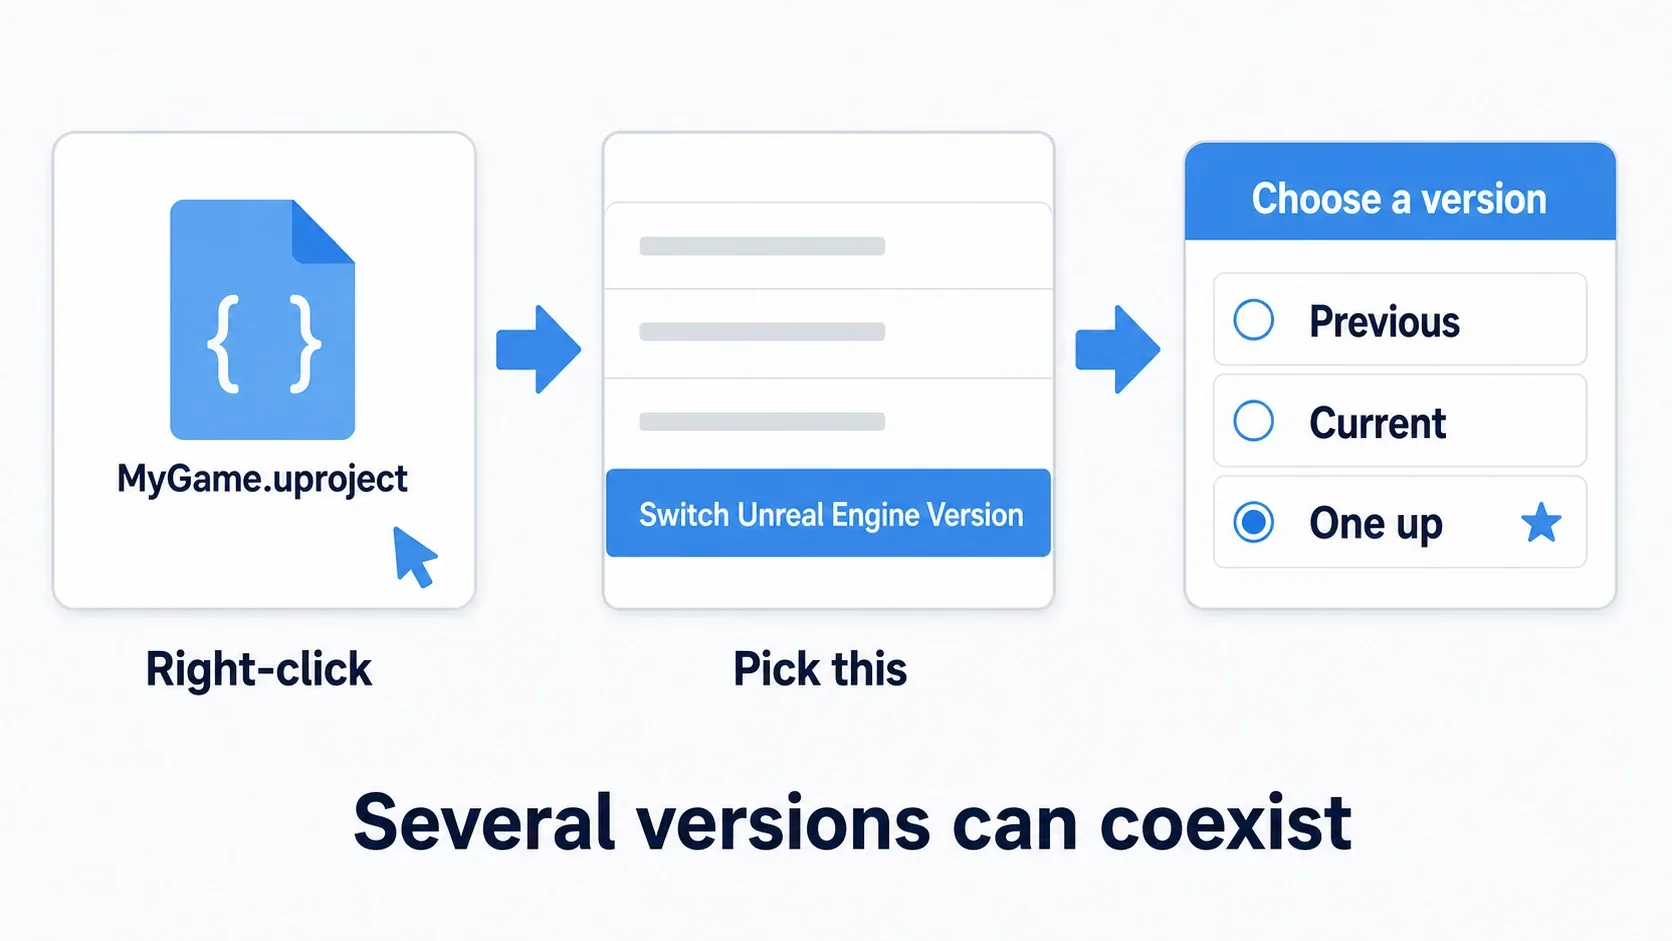
Choose Switch Unreal Engine Version and you get a list of installed versions. Pick one and confirm, and the engine version recorded inside the .uproject is rewritten.
Then just double-click the .uproject as usual. The first launch spends a long time recompiling shaders (tens of minutes on a larger project). It can look frozen; as long as there's a progress readout, let it run.
The other way. If you try to open the project from a newer editor, it may offer to make a copy or convert it. Choosing make a copy does the duplication and the switch in one step. Either route lands in the same place.
What to Check Right Afterward
Opening successfully doesn't mean you're done. A broken project still opens just fine.
The places to look are fixed.
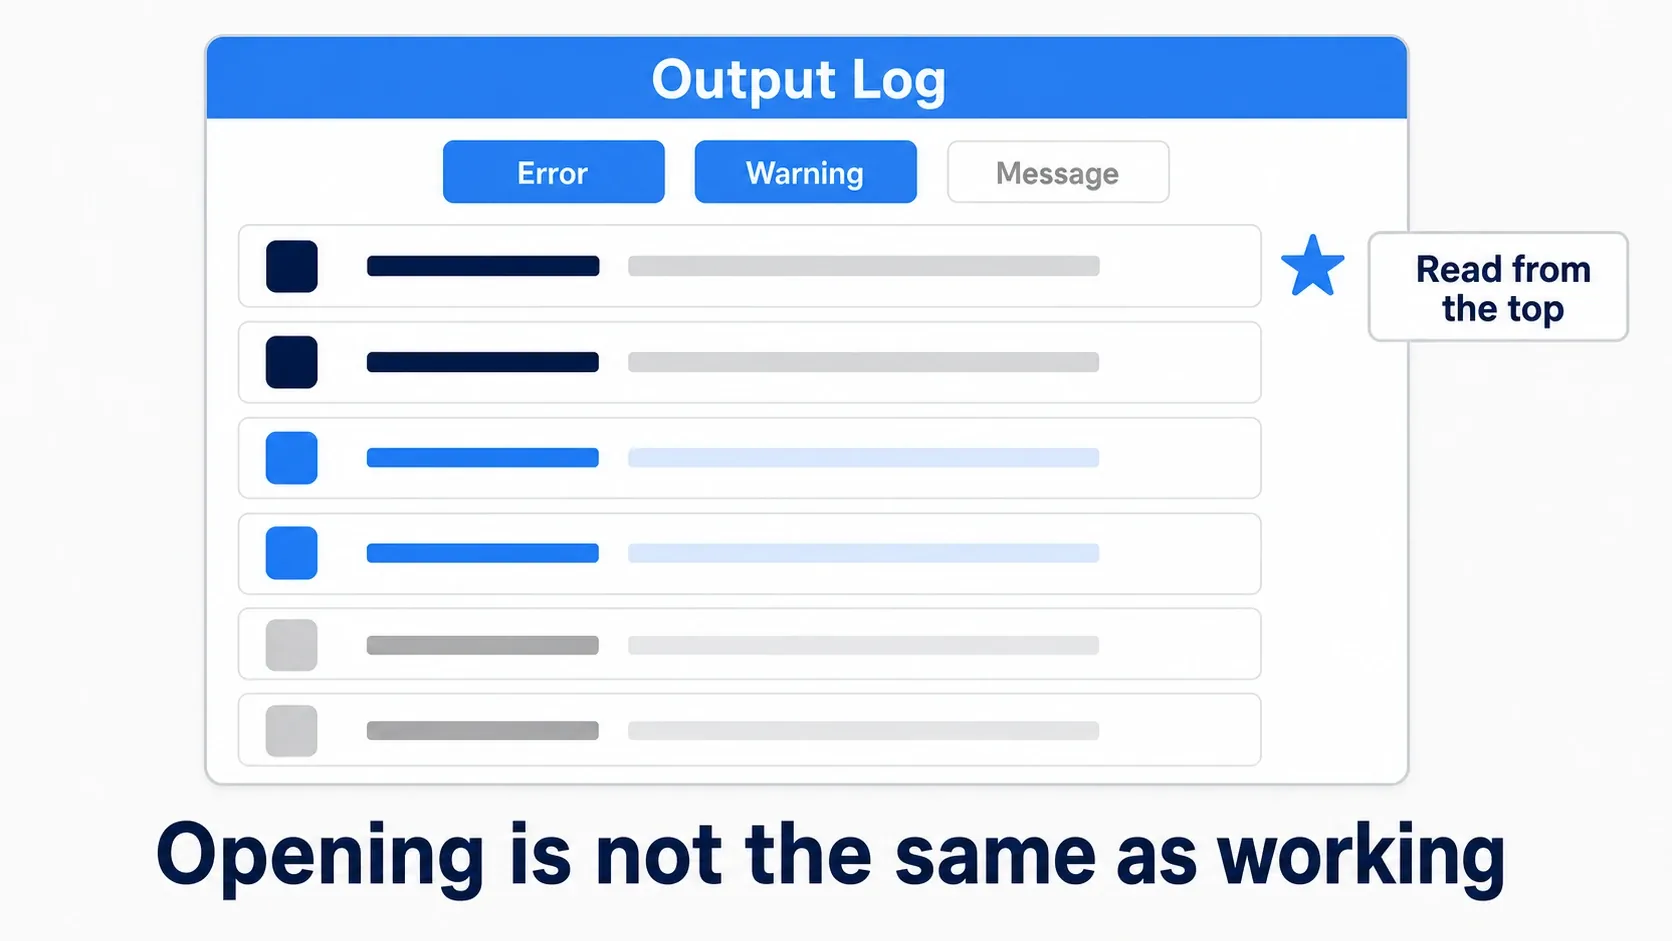
- Output Log (
Window → Output Log), filtered to Error and Warning — read from the top. Same reading skills as Print String and the Output Log - Plugins (
Edit → Plugins) — anything disabled? Plugins without support for the new version are turned off automatically - Blueprint compilation — run
Asset → Compile All Blueprintsand see what errors - Visuals — open a level and check that materials and lighting look the way they did
1 and 3 matter most. If they come back clean, the upgrade almost certainly landed.
And finally, always Play through it. Compiling and behaving the same are two different claims.
Common Breakages
What you see after an upgrade falls into roughly four buckets.
| Symptom | Cause | Fix |
|---|---|---|
| A node turns red or disappears | It became deprecated | The Output Log warning usually names the replacement node. Swap it in |
| A whole feature does nothing | A plugin got disabled | Check its state in the Plugins window. If unsupported, wait for an update or find an alternative |
| The visuals changed | A rendering default changed | Compare the relevant project settings against the old version's values |
| C++ won't build | The API changed | Read the error line and match the new function name or signature |
Deprecated nodes are by far the most common. UE doesn't delete old nodes outright; it marks them deprecated and warns for a while first. Swap them out during that window and you won't be caught when they're finally removed.
When visuals change, don't rush to revert. The new default is sometimes the more correct one. Identify what changed first, then decide deliberately whether to put it back.
Hands-On: Upgrade One Version and Fix It
A short horror prototype, a roguelike testbed, a portfolio showcase. Upgrading a work in progress follows the same steps at any scale. Let's run it end to end.
What you need
Use the project you're actually working on. If you don't have one handy, make a new Third Person template project and add one Blueprint of your own (a project with nothing in it can't break, so it teaches you nothing).
| Item | Details |
|---|---|
| Project | Third Person template + at least one Blueprint you made |
| Engines | Your current version and one version up, both installed |
Steps
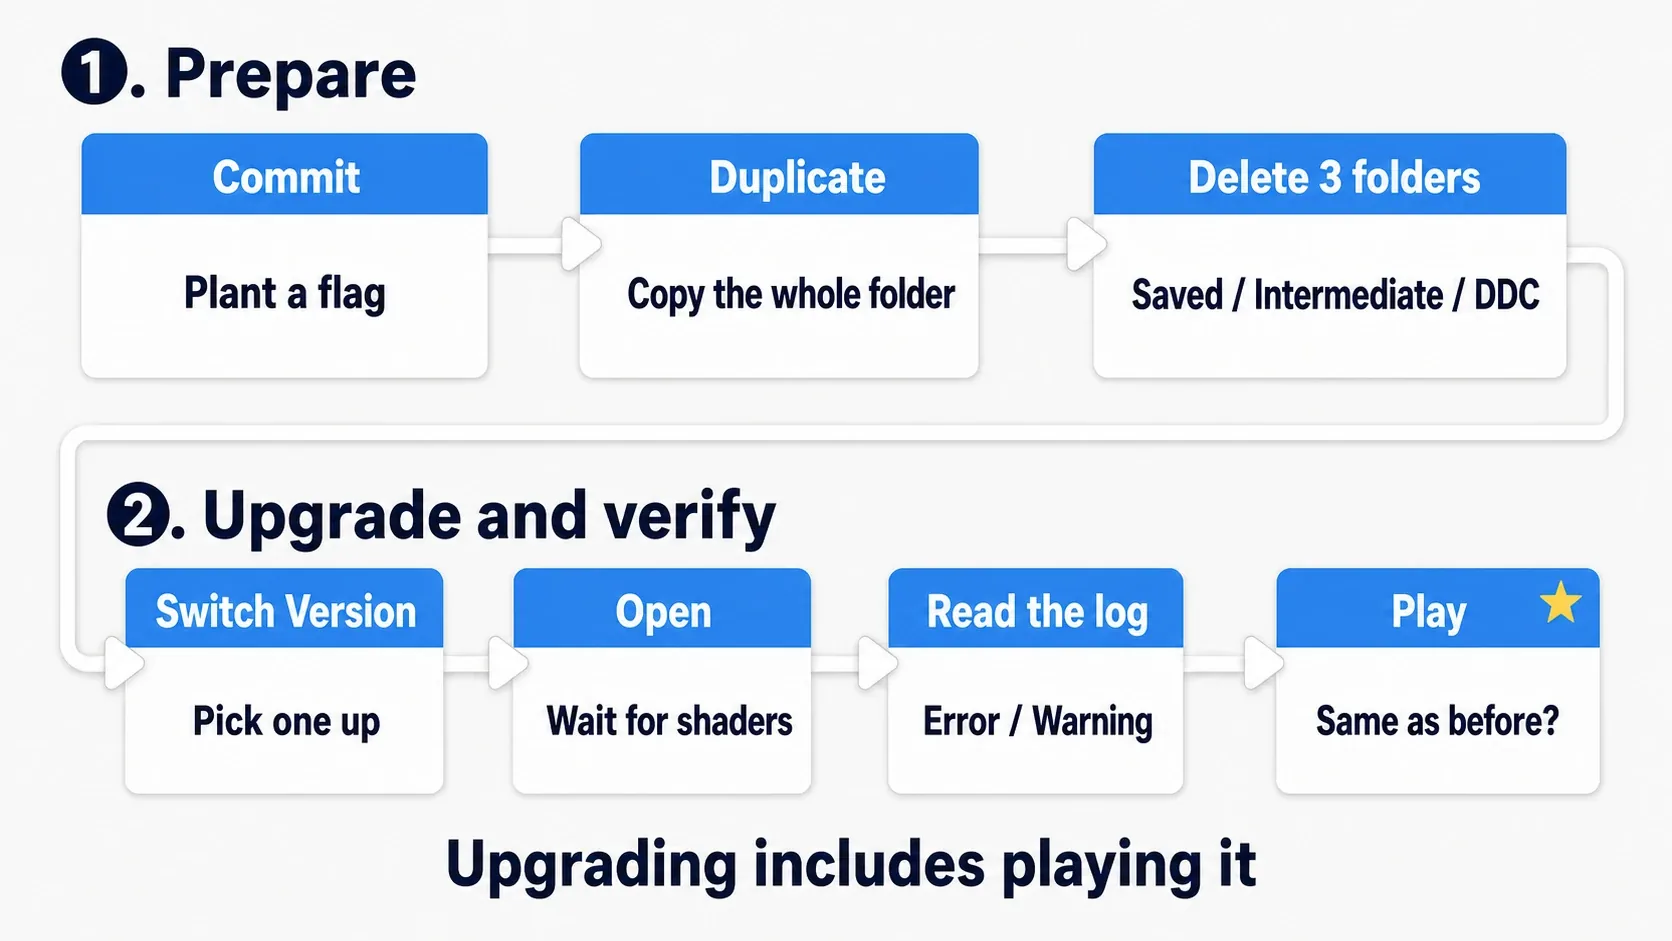
- Commit (if you have source control)
- Duplicate the whole project folder, naming it something like
MyGame_5xxso the target version is obvious - Delete
Saved/Intermediate/DerivedDataCacheinside the duplicate - Right-click the duplicate's
.uproject→Switch Unreal Engine Version→ pick one version up - Double-click the
.uprojectto open it. Wait out the shader compile - Open the Output Log, filter to Error and Warning, and read from the top
- Run
Asset → Compile All Blueprintsand open anything that errors - Play and confirm it behaves as before
Checking it
If it worked, the Output Log has zero Errors, all Blueprints compile, and Play behaves exactly as before. The template character runs and jumps, and your own Blueprint reacts the way it always did.
Troubleshooting:
- A Blueprint has red nodes → Deprecated nodes. Select one, read the Output Log warning, and swap in the replacement
- A whole feature is unresponsive → Check
Edit → Pluginsfor a disabled plugin - Nothing works and you're stuck → Delete the duplicate. The original is untouched. Try again once the version has matured
A crash on open doesn't narrow to one cause. Work down this list in order.
- Read the log — the end of the newest file in
Saved/Logs, plus whatever the Crash Reporter is showing. The answer is often written right there - Suspect a plugin — a plugin without support for the new version can die during startup initialization. Open the
.uprojectin a text editor and temporarily disable the suspect entry ("Enabled": false) to isolate it - Check the build if it's a C++ project — an API change may mean it isn't compiling. Build in Visual Studio and read the errors
- Clear the caches — delete
Saved/Intermediate/DerivedDataCacheand reopen (if you skipped step 3 earlier, this is where it resolves) - Isolate an asset — if it still crashes, move parts of
Contentaside to narrow down which asset is responsible
The worst thing you can do is guess at the cause and try things at random. Reading the end of the log is always the shortest path (→ Print String and the Output Log).
Two things to take away.
- Never touch the original folder: keep the entire upgrade inside the duplicate. As long as you do, the worst outcome is a wasted afternoon
- Upgrading includes playing: compiling and behaving the same are separate claims. Make "play through it" part of the procedure
Afterward, it's worth confirming that packaging still succeeds on the new version too (→ Packaging and Builds).
Bonus: Good to Know for Later
Don't skip versions. If you're two or more generations behind, you can jump straight to the latest — but if it breaks, you won't know which version broke it. Upgrade one, Play, upgrade one, Play. It finishes sooner.
Keep several versions installed. Engines coexist happily (at the cost of disk space). Don't uninstall the old one right away. When something goes wrong in the new version, being able to open the old one and compare is invaluable.
Source builds are a different story. If you build the engine from GitHub source, the process differs from what's here. For solo development, the Launcher builds are the practical route.
"Suspect the version difference first" really does pay off. You followed the tutorial exactly but the node doesn't exist, or the setting is somewhere else — the prime suspect is the gap between the version in the tutorial and yours (→ Beginner Roadmap).
Summary
Laid out in order, upgrading comes down to this:
- No reason, no upgrade. Avoid right-after-release and late production
- Commit, then duplicate. Only the duplicate gets upgraded
- Delete
Saved/Intermediate/DerivedDataCachebefore opening - Check Output Log Errors and Warnings, Compile All Blueprints, and Play
- If it fails, delete the duplicate. The original is fine
The only real overhead is making that copy — and it lowers the barrier to trying enormously. Is there a feature in the newer version you've been wanting to use?