The first time you launch UE, the screen full of windows, buttons, and panels is overwhelming. But out of all of that, there are only four panels you need to learn first. The basic workflow is just one cycle repeated: place things in the viewport, select them in the outliner, configure them in the details panel, and manage them in the content browser.
This article covers the roles of those four panels and the essential shortcuts, and finishes with a hands-on "photo set" build that runs through all four.
What You'll Learn
- The roles of the four main panels to learn first
- Camera control with right-click + WASD, and object control with W/E/R/F
- The habit of fixing up redirectors so moving assets doesn't break references
- A hands-on run through all four panels: "build a photo set"
The Editor Has Four Main Panels
The UE editor is a collection of panels, one per job. Learn just these four and your day-to-day work starts flowing.
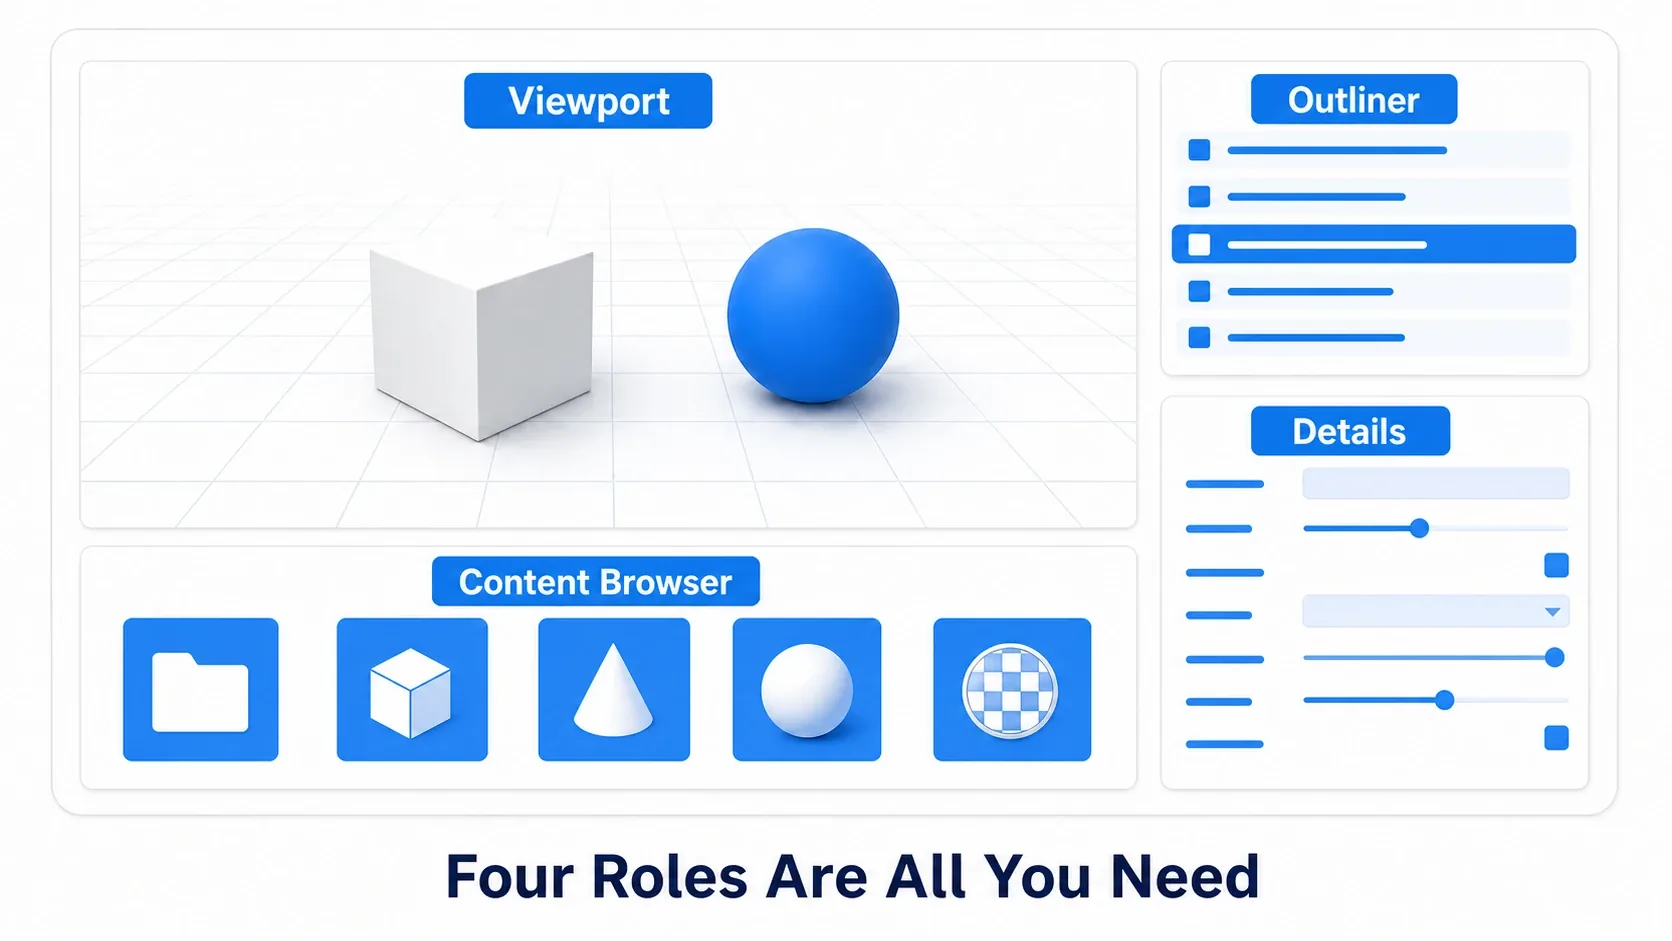
| Panel | Role | First Things to Learn |
|---|---|---|
| Viewport | The 3D work area. Edit and check how the level looks | Moving the camera, placing/moving/rotating/scaling Actors |
| Outliner | A list of every Actor in the current level | Selecting Actors, organizing folders, searching |
| Details panel | Edit the properties (settings) of the selected Actor | Typing in position and rotation values, adding components |
| Content Browser | The warehouse for all project assets (models, textures, Blueprints, and so on) | Importing, organizing folders, drag-and-drop placement |
One thing to know up front: the Content Browser isn't on screen by default. In UE5 you press the Content Drawer button on the bottom bar (shortcut Ctrl + Space) and it slides up like a drawer. Click anywhere else and it tucks itself away again. That's what's happening when "the warehouse I just opened disappeared" or "it closed the moment I tried to drag something out."
When you want it to stay open, press Dock in Layout at the top right of the drawer. It then sticks around as the fourth panel, exactly like the table above.
Note: The panel that was called "World Outliner" in UE4 was renamed to "Outliner" in UE5. If an older tutorial mentions the World Outliner, it's the same thing.
Viewport Controls
The viewport is the center of UE development. How comfortable you are here directly sets how fast you improve.
Camera Control: Right-Click + WASD
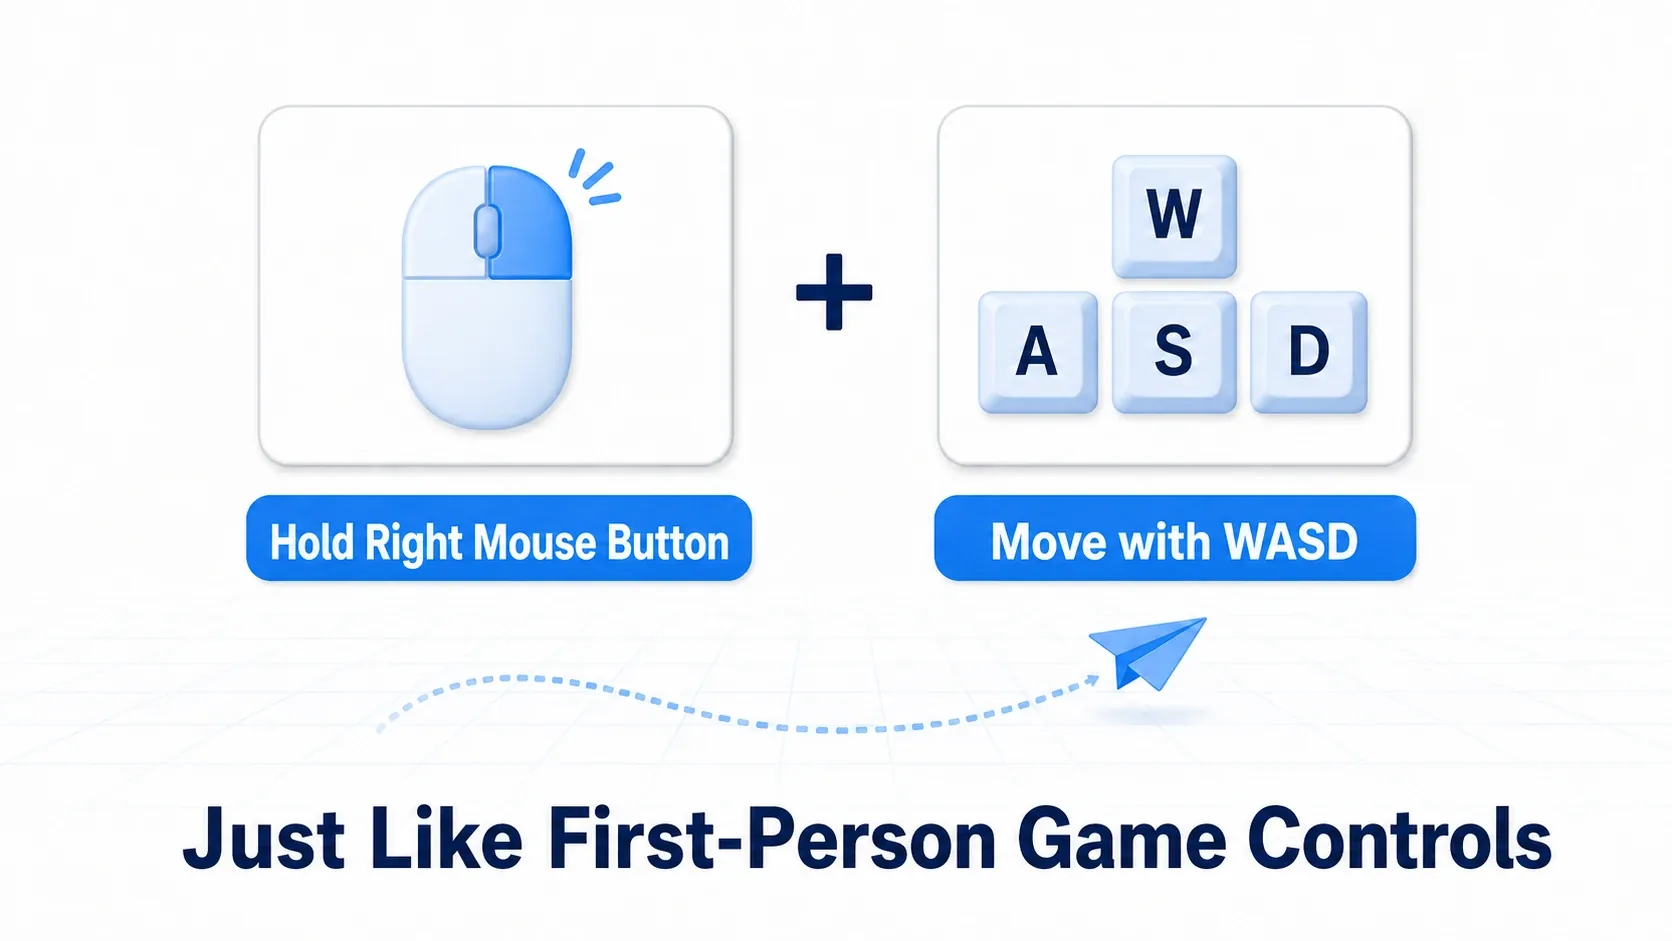
- Move the view: hold the right mouse button and press
W(forward),S(back),A(left),D(right) - Rotate the view: hold right-click and move the mouse
- Adjust movement speed: hold right-click and scroll the mouse wheel. You can also adjust it with Camera Speed in the top-right of the viewport
It feels exactly like controlling a first-person game. If you've played games, it'll be in your hands within five minutes.
Object Control: W, E, R, F
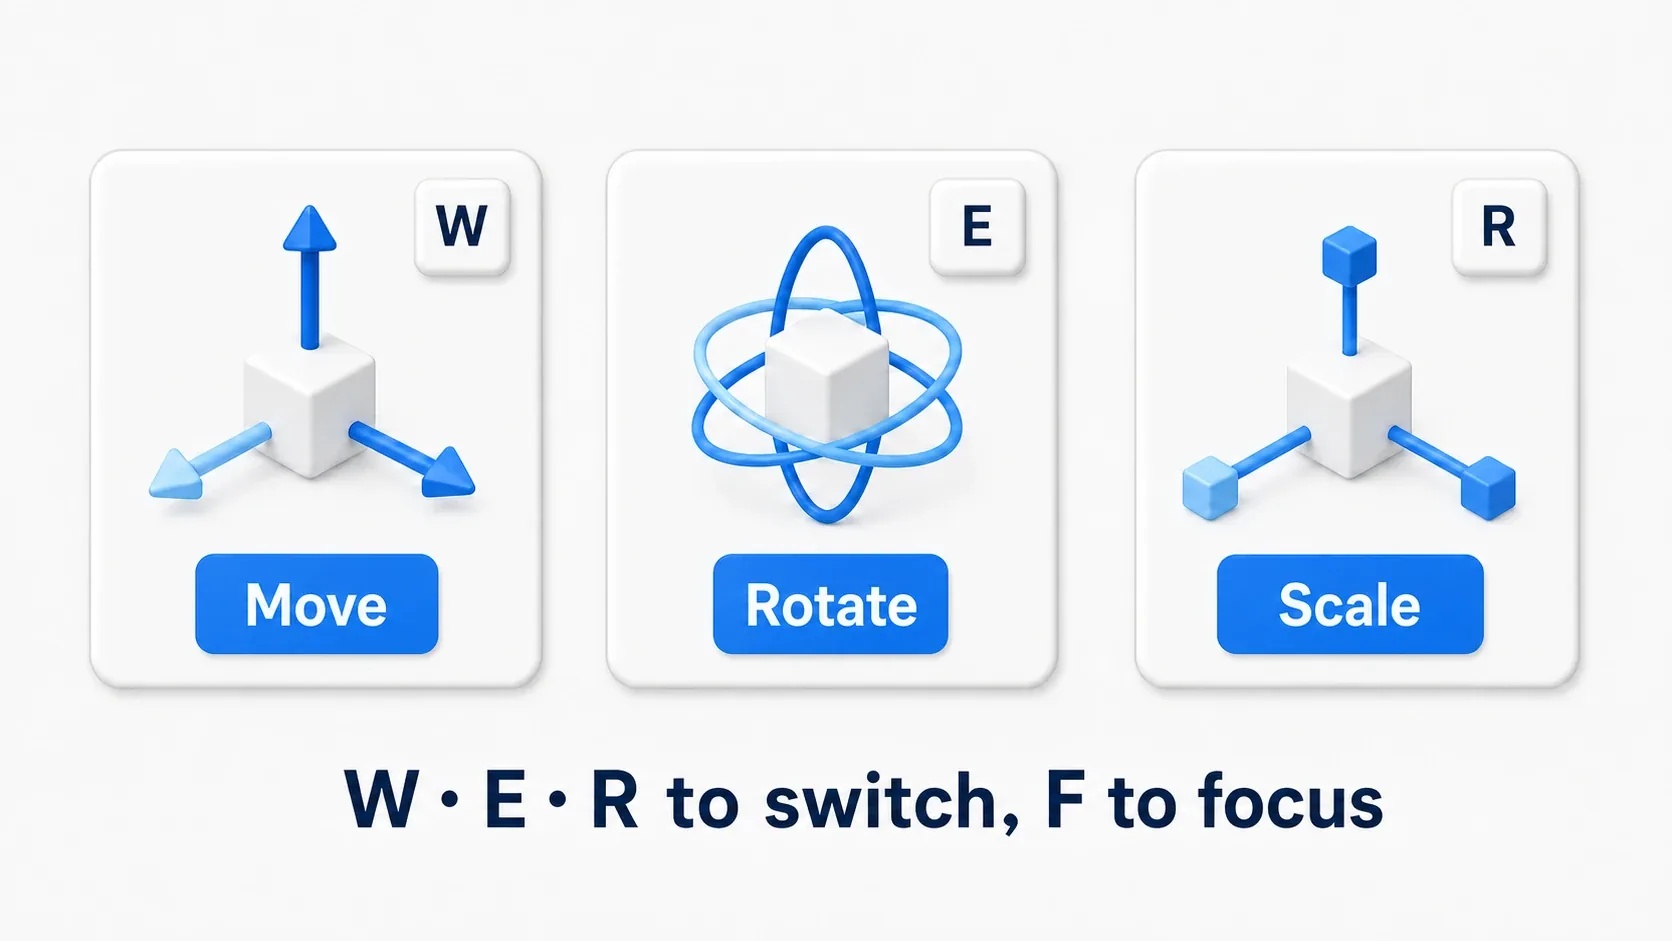
| Action | Key | Notes |
|---|---|---|
| Translate | W | Move with the three-axis arrow gizmo |
| Rotate | E | Rotate with the three-axis ring gizmo |
| Scale | R | Resize with the gizmo that has cubes on its ends |
| Focus the view | F | Instantly move the camera to the selected Actor. Use this whenever you get lost |
Three more small tricks worth learning alongside them.
G= game view: editor-only icons and gizmos disappear so you can check what the player will actually seeAlt+ drag orCtrl + D= duplicate: hold Alt while dragging the move gizmo to duplicate and place in one motionEnd= drop to the floor: snaps the selected Actor down onto the ground below it. Handy when you're rearranging props that ended up floating in mid-air
Grid snapping is on by default in UE5. Use the grid icon in the top-right of the viewport to toggle it and change the snap size.
Working with the Outliner and Details Panel
The outliner and the details panel are the "select" and "configure" pair. Small Actors that are hard to click in the viewport, or Actors stacked on top of each other, can always be selected reliably from the outliner.
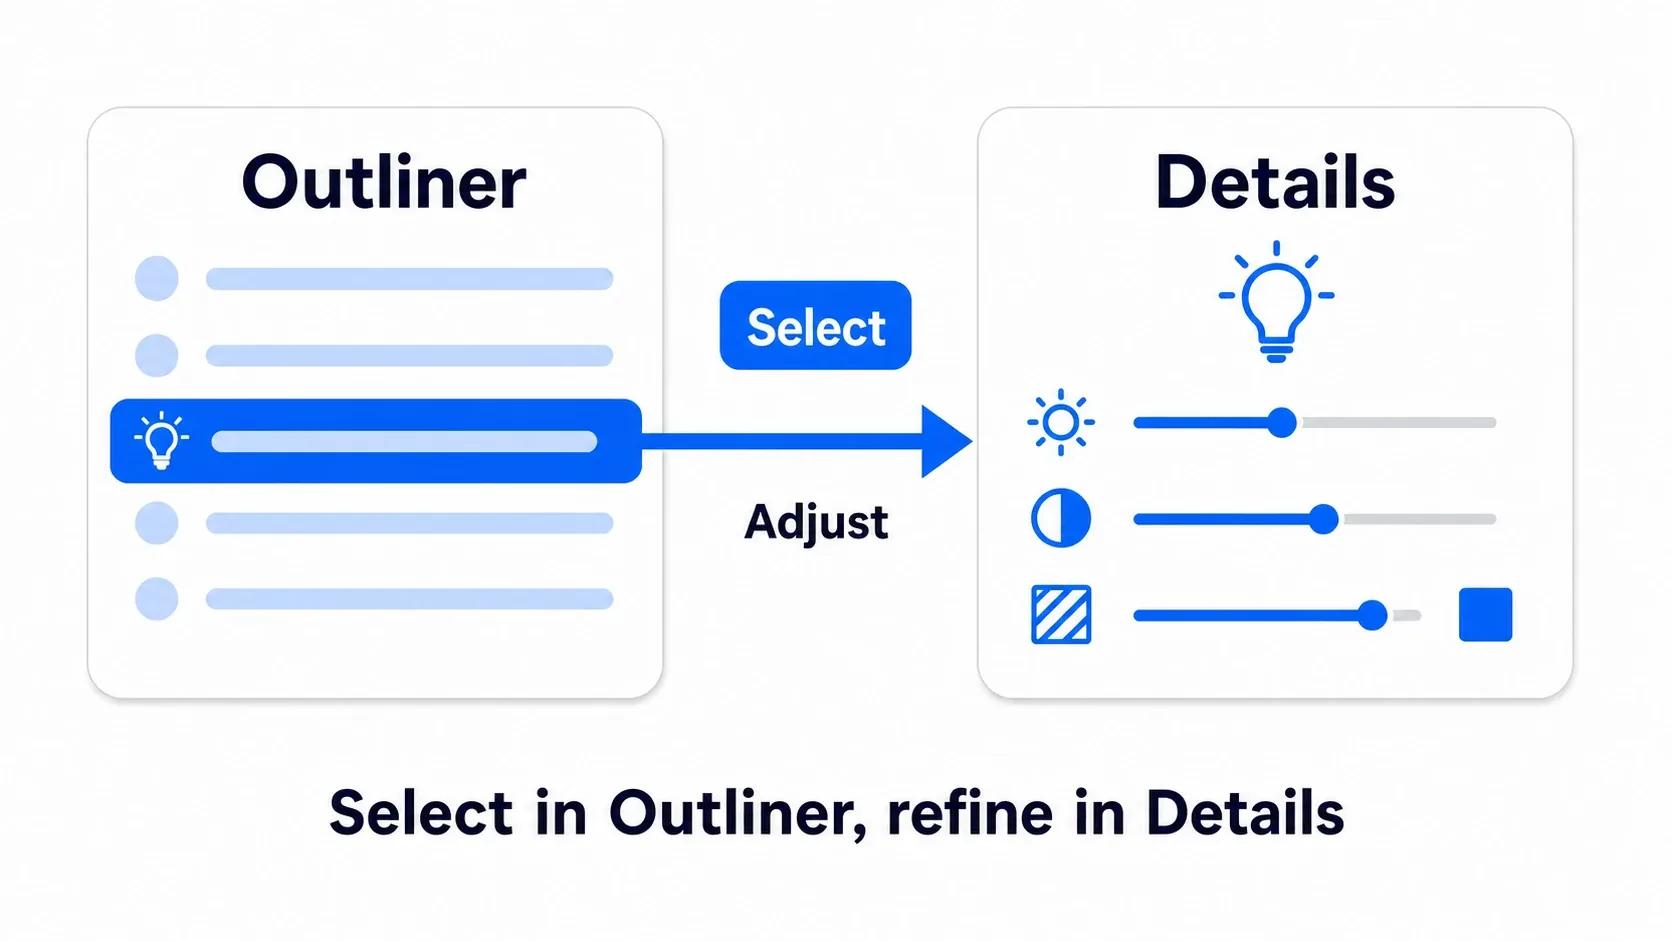
- Organizing the outliner: create folders like
Lights,Props, andCharactersand file Actors into them so you don't get lost as the count grows. The eye icon at the start of each row temporarily hides an Actor, which helps when selecting something buried behind others - The details panel search bar: when there are too many settings to find the property you want, typing
LocationorMaterialinto the search bar at the top of the panel is the fastest route - Adding components: use "+ Add" at the top of the details panel to attach parts such as lights or meshes to the selected Actor (→ How Actors and Components relate)
Making the Most of the Content Browser
The content browser is your project's warehouse. Let the organization here fall apart and you're headed straight for a broken project.
- Importing: use the "Import" button, or drag and drop from Explorer
- Organizing: sort assets into folders such as
Blueprints,Materials,Meshes, andTextures. Organization techniques including naming conventions are collected in Intro to asset management
The Most Important Warning: Move Without Breaking References
UE assets reference each other. If you move or rename files directly in Windows Explorer, those references break and your Blueprints and levels break with them.
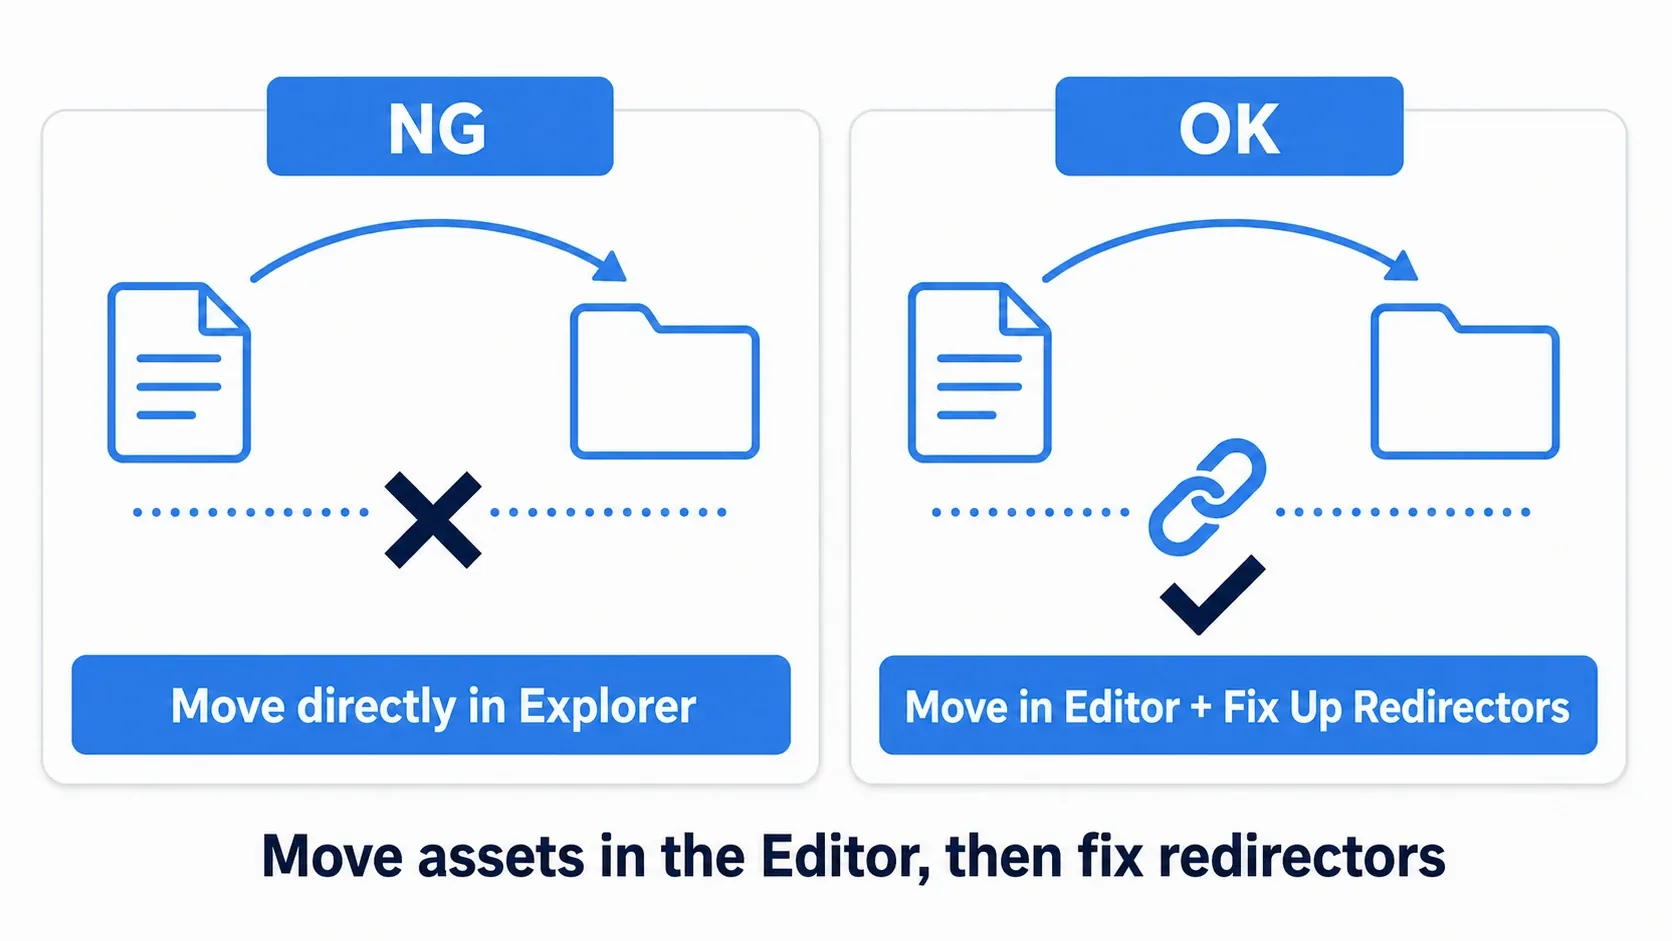
- The correct way to move: drag and drop inside the editor's content browser → right-click the source folder → Fix Up Redirectors In Folder to clean up the redirectors (the forwarding notes left behind)
Migrateis a different thing: it's for copying assets into another project. Don't use it for moving things within a projectForce Deleteis a last resort: it deletes regardless of references, so whatever referenced the asset breaks. Check the references first with the Reference Viewer (right-click → References)
Hands-On: Build a "Photo Set" Using All Four Panels
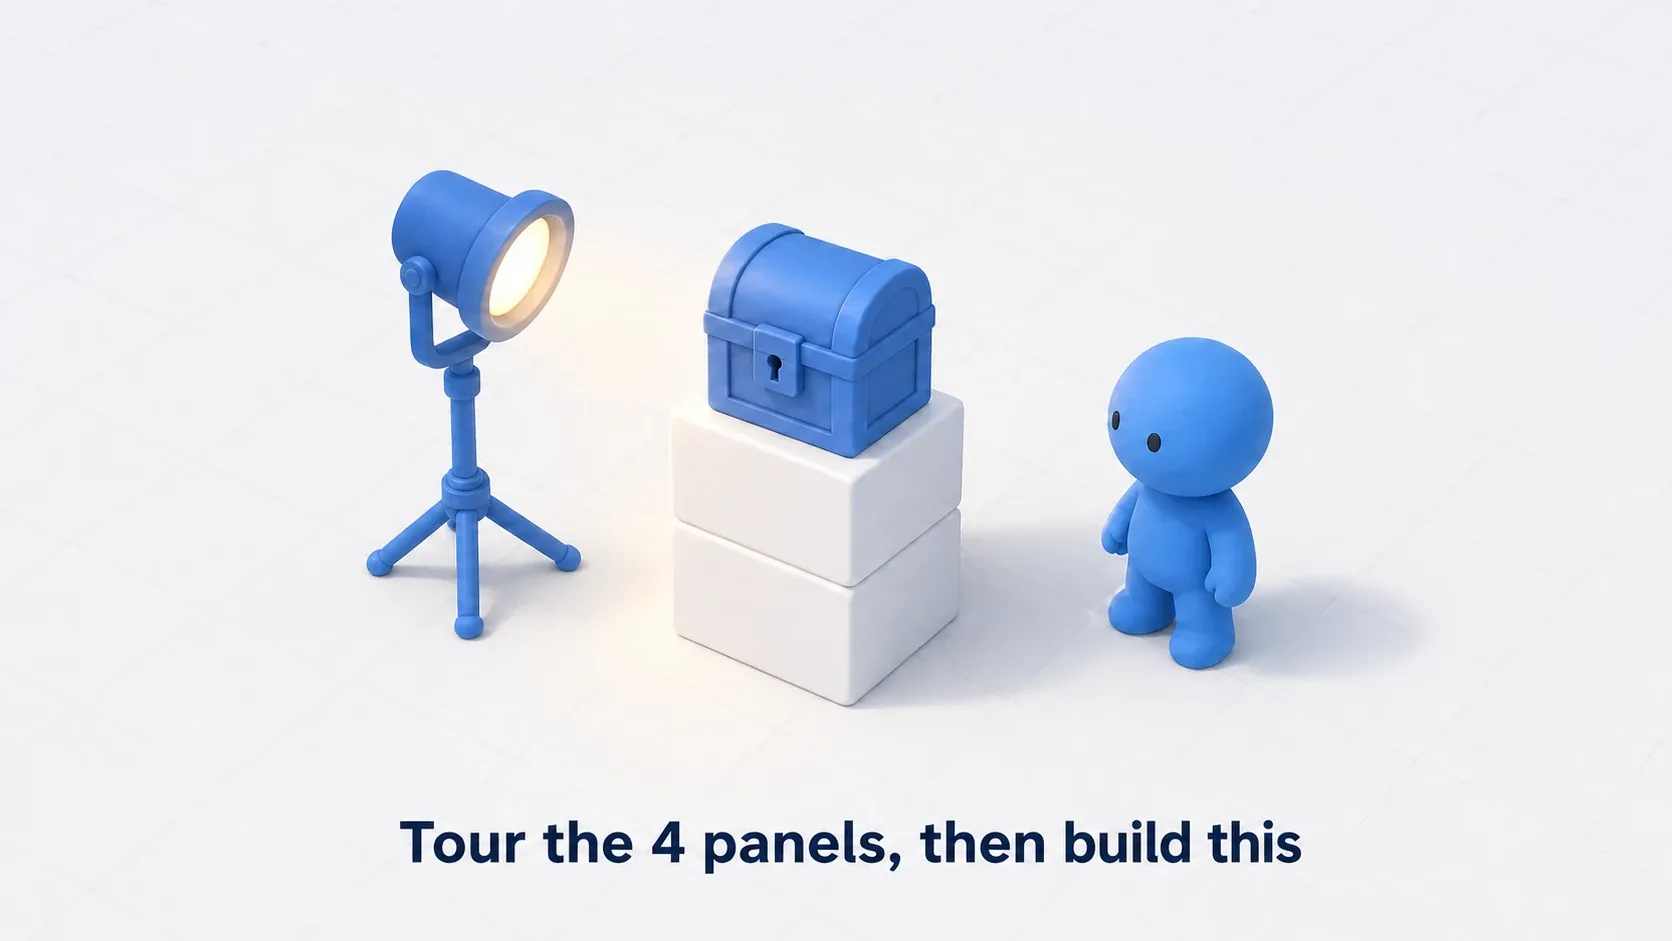
Reading alone doesn't teach your hands. Let's use everything so far to build a small photo set in ten minutes: a treasure chest on a pedestal, lit by a light. A treasure room in an RPG, an altar in a horror game, a product viewer. "Place it, light it, check it" is a basic move that works in any genre.
- [Content Browser] Create a new folder called
PhotoSet. Deciding "everything I make today goes here" before you start is the first step of staying organized - [Viewport] From the "+ Add" menu at the top, place a Cube, then adjust its position with
Wand its size withRto make a pedestal. Duplicate it withAlt+ drag and stack a second tier - [Viewport] From Shapes in the same Add menu, put a prop (a cylinder, for example) on the pedestal. If it ends up floating, press
Endto drop it. Once you want to build actual structures out of boxes and stairs, switch to the dedicated tool: Greyboxing with Modeling Mode - [Viewport] Add one light (Add menu → Lights → Point Light) and move it diagonally above the pedestal
- [Outliner] Select the Actors you've added and group them into the
PhotoSetfolder. Small, hard-to-click things like lights are reliably selected by clicking them in the outliner - [Details panel] Find the light's
IntensityandLight Colorwith the search bar and adjust them. Changing the color transforms the mood completely - [Finish] Press
Gto switch to game view and check "what the player sees" with the gizmos and icons gone
When it's done, press F to focus on the chest and circle around it with right-click + WASD. If the camera is starting to feel natural in your hands, you've already absorbed this article. If you can't see any effect from the light, check whether the view mode in the top-left of the viewport is set to "Unlit." Switch it back to "Lit" and the lighting shows up.
There are two points worth taking away.
- Learn it as a cycle: place (viewport) → select (outliner) → configure (details) → manage (content browser). However complex the job gets, it's this one cycle repeated
- Keep what you built: this set also works as material for checking "Actor and Component" in the flesh in the next article, UE5 core concepts
Bonus: Good to Know for Later
- Edits made during Play aren't saved: if you move an Actor while testing with the Play button (PIE), it snaps back the moment you stop. That's almost always the reason behind "my adjustments disappeared!" Stop first, then edit
- If you close a panel by accident: bring it back from the Window menu. If the layout gets messy, Window → Load Layout → Default Editor Layout restores the original state
- If you'd rather start by bringing assets in: with nothing of your own yet, grabbing one free asset is the fastest way forward (see Getting free assets from Fab)
Summary
- The editor comes down to one cycle: place in the viewport, select in the outliner, configure in the details panel, manage in the content browser
- The camera is right-click + WASD, objects are W/E/R plus F (focus). The
G,End, andAlt-drag tricks speed up your work - Always move assets inside the editor and make Fix Up Redirectors a habit
With a map of the editor in hand, set up solid footing next with Five settings to check right after creating a project, then learn to read what's on screen in words with UE5 core concepts.
That photo set you built today: what kind of mood do you think it takes on if you change the light color to sunset orange?