You've learned replication and gotten two-player working in two PIE windows. The next thought is naturally, "How do I connect this to a friend's PC?" But when you go to look into it, unfamiliar walls, Session, NAT, online subsystems, appear one after another, and you stall.
Online multiplayer is not something that "connects by wiring a few nodes together" . Between two PIE windows and real online, there are several walls of reality. This article first shows a map to prevent both discouragement and scope creep, and then, on that basis, actually builds within the range you can hands-on (a LAN lobby).
What You'll Learn
- The two walls between two PIE windows and real online (discovery and NAT traversal)
- Session is a "room": the three nodes Create / Find / Join
- The reality that the default Null Subsystem only finds within a LAN
- What changes when you add Steam (discovery, NAT traversal)
- EOS as a free option
- Hands-on: a lobby that hosts, finds, and joins a room within a LAN
What Lies Between Two PIE Windows and Real Online
Two PIE windows just run two games inside one PC and connect them directly. Real online has two walls standing in the way.
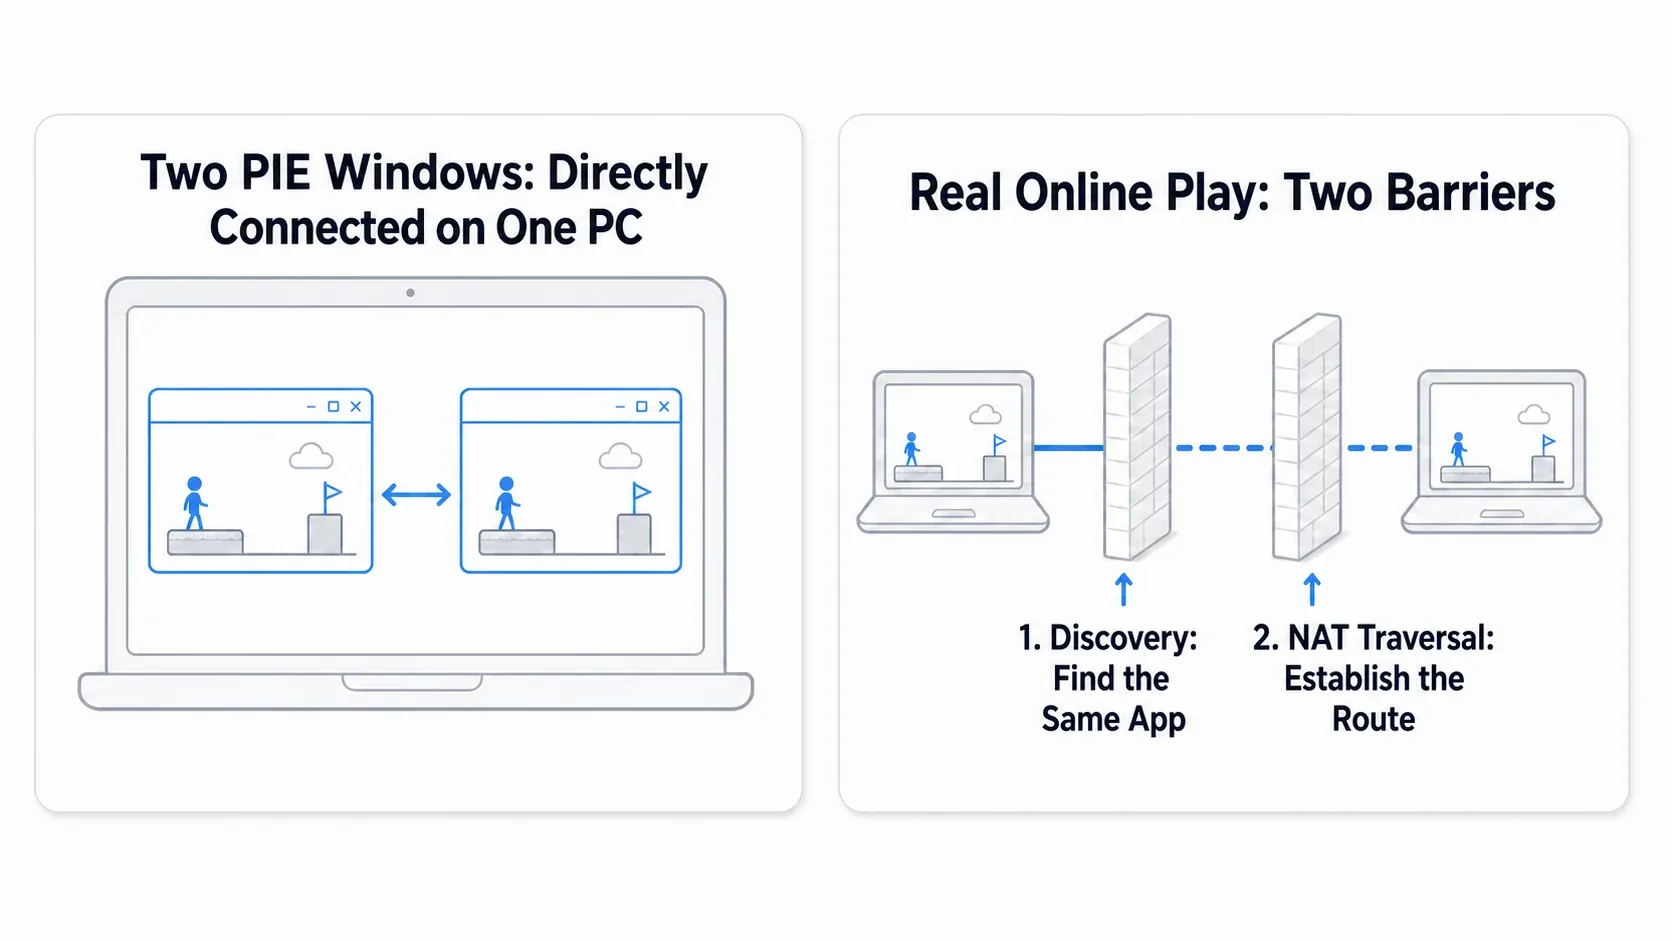
- Wall 1: Discovery (finding) — out of the countless games running worldwide, how do you find "your friend's room" ? This "mechanism to search for a room of the same app" is a Session
- Wall 2: NAT traversal (connecting) — supposing you found it, how do you directly connect PCs that are inside home routers (NAT)? This is the NAT traversal problem, and it usually needs an online subsystem's help
Building all of this yourself is beyond a solo developer's reach. That's exactly why online subsystems like Steam and EOS take these walls off your hands. First, get down that there are two walls: "discovery = Session" and "connecting = NAT traversal".
Session Is a "Room"
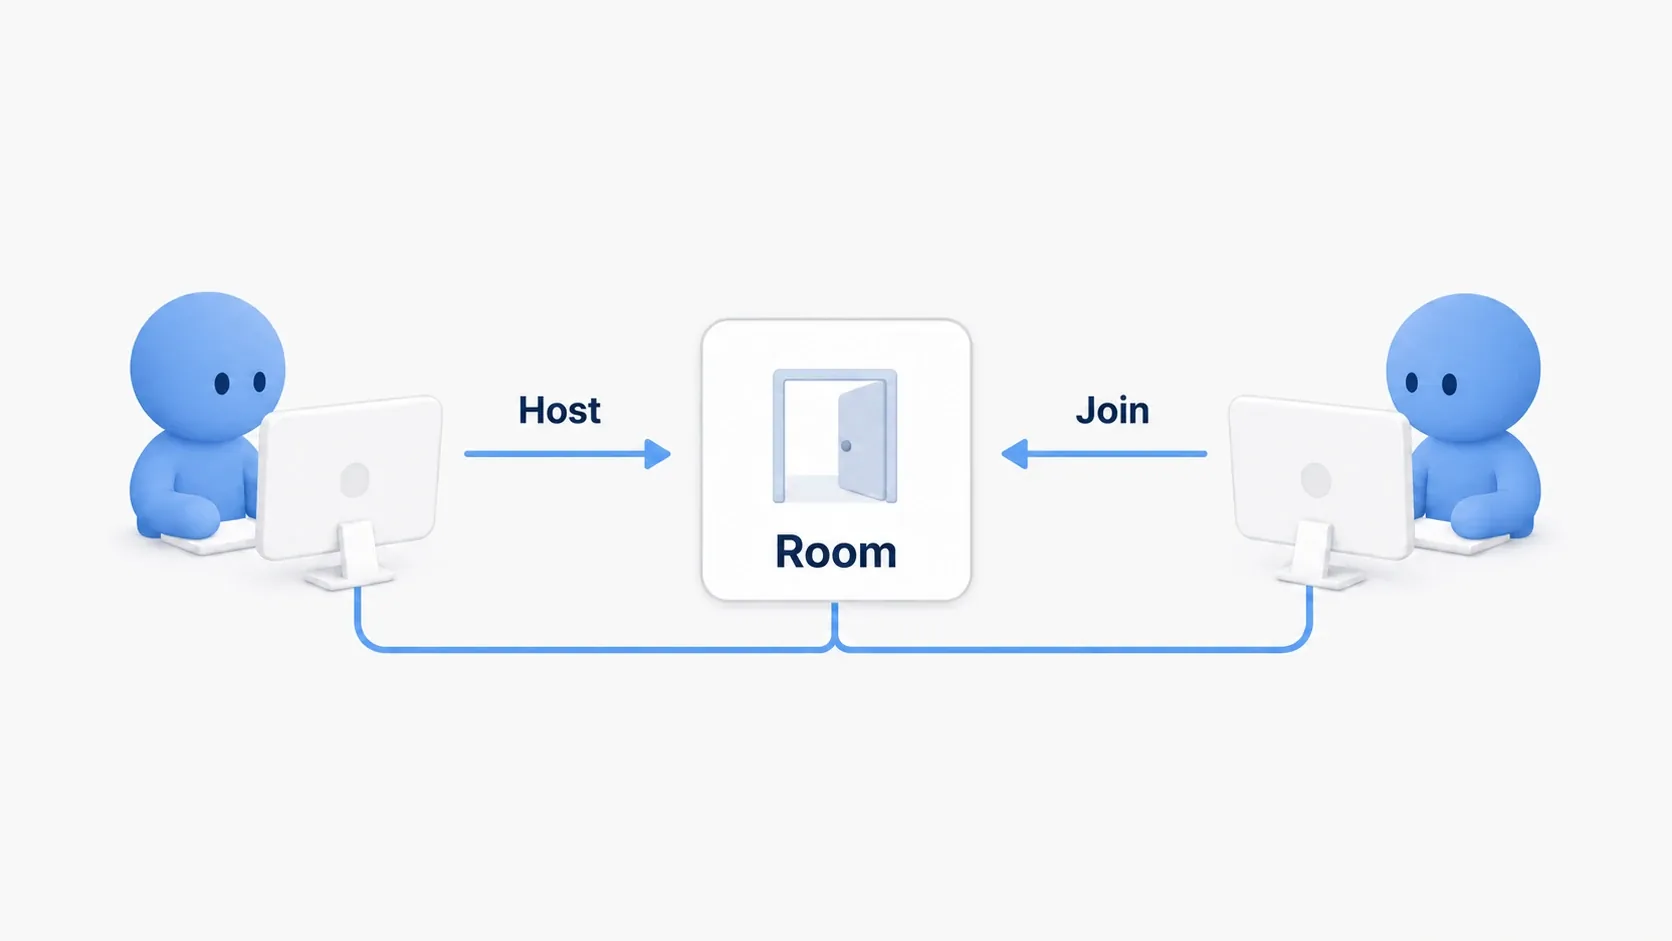
A Session is the concept corresponding to a "room" in online multiplayer. The host sets up a room, and joiners find and enter it. Blueprint provides async nodes for this operation.
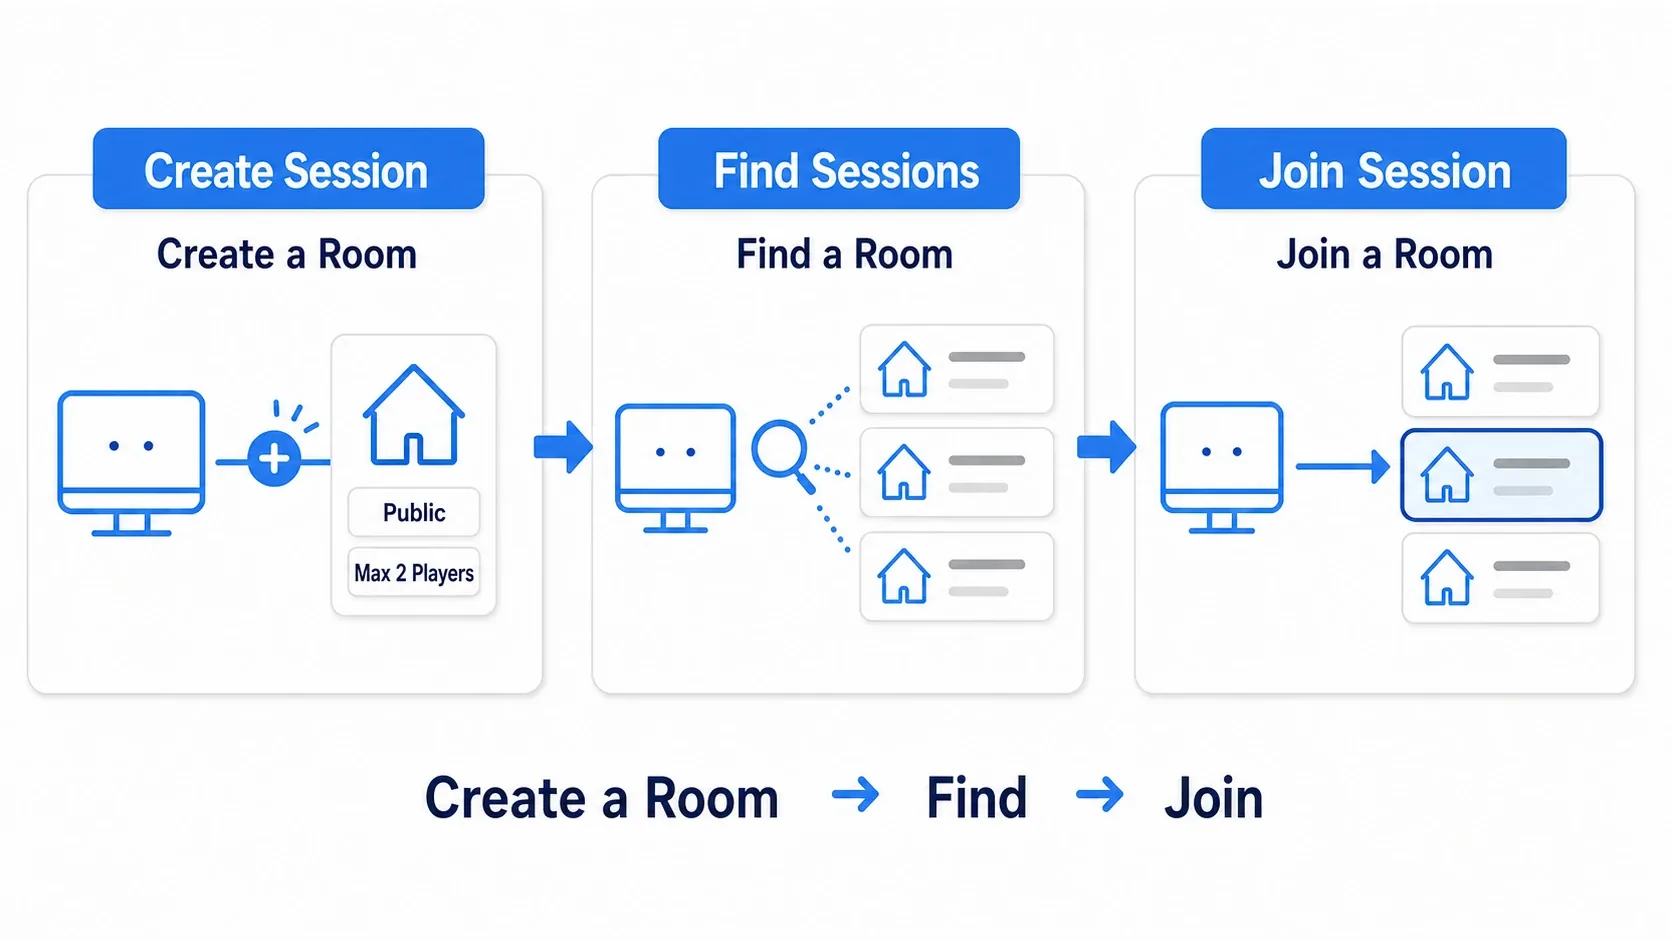
- Create Session: set up a room (host side). Specify public settings and max players
- Find Sessions: search for rooms (join side). A list of found rooms comes back
- Join Session: enter a found room (join side)
The flow is simple. The host creates a room with Create Session and starts the game by opening a level with Open Level with the listen option. Joiners get a list of rooms with Find Sessions and enter a chosen room with Join Session . These three are the backbone of an online lobby.
The Null Subsystem Reality: LAN Only
Here's the first hurdle. With no plugins added, the default UE runs on a subsystem called Online Subsystem Null . And Null's Session has a big constraint.
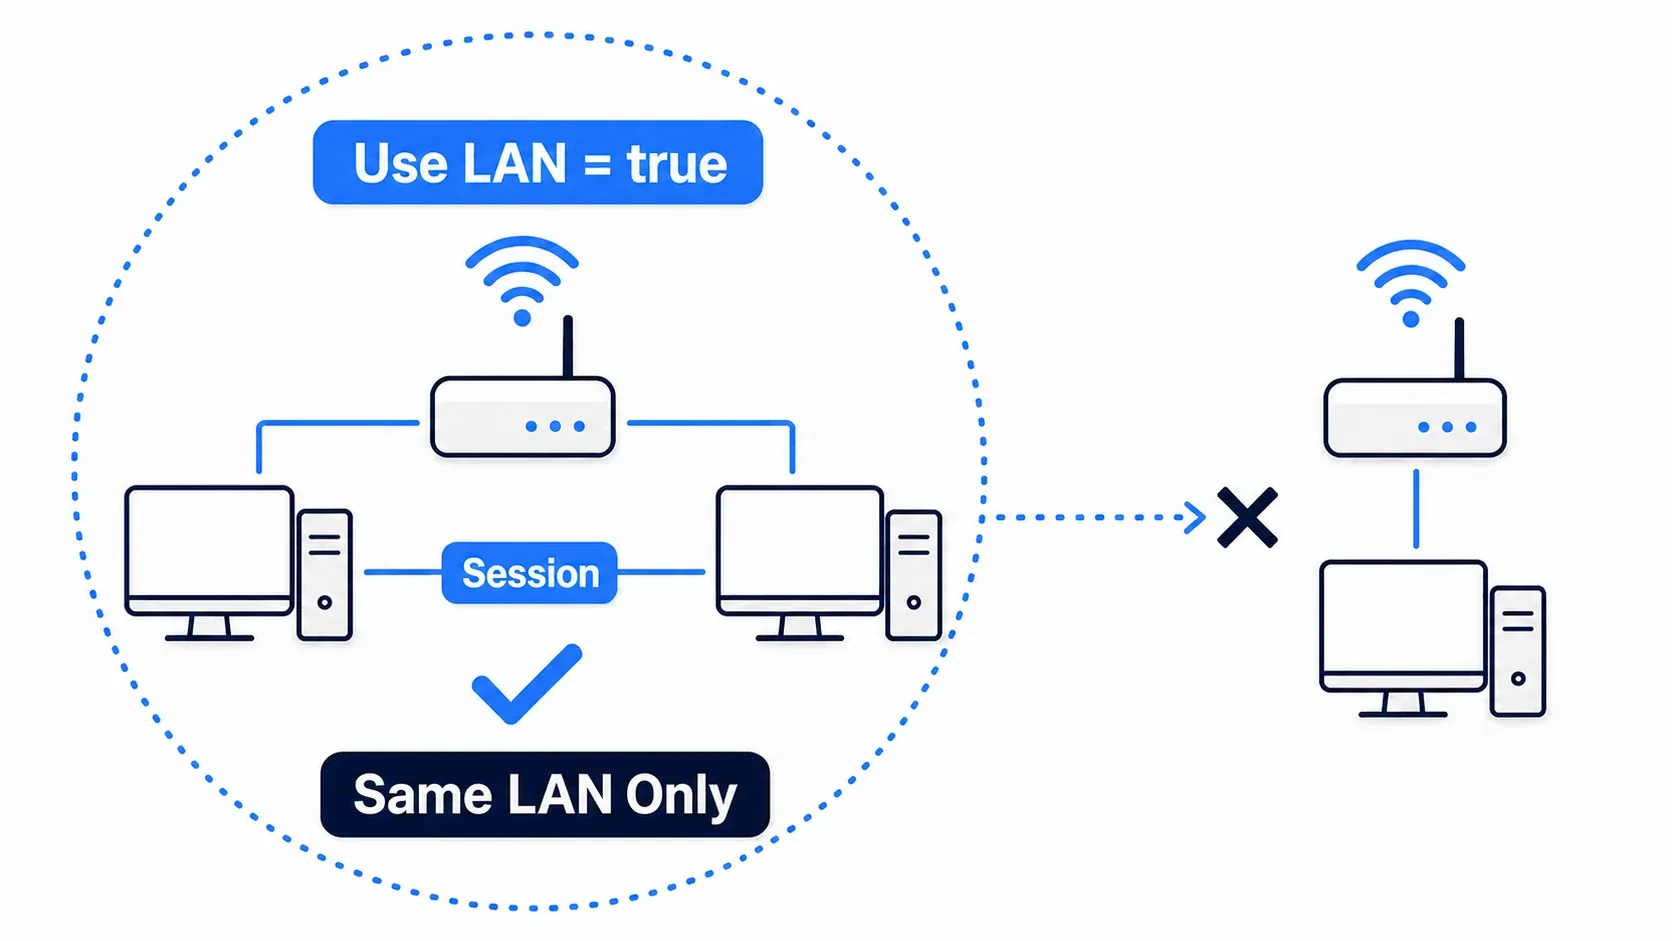
Null Subsystem's Session is only found within the same LAN (under the same router). You can't search for a room on a PC in another house over the internet. You set Use LAN = true on Create Session , and being discoverable only within the same network, that's Null's world.
This is a constraint, but it's also enough for the first test . With two PCs on the same Wi-Fi, "host → find → join" works even on Null. Completing this far first and separating internet release as a later task is the trick to not getting discouraged.
Note that in the setup where the host sets up a room and plays too (Listen Server), the host's connection and NAT become everyone's bottleneck . This setup is as covered in the replication article.
What Changes When You Add Steam
When it comes to "I want to connect with a friend in another house", adding Online Subsystem Steam is the standard. Steam takes on what Null couldn't do.
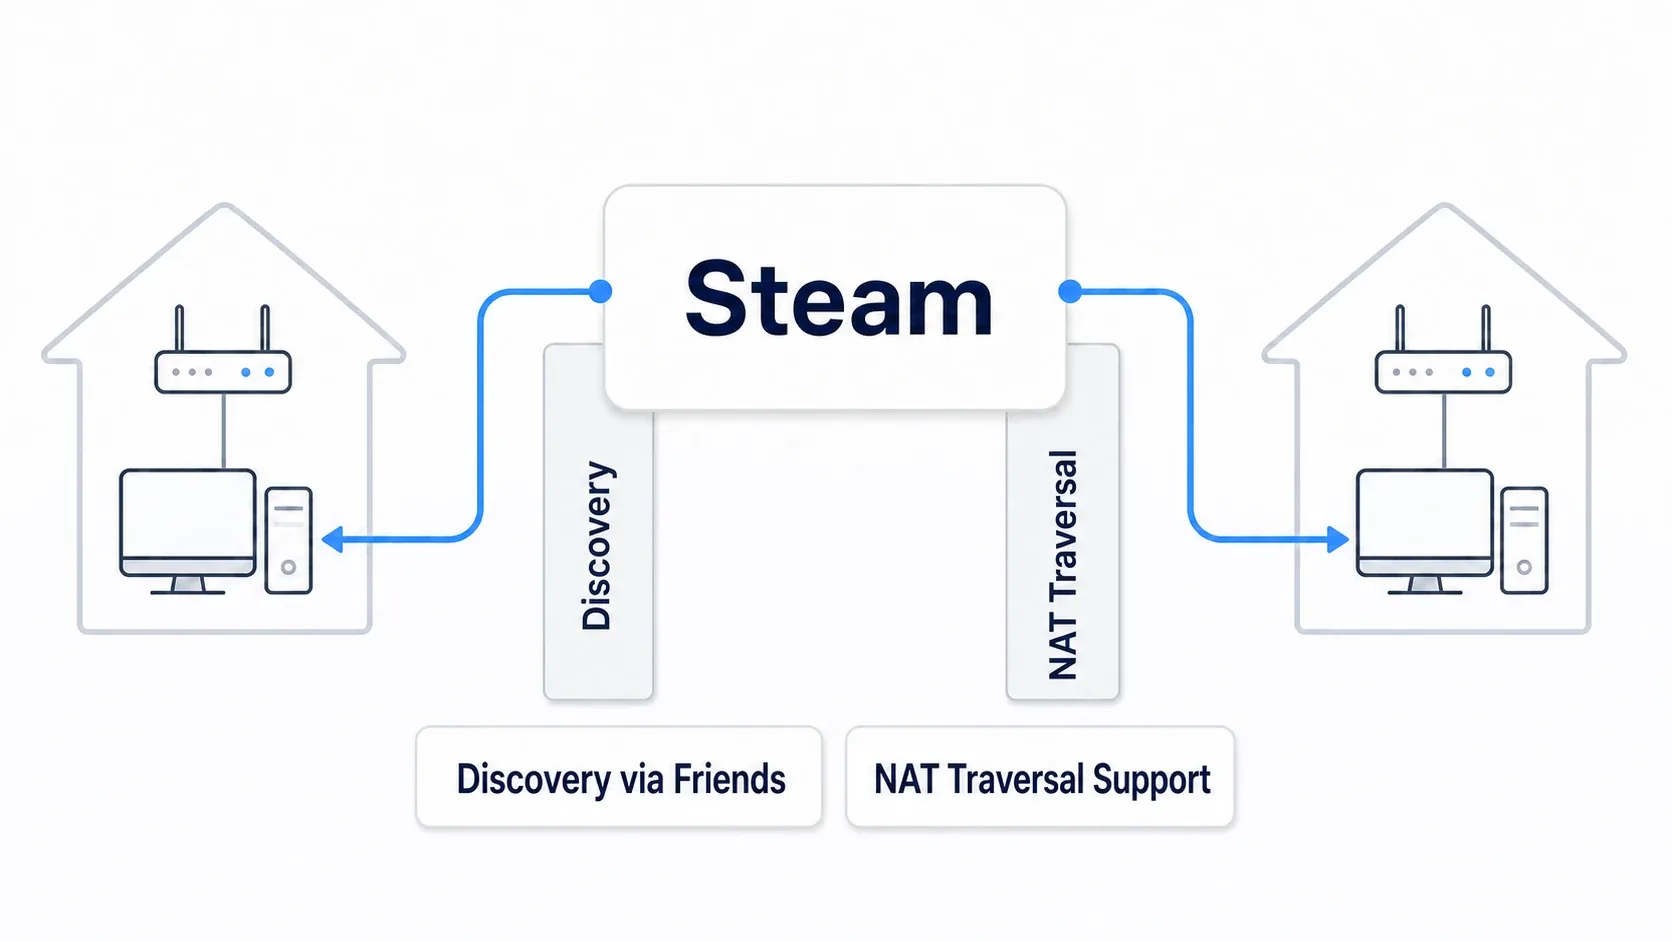
- Friend-based discovery: find a friend's room from your Steam friends list
- NAT-traversal help: Steam's network helps connect PCs inside home routers
- Setup: enable the Online Subsystem Steam plugin and set Steam as the default service in
DefaultEngine.ini(using a test AppID)
The details of the steps change easily with the version and Steam-side circumstances, so this article keeps it to a map . What matters is the big picture: "add Steam and you can clear the two walls of discovery and NAT traversal". Knowing just the name of third-party plugins like Advanced Sessions, which enrich the Blueprint nodes around Session, is useful later too.
EOS as a Free Option
Besides Steam, there's another option, EOS (Epic Online Services) . It's a free set of online services provided by Epic.
- What's provided: a full set of what online needs, lobbies, matchmaking, friends, NAT traversal
- Who it's for: a foundation for when you want to distribute on stores other than Steam, or span multiple platforms
- Positioning: if Steam is the standard for "games sold on Steam", EOS is the "platform-agnostic" foundation
Whichever you choose, the biggest benefit of using an online subsystem is that you no longer need to stand up a NAT-traversal server yourself . By the way, there's also a world of running a dedicated server around the clock, but since it needs operating cost and specialized knowledge, it's realistic to leave it out of solo development's first steps .
Hands-On: Building a Lobby Within a LAN
A co-op action game's room system, a competitive puzzle's room search, in-circle test play. "Host → find → join" is the entrance to any online game. Here we build one lap of it, within Null Subsystem (LAN) range, as an actually-working lobby.
We're building a lobby where the title has "Host" and "Join" buttons, a room set up by one shows in the other's list, and joining lets you play together in the same world .
Here's what it looks like running. Launch packaged builds on two PCs on the same Wi-Fi. Press "Host" on the first and a room is set up and it moves to the game level. Press "Join" on the second and the first's room appears in the list , and entering it makes the "button two people can press" you built in the replication article work in the same world.
Setup Conditions
| Item | Setting |
|---|---|
Title WBP_Title | Two buttons, "Host" and "Join" |
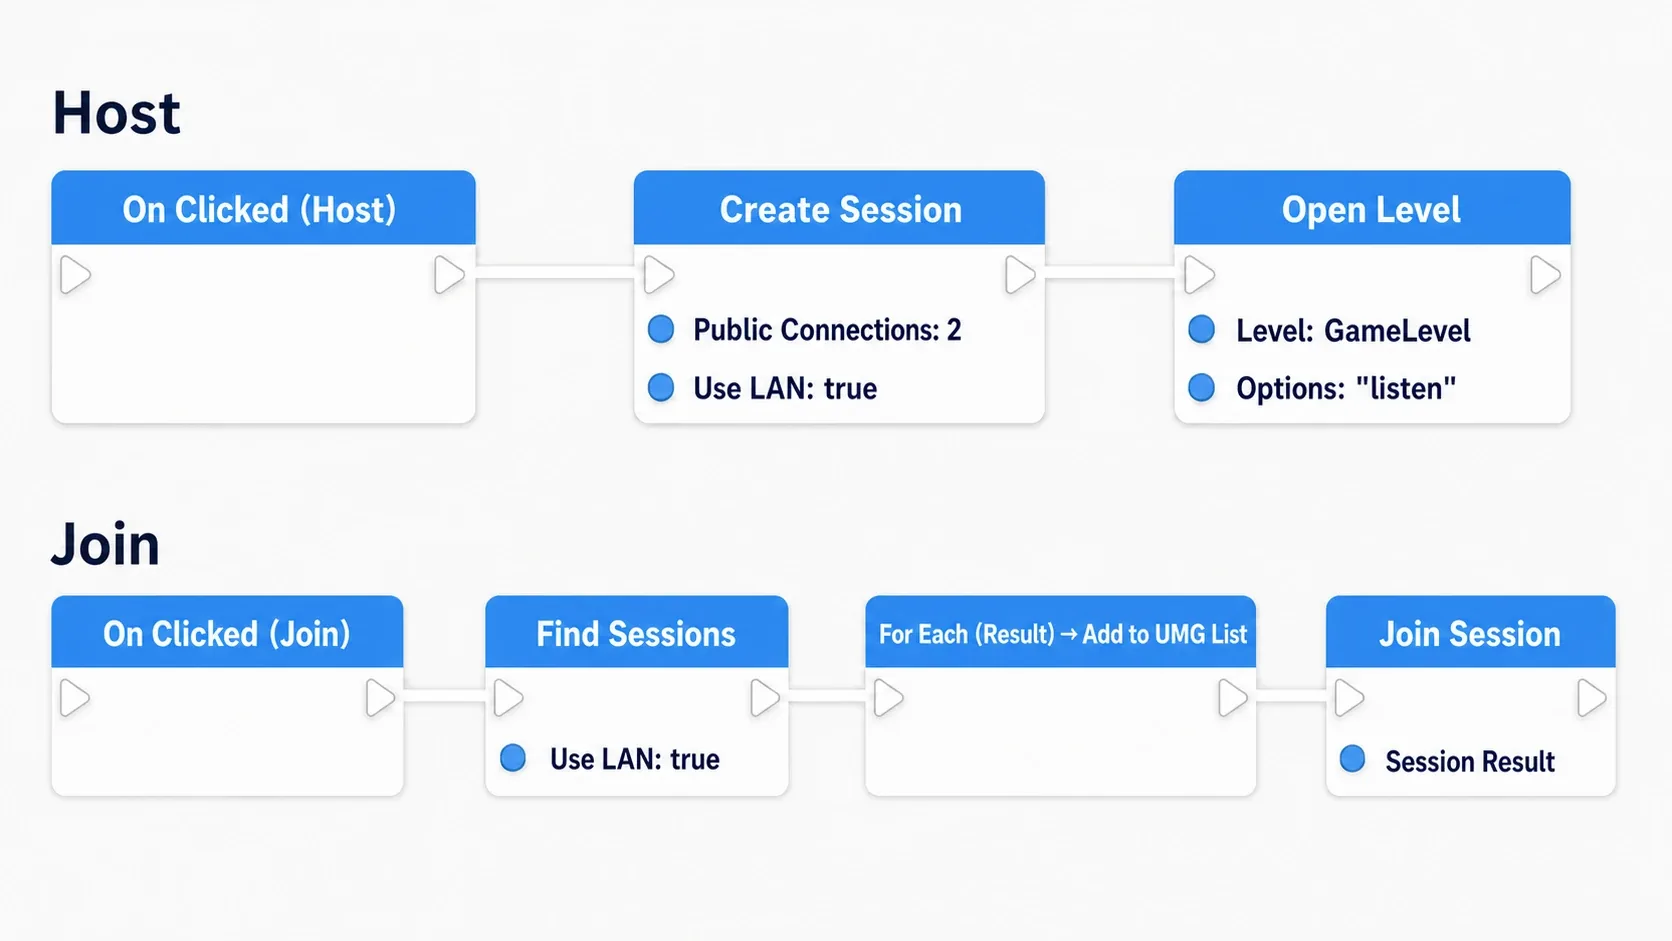
| Host process | Create Session (Public, Max Players = 2, Use LAN = true ) → on success Open Level (GameLevel, option ?listen ) |
| Join process | Find Sessions (Use LAN = true ) → show results in a UMG list → Join Session on the chosen item |
| Test method | Launch packaged builds on separate PCs on the same LAN (not multiple PIE windows or the same PC) |
Step 1: Host
The "Host" button sets up a room and then opens the level with listen.
"Host" On Clicked
  → Create Session (Public Connections: 2, Use LAN: ✔)
  → (On Success) Open Level (Level Name: GameLevel, Options: "listen")
Step 2: Find and Join
The "Join" button searches for rooms and enters a chosen one from the list.
"Join" On Clicked
  → Find Sessions (Use LAN: ✔, Max Results: 20)
  → (On Success) add results to a UMG list with ForEach
List item On Clicked
  → Join Session (the target Session Result)
  // After Join succeeds, UE automatically moves to the host's level
Verifying It
Launch packaged builds on two PCs on the same Wi-Fi. If it worked, the first's room appears in the second's list , and joining makes the "button two people can press" work in the same world.
Here's how to narrow it down when it doesn't work.
- The other room doesn't show in the list → first, the firewall . Allow the executable's traffic on both PCs. Next, check whether it's the same LAN (same router, same Wi-Fi)
- Shows in multiple PIE windows but not on real hardware, or vice versa → Null Subsystem's LAN search is reliable with packaged builds on separate PCs . It's unstable with multiple windows on the same PC
- The world doesn't sync after joining → the Session is connected, but it's a Replication-side problem. Check the replication article
Two things to take away.
- First complete "host → find → join" on a LAN: even within Null Subsystem range, you can complete the lobby's backbone. If it works this far, you understand the online mechanism
- Release is a separate phase of adding Steam/EOS: over the internet is the next step of having a subsystem take on the walls of discovery and NAT traversal. Proceed with LAN completion and net release clearly separated
Bonus: Good to Know for Later
Test on two machines with packaged builds. For Session search, running packaged builds on separate PCs is more reliable than the editor's PIE. Making "test on two machines over LAN" a habit during development lets you find online bugs faster.
Host and joiner have different roles. The host who set up the room and the joiner who entered later have different authority. Getting down role differences, like GameMode existing only on the server (host), helps you avoid online-specific bugs.
If online is hard, there's the local escape route. If "two players on the same screen" is enough, split-screen local multiplayer is far easier than online. No Session or NAT traversal needed. If the experience you want to build fits locally, that's the smart choice.
Summary
From two PIE windows to real online, proceed with this map.
| Stage | What to do | Tool |
|---|---|---|
| Know the mechanism | The two walls of discovery and NAT traversal | The Session (room) concept |
| Build on LAN | Host → find → join | Create / Find / Join Session (Null, Use LAN) |
| Release | Take on discovery and NAT traversal | Add Steam / EOS |
| Escape route | If the same screen is enough | Split-screen local multiplayer |
And the principle running through it is to complete on LAN first, and release is a separate phase . Trying to do it all at once bloats the scope and leads to discouragement.
With this, the big picture of online is visible. Does the multiplayer you want to build really need to be over the internet, or is two machines in the same room enough? That answer decides your path.
Further Learning
- Multiplayer and Replication Basics — the foundation of Replication/RPC
- Packaging and Building — test two machines with packaged builds
- Game Framework (GameMode/GameState/PlayerState) — host and joiner roles
- Split-Screen Local Multiplayer — a far easier option than online